turn signal OLDSMOBILE SILHOUETTE 1994 Owners Manual
[x] Cancel search | Manufacturer: OLDSMOBILE, Model Year: 1994, Model line: SILHOUETTE, Model: OLDSMOBILE SILHOUETTE 1994Pages: 276, PDF Size: 15.82 MB
Page 11 of 276
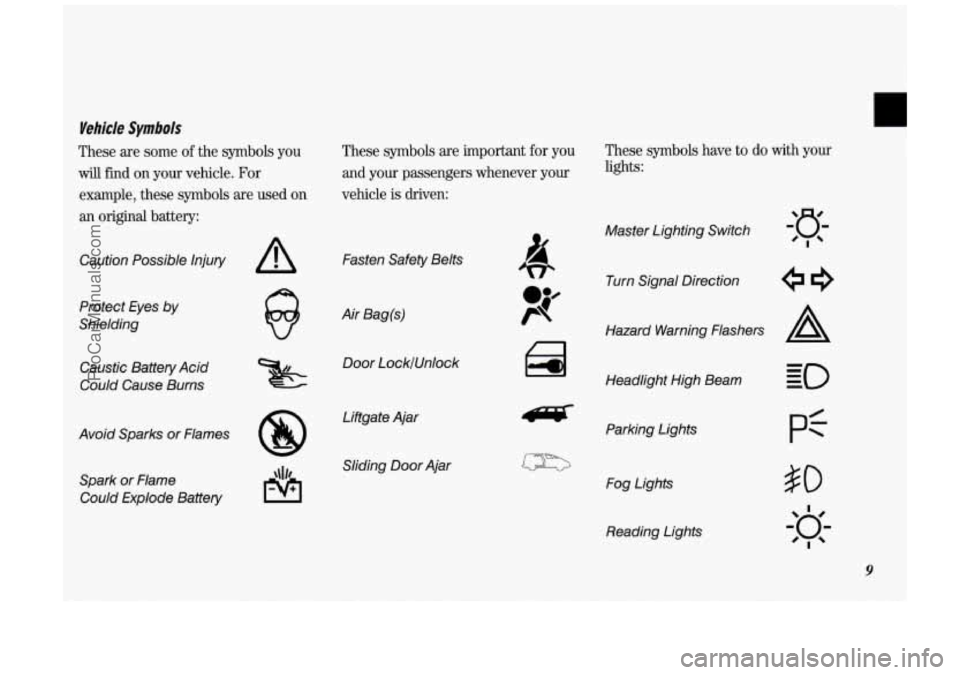
Vehicle Symbols
These are some of the symbols you
will find on your vehicle. For
example, these symbols are used
on
an original battery: These symbols are important
for you
and your passengers whenever your
vehicle
is driven:
Caution Possible Injury
Protect Eyes
by
Shielding
Caustic Battery Acid
Could Cause Burns
Avoid Sparks or Flames Spark or Flame Could Explode Battery
A
8
Fasten Safety Belts
Air Bag(s) Door LockfUnlock
Liftgate Ajar Sliding
Door Ajar
These symbols have to do with your
lights:
Master Lighting Switch
Turn Signal Direction
Hazard Warning Flashers
A
Headlight High Beam Parking Lights
Fog Lights Reading Lights
pf
9
ProCarManuals.com
Page 45 of 276
Here you can learn about the many standard and optional features on
your Oldsmobile. and information on
starting. shifting and braking
. Also
explained are the instrument panel
and the warning systems that tell you
if everything is working properly -
and what to do if you have a
problem
.
Part 2
Features & Controls
Keys ........................................................................\
................................................... 44
Front Doors
........................................................................\
....................................... 45
Remote Lock Control
........................................................................\
........................ 48
Liftgate
........................................................................\
............................................... 56
Starting Your Engine
........................................................................\
........................ 58
Engine Coolant Heater ........................................................................\
...................... 61
Loclts
........................................................................\
.................................................. 45
Sliding Door
........................................................................\
...................................... 51
Ignition ........................................................................\
.............................................. 58
Shifting the Transaxle
........................................................................\
....................... 62
Parking Brake
........................................................................\
.................................... 65
Shifting into Park
........................................................................\
.............................. 66
Horn ........................................................................\
................................................... 69
Tilt Steering Wheel
........................................................................\
............................ 69
Windows
........................................................................\
............................................ 69
Turn Signal and Lane Change Indicator
.................................................................. 71
Cruise Control ........................................................................\
................................... 72
Headlights
........................................................................\
.......................................... 74
Interior Lights
........................................................................\
................................... 76
Windshield Wipers
........................................................................\
............................ 77
Windshield Washer
........................................................................\
........................... 78
Mirrors
........................................................................\
............................................... 86
Glove
Box and Storage Compartments .................................................................... 88
Luggage Carrier ........................................................................\
................................. 92
Instrument Panel
........................................................................\
............................... 96
Warning Lights, Gages and Indicators
................................................................... 100 43
ProCarManuals.com
Page 50 of 276

Features & Controls
48
again, indicating that this mode has
been successfully programmed.
You can reprogram the automatic door
loclts system at any time.
If you do not
program the automatic door loclts
system, all doors will remain locked
when the shift lever is returned to
P
(Park).
If you have more than one remote
transmitter for your vehicle, your
automatic door loclts system will
operate as programmed with any of
them. There
is no need to program each
one individually.
Leaving Your Vehicle
If you are leaving the vehicle, open your
door and set the loclts from inside. Then
get out and close the door.
4 Remote Lock Controi (OPTION)
[f your Oldsmobile has this option, you
:an lock and unlock your doors and
iftgate from up to
30 feet (9 m) away
lsing the key chain transmitter supplied
with your vehicle.
four remote lock control operates on a
-adio frequency subject to Federal
Sornmunications Commission (FCC)
3ules.
rhis device complies with Part
15 of the
’CC Rules. Operation is subject to the
ollowing two conditions:
(1) This
device may not cause harmful
interference, and
(2) This device must
3ccept any interference received,
including interference that may cause
undesired operation. Should interference
to this system
occur, try this:
Check to determine if battery
replacement is necessary. See the
instructions on battery replacement.
Check the distance. You may be too
far from your vehicle. This product
has a maximum range.
Check the location. Other vehicles or
objects may be blocking the signal.
See your Oldsmobile dealer or a
qualified technician for service.
Changes or modifications to this system
by other than an authorized service
facility could void authorization to use
this equipment.
Operation
The driver’s door will unlock and the
interior lights will go on when
a is
pressed (see
Illuminated Entry System
later in this section). If pressed again
within five seconds, all doors and the
liftgate will unlock. All doors and the
liftgate will lock when
fi is pressed.
If the driver’s door is open and your key
is in the ignition in the
Off position,
ProCarManuals.com
Page 72 of 276
Features & Conkoh
70
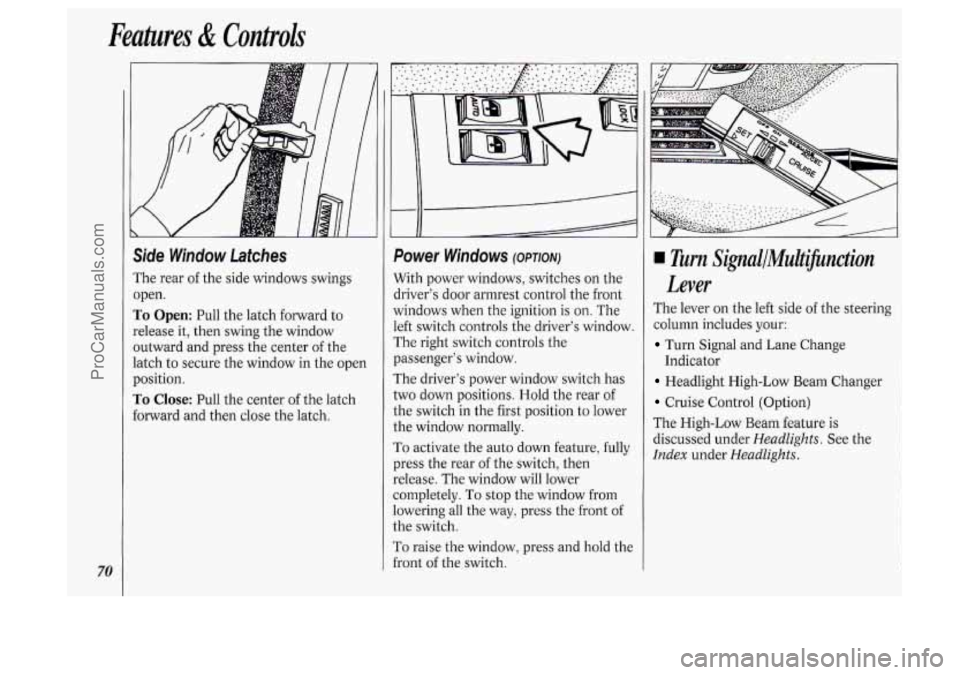
Side Window Latches
The rear of the side windows swings
open.
To Open: Pull the latch forward to
release it, then swing the window
outward and press the center
of the
latch to secure the window in the open
position.
To Close: Pull the center of the latch
forward and then close the latch.
I
f
Power Windows (OPTION)
With power windows, switches on the
driver's door armrest control the front
vindows when the ignition is
on. The
.eft switch controls the driver's window.
The right switch controls the
?assenger's window.
The driver's power window switch has
:wo down positions. Hold the rear
of
:he switch in the first position to lower
:he window normally.
To activate the auto down feature, fully
?res the rear
of the switch, then
:elease. The window will lower
:ompletely.
To stop the window from
owering all the way, press the front of
:he switch.
r'o raise the window, press and hold the
i-ont
of the switch.
Turn SignallMultifinction
Lever
The lever on the left side of the steering
column includes your:
Turn Signal and Lane Change
Headlight High-Low Beam Changer
Cruise Control (Option)
The High-Low Beam feature is
discussed under
Headlights. See the
Index under HeadZights.
Indicator
ProCarManuals.com
Page 73 of 276
0
Turn Signal and Lane Change
lndicafor
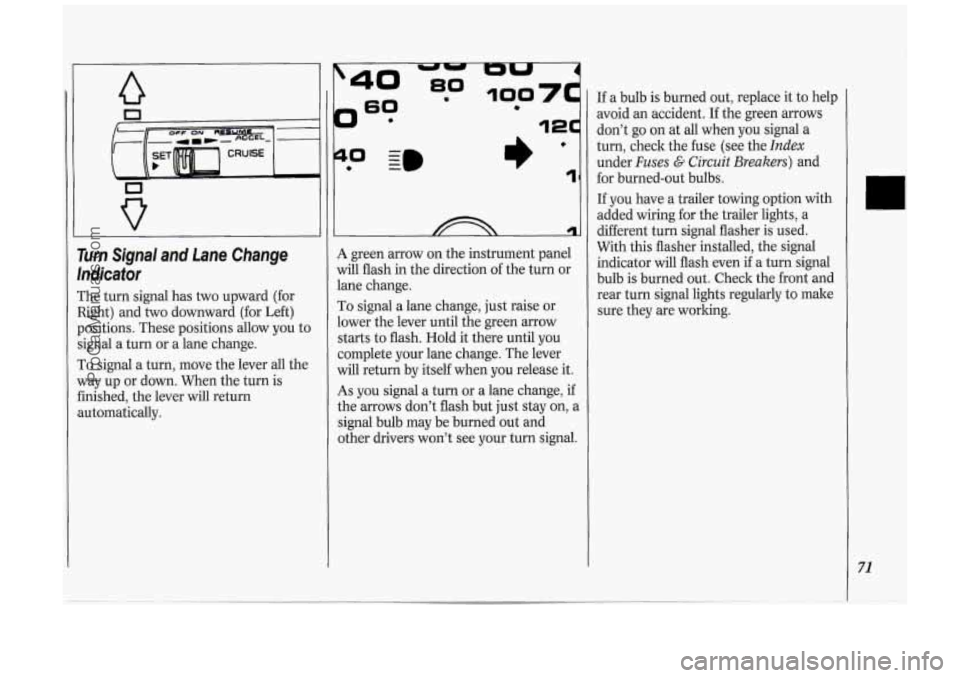
The turn signal has two upward (for
Right) and two downward (for Left)
positions. These positions allow you to
signal a turn or a lane change.
To signal a turn, move the lever all the
way up or down. When the turn is
finished, the lever will return
automatically.
?
0 - I)’ 1
A green arrow on the instrument panel
will flash in the direction of the turn or
lane change.
To signal a lane change, just raise or
lower the lever until the green arrow
starts to flash. Hold it there until you
complete your lane change. The lever
will return by itself when you release it.
As you signal a turn or a lane change, if
the arrows don’t flash but just stay on, a
signal bulb may be burned out and
other drivers won’t see your turn signal. If
a bulb is burned out, replace it to help
avoid an accident. If the green arrows
don’t go on at all when you signal a
turn, check the fuse (see the
Index
under Fuses G Circuit Breakers) and
for burned-out bulbs.
If you have a trailer towing option with
added wiring for the trailer lights, a
different turn signal flasher is used.
With this flasher installed, the signal
indicator will flash even
if a turn signal
bulb is burned out. Check the front and
rear turn signal lights regularly to make
sure they are working.
71
ProCarManuals.com
Page 77 of 276

Push the -:a- switch to turn on the
headlights, kogether with:
Parking Lights
Side Marker Lights
Taillights
Instrument Panel Lights
Pull the switch to turn off the lights.
Operation of Lights
Although your vehicle’s lighting system
(headlights, parking lights, fog lamps,
side marker lights and taillights) meets
all applicable federal lighting
requirements, certain states and
provinces may apply their own lighting
regulations that may require special
attention before you operate these
lights.
For example, some jurisdictions may
require that you operate your fog lamps
only when your lower beam headlights
are also on, or that headlights be turned
on whenever you must use your
windshield wipers.
In addition, most
jurisdictions prohibit driving solely with
parking lights, especially at dawn or
dusk. It is recommended that you check
with your
own state or provincial
highway authority for applicable
lighting regulations.
Lights On Reminder
If you turn the ignition key to the Off or
Lock position while leaving the lights
on, you will hear
a warning chime.
Headlight High-Low Beam
Changer
To change the headlights from high to
low beam, or low to high, simply pull
the turn signal lever all the way toward
you. Then release it.
When the high beams are
on, a blue
light on the instrument cluster also will
be on.
75
ProCarManuals.com
Page 99 of 276
The Instrument Panel-Your
Information System
Your instrument panel is designed to let
you know at
a glance how your vehicle
is running. You’ll know how fast you’re
going, how much fuel you’re using, and
many other things you’ll need
to drive
safely
and economically.
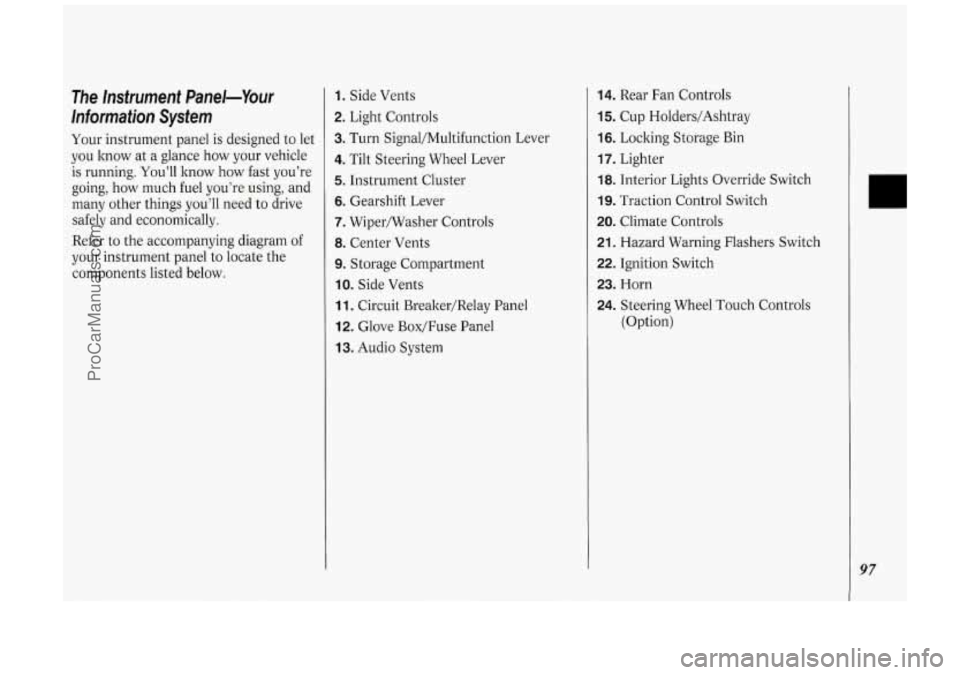
Refer to the accompanying diagram
of
your instrument panel to locate the
components listed below.
1. Side Vents
2. Light Controls
3. Turn Signal/Multifunction Lever
4. Tilt Steering Wheel Lever
5. Instrument Cluster
6. Gearshift Lever
7. Wipermasher Controls
8. Center Vents
9. Storage Compartment
IO. Side Vents
11. Circuit Brealter/Relay Panel
12. Glove Box/Fuse Panel
13. Audio System
14. Rear Fan Controls
15. Cup Holders/Ashtray
16. Locking Storage Bin
17. Lighter
18. Interior Lights Override Switch
19. Traction Control Switch
20. Climate Controls
21. Hazard Warning Flashers Switch
22. Ignition Switch
23. Horn
24. Steering Wheel Touch Controls
(Option)
97
ProCarManuals.com
Page 102 of 276
Features & Controls
100
Warning Lights, Gages and
Indicators
This section describes the warning
lights and gages that may be on your
vehicle. The pictures will help you
locate them.
Warning lights and gages can signal that
something
is wrong before it becomes
serious enough to cause an expensive
repair or replacement. Paying attention
to your warning lights and gages could
also save you or others from injury.
Warning lights go on when there may
be or is a problem with one of your
vehicle's functions. As you will see in
the details on the next few pages, some
warning lights come on briefly when
you turn the ignition key just to let you
know they're working. If you are
familiar with this section, you should
not be alarmed when this happens.
Gages can indicate when there may be
or
is a problem with one of your
vehicle's functions. Often gages and
warning lights work together to let you
know when there's a problem with your
vehicle. When
one of the warning lights comes
on and stays on when you are driving,
or when one
of the gages shows there
may be a problem, check the section
that tells you what to do about it. Please
follow the manual's advice. Waiting to
do repairs can be costly
- and even
dangerous.
So please get to know your
warning lights and gages. They're a big
help.
- UNLtADtU FUtL
-
I
loo= ,
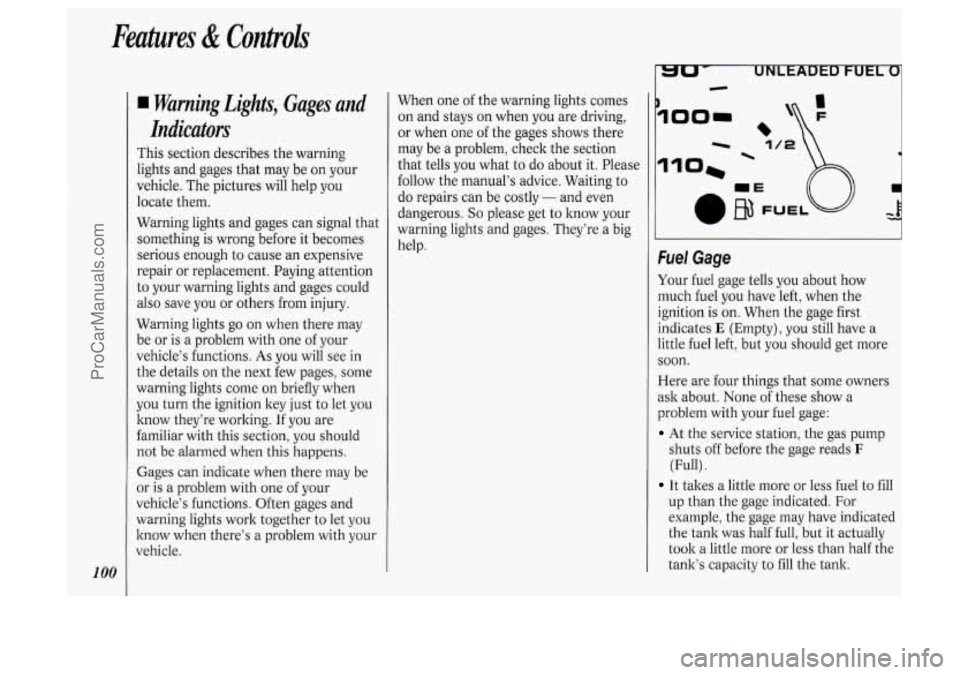
fuel Gage
Your fuel gage tells you about how
much fuel you have left, when the
ignition is
on. When the gage first
indicates
E (Empty), you still have a
little fuel left, but you should get more
soon.
Here are four things that some owners
ssk about. None of these show a
problem with your fuel gage:
At the service station, the gas pump
shuts off before the gage reads
F
(Full) .
It takes a little more or less fuel to fill
up than the gage indicated. For
example, the gage may have indicated
the tank was half full, but it actually
took a little more or less than half the
tank's capacity to
fill the tank.
ProCarManuals.com
Page 130 of 276
Comfort Controls &Audio Systems
128
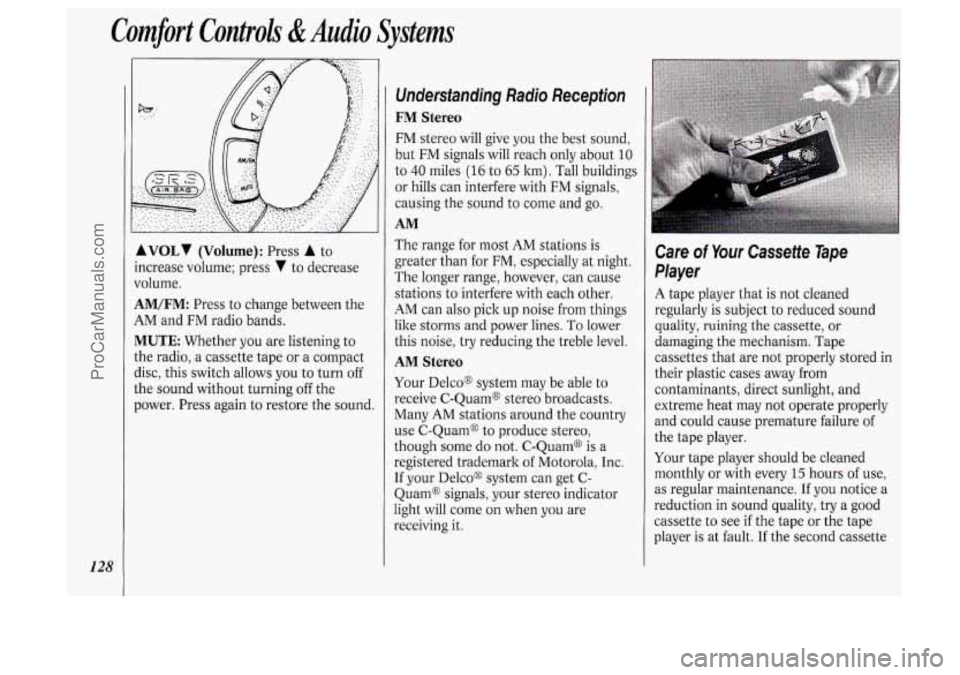
AVOLI (Volume): Press A to
ncrease volume; press
V to decrease
Jolume.
4M/FM: Press to change between the
4M and FM radio bands.
MUTE Whether you are listening to
:he radio, a cassette tape or a compact
lisc, this switch allows
you to turn off
;he sound without turning off the
lower. Press again to restore the sound.
Undersfanding Radio Reception
FM Stereo
FM stereo will give you the best sound,
but FM signals will reach only about
10
to 40 miles (16 to 65 km). Tall buildings
or hills can interfere with FM signals,
causing the sound to come and go.
AM
The range for most AM stations is
greater than for
FM, especially at night.
The longer range, however, can cause
stations to interfere with each other.
AM can also pick up noise from things
like storms and power lines.
To lower
this noise, try reducing the treble level.
AM Stereo
Your Delcoo system may be able to
receive C-Quam@ stereo broadcasts.
Many
AM stations around the country
use C-Quam@ to produce stereo,
though some
do not. C-Quam@ is a
registered trademark of Motorola, Inc.
If your Delco@ system can get C-
Quam@ signals, your stereo indicator
light will come
on when you are
receiving it.
Care of Your Cassette Tape
Player
A tape player that is not cleaned
regularly is subject to reduced sound
quality, ruining the cassette, or
damaging the mechanism. Tape
cassettes that are not properly stored in
their plastic cases away from
contaminants, direct sunlight, and
extreme heat may not operate properly
and could cause premature failure
of
the tape player.
Your tape player should be cleaned
monthly or with every
15 hours of use,
as regular maintenance. If you notice a
reduction in sound quality, try a good
cassette to see
if the tape or the tape
player is at fault.
If the second cassette
ProCarManuals.com
Page 143 of 276

drop back again and wait for another
opportunity.
slow vehicle, wait your turn. But take
care that someone isn’t trying to pass
you as you pull out to pass the slow
vehicle. Remember to glance over
your shoulder and check the blind
spot.
Check your mirrors, glance over your
shoulder, and start your left lane
change signal before moving out
of
the right lane to pass. When you are
far enough ahead of the passed
vehicle to see its front in your inside
mirror, activate your right lane change
signal and move back into the right
lane. (Remember that your right
outside mirror
is convex. The vehicle
you just passed may seem to be
farther away from you than it really
is.)
Try not to pass more than one vehicle
at a time on two-lane roads. Reconsider before passing the next
vehicle.
vehicle
too rapidly. Even though the
If other cars are lined up to pass a
Don’t overtake a slowly moving brake
lights are not flashing, it may be
slowing down or starting to turn.
If you’re being passed, make it easy
for the following driver to get ahead of
you. Perhaps you can ease a little to
the right.
Loss of Control
Let’s review what driving experts say
about what happens when the three
control systems (brakes, steering and
acceleration) don’t have enough friction
where the tires meet the road to do
what the driver has asked.
In any emergency, don’t give up. Keep
trying to steer and constantly seek
an
escape route or area of less danger.
In a skid, a driver can lose control of
the vehicle. Defensive drivers avoid
most skids by taking reasonable care
suited to existing conditions, and by not
“overdriving” those conditions. But
skids are always possible.
The three types of skids correspond to
your Oldsmobile’s three control systems.
In the braking skid your
wheels aren’t rolling. In the steering or
cornering skid, too much speed or
steering in
a curve causes tires to slip
and lose cornering force. And in the
acceleration skid
too much throttle
causes the driving wheels to spin.
A cornering skid is best handled by
easing your foot
off the accelerator
pedal.
If you have the traction control
system, remember: It helps avoid only
the acceleration skid. If you do not have
traction control, or
if the system is off,
then an acceleration skid is also best
handled by easing your foot
off the
accelerator pedal.
If your vehicle starts to slide, ease your
foot off the accelerator pedal and
quicltly steer the way you want the
vehicle to go.
If you start steering
quickly enough, your vehicle may
straighten out. Always be ready for a
second skid
if it occurs.
Of course, traction is reduced when
water, snow, ice, gravel, or other
material is on the road. For safety,
you’ll want to slow down and adjust
your driving to these conditions. It is
important to slow down on slippery
141
ProCarManuals.com