belt OLDSMOBILE SILHOUETTE 1995 Service Manual
[x] Cancel search | Manufacturer: OLDSMOBILE, Model Year: 1995, Model line: SILHOUETTE, Model: OLDSMOBILE SILHOUETTE 1995Pages: 390, PDF Size: 20.27 MB
Page 68 of 390

Replacing Seat and Restraint System
Parts After a Crash
If you’ve had a crash, do you need new safety belts or
built-in child restraint parts?
After a very minor collision, nothing may be necessary.
But if the safety belts or built-in child restraint harness
straps were stretched, as they would be if worn during a
more severe crash, then
you need new safety belts or
harness straps.
If safety belts or built-in child restraint harness straps
are cut or damaged, replace them. Collision damage also
may mean you will need to have safety belt, built-in
child restraint or seat parts repaired or replaced. New
parts and repairs may
be necessary even if the safety belt
or built-in child restraint wasn’t being used at the time
of the collision.
Before replacing any safety belt, see your retailer for the
colrect part number. You’ll need the model year and
model number for your vehicle.
The model year is on
your title and registration. And you can find the model
number on the Certificationmire label
of your vehicle.
See “CertificatiodTire Label” in the Index. The model number on the replacement belt must
be
listed on the safety belt you want to replace. Pull the
shoulder belt all the way out to see this label.
1-58
ProCarManuals.com
Page 143 of 390
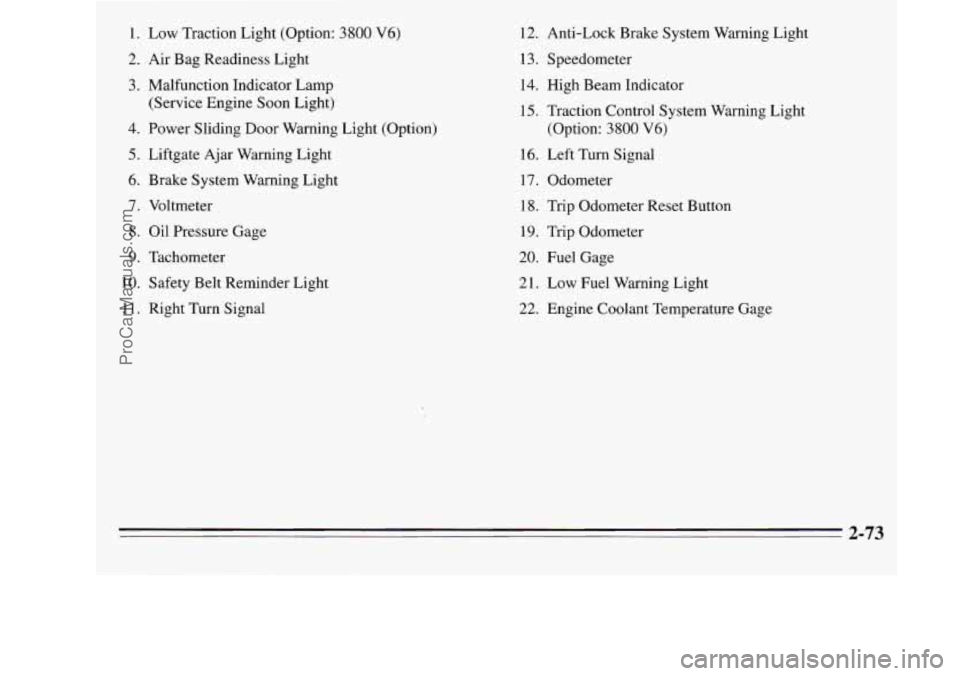
1. Low Traction Light (Option: 3800 V6)
2. Air Bag Readiness Light
3. Malfunction Indicator Lamp
(Service Engine Soon Light)
4. Power Sliding Door Warning Light (Option)
5. Liftgate Ajar Warning Light
6. Brake System Warning Light
7. Voltmeter
8. Oil Pressure Gage
9. Tachometer
10. Safety Belt Reminder Light
11. Right Turn Signal 12.
Anti-Lock Brake System Warning Light
1 3. Speedometer 14. High Beam Indicator
15. Traction Control System Warning Light
(Option: 3800
V6)
16. Left Turn Signal
17. Odometer
18. Trip Odometer Reset Button
19. Trip Odometer
20. Fuel Gage
21. Low Fuel Warning Light
22. Engine Coolant Temperature Gage
2-73
ProCarManuals.com
Page 146 of 390
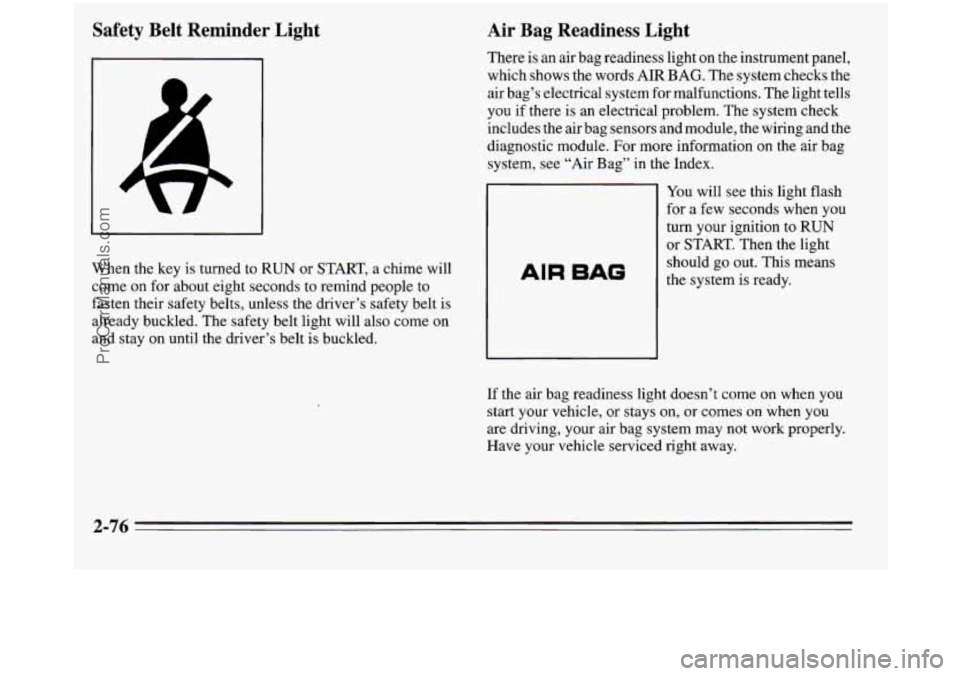
Safety Belt Reminder Light
When the key is turned to RUN or START, a chime will
come on for about eight seconds to remind people to
fasten their safety belts, unless the driver’s safety belt
is
already buckled. The safety belt light will also come on
and stay on until the driver’s belt is buckled.
Air Bag Readiness Light
There is an air bag readiness light on the instrument panel,
which shows the words AIR BAG. The system checks the
air bag’s electrical system for malfunctions. The light tells
you if there is an electrical problem. The system check
includes the air bag sensors and module, the wiring and the
diagnostic module. For more information on the air bag
system, see “Air Bag” in the Index.
AIR BAG
You will see this light flash
for a few seconds when you
turn your ignition to
RUN
or START. Then the light
should go out. This means
the system
is ready.
If the air bag readiness light doesn’t come on when you
start your vehicle, or stays on, or comes on when you
are driving, your air bag system may not work properly.
Have your vehicle serviced right away.
2-76
ProCarManuals.com
Page 180 of 390
Care of Your Cassette Tape Player
A tape player that is not cleaned regularly can cause
reduced sound quality, ruined cassettes,
or a damaged
mechanism. Cassette tapes should be stored in their
cases away from contaminants, direct sunlight, and
extreme heat. If they aren’t, they may not operate
properly or cause failure of the tape player.
Your tape player should be cleaned after every 50 hours
of use. If you notice a reduction in sound quality, try a
known, good cassette to see if the tape or the tape player
is at fault.
If this other cassette has no improvement in
sound quality, clean the tape player.
Cleaning may be done with a scrubbing action,
non-abrasive, cleaning cassette. This system uses a
cleaning cassette with pads which scrub the tape head as
the hubs of the cleaner cassette turn. It
is normal for the
cartridge to eject while cleaning. Insert the cassette at
least three times to ensure thorough cleaning. A
scrubbing action, cleaning cassette
is available through
your Oldsmobile retail facility. You
may also choose
a non-scrubbing action, wet-type
cleaner which uses a cassette with a fabric belt to clean
the tape head. This type of cleaning cassette will not
eject. It may not clean as thoroughly
as the scrubbing
type cleaner.
Cassettes are subject to wear and the sound quality may
degrade over time. Always make sure that
the cassette
tape is in good condition before you have your tape
player serviced.
Care of Your Compact Discs
Handle discs carefully. Store them in their original cases
or other protective cases and keep them away from
direct sunlight and dust. If the surface
of a disc is soiled,
dampen a clean, soft cloth in a mild, neutral detergent
solution and clean it (wiping from the center to the
edge).
Be sure never to touch the signal surface when handling
discs. Pick up discs by grasping the outer edges or the
edge
of the hole and the outer edge.
3-22
~
ProCarManuals.com
Page 183 of 390
I Section 4 Your Driving and the Road
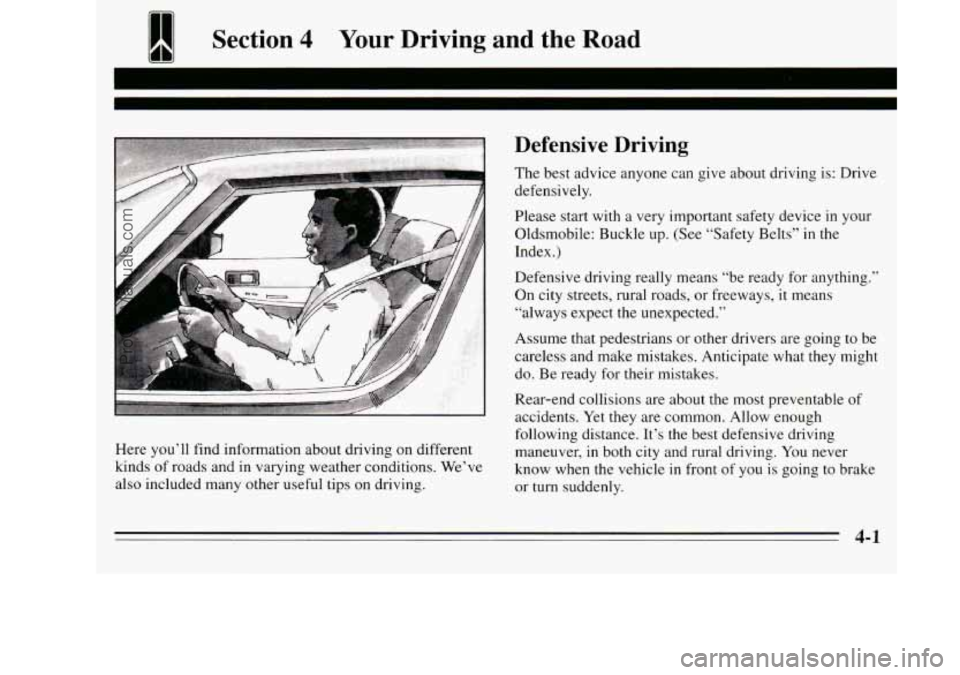
Here you’ll find information about driving on different
kinds of roads and in varying weather conditions. We’ve
also included many other useful tips on driving.
Defensive Driving
The best advice anyone can give about driving is: Drive
defensively.
Please start with a very important safety device in your
Oldsmobile: Buckle up. (See “Safety Belts”
in the
Index.)
Defensive driving really means “be ready for anything.”
On city streets, rural roads, or freeways, it means
“always expect the unexpected.”
Assume that pedestrians or other drivers are going to be
careless and make mistakes. Anticipate what they might
do. Be ready for their mistakes.
Rear-end collisions are about the most preventable of
accidents. Yet they are common. Allow enough
following distance. It’s the best defensive driving
maneuver, in both city and rural driving. You never
know when the vehicle
in front of you is going to brake
or turn suddenly.
4-1
ProCarManuals.com
Page 194 of 390
Steering in Emergencies
There are times when steering can be more effective than
braking. For example, you come over
a hill and find a
truck stopped in your lane, or a car suddenly pulls out
from nowhere, or a child darts
out from between parked
cars and stops right in front of
you. You can avoid these
problems by braking
-- if you can stop in time. But
sometimes you can’t; there isn’t room. That’s the time
for evasive action
-- steering around the problem.
Your Oldsmobile can perform very well in emergencies
like these. First apply your brakes. (See “Braking in
Emergencies” earlier
in this section.) It is better to
remove as much speed as you can from a possible
collision. Then steer around the problem, to the left or
right depending on the space available.
An emergency like this requires close attention and a
quick decision. If you are holding the steering wheel at
the recommended
9 and 3 o’clock positions, you can
turn it a full
180 degrees very quickly without removing
either hand. But you have to act fast, steer quickly, and
just as quickly straighten the wheel once you have
avoided the object.
The fact that such emergency situations are always
possible is a good reason
to practice defensive driving at
all times and wear safety belts properly.
Off-Road Recovery
You may find sometime that your right wheels have
dropped off the edge of a road onto the shoulder while
you’re driving.
If the level of the shoulder is only slightly below the
pavement, recovery should be fairly easy. Ease off the
accelerator and then, if there is nothing in the way, steer
so that your vehicle straddles the edge of the pavement.
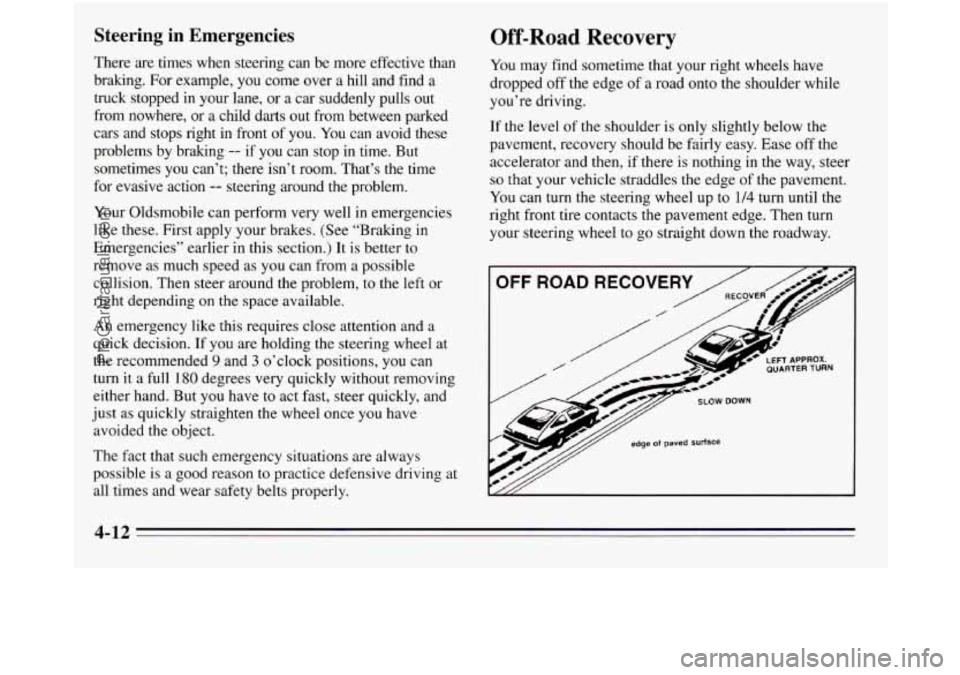
You can turn the steering wheel up to
1/4 turn until the
right front tire contacts the pavement edge. Then turn
your steering wheel to go straight down the roadway.
LeT/ SLOW DOWN
p,/y edge of paved surface
4-12
ProCarManuals.com
Page 220 of 390
could start to move. People can be injured, and both
your vehicle and the trailer can be damaged.
But
if you ever have to park your rig on a hill, here’s
how to
do it:
1. Apply your regular brakes, but don’t shift into
PARK
(P) yet.
2. Have someone place chocks under the trailer whe
3. When the wheel chocks are in place, release the
regular brakes until the chocks absorb the load. els.
Parking on Hills
You really should
not park your vehicle, with a trailer
attached, on
a hill. If something goes wrong, your rig
4. Reapply the regular brakes. Then apply your parking
brake, and then shift to PARK
(P).
5. Release the regular brakes.
When You Are Ready to Leave After
Parking
on a Hill
1. Apply your regular brakes and hold the pedal down
while you:
0 Start your engine;
0 Shift into a gear; and
Release the parking brake.
2. Let up on the brake pedal.
3. Drive slowly until the trailer is cl
ear of the chocks.
4. Stop and have someone pick up and store the chocks.
Maintenance When Trailer Towing
Your vehicle will need service more often when you’re
pulling
a trailer. See the Maintenance Schedule for more
on this. Things that are especially important in trailer
operation are automatic transaxle fluid (don’t overfill),
engine
oil, belts, cooling system, and brake adjustment.
Each
of these is covered in this manual, and the Index
will help you find them quickly. If you’re trailering, it’s
a good idea to review these sections before you start
your trip.
Check periodically to see that
all hitch nuts and bolts
are tight.
4-3s
ProCarManuals.com
Page 298 of 390
Buying New Tires
To find out what kind and size of tires you need, look at
the CertificatiordTire label.
The tires installed
on your vehicle when it was new had
a Tire Performance Criteria Specification
(TPC Spec)
number on each tire’s sidewall. When
you get new tires,
get ones with that same
TPC Spec number. That way,
your vehicle will continue to have tires that are designed
to give proper endurance, handling, speed rating,
traction, ride and other things during normal service on
your vehicle.
If your tires have an all-season tread
design, the TPC number will be followed by an
“MS”
(for mud and snow).
If you ever replace your tires with those not having a
TPC Spec number, make sure they are the same size,
load range, speed rating and construction type (bias,
bias-belted or radial) as your original tires.
Uniform Tire Quality Grading
The following information relates to the system
developed by the United States National Highway
Traffic Safety Administration which grades tires by
treadwear, traction and temperature performance.
(This
applies only to vehicles sold in the United States.)
6-38
ProCarManuals.com
Page 305 of 390
Cleaning Leather
Use a soft cloth with lukewarm water and a mild soap or
saddle soap.
0
0 For stubborn stains, use a mild solution of 10%
isopropyl alcohol (rubbing alcohol) and 90% water.
Never use oils, varnishes, solvent-based or abrasive
cleaners, furniture polish
or shoe polish on leather.
Soiled leather should be cleaned immediately.
If dirt
is allowed to work into the finish, it can harm the
leather.
Cleaning the Top of the Instrument Panel
Use only mild soap and water to clean the top surfaces
of the instrument panel. Sprays containing silicones or
waxes may cause annoying reflections in the windshield
and even make it difficult
to see through the windshield
under certain conditions.
Vacuum the carpeted area as needed, and clean as you
would any other carpet.
Cleaning the Built-In Child
Restraint Pad
The built-in child restraint pad is attached to the seat
frame with fastener strips. You can remove the pad and
hand wash it with mild soap and water.
Care of Safety Belts
Keep belts clean and dry.
ProCarManuals.com
Page 313 of 390

e
E5
c3
€3
ELC
HORN
E3 RDOllAUX
TAIL
El
c3
n
c3
ECM
TURN B/U
GAUGES LPS
ABS
E3 R WIPER
€5 HTRA/C
F WIPER
p-4 R BLW
Fuse Panel (3.1L V6 Engine)
Position Circuitry
CTSY Dome Lamps, Courtesy Lamps, Power Door
Lock Switches, Glove Box Lamp, Power
Mirrors, Power Sliding Delay Lock Module
ELC
HORN
STOP
HAZ Auto
Level Control, Underhood Lamp
Horns, Horn Relay, Safety Belt Buzzer
Front/Rear Turn Lamps, Front Sidemarker
Lamps, Rear Stop Lamps, Instrument Cluster
Turn Indicator Lamps, Cruise Brake Switch
F PUMP Fuel Pump,
Oil Pressure SenderIFuel Pump Switch
Position
RDO 1/
AUX
TAIL
ECM
TURN
B/U
GAUGES
LPS
ABS
RD02
R WIPER
F WIPER
IGN
HTR-A/C
R BLW
Circuitry
Radio, Front Cigar Lighter, Accessory Power
Outlet
Front Park Lamps, Rear Taillamps, Front
Sidemarker Lamps, License Plate Lamp, Radio,
HeatNentlAC Control Head, Power Sliding Door
Throttle Body Fuel Injection, Fuel Pump Relay,
Elec. Vac. Reg. Valve, Elec. Control Module,
Elec. Spark Control Module
Front/Rear Turn Lamps, Front Sidemarker Lamps, Cluster Turn Telltale, Back-up Lamps,
Fog Lamps
Cluster, Anti-Lock Brake System Lamp
Module, Elec. Level Control Sensor
Cluster, Radio, Wiper Switch, Headlamp
Switch, Rear Blower Switch, Heat/Vent/AC
Control Head, Door Switch Illumination,
FrontIRear Ashtray Illumination Bulbs
Anti-Lock Brake System
Radio
Rear Wiperwasher Motors; Overhead Console
Compass
Front Wipermasher Motor
A/C Compressor, A/C Solenoid Box, Compressor
Relay, Temp. Door Motor,
Low Blower Relay;
HeatNentlAC Control Head; Cruise Module; Cooling Fan Relay; Rear Defogger Relay;
Key
Chime; Vehicle Speed Sensor Buffer and Generator
Charge Discrete, Transaxle Converter Clutch Switch
FrondRear Blower Motors, High Blower Relay
Rear Blower, Rear Heat/Vent/AC
6-53
ProCarManuals.com