start stop button PEUGEOT 3008 2018 Owners Manual
[x] Cancel search | Manufacturer: PEUGEOT, Model Year: 2018, Model line: 3008, Model: PEUGEOT 3008 2018Pages: 360, PDF Size: 12.38 MB
Page 6 of 360
4
Instruments and controls
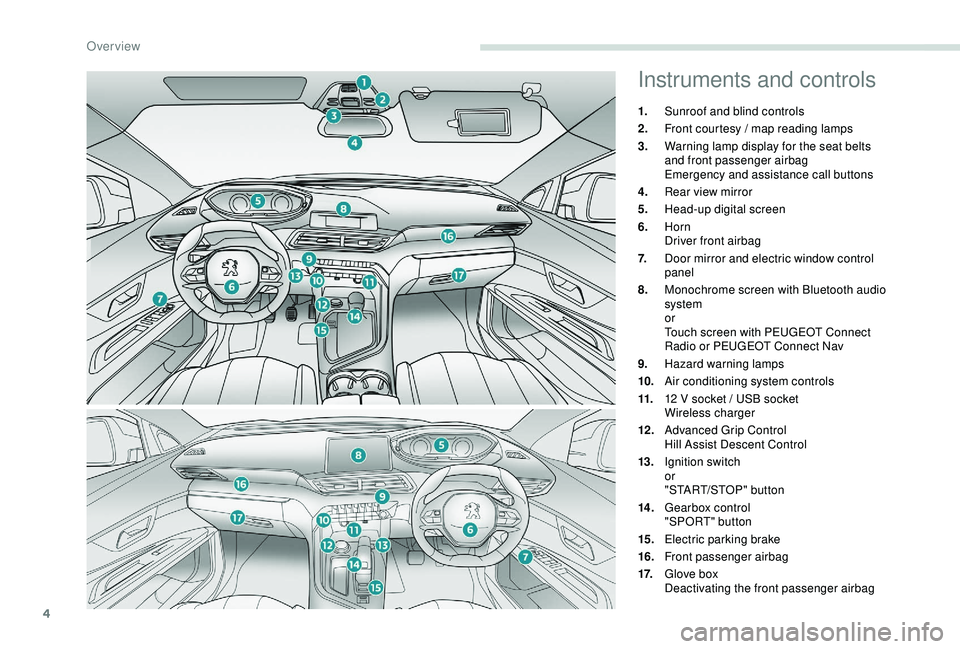
1.Sunroof and blind controls
2. Front courtesy / map reading lamps
3. Warning lamp display for the seat belts
and front passenger airbag
Emergency and assistance call buttons
4. Rear view mirror
5. Head-up digital screen
6. Horn
Driver front airbag
7. Door mirror and electric window control
panel
8. Monochrome screen with Bluetooth audio
system
or
Touch screen with PEUGEOT Connect
Radio or PEUGEOT Connect Nav
9. Hazard warning lamps
10. Air conditioning system controls
11. 12
V socket / USB socket
Wireless charger
12 . Advanced Grip Control
Hill Assist Descent Control
13. Ignition switch
or
"START/STOP" button
14 . Gearbox control
"SPORT" button
15. Electric parking brake
16. Front passenger airbag
17. Glove box
Deactivating the front passenger airbag
Over view
Page 25 of 360
23
Warning / indicator lampStateCause Action / Observations
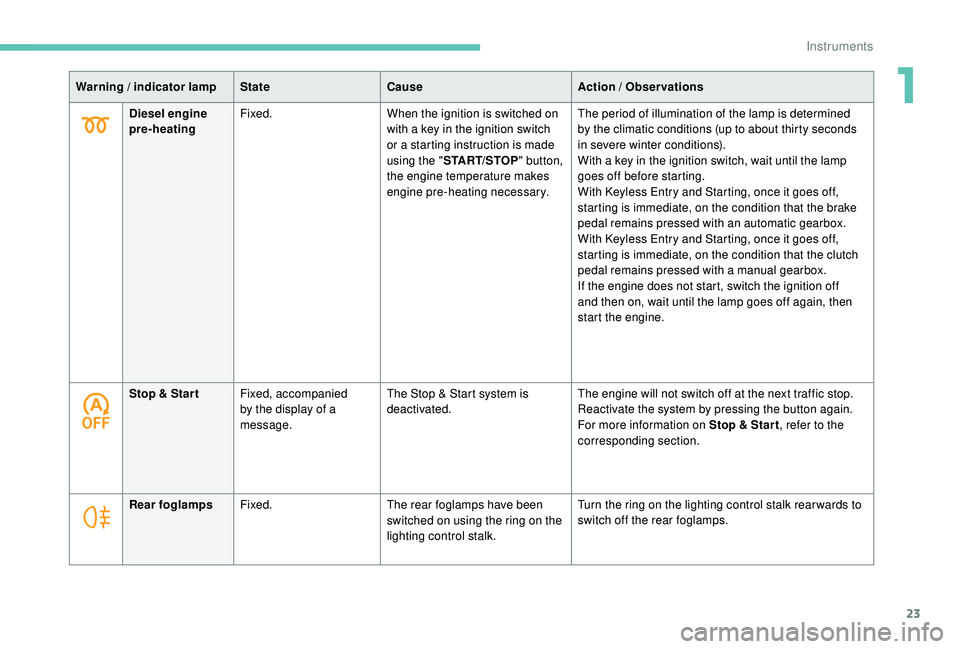
Diesel engine
pre-heating Fixed.
When the ignition is switched on
with a key in the ignition switch
or a starting instruction is made
using the "START/STOP " button,
the engine temperature makes
engine pre-heating necessary. The period of illumination of the lamp is determined
by
the climatic conditions (up to about thirty seconds
in severe winter conditions).
With a key in the ignition switch, wait until the lamp
goes off before starting.
With
K
eyless Entry and Starting, once it goes off,
starting is immediate, on the condition that the brake
pedal remains pressed with an automatic gearbox.
With
K
eyless Entry and Starting, once it goes off,
starting is immediate, on the condition that the clutch
pedal remains pressed with a manual gearbox.
If the engine does not start, switch the ignition off
and then on, wait until the lamp goes off again, then
start the engine.
Stop & Star t Fixed, accompanied
by the display of a
message. The Stop & Start system is
deactivated.
The engine will not switch off at the next traffic stop.
Reactivate the system by pressing the button again.
For more information on Stop & Star t
, refer to the
corresponding section.
Rear foglamps Fixed. The rear foglamps have been
switched on using the ring on the
lighting control stalk. Turn the ring on the lighting control stalk rear wards to
switch off the rear foglamps.
1
Instruments
Page 35 of 360
33
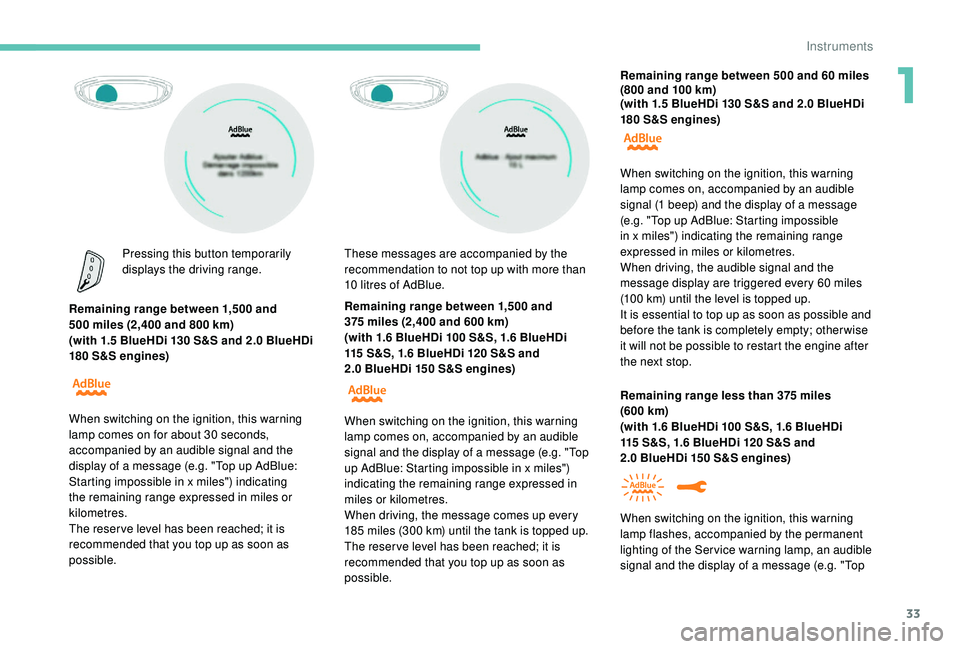
Pressing this button temporarily
displays the driving range.
Remaining range between 1,500
and
500
miles (2,400 and 800 km)
(with 1.5
BlueHDi 130 S&S and 2.0 BlueHDi
180
S&S engines) Remaining range between 1,500
and
375
miles (2,400 and 600 km)
(with 1.6
BlueHDi 100 S&S, 1.6 BlueHDi
115
S&S, 1.6 BlueHDi 120 S&S and
2.0
BlueHDi 150 S&S engines)
When switching on the ignition, this warning
lamp comes on for about 30
seconds,
accompanied by an audible signal and the
display of a message (e.g. "Top up AdBlue:
Starting impossible in x miles") indicating
the remaining range expressed in miles or
kilometres.
The reser ve level has been reached; it is
recommended that you top up as soon as
possible. These messages are accompanied by the
recommendation to not top up with more than
10
litres of AdBlue.
When switching on the ignition, this
warning
lamp comes on, accompanied by an audible
signal and the display of a message (e.g. "Top
up AdBlue: Starting impossible in x miles")
indicating the remaining range expressed in
miles or kilometres.
When driving, the message comes up every
185
miles (300 km) until the tank is topped up.
The reser ve level has been reached; it is
recommended that you top up as soon as
possible. Remaining range between 500
and 60 miles
(800 and 100 km)
(with 1.5 BlueHDi 130 S&S and 2.0 BlueHDi
180 S&S engines)
Remaining range less than 375 miles
(600
km)
(with 1.6
BlueHDi 100 S&S, 1.6 BlueHDi
115
S&S, 1.6 BlueHDi 120 S&S and
2.0
BlueHDi 150 S&S engines)
When switching on the ignition, this
warning
lamp comes on, accompanied by an audible
signal (1 beep) and the display of a message
(e.g. "Top up AdBlue: Starting impossible
in x miles") indicating the remaining range
expressed in miles or kilometres.
When driving, the audible signal and the
message display are triggered every 60
miles
(100
km) until the level is topped up.
It is essential to top up as soon as possible and
before the tank is completely empty; other wise
it will not be possible to restart the engine after
the next stop.
When switching on the ignition, this
warning
lamp flashes, accompanied by the permanent
lighting of the Ser vice warning lamp, an audible
signal and the display of a message (e.g. "Top
1
Instruments
Page 39 of 360
37
or F
Sel
ect the Settings
menu in the
upper bar of the touch screen.
F
P
ress the "Brightness " button.
F
A
djust the brightness by pressing the
arrows or moving the cursor.
F
C
onfirm to save and quit.
Trip computer
Information displayed about the current journey
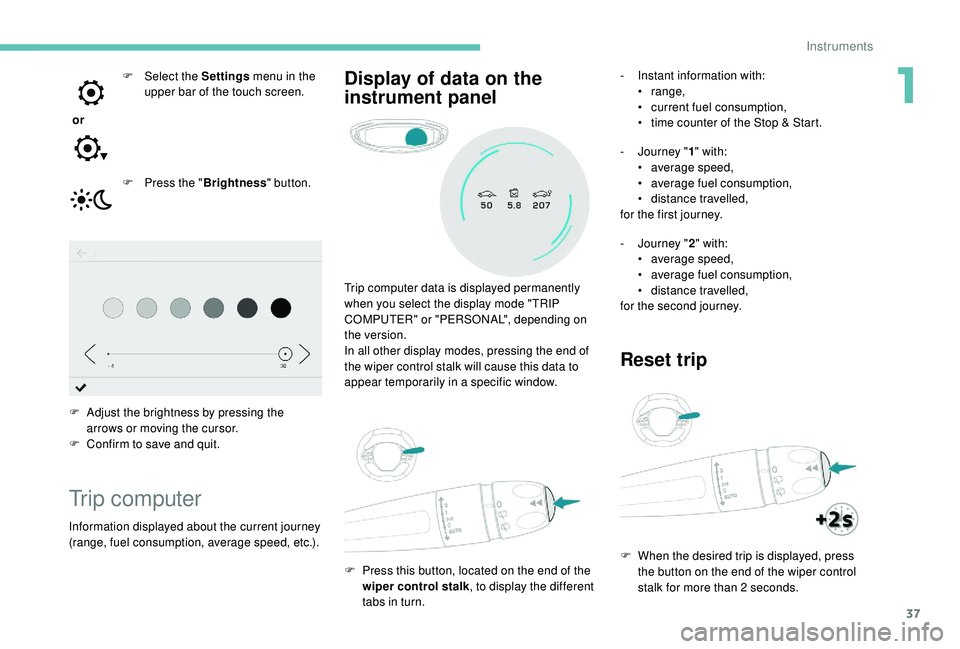
(range, fuel consumption, average speed, etc.). Trip computer data is displayed permanently
when you select the display mode "TRIP
COMPUTER" or "PERSONAL", depending on
the version.
In all other display modes, pressing the end of
the wiper control stalk will cause this data to
appear temporarily in a specific window.
F
P
ress this button, located on the end of the
wiper control stalk , to display the different
tabs in turn.
Display of data on the
instrument panel- Instant information with: • range,
•
c
urrent fuel consumption,
•
t
ime counter of the Stop & Start.
-
J
ourney " 1" with:
•
a
verage speed,
•
a
verage fuel consumption,
•
d
istance travelled,
for the first journey.
-
J
ourney " 2" with:
•
a
verage speed,
•
a
verage fuel consumption,
•
d
istance travelled,
for the second journey.
Reset trip
F When the desired trip is displayed, press the button on the end of the wiper control
stalk for more than 2
seconds.
1
Instruments
Page 56 of 360
54
Do not throw away the remote control
batteries, they contain metals which are
harmful to the environment.
Take them to an approved collection
point.
Back-up procedures
Complete unlocking /
locking of the vehicle with
the key
These procedures should be used in the
following cases:
-
r
emote control cell battery flat,
-
r
emote control fault,
-
v
ehicle in an area subject to strong
electromagnetic interference.
In the first case, you can also replace the
remote control cell battery.
Refer to the corresponding section.
In the second case, you can also reinitialise
the remote control.
Refer to the corresponding section.
Lost keys, remote control, electronic key
Visit a PEUGEOT dealer with the vehicle's
registration certificate, your personal
identification documents and if possible,
the label bearing the key code.
The PEUGEOT dealer will be able to
retrieve the key code and the transponder
code required to order a new key.
Electrical interference
The
K
eyless Entry and Starting electronic key
may not operate if close to certain electronic
devices: telephone, laptop computer, strong
magnetic fields, etc.
Remote control
The high frequency remote control is a
sensitive system; do not operate it while
it is in your pocket as there is a possibility
that it may unlock the vehicle, without you
being aware of it.
Do not repeatedly press the buttons of
your remote control out of range and out of
sight of your vehicle. You may stop it from
working and the remote control would have
to be reinitialised.
The remote control does not operate when
the key is in the ignition, even when the
ignition is switched off.
Locking the vehicle
Driving with the doors locked may make
access to the passenger compartment by
the emergency ser vices more difficult in an
emergency.
As a safety precaution (with children on
board), remove the key from the ignition or
take the electronic key when you leave the
vehicle, even for a short time. Anti-theft protection
Do not make any modifications to the
electronic engine immobiliser system; this
could cause malfunctions.
For vehicles with an ignition switch, do not
forget to remove the key and turn the steering
to engage the steering lock.
When purchasing a second-hand vehicle
Have the key codes memorised by a
PEUGEOT dealer, to ensure that the keys in
your possession are the only ones which can
start the vehicle.
Access
Page 59 of 360
57
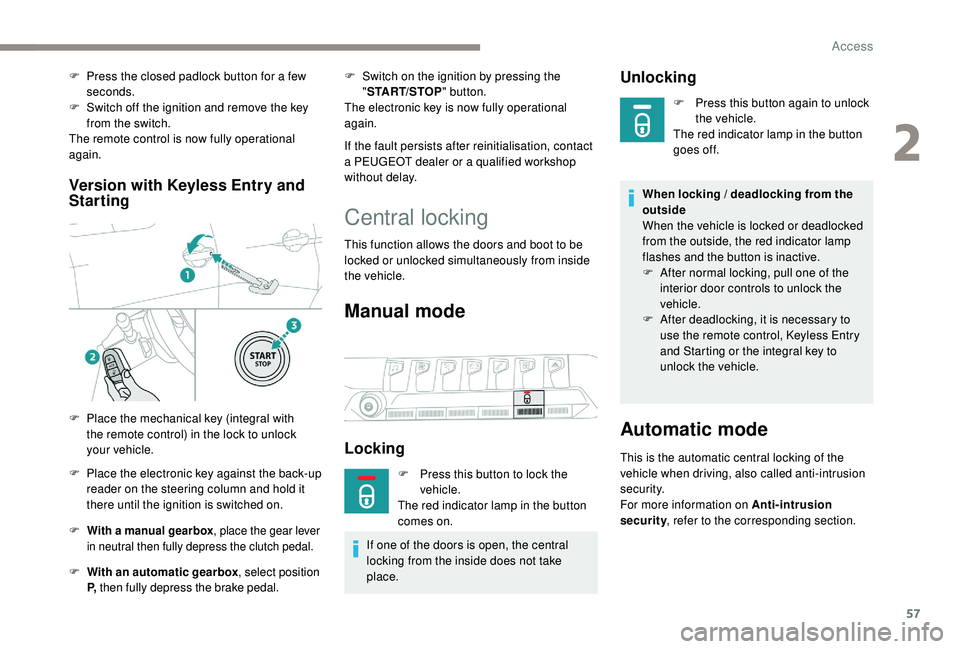
Version with Keyless Entry and
Starting
F With a manual gearbox , place the gear lever
in neutral then fully depress the clutch pedal.
F With an automatic gearbox , select position
P, then fully depress the brake pedal.
F Switch on the ignition by pressing the
"START/STOP " button.
The electronic key is now fully operational
again.
If the fault persists after reinitialisation, contact
a PEUGEOT dealer or a qualified workshop
without delay.
F
P
ress the closed padlock button for a few
seconds.
F
S
witch off the ignition and remove the key
from the switch.
The remote control is now fully operational
again.
F
P
lace the mechanical key (integral with
the remote control) in the lock to unlock
your vehicle.
F
P
lace the electronic key against the back-up
reader on the steering column and hold it
there until the ignition is switched on.
Central locking
This function allows the doors and boot to be
locked or unlocked simultaneously from inside
the vehicle.
Manual mode
Locking
F Press this button to lock the vehicle.
The red indicator lamp in the button
comes on.
If one of the doors is open, the central
locking from the inside does not take
place.
Unlocking
F Press this button again to unlock the vehicle.
The red indicator lamp in the button
goes off.
When locking / deadlocking from the
outside
When the vehicle is locked or deadlocked
from the outside, the red indicator lamp
flashes and the button is inactive.
F
A
fter normal locking, pull one of the
interior door controls to unlock the
vehicle.
F
A
fter deadlocking, it is necessary to
use the remote control,
K
eyless Entry
and Starting or the integral key to
unlock the vehicle.
Automatic mode
This is the automatic central locking of the
vehicle when driving, also called anti-intrusion
s e c u r i t y.
For more information on Anti-intrusion
security , refer to the corresponding section.
2
Access
Page 62 of 360
60
To be effective, the deactivation must
be carried out each time the ignition is
switched off.
Reactivating the interior
volumetric and anti-tilt monitoring
F Deactivate the exterior perimeter monitoring by unlocking the vehicle with the remote
control or the "
K
eyless Entry and Starting"
system.
The indicator lamp in the button goes off.
F
R
eactivate all monitoring by locking the
vehicle with the remote control or the "
K
eyless Entry and Starting" system.
The red indicator lamp in the button once again
flashes every second.
Triggering of the alarm Failure of the remote
control
To deactivate the monitoring functions:
F
u nlock the vehicle using the key (integral to
the remote control) in the driver's door lock,
F
o
pen the door; the alarm is triggered,
F
s
witch on the ignition; the alarm stops; the
indicator lamp in the button goes off.
Locking the vehicle without
activating the alarm
F Lock or deadlock the vehicle using the key (integral to the remote control) in the driver's
door lock.
Malfunction
When the ignition is switched on, fixed
illumination of the red indicator lamp in the
button indicates a malfunction of the system.
Have it checked by a PEUGEOT dealer or a
qualified workshop.
This is indicated by sounding of the siren
and flashing of the direction indicators for
30
seconds.
The monitoring functions remain active until
the alarm has been triggered eleven times in
succession.
When the vehicle is unlocked using the remote
control or the "
K
eyless Entry and Starting"
system, rapid flashing of the red indicator
lamp in the button informs you that the alarm
was triggered during your absence. When
the ignition is switched on, this flashing stops
immediately.
Doors
Opening
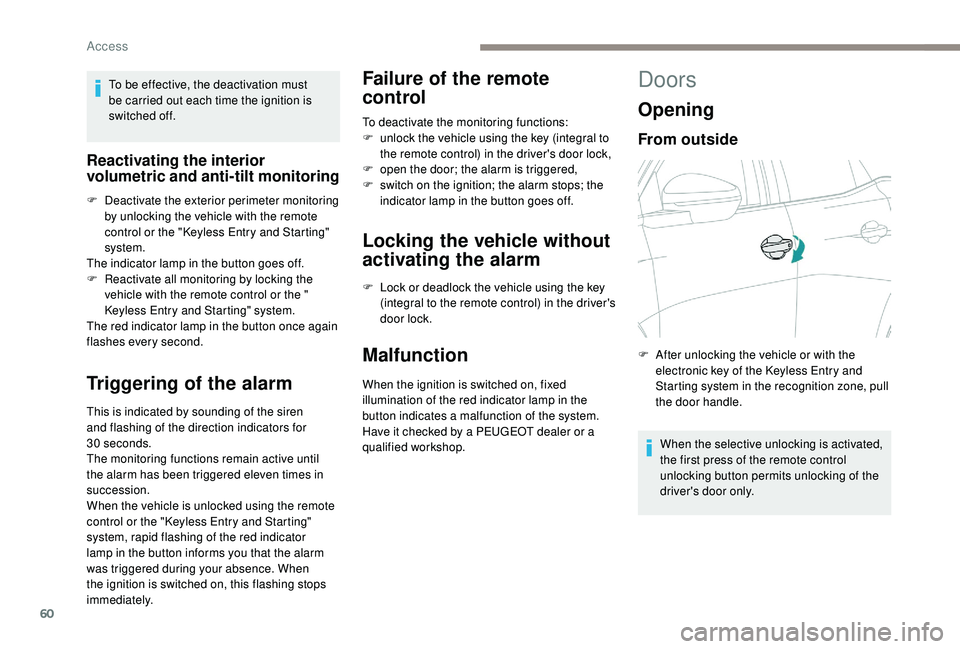
From outside
When the selective unlocking is activated,
the first press of the remote control
unlocking button permits unlocking of the
driver's door only.
F
A
fter unlocking the vehicle or with the
electronic key of the
K
eyless Entry and
Starting system in the recognition zone, pull
the door handle.
Access
Page 68 of 360
66
Automatic operation
To open or close the window, press or pull the
switch fully, beyond the resistance point: the
window opens or closes completely when the
switch is released. Pressing the switch again
stops the movement of the window.The electric window switches remain
operational for approximately 45
seconds
after switching off the ignition.
Once this time has elapsed, the electric
windows will not operate. To reactivate
them, switch the ignition on again.
Safety anti-pinch
When the window rises and meets an obstacle,
it stops and immediately partially lowers again.
In the event of unwanted opening of the
window on closing, press the switch until the
window opens completely, then pull the switch
immediately until the window closes. Continue
to hold the switch for approximately one second
after the window has closed.
The safety anti-pinch function is not active
during this operation.
Deactivating the rear
controls for the rear
windows
The red indicator lamp in the button comes
on, accompanied by a message confirming
activation of the system. It remains on for as
long as the deactivation is maintained.
Use of the rear electric windows from the
driver's controls remains possible.
Reinitialising the electric
windows
Following reconnection of the battery, the
safety anti-pinch function must be reinitialised.
The safety anti-pinch function is not active
during these operations. In the event of contact (pinching) during
operation of the windows, you must
reverse the movement of the window. To
do this, press the switch concerned.
When operating the passenger electric
window switches, the driver must ensure
that nothing is preventing correct closing
of the windows.
The driver must ensure that the
passengers use the electric windows
c o r r e c t l y.
Be particularly aware of children when
operating the windows.
Be aware of passengers or other persons
present when closing the windows using
the electronic key or the
K
eyless Entry
and Starting system.
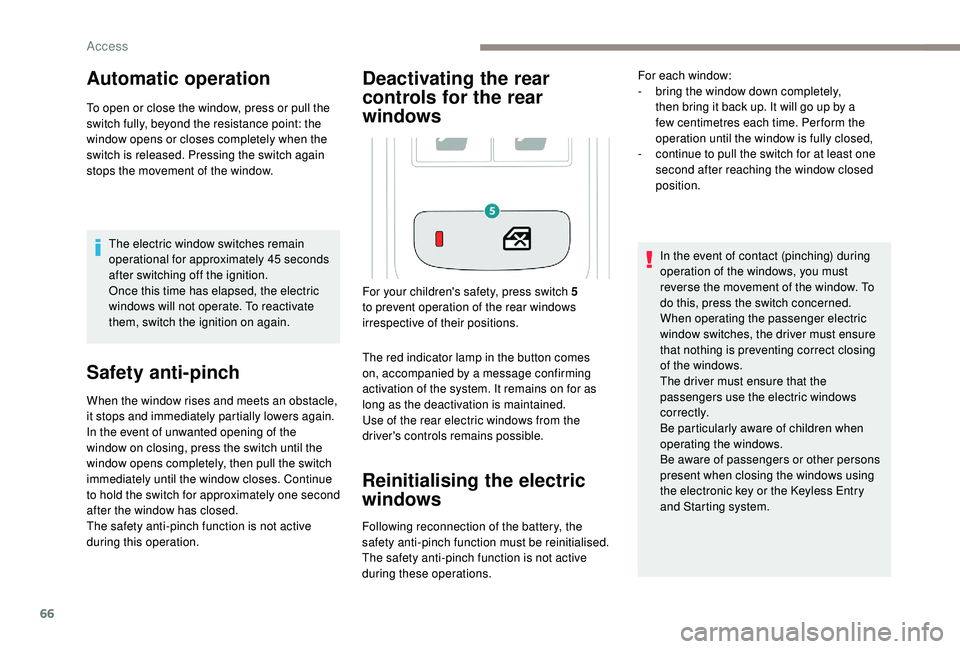
For your children's safety, press switch 5
to prevent operation of the rear windows
irrespective of their positions. For each window:
-
b
ring the window down completely,
then bring it back up. It will go up by a
few centimetres each time. Per form the
operation until the window is fully closed,
-
c
ontinue to pull the switch for at least one
second after reaching the window closed
position.
Access
Page 69 of 360
67
Panoramic opening
sunroof
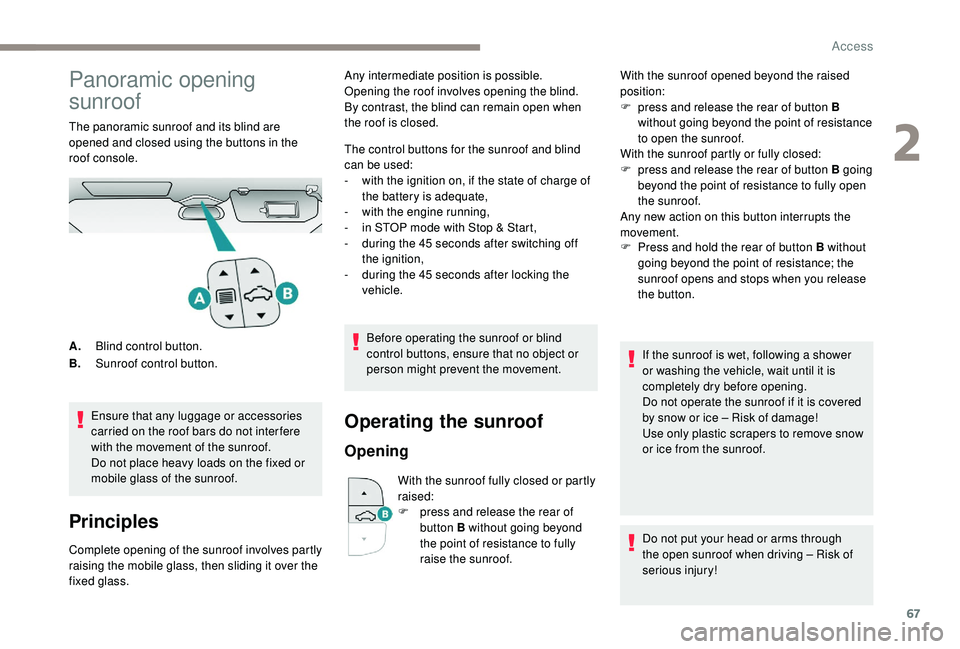
The panoramic sunroof and its blind are
opened and closed using the buttons in the
roof console.Ensure that any luggage or accessories
carried on the roof bars do not inter fere
with the movement of the sunroof.
Do not place heavy loads on the fixed or
mobile glass of the sunroof.
Principles
Complete opening of the sunroof involves partly
raising the mobile glass, then sliding it over the
fixed glass. The control buttons for the sunroof and blind
can be used:
-
w
ith the ignition on, if the state of charge of
the battery is adequate,
-
w
ith the engine running,
-
i
n STOP mode with Stop & Start,
-
d
uring the 45 seconds after switching off
the ignition,
-
d
uring the 45 seconds after locking the
vehicle.
Before operating the sunroof or blind
control buttons, ensure that no object or
person might prevent the movement.
Operating the sunroof
Opening
With the sunroof fully closed or partly
raised:
F
p
ress and release the rear of
button B without going beyond
the point of resistance to fully
raise the sunroof. F
P
ress and hold the rear of button B without
going beyond the point of resistance; the
sunroof opens and stops when you release
the button.
A. Blind control button.
B. Sunroof control button. Any intermediate position is possible.
Opening the roof involves opening the blind.
By contrast, the blind can remain open when
the roof is closed.
With the sunroof opened beyond the raised
position:
F
p
ress and release the rear of button B
without going beyond the point of resistance
to open the sunroof.
With the sunroof partly or fully closed:
F
p
ress and release the rear of button B going
beyond the point of resistance to fully open
the sunroof.
Any new action on this button interrupts the
movement.
If the sunroof is wet, following a shower
or washing the vehicle, wait until it is
completely dry before opening.
Do not operate the sunroof if it is covered
by snow or ice – Risk of damage!
Use only plastic scrapers to remove snow
or ice from the sunroof.
Do not put your head or arms through
the open sunroof when driving – Risk of
serious injury!
2
Access
Page 78 of 360
76
Multipoint massage
System with a choice of type of massage and
adjustment of its intensity.
This system operates with the engine running,
as well as in STOP mode of Stop & Start.
Activation / Settings
The massage settings are adjusted in the touch
screen.
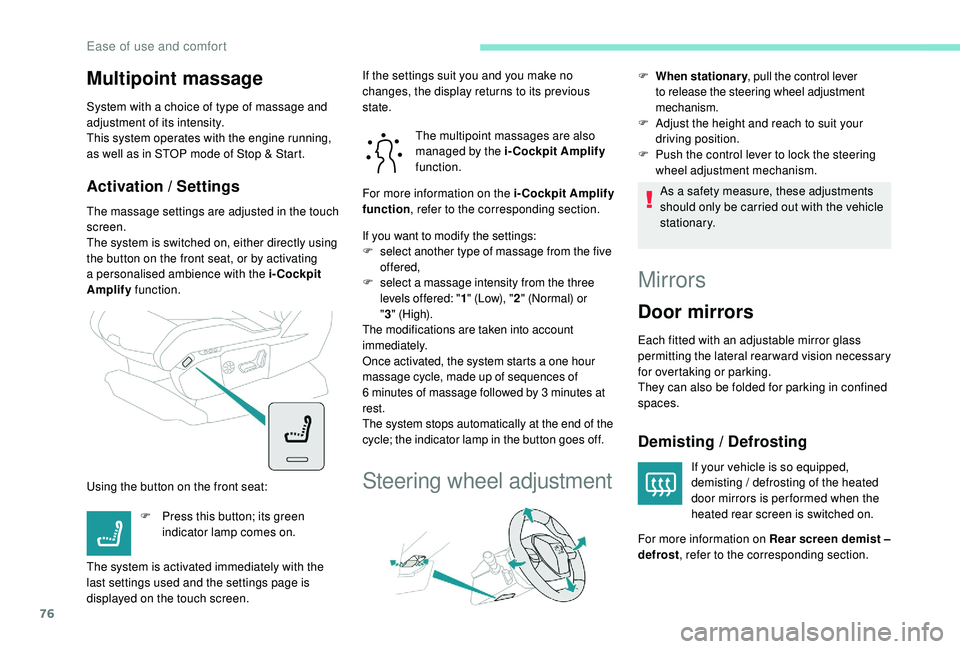
The system is switched on, either directly using
the button on the front seat, or by activating
a personalised ambience with the i-Cockpit
Amplify function.
Using the button on the front seat: The multipoint massages are also
managed by the i-Cockpit Amplify
function.
If you want to modify the settings:
F s elect another type of massage from the five
offered,
F
s
elect a massage intensity from the three
levels offered: " 1" (Low), " 2" (Normal) or
" 3 "
(High).
The modifications are taken into account
immediately.
Once activated, the system starts a one hour
massage cycle, made up of sequences of
6
minutes of massage followed by 3 minutes at
rest.
The system stops automatically at the end of the
cycle; the indicator lamp in the button goes off.
Steering wheel adjustment
F When stationary , pull the control lever
to release the steering wheel adjustment
mechanism.
F Adjust the height and reach to suit your driving position.
F
P
ush the control lever to lock the steering
wheel adjustment mechanism.
As a safety measure, these adjustments
should only be carried out with the vehicle
stationary.
Mirrors
Door mirrors
Each fitted with an adjustable mirror glass
permitting the lateral rearward vision necessary
for overtaking or parking.
They can also be folded for parking in confined
spaces.
Demisting / Defrosting
If your vehicle is so equipped,
demisting / defrosting of the heated
door mirrors is per formed when the
heated rear screen is switched on.
F
P
ress this button; its green
indicator lamp comes on.
The system is activated immediately with the
last settings used and the settings page is
displayed on the touch screen. If the settings suit you and you make no
changes, the display returns to its previous
state.
For more information on the i-Cockpit Amplify
function
, refer to the corresponding section.
For more information on Rear screen demist –
defrost , refer to the corresponding section.
Ease of use and comfort