warning Ram 1500 2016 Repair Manual
[x] Cancel search | Manufacturer: RAM, Model Year: 2016, Model line: 1500, Model: Ram 1500 2016Pages: 916, PDF Size: 7.55 MB
Page 149 of 916
SEATS
Seats are a part of the Occupant Restraint System of the
vehicle.
WARNING!
•It is dangerous to ride in a cargo area, inside or
outside of a vehicle. In a collision, people riding in
these areas are more likely to be seriously injured
or killed.
•Do not allow people to ride in any area of your
vehicle that is not equipped with seats and seat
belts. In a collision, people riding in these areas are
more likely to be seriously injured or killed.
•Be sure everyone in your vehicle is in a seat and
using a seat belt properly.
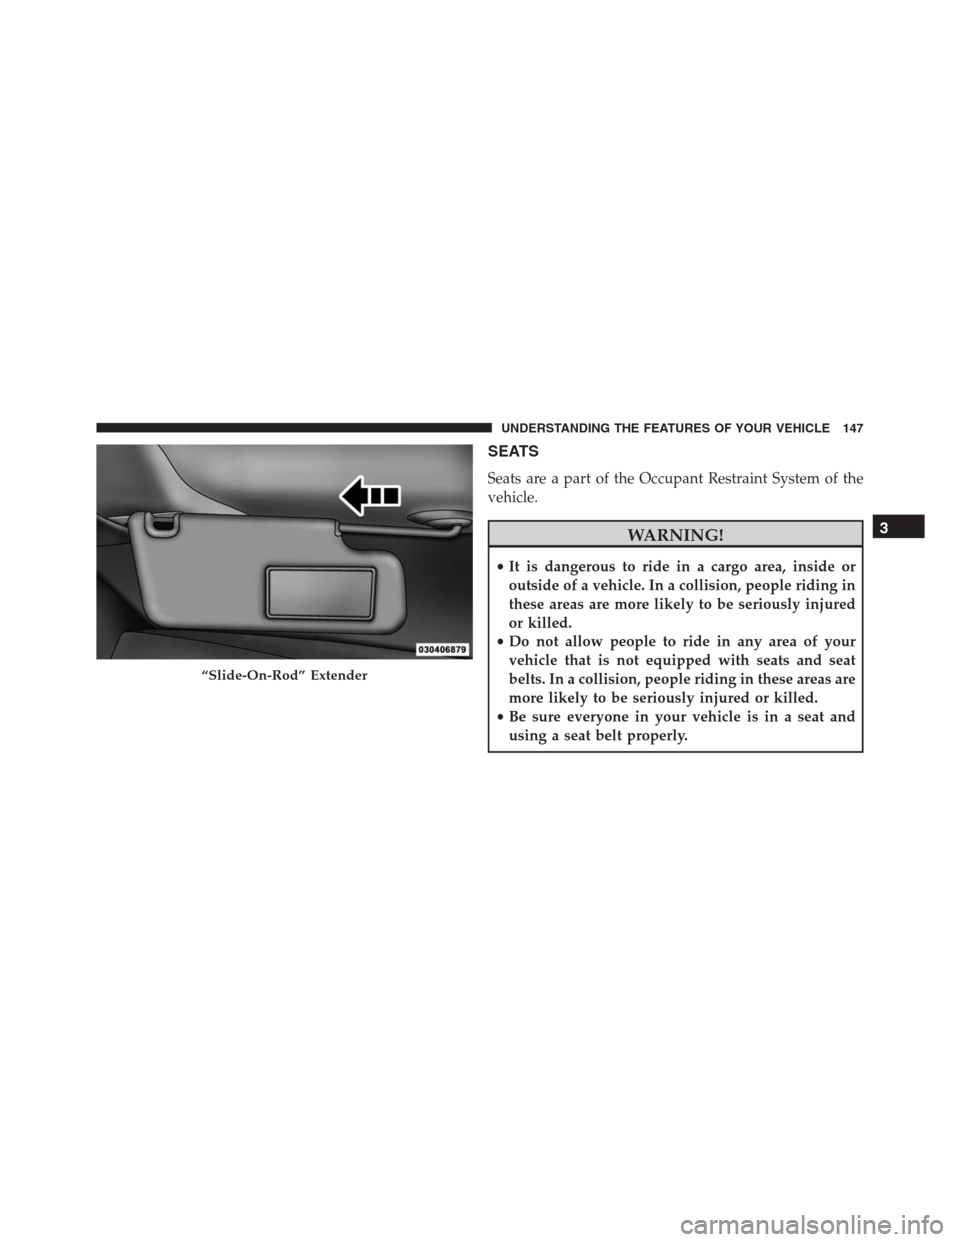
“Slide-On-Rod” Extender
3
UNDERSTANDING THE FEATURES OF YOUR VEHICLE 147
Page 151 of 916
Adjusting The Seat Forward Or Rearward
The seat can be adjusted both forward and rearward.
Push the seat switch forward or rearward. The seat will
move in the direction of the switch. Release the switch
when the desired position has been reached.
Adjusting The Seat Up Or Down
The height of the seats can be adjusted up or down. Pull
upward or push downward on the seat switch. The seat
will move in the direction of the switch. Release the
switch when the desired position is reached.
Tilting The Seat Up Or Down
The angle of the seat cushion can be adjusted in four
directions. Pull upward or push downward on the front
or rear of the seat switch, the front or rear of the seat
cushion will move in the direction of the switch. Release
the switch when the desired position is reached.
Reclining The Seatback
The angle of the seatback can be adjusted forward or
rearward. Push the seatback switch forward or rearward,
the seat will move in the direction of the switch. Release
the switch when the desired position is reached.
WARNING!
•Adjusting a seat while driving may be dangerous.
Moving a seat while driving could result in loss of
control which could cause a collision and serious
injury or death.
•Seats should be adjusted before fastening the seat
belts and while the vehicle is parked. Serious
injury or death could result from a poorly adjusted
seat belt.
•Do not ride with the seatback reclined so that the
shoulder belt is no longer resting against your
(Continued)
3
UNDERSTANDING THE FEATURES OF YOUR VEHICLE 149
Page 152 of 916
WARNING!(Continued)
chest. In a collision you could slide under the seat
belt, which could result in serious injury or death.
CAUTION!
Do not place any article under a power seat or
impede its ability to move as it may cause damage to
the seat controls. Seat travel may become limited if
movement is stopped by an obstruction in the seat’s
path.
Passenger’s Power Seat — If Equipped
Some models are equipped with a six-way power pas-
senger seat. The power seat switch is located on the
outboard side of the seat. The switch is used to control
the movement of the seat and seat cushion.
Adjusting The Seat Forward Or Rearward
The seat can be adjusted both forward and rearward.
Push the seat switch forward or rearward. The seat will
move in the direction of the switch. Release the switch
when the desired position has been reached.
150 UNDERSTANDING THE FEATURES OF YOUR VEHICLE
Page 153 of 916
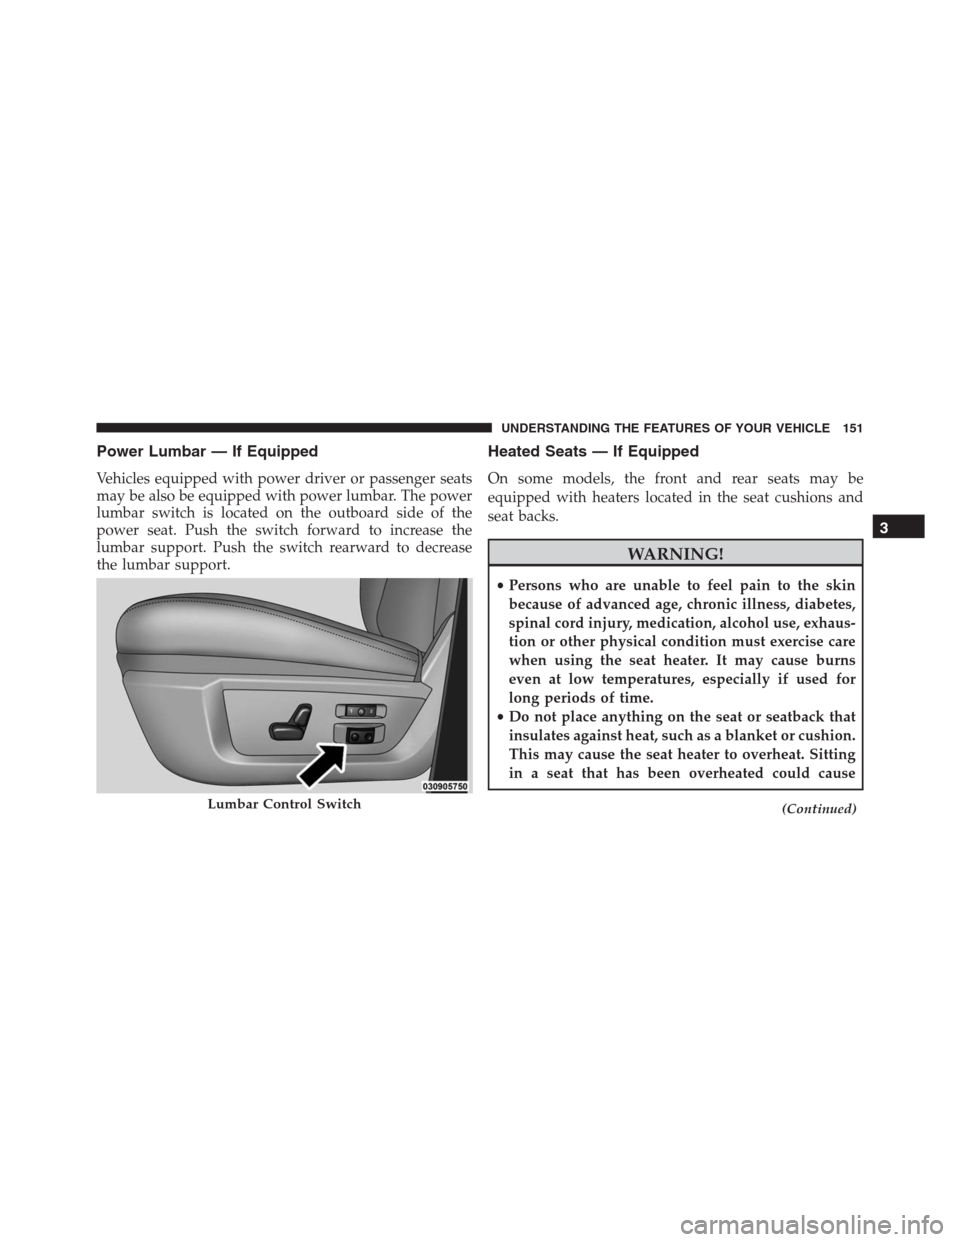
Power Lumbar — If Equipped
Vehicles equipped with power driver or passenger seats
may be also be equipped with power lumbar. The power
lumbar switch is located on the outboard side of the
power seat. Push the switch forward to increase the
lumbar support. Push the switch rearward to decrease
the lumbar support.
Heated Seats — If Equipped
On some models, the front and rear seats may be
equipped with heaters located in the seat cushions and
seat backs.
WARNING!
•Persons who are unable to feel pain to the skin
because of advanced age, chronic illness, diabetes,
spinal cord injury, medication, alcohol use, exhaus-
tion or other physical condition must exercise care
when using the seat heater. It may cause burns
even at low temperatures, especially if used for
long periods of time.
•Do not place anything on the seat or seatback that
insulates against heat, such as a blanket or cushion.
This may cause the seat heater to overheat. Sitting
in a seat that has been overheated could cause
(Continued)Lumbar Control Switch
3
UNDERSTANDING THE FEATURES OF YOUR VEHICLE 151
Page 154 of 916
WARNING!(Continued)
serious burns due to the increased surface tempera-
ture of the seat.
Front Heated Seats
The front heated seats control buttons are located on the
center instrument panel below the climate controls.
If your vehicle is equipped with a touchscreen, the front
heated seats control buttons are also located within the
climate or controls screen of the touchscreen.
•Press the heated seat button
once to turn the HI
setting On.
•Press the heated seat buttona second time to turn
the LO setting On.
•Press the heated seat buttona third time to turn
the heating elements OFF.
When the HI-level setting is selected, the heater will
provide a boosted heat level during the first four minutes
of operation. Then, the heat output will drop to the
normal HI-level. If the HI-level setting is selected, the
system will automatically switch to LO-level after ap-
proximately 60 minutes of continuous operation. At that
time, the display will change from HI to LO, indicating
the change. The LO-level setting will turn OFF automati-
cally after approximately 45 minutes.
NOTE:The engine must be running for the heated seats
to operate.
Vehicles Equipped With Remote Start
On models that are equipped with Remote Start, the
drivers seat can be programmed to come on during a
remote start.
152 UNDERSTANDING THE FEATURES OF YOUR VEHICLE
Page 158 of 916
WARNING!
•Adjusting a seat while driving may be dangerous.
Moving a seat while driving could result in loss of
control which could cause a collision and serious
injury or death.
•Seats should be adjusted before fastening the seat
belts and while the vehicle is parked. Serious
injury or death could result from a poorly adjusted
seat belt.
Dump Feature (Manual Recline Seat Only) —
Standard Cab
Actuating the recliner handle will allow the seatback to
swing (dump) forward on manual recliner seats. This
“dump” feature allows access to the storage bin behind
the seat.
WARNING!
•Do not stand or lean in front of the seat while
actuating the handle. The seatback may swing
forward and hit you causing injury.
•To avoid injury, place your hand on the seatback
and actuate the handle, then position the seatback
in the desired position.
40-20-40 Front Bench Seat — If Equipped
The seat is divided into three segments. The outboard
seat portions are each 40% of the total width of the seat.
On some models the back of the center portion (20%)
easily folds down to provide an armrest/center storage
compartment.
156 UNDERSTANDING THE FEATURES OF YOUR VEHICLE
Page 159 of 916
Mega Cab Rear Seat Features
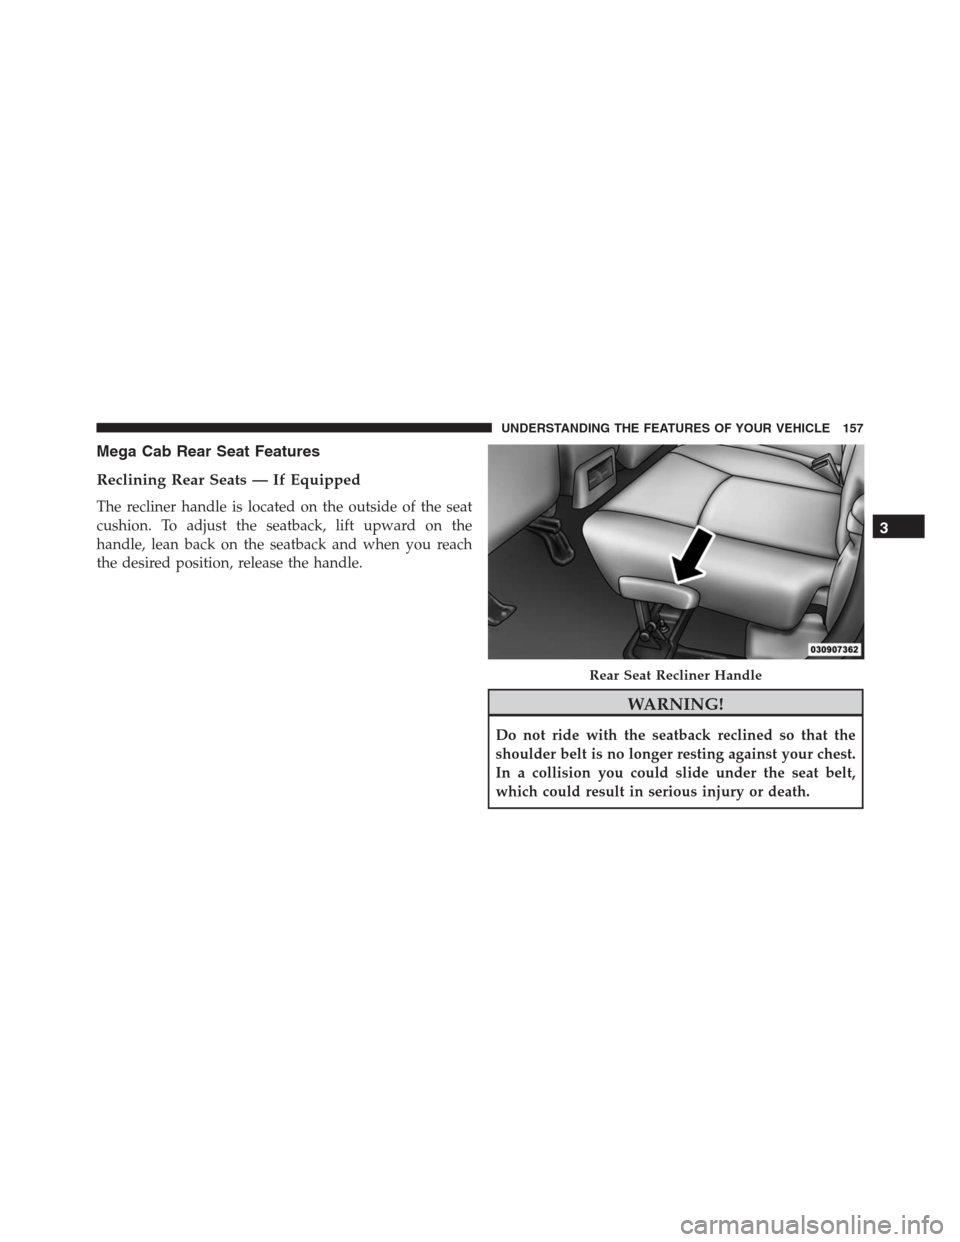
Reclining Rear Seats — If Equipped
The recliner handle is located on the outside of the seat
cushion. To adjust the seatback, lift upward on the
handle, lean back on the seatback and when you reach
the desired position, release the handle.
WARNING!
Do not ride with the seatback reclined so that the
shoulder belt is no longer resting against your chest.
In a collision you could slide under the seat belt,
which could result in serious injury or death.
Rear Seat Recliner Handle
3
UNDERSTANDING THE FEATURES OF YOUR VEHICLE 157
Page 161 of 916
Folding Rear Seat — If Equipped
Both the outboard rear seats will drop and move forward
when the seatback is folded flat.
WARNING!
•It is dangerous to ride in a cargo area, inside or
outside of a vehicle. In a collision, people riding in
these areas are more likely to be seriously injured
or killed.
•Do not allow people to ride in any area of your
vehicle that is not equipped with seats and seat
belts.
•Be sure everyone in your vehicle is in a seat and
using a seat belt properly.
•Cargo must be securely tied down before driving
your vehicle. Improperly secured cargo can fly
around in a sudden stop or collision and strike
someone in the vehicle, causing serious injury or
death.
3
UNDERSTANDING THE FEATURES OF YOUR VEHICLE 159
Page 163 of 916
WARNING!
An improperly latched seat could cause serious in-
jury or death. Make sure that the seatback is securely
locked into position. If the seatback in not securely
locked into position the seat will not provide the
proper stability for child seats and/or passengers.
Head Restraints
Head restraints are designed to reduce the risk of injury
by restricting head movement in the event of a rear
impact. Head restraints should be adjusted so that the top
of the head restraint is located above the top of your ear.
WARNING!
The head restraints for all occupants must be prop-
erly installed and adjusted prior to operating the
(Continued)
WARNING!(Continued)
vehicle or occupying a seat. Head restraints should
never be adjusted while the vehicle is in motion.
Driving a vehicle with the head restraints improperly
adjusted or removed could cause serious injury or
death in the event of a collision.
Front Head Restraints
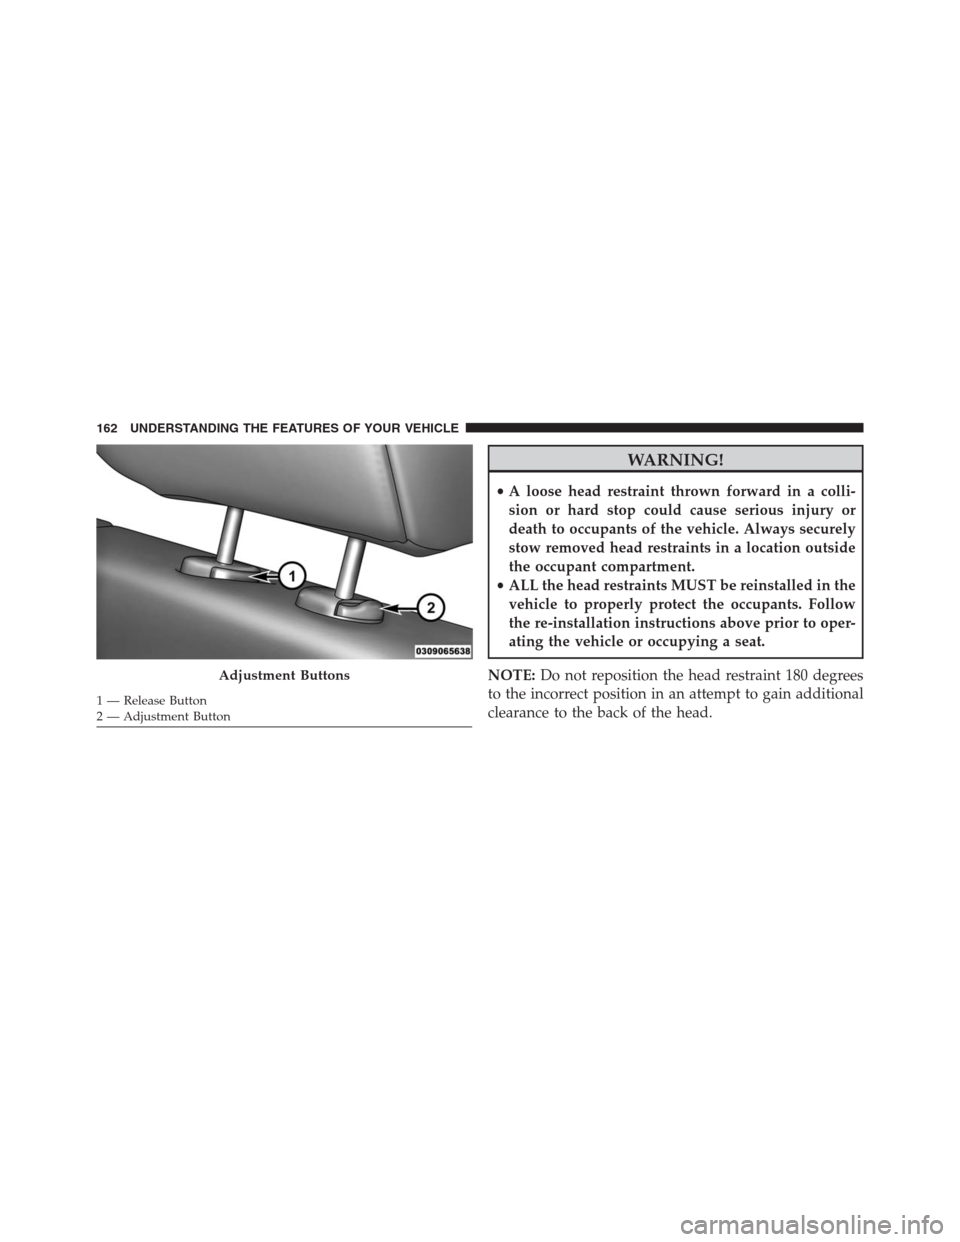
To raise the head restraint, pull upward on the head
restraint. To lower the head restraint, push the adjust-
ment button located on the base of the head restraint and
push downward on the head restraint.
To remove the head restraint, raise it up as far as it can go
then push the adjustment button and the release button
at the base of each post while pulling the head restraint
up. To reinstall the head restraint, put the head restraint
posts into the holes then adjust it to the appropriate
height.
3
UNDERSTANDING THE FEATURES OF YOUR VEHICLE 161
Page 164 of 916
WARNING!
•A loose head restraint thrown forward in a colli-
sion or hard stop could cause serious injury or
death to occupants of the vehicle. Always securely
stow removed head restraints in a location outside
the occupant compartment.
•ALL the head restraints MUST be reinstalled in the
vehicle to properly protect the occupants. Follow
the re-installation instructions above prior to oper-
ating the vehicle or occupying a seat.
NOTE:Do not reposition the head restraint 180 degrees
to the incorrect position in an attempt to gain additional
clearance to the back of the head.
Adjustment Buttons
1 — Release Button
2 — Adjustment Button 162 UNDERSTANDING THE FEATURES OF YOUR VEHICLE