Ram 2500 2020 Owner's Manual
Manufacturer: RAM, Model Year: 2020, Model line: 2500, Model: Ram 2500 2020Pages: 553, PDF Size: 21.99 MB
Page 521 of 553
MULTIMEDIA519
The Uconnect Phone is a voice-activated,
hands-free, in-vehicle communications system
with voice command capability. Refer to Voice
Recognition (VR) within this publication for
further information.
The Uconnect Phone allows you to dial a phone
number with your mobile phone using simple
voice commands.
NOTE:
The Uconnect Phone requires a mobile phone
equipped with the Bluetooth® Hands-Free
Profile. To check mobile phone compatibility,
please visit UconnectPhone.com .
For Uconnect customer support:
US residents - visit UconnectPhone.com or
call 1-877-855-8400
Canadian residents - visit Uconnect-
Phone.com or call 1-800-465-2001 (English)
or 1-800-387-9983 (French)
Phone Mode Activation
Press the PHONE button on the front panel to
activate the Phone mode.
Main Functions
The buttons on the display can be used to:
Compose phone numbers using the graphic
keypad on the display.
Display and call the contacts in the mobile
phone phonebook.
Display and call contacts from the Recent
Calls menu.
Pair up to 10 phones/audio devices to make
access and connection easier and quicker.
Transfer calls from the system to the mobile
phone and vice versa.
Deactivate the microphone audio for privacy.
The mobile phone audio is transmitted through
the vehicle’s audio system. The system auto -
matically mutes the radio when the Phone func -
tion is used.
Connecting/Disconnecting A Mobile Phone
Or Bluetooth® Device
Pairing A Phone
To begin using your Uconnect Phone, you must
pair your compatible Bluetooth®-enabled
mobile phone. Mobile phone pairing is the process of establishing a wireless connection
between a cellular phone and the Uconnect
system.
To complete the pairing process, you need to
reference your mobile phone Owner's Manual.
Please visit
UconnectPhone.com for complete
mobile phone compatibility information.
NOTE:
You must have Bluetooth® enabled on your
phone to complete this procedure.
The vehicle must be in PARK.
1. Place the ignition in the ACC or ON/RUN position.
2. Push the PHONE button on the faceplate.
If there are no phones currently connected with the system, a pop-up
appears asking if you would like to pair a
mobile phone.
3. Select “Yes” to begin the pairing process.
9
20_DJD2_OM_EN_USC_t.book Page 519
Page 522 of 553
520MULTIMEDIA
4. Search for available devices on your Blue -
tooth®-enabled mobile phone.
Press the Settings button on your mobile phone.
Select “Bluetooth®” and ensure it is enabled. Once enabled, the mobile
phone will begin to search for Bluetooth®
connections.
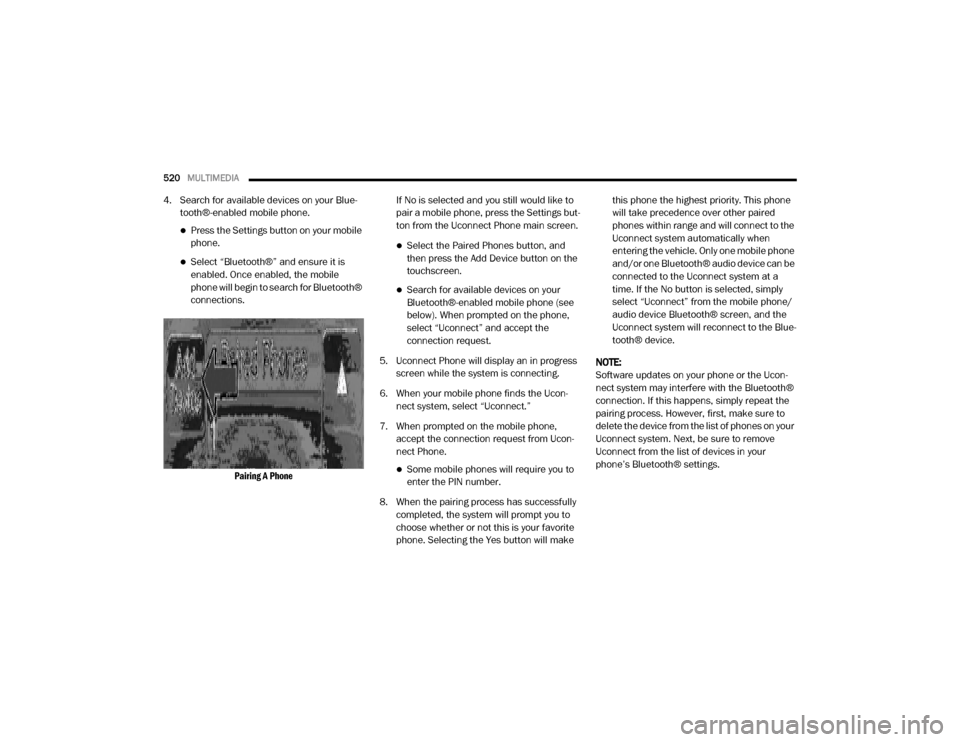
Pairing A Phone
If No is selected and you still would like to
pair a mobile phone, press the Settings but
-
ton from the Uconnect Phone main screen.
Select the Paired Phones button, and then press the Add Device button on the
touchscreen.
Search for available devices on your Bluetooth®-enabled mobile phone (see
below). When prompted on the phone,
select “Uconnect” and accept the
connection request.
5. Uconnect Phone will display an in progress screen while the system is connecting.
6. When your mobile phone finds the Ucon -
nect system, select “Uconnect.”
7. When prompted on the mobile phone, accept the connection request from Ucon -
nect Phone.
Some mobile phones will require you to enter the PIN number.
8. When the pairing process has successfully completed, the system will prompt you to
choose whether or not this is your favorite
phone. Selecting the Yes button will make this phone the highest priority. This phone
will take precedence over other paired
phones within range and will connect to the
Uconnect system automatically when
entering the vehicle. Only one mobile phone
and/or one Bluetooth® audio device can be
connected to the Uconnect system at a
time. If the No button is selected, simply
select “Uconnect” from the mobile phone/
audio device Bluetooth® screen, and the
Uconnect system will reconnect to the Blue
-
tooth® device.
NOTE:
Software updates on your phone or the Ucon -
nect system may interfere with the Bluetooth®
connection. If this happens, simply repeat the
pairing process. However, first, make sure to
delete the device from the list of phones on your
Uconnect system. Next, be sure to remove
Uconnect from the list of devices in your
phone’s Bluetooth® settings.
20_DJD2_OM_EN_USC_t.book Page 520
Page 523 of 553
MULTIMEDIA521
Storing Names/Numbers in The Mobile Phone
Before pairing your mobile phone, you must
make sure you have stored the names you want
to contact in the phonebook on your mobile
phone, so you can call them using the vehicle's
hands-free system.
If your phonebook does not contain any names,
enter new names for the most frequently used
numbers.
For further details, consult your mobile phone
owner's handbook.
NOTE:
The names in the phonebook which do not
contain phone numbers or where both fields
(name and surname) are empty will not be
displayed.
Connection
The system connects automatically to the
paired mobile phone with the highest priority.
To choose a specific mobile phone or Blue-
tooth® audio device, proceed as follows:
1. Access the Settings menu.
2. Select the Phone/Bluetooth® button. 3. Select the Paired Phones or Paired Audio
list using the corresponding button on the
display.
4. Select the specific device (mobile phone or Bluetooth® device).
5. Press the Connect button.
6. During the connection stage, a screen is displayed showing the progress of the oper -
ation.
7. The device connected is highlighted in the list.
Disconnection
To disconnect a specific mobile phone or Blue -
tooth® audio device, proceed as follows:
1. Access the Settings menu.
2. Select the Phone/Bluetooth® button.
3. Select the Paired Phones or Paired Audio list using the corresponding button on the
display.
4. Select the specific device (mobile phone or Bluetooth® device).
5. Press the Disconnect button.Deletion Of A Mobile Phone Or A Bluetooth®
Audio Device
To delete a mobile phone or Bluetooth® audio
device from a list, proceed as follows:
1. Access the Settings menu.
2. Select the Phone/Bluetooth® button.
3. Select the Paired Phones or Paired Audio list using the corresponding button on the
display.
4. Select the device (mobile phone or Blue -
tooth® device).
5. Press the Delete Device button.
6. A confirmation screen will appear on the display:
Press the Yes button to delete the device.
Press the No button to cancel the opera -
tion.
9
20_DJD2_OM_EN_USC_t.book Page 521
Page 524 of 553
522MULTIMEDIA
Setting A Mobile Phone Or A Bluetooth®
Audio Device As A Favorite
To set a mobile phone or Bluetooth® audio
device as a favorite, proceed as follows:
1. Access the Settings menu.
2. Select the Phone/Bluetooth® button.
3. Select the Paired Phones or Paired Audio
list using the corresponding button on the
display.
4. Select the specific device (mobile phone or Bluetooth® device).
5. Press the Make Favorite button.
6. The device selected is moved to the top of the list.
Downloading A Phonebook From Your Mobile
Phone
If equipped and specifically supported by your
phone, Uconnect Phone asks you if you want to
download names (text names) and number
entries from your mobile phone’s phonebook.
Specific Bluetooth® enabled phones with Phonebook Access Profile may support this
feature. See
UconnectPhone.com for supported
phones.
If equipped and specifically supported by your
phone, Uconnect Phone asks you if you want to
download names (text names) and number
entries from your mobile phone’s phonebook.
Specific Bluetooth®-enabled phones with
Phonebook Access Profile may support this
feature.
NOTE:
If supported, the download and update
begins as soon as the Bluetooth® wireless
phone connection is made to the Uconnect
Phone. For example, after you start the
vehicle. You may be asked for permission to
initiate the phonebook download.
A maximum of 2,000 contact names with six
numbers per contact will be downloaded and
updated every time a phone is connected to
the Uconnect Phone.
Depending on the maximum number of
entries downloaded, there may be a short
delay before the latest downloaded names
can be used. Until then, if available, the previ -
ously downloaded phonebook is available for
use.
Only the phonebook of the currently
connected mobile phone is accessible.
Only the mobile phone’s phonebook is down -
loaded. SIM card phonebook is not part of
the mobile phonebook.
This downloaded phonebook cannot be
edited or deleted on the Uconnect Phone.
These can only be edited on the mobile
phone. The changes are transferred and
updated to Uconnect Phone on the next
phone connection.
Deletion Of Phone Data (Phonebook And
Recent Calls)
Select "Delete Phone Data" on the display to
delete the list of recent calls and the phonebook
copy.
20_DJD2_OM_EN_USC_t.book Page 522
Page 525 of 553
MULTIMEDIA523
Making A Phone Call
Dialing The Phone Number Using The
"Keyboard" Icon On The Display
Enter the phone number using the graphic
keypad displayed.
Proceed as follows:
1. Press the Keyboard icon on the display and
use the number buttons to enter the
number.
2. Press the Call button to make a call.
Call By Saying A Phonebook Name Or Phone
Number
1. Push the PHONE button on the steering wheel.
2. After the beep, say “dial” (or “call” a full name or phone number).
Recent Calls
The list of the last calls made for each of the
following call types can be displayed:
Calls received
Calls made
Calls without a reply
All calls
To access these types of calls, press the Recent
Calls button on the Phone menu main screen.
Making A Second Call While Current Call Is In
Progress
When a phone conversation is active, a second
phone call can be made as follows:
Select the number/contact from the list of
recent calls.
Select the contact from the phonebook.
Press the Hold button and dial the number
using the graphic keyboard of the display.
Redial
To call the number/contact of last call made,
press the Redial button.
Answering An Incoming Call
Call Controls
The buttons on the display allow the following
phone call functions to be managed:
Answer
End
Ignore
Put on hold/resume
Deactivate/activate the microphone
Transfer the call
Switch from one call to the other
Conference/merge two active calls
Answering Or Ignoring A Call With No Call
Currently In Progress
When an incoming call rings or is announced on
the Uconnect system, push the Answer button
on the touchscreen, or push the PHONE button
on the steering wheel.
Answering Or Ignoring An Incoming Call With A
Call Currently In Progress
When an incoming call rings or is announced on
the Uconnect system, push the Answer button
on the touchscreen, or push the PHONE button
on the steering wheel to answer the call and put
the ongoing call on hold.
NOTE:
Not all mobile phones may support the manage -
ment of an incoming call when another phone
conversation is active.
9
20_DJD2_OM_EN_USC_t.book Page 523
Page 526 of 553
524MULTIMEDIA
Managing Two Phone Calls
If two calls are in progress (one active and one
on hold), it is possible to switch between them
pressing the Call On Hold button or to merge the
two calls in a conference pressing the Merge
Calls button.
NOTE:
Check whether the mobile phone in use
supports the management of a second call and
the "Conference" mode.
Transferring/Call Continuation
Transferring
The ongoing calls can be transferred from the
mobile phone to the system and vice versa
without ending the call.
To transfer the call, press the Transfer button.
Call Continuation
After the engine is switched off, it is still possible
to continue a phone call.
The call continues until it is ended manually or
for a maximum period of about 20 minutes.
When the system is switched off, the call is
transferred to the mobile phone.
Ending A Call
Press the End button on the touchscreen or the
PHONE button on the steering wheel controls to
end a call in progress.
Only the ongoing call is ended and any call on
hold becomes the new active call.
Depending on the type of mobile phone, if the
ongoing call is ended by the caller, the call on
hold may not be activated automatically.
Uconnect Phone Features
Mute/Unmute
1. During a call, push the VOICE COMMAND
button on the steering wheel.
2. After the beep, say “mute” or “mute off”.
Reading Messages
The system can read the messages received by
the mobile phone.
To use this function, the mobile phone must
support the SMS exchange function via Blue -
tooth®.
If this function is not supported by the phone,
the corresponding message button is deacti -
vated (greyed out) or may only accept incoming
messages. When a text message is received, the display
will show a screen where the options "Listen",
"Call" or "Ignore" can be selected.
Press the Message button to access the list of
SMS messages received by the mobile phone.
The list displays a maximum of 60 messages
received.
Browsing SMS
Using the steering wheel commands, you can
view and manage the last 10 SMS messages
received on the instrument panel. To use this
function, the mobile phone must support the
SMS exchange function through Bluetooth®.
Select the PHONE button on the instrument
panel menu, and then select “SMS Reader”
using the arrow keys on the steering wheel
controls.
The “SMS Reader” submenu allows the last
10 SMS messages to be displayed.
20_DJD2_OM_EN_USC_t.book Page 524
Page 527 of 553
MULTIMEDIA525
STEERING WHEEL AUDIO CONTROLS — IF
EQUIPPED
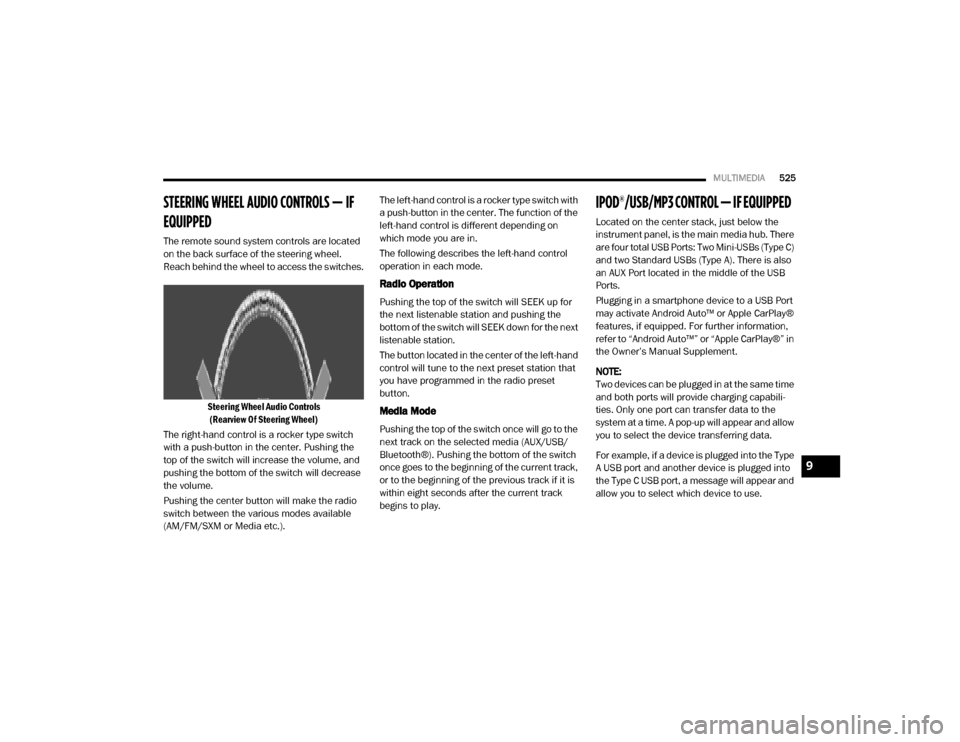
The remote sound system controls are located
on the back surface of the steering wheel.
Reach behind the wheel to access the switches.
Steering Wheel Audio Controls(Rearview Of Steering Wheel)
The right-hand control is a rocker type switch
with a push-button in the center. Pushing the
top of the switch will increase the volume, and
pushing the bottom of the switch will decrease
the volume.
Pushing the center button will make the radio
switch between the various modes available
(AM/FM/SXM or Media etc.). The left-hand control is a rocker type switch with
a push-button in the center. The function of the
left-hand control is different depending on
which mode you are in.
The following describes the left-hand control
operation in each mode.
Radio Operation
Pushing the top of the switch will SEEK up for
the next listenable station and pushing the
bottom of the switch will SEEK down for the next
listenable station.
The button located in the center of the left-hand
control will tune to the next preset station that
you have programmed in the radio preset
button.
Media Mode
Pushing the top of the switch once will go to the
next track on the selected media (AUX/USB/
Bluetooth®). Pushing the bottom of the switch
once goes to the beginning of the current track,
or to the beginning of the previous track if it is
within eight seconds after the current track
begins to play.
IPOD®/USB/MP3 CONTROL — IF EQUIPPED
Located on the center stack, just below the
instrument panel, is the main media hub. There
are four total USB Ports: Two Mini-USBs (Type C)
and two Standard USBs (Type A). There is also
an AUX Port located in the middle of the USB
Ports.
Plugging in a smartphone device to a USB Port
may activate Android Auto™ or Apple CarPlay®
features, if equipped. For further information,
refer to “Android Auto™” or “Apple CarPlay®” in
the Owner’s Manual Supplement.
NOTE:
Two devices can be plugged in at the same time
and both ports will provide charging capabili
-
ties. Only one port can transfer data to the
system at a time. A pop-up will appear and allow
you to select the device transferring data.
For example, if a device is plugged into the Type
A USB port and another device is plugged into
the Type C USB port, a message will appear and
allow you to select which device to use.
9
20_DJD2_OM_EN_USC_t.book Page 525
Page 528 of 553
526MULTIMEDIA
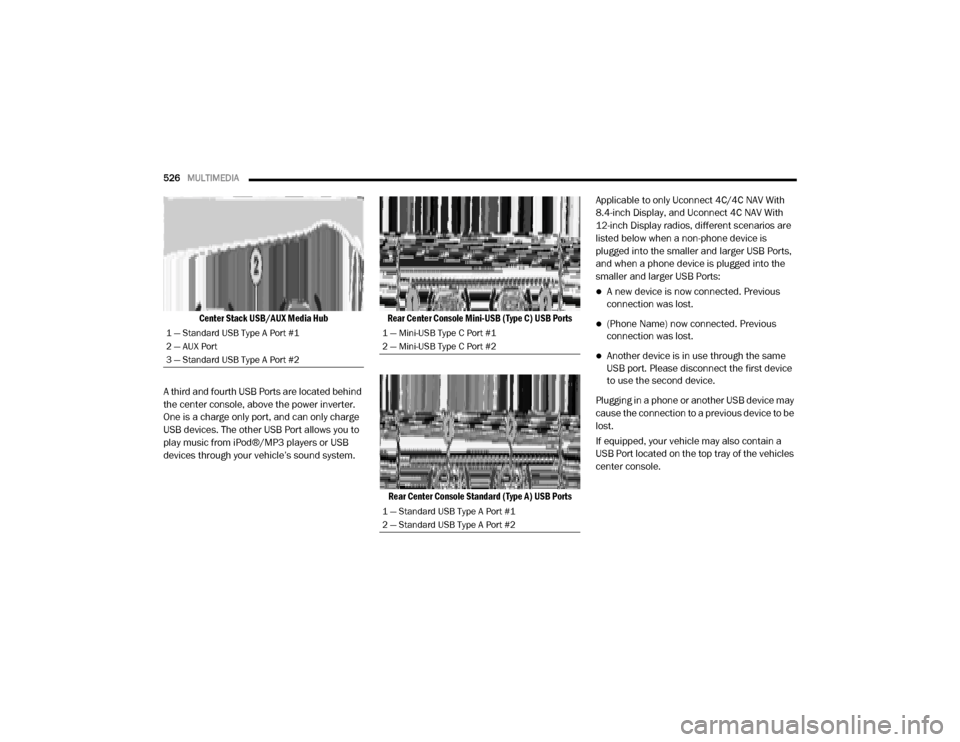
Center Stack USB/AUX Media Hub
A third and fourth USB Ports are located behind
the center console, above the power inverter.
One is a charge only port, and can only charge
USB devices. The other USB Port allows you to
play music from iPod®/MP3 players or USB
devices through your vehicle’s sound system.
Rear Center Console Mini-USB (Type C) USB Ports
Rear Center Console Standard (Type A) USB Ports
Applicable to only Uconnect 4C/4C NAV With
8.4-inch Display, and Uconnect 4C NAV With
12-inch Display radios, different scenarios are
listed below when a non-phone device is
plugged into the smaller and larger USB Ports,
and when a phone device is plugged into the
smaller and larger USB Ports:
A new device is now connected. Previous
connection was lost.
(Phone Name) now connected. Previous
connection was lost.
Another device is in use through the same
USB port. Please disconnect the first device
to use the second device.
Plugging in a phone or another USB device may
cause the connection to a previous device to be
lost.
If equipped, your vehicle may also contain a
USB Port located on the top tray of the vehicles
center console.
1 — Standard USB Type A Port #1
2 — AUX Port
3 — Standard USB Type A Port #21 — Mini-USB Type C Port #1
2 — Mini-USB Type C Port #2
1 — Standard USB Type A Port #1
2 — Standard USB Type A Port #2
20_DJD2_OM_EN_USC_t.book Page 526
Page 529 of 553
MULTIMEDIA527
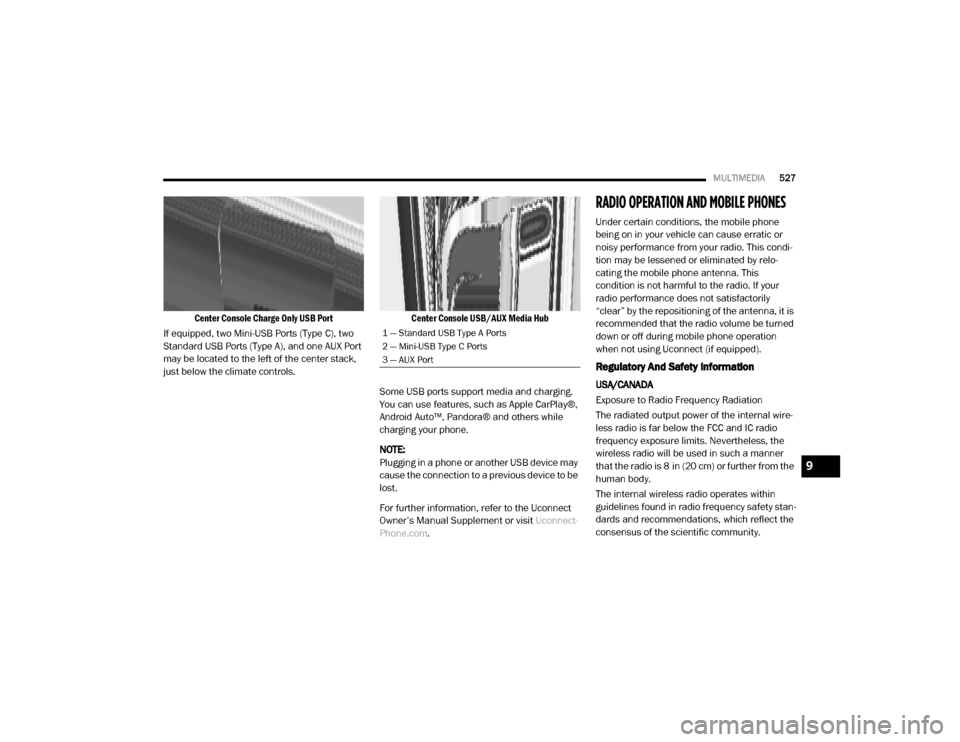
Center Console Charge Only USB Port
If equipped, two Mini-USB Ports (Type C), two
Standard USB Ports (Type A), and one AUX Port
may be located to the left of the center stack,
just below the climate controls.
Center Console USB/AUX Media Hub
Some USB ports support media and charging.
You can use features, such as Apple CarPlay®,
Android Auto™, Pandora® and others while
charging your phone.
NOTE:
Plugging in a phone or another USB device may
cause the connection to a previous device to be
lost.
For further information, refer to the Uconnect
Owner’s Manual Supplement or visit Uconnect-
Phone.com .
RADIO OPERATION AND MOBILE PHONES
Under certain conditions, the mobile phone
being on in your vehicle can cause erratic or
noisy performance from your radio. This condi -
tion may be lessened or eliminated by relo -
cating the mobile phone antenna. This
condition is not harmful to the radio. If your
radio performance does not satisfactorily
“clear” by the repositioning of the antenna, it is
recommended that the radio volume be turned
down or off during mobile phone operation
when not using Uconnect (if equipped).
Regulatory And Safety Information
USA/CANADA
Exposure to Radio Frequency Radiation
The radiated output power of the internal wire -
less radio is far below the FCC and IC radio
frequency exposure limits. Nevertheless, the
wireless radio will be used in such a manner
that the radio is 8 in (20 cm) or further from the
human body.
The internal wireless radio operates within
guidelines found in radio frequency safety stan -
dards and recommendations, which reflect the
consensus of the scientific community.
1 — Standard USB Type A Ports
2 — Mini-USB Type C Ports
3 — AUX Port
9
20_DJD2_OM_EN_USC_t.book Page 527
Page 530 of 553
528MULTIMEDIA
The radio manufacturer believes the internal
wireless radio is safe for use by consumers. The
level of energy emitted is far less than the elec -
tromagnetic energy emitted by wireless devices
such as mobile phones. However, the use of
wireless radios may be restricted in some situa-
tions or environments, such as aboard
airplanes. If you are unsure of restrictions, you
are encouraged to ask for authorization before
turning on the wireless radio.
The following regulatory statement applies to all
Radio Frequency (RF) devices equipped in this
vehicle:
This device complies with Part 15 of the FCC
Rules and with Innovation, Science and
Economic Development Canada license-exempt
RSS standard(s). Operation is subject to the
following two conditions:
1. This device may not cause harmful interfer -
ence, and
2. This device must accept any interference received, including interference that may
cause undesired operation. Le présent appareil est conforme aux CNR
d`Innovation, Science and Economic Develop
-
ment applicables aux appareils radio exempts
de licence. L'exploitation est autorisée aux deux
conditions suivantes:
1. l'appareil ne doit pas produire de brouil -
lage, et
2. l'utilisateur de l'appareil doit accepter tout brouillage radioélectrique subi, même si le
brouillage est susceptible d'en comprom -
ettre le fonctionnement.
La operación de este equipo está sujeta a las
siguientes dos condiciones:
1. es posible que este equipo o dispositivo no cause interferencia perjudicial y
2. este equipo o dispositivo debe aceptar cual -
quier interferencia, incluyendo la que
pueda causar su operación no deseada.
NOTE:
Changes or modifications not expressly
approved by the party responsible for compli -
ance could void the user’s authority to operate
the equipment. NOTE:
This equipment has been tested and found to
comply with the limits for a Class B digital
device, pursuant to Part 15 of the FCC Rules.
These limits are designed to provide reason -
able protection against harmful interference
in a residential installation. This equipment
generates, uses and can radiate radio
frequency energy and, if not installed and
used in accordance with the instructions,
may cause harmful interference to radio
communications. However, there is no guar -
antee that interference will not occur in a
particular installation.
If this equipment does cause harmful inter -
ference to radio or television reception,
which can be determined by turning the
equipment off and on, the user is encour -
aged to try to correct the interference by one
or more of the following measures:
a. Increase the separation between the equipment and receiver.
b. Consult an authorized dealer or an expe -
rienced radio technician for help.
20_DJD2_OM_EN_USC_t.book Page 528