brake RENAULT TWINGO 2009 2.G Sequential Transmission Owner's Manual
[x] Cancel search | Manufacturer: RENAULT, Model Year: 2009, Model line: TWINGO, Model: RENAULT TWINGO 2009 2.GPages: 138
Page 83 of 138

21B-83
MR-413-X44-21B000$649.mif
V2
SEQUENTIAL GEARBOX
Fault finding - Interpretation of statuses
Vdiag No: 04
21B
ET013
GEAR ENGAGED
STATUS
DEFINITIONThis status ET013 indicates the gear engaged and corresponds to the gear displayed
on the instrument panel:
●1: 1st
●
2: 2nd
●
3: 3rd
●
4: 4th
●
5: 5th
●
N: Neutral
●R: Reverse
NOTESNone
Engine stopped, ignition on
Check the specification of status ET013 each time the gear lever is moved:
●Gears 1st to 5th: push the lever forwards for the next gear up and backwards for the next gear down and
check how status ET013 changes each time the gear lever moves.
●Position N (neutral): when status ET013 is "1", push the lever to the right and check that status ET013 is
"N".
●Gear R (reverse): check status ET013 changes to "R" after depressing the brake pedal, pushing the lever to
the right and then to the rear.
If status ET013 is not correct, refer to the interpretation of faults DF069 "Selection position circuit" and DF070
"Engaging position sensor circuit".
AFTER REPAIRCarry out another fault finding check on the system.
Deal with any other faults.
Clear the stored faults.
BVRJH1_V04_ET013
Page 85 of 138

21B-85
MR-413-X44-21B000$649.mif
V2
SEQUENTIAL GEARBOX
Fault finding - Interpretation of statuses
Vdiag No: 04
21B
ET028
HANDBRAKE
STATUS
DEFINITION"Engaged": the handbrake lever is raised.
"Released": the handbrake lever is in rest position.
NOTESUse the Wiring Diagrams Technical Note for New TWINGO.
Engine stopped, ignition on
Status ET028 indicates the position of the handbrake lever:
●"Engaged": the handbrake lever is raised.
●"Released": the handbrake lever is in rest position.
If status ET028 is incorrect, apply the procedure below.
Electrical check of the sensor
Run a multiplex network test (see 88B, multiplex).
Check the condition of the connections of component 156 and check that they are correctly connected.
If the connector is faulty and there is a repair procedure (see Technical Note 6015A, Electrical wiring repair,
Wiring: Precautions for repair), repair the connector, otherwise replace the wiring.
Remove the handbrake switch.
Press the handbrake switch and check the insulation between connection 27A and earth.
If there is resistance, replace the handbrake switch.
Release the handbrake switch and check the continuity between the same connections.
If there is no continuity, replace the handbrake switch.
Check the condition of the connections of component 247 and check that they are correctly connected.
If the connector is faulty and there is a repair procedure (see Technical Note 6015A, Electrical wiring repair,
Wiring: Precautions for repair), repair the connector, otherwise replace the wiring.
Check the continuity and the earth insulation on connection 27A between components 247 and 156.
If the connection is faulty and there is a repair procedure (see Technical Note 6015A, Electrical wiring repair,
wiring: precautions for repair), repair the wiring, otherwise replace it.
If the fault is still present, perform a fault finding of the instrument panel (see 83A, Instrument panel).
AFTER REPAIRCarry out another fault finding check on the system.
Deal with any other faults.
Clear the stored faults.
BVRJH1_V04_ET028
Page 90 of 138
21B-90
MR-413-X44-21B000$649.mif
V2
SEQUENTIAL GEARBOX
Fault finding - Interpretation of statuses
Vdiag No: 04
21B
ET049
HANDBRAKE POSITION RECOGNITION
STATUS
DEFINITIONThis status indicates detection by the sequential gearbox computer of the handbrake
position and has the specification "DONE" or "NOT DONE".
NOTESNone
Engine stopped, ignition on
ET049: "DONE"
In the event of a fault, refer to the interpretation of status ET028 “Handbrake”.
AFTER REPAIRCarry out another fault finding check on the system.
Deal with any other faults.
Clear the stored faults.
BVRJH1_V04_ET049
Page 122 of 138

21B -122
MR-413-X44-21B000$885.mif
V2
Vdiag No: 04SEQUENTIAL GEARBOX
Fault finding - Interpretation of commands21B
ACTUATORS (Continued)
SETTINGSAC014 "Clutch solenoid valve"
This command enables the clutch solenoid valves to be operated to perform a listening
check or to test their supply.
AC015 "Engagement solenoid valves"
This command enables the engagement solenoid valves to be operated to perform a
listening check or to test their supply.
AC016 "Selection solenoid valves"
This command enables the selection solenoid valves to be operated to perform a listening
check or to test their supply.
AC017 "Display"
This command enables the display integrity to be checked by searching through all the data
available relating to the sequential gearbox.
AC019 "Return gearbox to neutral"
This command returns the gearbox to neutral.
AC024 Sequential actuator control
This command enables all sequential gearbox switches to be operated in order to check that
they are working.
AC028 "Engage reverse gear"
This command enables reverse gear to be engaged.
AC081 "Discharge pressure accumulator"
This command enables pressure in the hydraulic circuit to be discharged. The handbrake
must be applied when using this command.
VP001 "Write VIN"
This command permits manual entry of the vehicle's VIN into the computer.
Use this command each time the computer is replaced or (re)programmed.
Note:
When replacing or reprogramming a computer, use command AC007 Hydraulic unit pump rehabilitation
before carrying out parameter VP008 Program selection/engagement ranges.
VP008 "Program selection/engagement ranges"
This command enables the gears to be programmed.
Use this command when:
–replacing the electrohydraulic unit, the clutch or the gearbox,
–replacing or reprogramming the computer,
–replacing the engagement position sensor and the selecting position sensor,
–replacing the engagement, selection or clutch solenoid valves.
–replacing the reservoir, accumulator or pump only.
Page 124 of 138
21B -124
MR-413-X44-21B000$885.mif
V2
Vdiag No: 04SEQUENTIAL GEARBOX
Fault finding - Interpretation of commands21B
NOTESOnly refer to the customer complaints after performing a complete check using
the diagnostic tool.
Carry out a fault finding procedure on the multiplex network.
Run fault finding on the sequential gearbox.
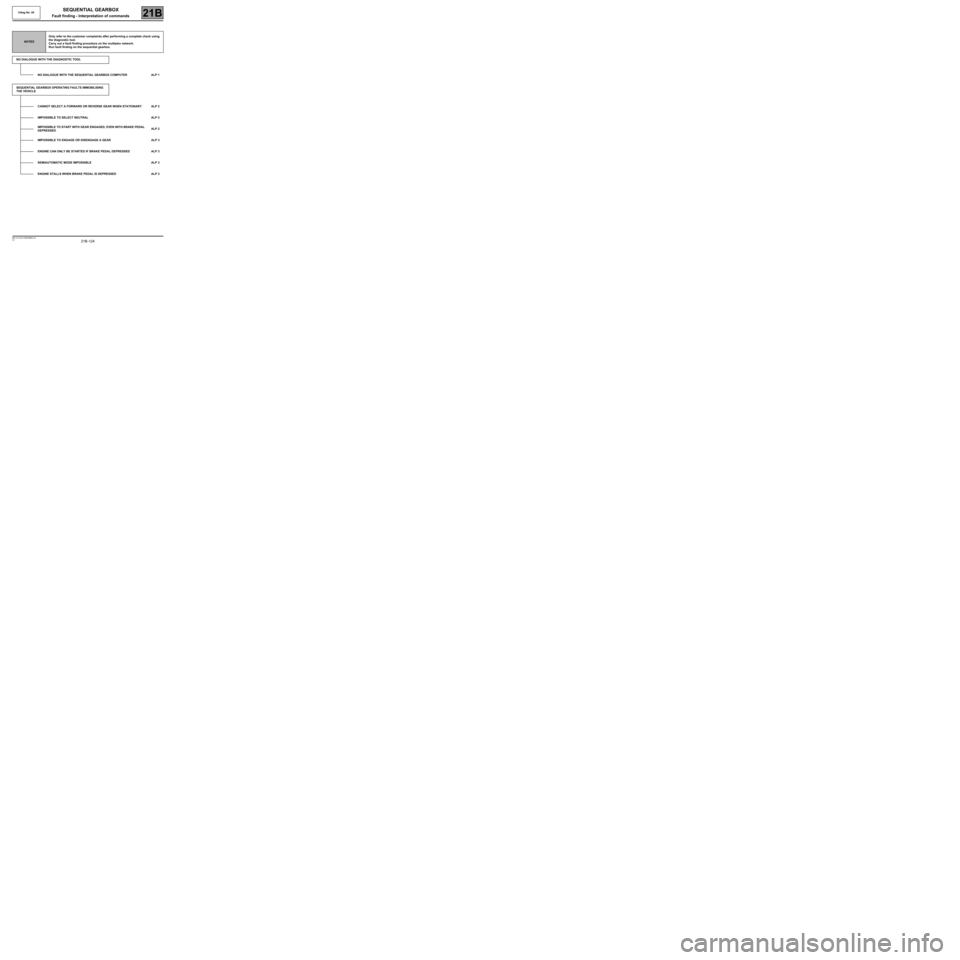
NO DIALOGUE WITH THE DIAGNOSTIC TOOL
NO DIALOGUE WITH THE SEQUENTIAL GEARBOX COMPUTER ALP 1
SEQUENTIAL GEARBOX OPERATING FAULTS IMMOBILISING
THE VEHICLE
CANNOT SELECT A FORWARD OR REVERSE GEAR WHEN STATIONARY ALP 2
IMPOSSIBLE TO SELECT NEUTRAL ALP 2
IMPOSSIBLE TO START WITH GEAR ENGAGED, EVEN WITH BRAKE PEDAL
DEPRESSEDALP 2
IMPOSSIBLE TO ENGAGE OR DISENGAGE A GEAR ALP 3
ENGINE CAN ONLY BE STARTED IF BRAKE PEDAL DEPRESSED ALP 3
SEMIAUTOMATIC MODE IMPOSSIBLE ALP 3
ENGINE STALLS WHEN BRAKE PEDAL IS DEPRESSED ALP 3
Page 125 of 138

21B -125
MR-413-X44-21B000$885.mif
V2
Vdiag No: 04SEQUENTIAL GEARBOX
Fault finding - Interpretation of commands21B
SEQUENTIAL GEARBOX FAULTS NOT IMMOBILISING
THE VEHICLE
CANNOT ACCESS AUTOMATIC MODE IF SEMI-AUTOMATIC MODE WAS
PREVIOUSLY SELECTEDALP 4
CANNOT ACCESS SEMIAUTOMATIC MODE IF AUTOMATIC MODE WAS
PREVIOUSLY SELECTEDALP 4
SWITCHING TO AUTOMATIC MODE POSSIBLE IF RESTARTING ENGINE ALP 4
NO REVERSING LIGHT ALP 5
NO CREEPING ALP 6
BRAKE LIGHTS PERMANENTLY LIT ALP 6
FORWARD OR REVERSE GEAR CAN BE SELECTED WITHOUT DEPRESSING
THE BRAKE PEDALALP 6
LOSS OF AUTOMATIC MODE ALP 7
VEHICLE DOES NOT MOVE FORWARD WITH GEAR ENGAGED AND ENGINE
RUNNINGALP 8
INADEQUATE REACTION TO FULL LOAD REQUEST ALP 9
LOSS OF DISPLAY WHEN DRIVING ALP 10
DISPLAY AND WARNING BUZZER FUNCTION ERRATICALLY ALP 11
VEHICLE JUMPS WHEN ENGINE IS STARTED ALP 12
Page 127 of 138
21B -127
MR-413-X44-21B000$944.mif
V2
SEQUENTIAL GEARBOX
Diagnostic - Fault finding chart
Vdiag No: 04
21B
ALP 2Cannot select a forward or reverse gear when stationary
Impossible to select N
Impossible to start engine with gear engaged, even with brake
pedal depressed
NOTESSpecial notes:
Only consult this customer complaint after a complete check with the diagnostic tool.
Use the Wiring Diagrams Technical Note for New TWINGO.
Check the + after ignition feeds and the earths of the sequential gearbox computer.
Check the condition of the gear lever contacts and that it is operating correctly (consult the interpretation of
statuses ET043 "Lever contact No. 0", ET044 "Lever contact No. 1", ET045 "Lever contact No. 2" and
ET046 Lever contact No. 3").
Repair if necessary.
Check for the presence and condition of the brake light switch supply fuse on the passenger compartment fuse
board.
Repair if necessary.
Check that the brake light switch connector is correctly connected, check the condition of the connections as well
as those of the computer.
If the connectors are faulty and if there is a repair method (see Technical Note 6015A, Repairing electrical
wiring, W iring: Precautions for repair), repair the connectors; otherwise, replace the wiring.
Check that the brake light switch on the pedal is correctly fitted and adjusted.
Check for continuity, with the pedal depressed, between connections AP10 (track 2) and 65A of
component 160.
Replace the switch if necessary (see MR 411 Mechanical, 83D Cruise control, Brake light switch: Removal -
Refitting).
Check there is no continuity with the pedal released, between connections AP10 (track 2) and 65A of
component 160.
Replace the switch if necessary (see MR 411 Mechanical, 83D Cruise control, Brake light switch: Removal -
Refitting).
If the fault is still present, check the continuity of the following connection:
●Connection code 65A between components 160 and 119.
Also ensure the insulation to earth.
AFTER REPAIRClear the computer fault memory. Switch off the ignition and wait 20 seconds.
Carry out a road test followed by another check with the diagnostic tool.
BVRJH1_V04_ALP2
Page 128 of 138

21B -128
MR-413-X44-21B000$944.mif
V2
SEQUENTIAL GEARBOX
Diagnostic - Fault finding chart
Vdiag No: 04
21B
ALP 3Impossible to engage or disengage a gear
Engine can only be started if brake pedal depressed
Semiautomatic mode not possible
Engine stalls when brake pedal is depressed
NOTESSpecial notes:
Only consult this customer complaint after a complete check with the diagnostic tool.
Check the + after ignition feeds and the earths of the sequential gearbox computer.
Check that the gear lever is not jammed or damaged or even broken. Replace the lever if necessary (see MR 411
Mechanical, 21B, Sequential gearbox, Sequential gearbox selector lever: Removal - Refitting).
Apply the fault finding procedure for ET043 "Lever switch No. 0", ET044 "Lever switch No. 1", ET045 "Lever
switch No. 2" and ET046 Lever switch No. 3".
If the fault is still present, run a multiplex network test using the diagnostic tool (see 88B, Multiplex).
AFTER REPAIRClear the computer fault memory. Switch off the ignition and wait 20 seconds.
Carry out a road test followed by another check with the diagnostic tool.
BVRJH1_V04_ALP3
Page 132 of 138
21B -132
MR-413-X44-21B000$944.mif
V2
SEQUENTIAL GEARBOX
Diagnostic - Fault finding chart
Vdiag No: 04
21B
ALP 6No creeping
Brake lights permanently lit
Forward or reverse gear can be selected without depressing the
brake pedal
NOTESSpecial notes:
Only consult this customer complaint after a complete check with the diagnostic tool.
In a case where there is no creeping, if the customer has heard the buzzer whilst
driving, it is normal for creeping to be prohibited (clutch overheating). Leave the clutch
to cool down and then check if there is any creep. Apply the following procedure if the
fault persists.
Use the Wiring Diagrams Technical Note for New TWINGO.
Check for the presence, condition and correct positioning of the brake light fuse in the passenger
compartment fuse box.
Check the connection and condition of the connectors of components 160, 156 and 119.
If the connectors are faulty and if there is a repair method (see Technical Note 6015A, Repairing electrical
wiring, W iring: Precautions for repair), repair the connectors; otherwise, replace the wiring.
Check the fitting and adjustment of component 160 on the pedals.
Pedal depressed:
Check the continuity between connections AP10 (track 2) and 65A of component 160.
Check the insulation between connections AP10 (track 4) and 5A of component 160.
If the checks are incorrect, replace the switch (see MR 411 Mechanical systems, 83D Cruise control, Brake
light switch: Removal - Refitting).
Pedal released:
Check the insulation between connections AP10 (track 2) and 65A of component 160.
Check the continuity between connections AP10 (track 4) and 5A of component 160.
If the checks are incorrect, replace the switch (see MR 411 Mechanical systems, 83D Cruise control, Brake
light switch: Removal - Refitting).
Check the continuity and insulation from earth of the following connection:
●Connection code 65A,
between components 160 and 119.
If the connection is faulty and there is a repair procedure (see Technical Note 6015A, Electrical wiring repair,
Wiring: Precautions for repair), repair the wiring, otherwise replace it.
AFTER REPAIRClear the computer fault memory. Switch off the ignition and wait 20 seconds.
Carry out a road test followed by another check with the diagnostic tool.
BVRJH1_V04_ALP6
Page 137 of 138
21B -137
MR-413-X44-21B000$944.mif
V2
SEQUENTIAL GEARBOX
Diagnostic - Fault finding chart
Vdiag No: 04
21B
ALP 11 Display and warning buzzer operation erratically
NOTESSpecial notes:
Only consult this customer complaint after a complete check with the diagnostic tool.
–The buzzer is active:
–when the front doors are opened,
–if the clutch overheats while the vehicle is being driven,
–if the sequential gearbox programming has not been carried out.
–The depress brake pedal symbol is active:
–when the engine is stopped by a gear lever request or if the lever is accidentally shifted to the neutral
position while the vehicle is being driven.
Carry out a road test to recreate the customer complaint.
Carry out the following programming:
–VP008 “Program selection/engagement ranges”.
–Program the biting point using command:
RZ003 Clutch biting point programming
Exit fault finding mode and switch off the ignition.
Wait 1 minute and then re-establish dialogue with the computer.
Shift the gear lever to rest position (Stb).
Start the engine.
Wait 10 seconds without changing gear (for programming the clutch biting point).
Check that programming has been successfully completed by referring to the following status:
ET062 “Biting point programming” displays “Done”.
Repeat the procedure if unsuccessful.
AFTER REPAIRClear the computer fault memory. Switch off the ignition and wait 20 seconds.
Carry out a road test followed by another check with the diagnostic tool.
BVRJH1_V04_ALP11