SATURN VUE 2006 Owner's Manual
VUE 2006
SATURN
SATURN
https://www.carmanualsonline.info/img/68/58590/w960_58590-0.png
SATURN VUE 2006 Owner's Manual
Page 315 of 412
5. Push the locking tab toward the rear of the vehicle
with the tool to lift the headlamp bracket lower arm.
6. Pull back on the front fascia and then pull the
headlamp assembly out from the vehicle. You
may need someone to assist you with this step.
7. Disconnect the electrical connector from the bulb
assembly.
8. Rotate the bulb assembly counterclockwise to
remove it from the housing.
9. Replace the old bulb with a new one.
10. Reverse Steps 1 through 8 to reinstall.
Front Turn Signal and
Parking Lamps
To replace a front turn signal or parking lamp bulb,
do the following:
1. Follow Steps 1 through 6 underHeadlamps on
page 5-49to access the front turn signal or
parking lamp.
2. Rotate the bulb to be replaced counterclockwise
to remove it from the headlamp assembly.
3. Pull the bulb out of the bulb socket assembly.
5-51
ProCarManuals.com
Page 316 of 412
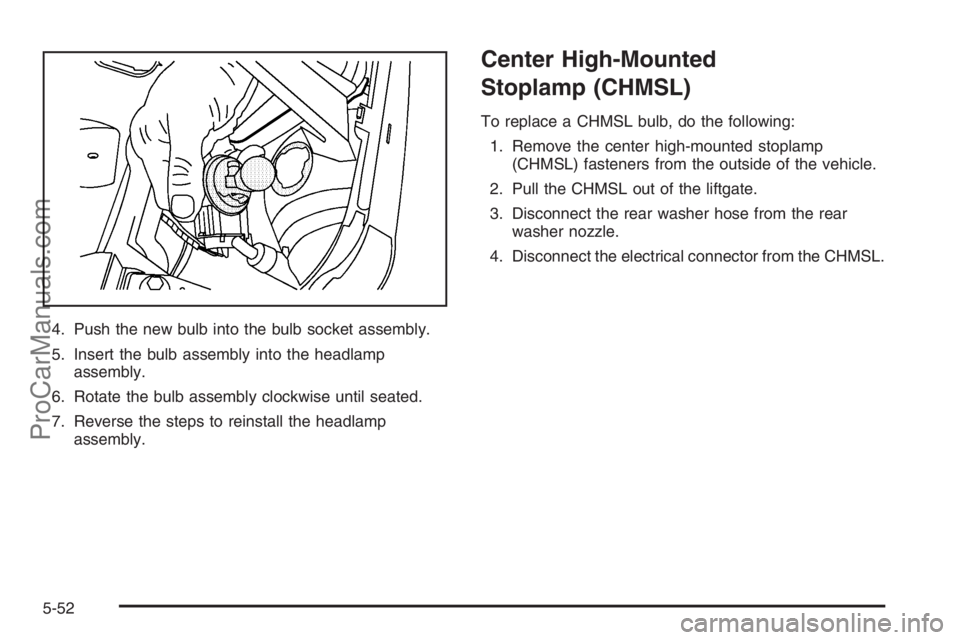
4. Push the new bulb into the bulb socket assembly.
5. Insert the bulb assembly into the headlamp
assembly.
6. Rotate the bulb assembly clockwise until seated.
7. Reverse the steps to reinstall the headlamp
assembly.
Center High-Mounted
Stoplamp (CHMSL)
To replace a CHMSL bulb, do the following:
1. Remove the center high-mounted stoplamp
(CHMSL) fasteners from the outside of the vehicle.
2. Pull the CHMSL out of the liftgate.
3. Disconnect the rear washer hose from the rear
washer nozzle.
4. Disconnect the electrical connector from the CHMSL.
5-52
ProCarManuals.com
Page 318 of 412
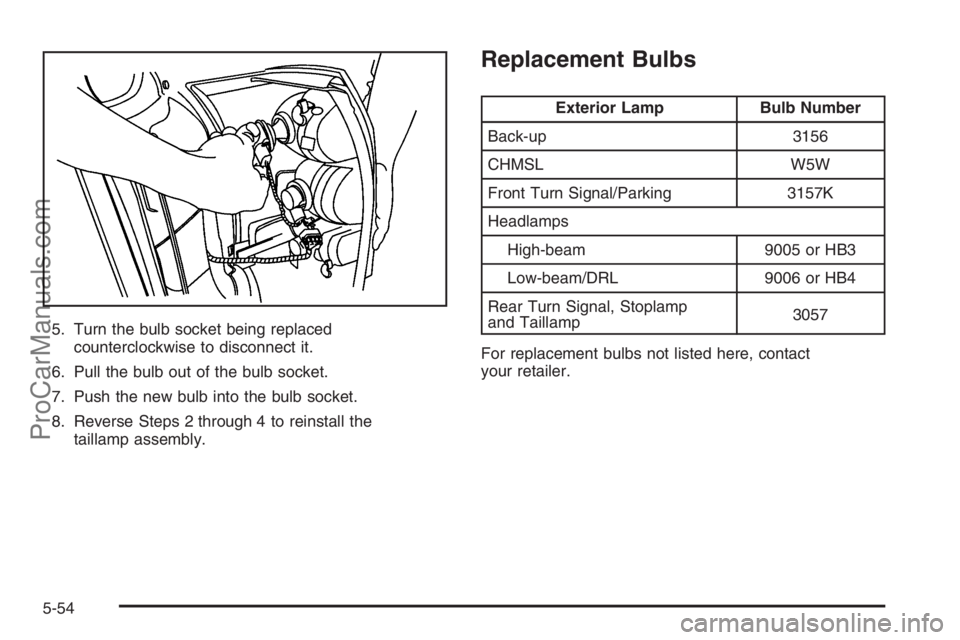
5. Turn the bulb socket being replaced
counterclockwise to disconnect it.
6. Pull the bulb out of the bulb socket.
7. Push the new bulb into the bulb socket.
8. Reverse Steps 2 through 4 to reinstall the
taillamp assembly.
Replacement Bulbs
Exterior Lamp Bulb Number
Back-up 3156
CHMSL W5W
Front Turn Signal/Parking 3157K
Headlamps
High-beam 9005 or HB3
Low-beam/DRL 9006 or HB4
Rear Turn Signal, Stoplamp
and Taillamp3057
For replacement bulbs not listed here, contact
your retailer.
5-54
ProCarManuals.com
Page 340 of 412
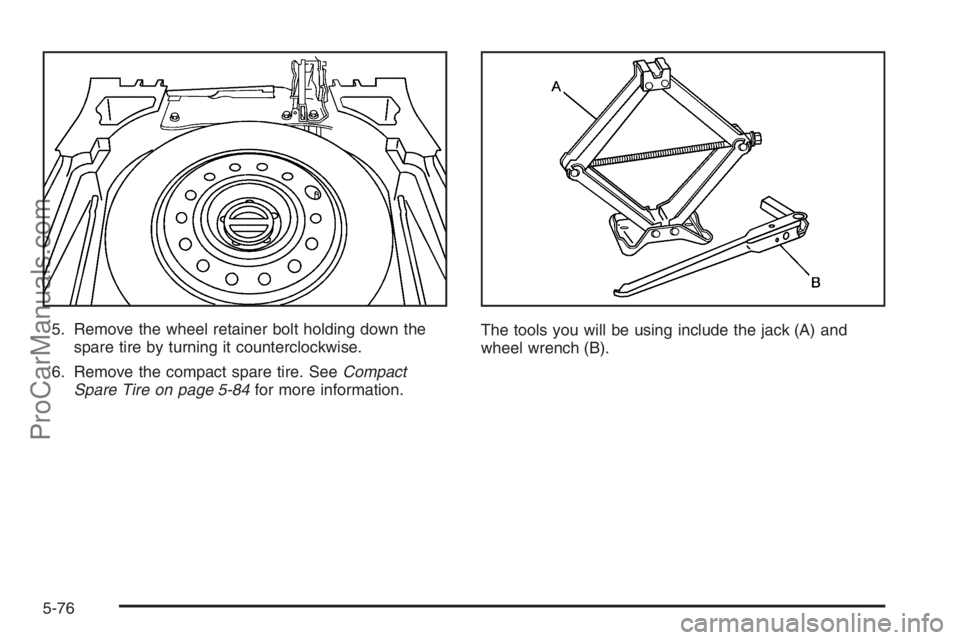
5. Remove the wheel retainer bolt holding down the
spare tire by turning it counterclockwise.
6. Remove the compact spare tire. SeeCompact
Spare Tire on page 5-84for more information.The tools you will be using include the jack (A) and
wheel wrench (B).
5-76
ProCarManuals.com
Page 341 of 412
Removing the Flat Tire and
Installing the Spare Tire
You will need to remove the wheel cover or hubcap to
reach the wheel bolts.
For steel wheels with full plastic covers and aluminum
wheels with large circular center caps, do the following:
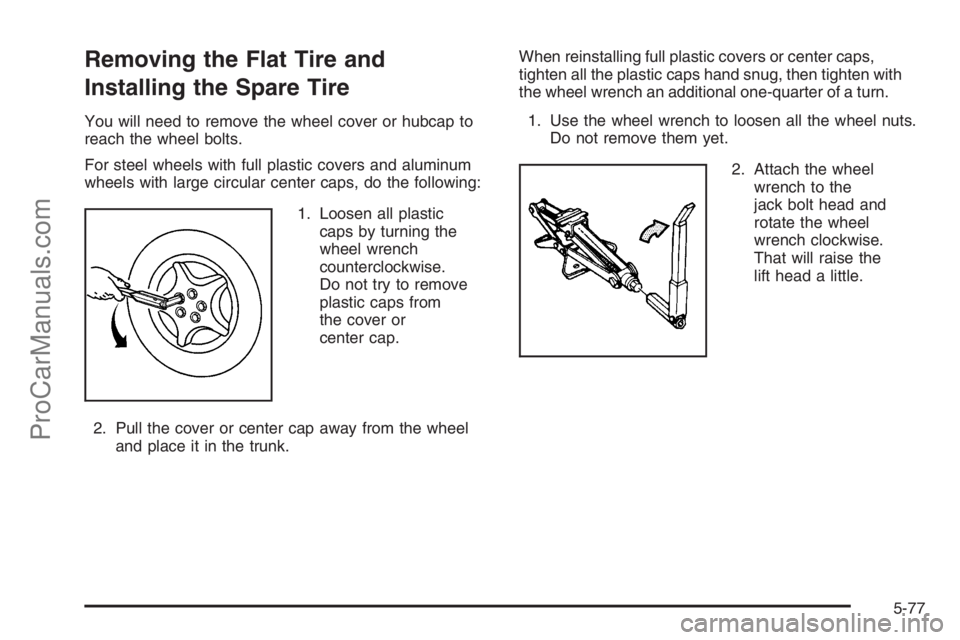
1. Loosen all plastic
caps by turning the
wheel wrench
counterclockwise.
Do not try to remove
plastic caps from
the cover or
center cap.
2. Pull the cover or center cap away from the wheel
and place it in the trunk.When reinstalling full plastic covers or center caps,
tighten all the plastic caps hand snug, then tighten with
the wheel wrench an additional one-quarter of a turn.
1. Use the wheel wrench to loosen all the wheel nuts.
Do not remove them yet.
2. Attach the wheel
wrench to the
jack bolt head and
rotate the wheel
wrench clockwise.
That will raise the
lift head a little.
5-77
ProCarManuals.com
Page 343 of 412
{CAUTION:
Lifting a vehicle and getting under it to do
maintenance or repairs is dangerous without
the appropriate safety equipment and training.
The jack provided with your vehicle is
designed only for changing a �at tire. If it is
used for anything else, you or others could
be badly injured or killed if the vehicle slips
off the jack. Use the jack provided with your
vehicle only for changing a �at tire.
Notice:Make sure that the jack lift head is in the
correct position or you may damage your vehicle.
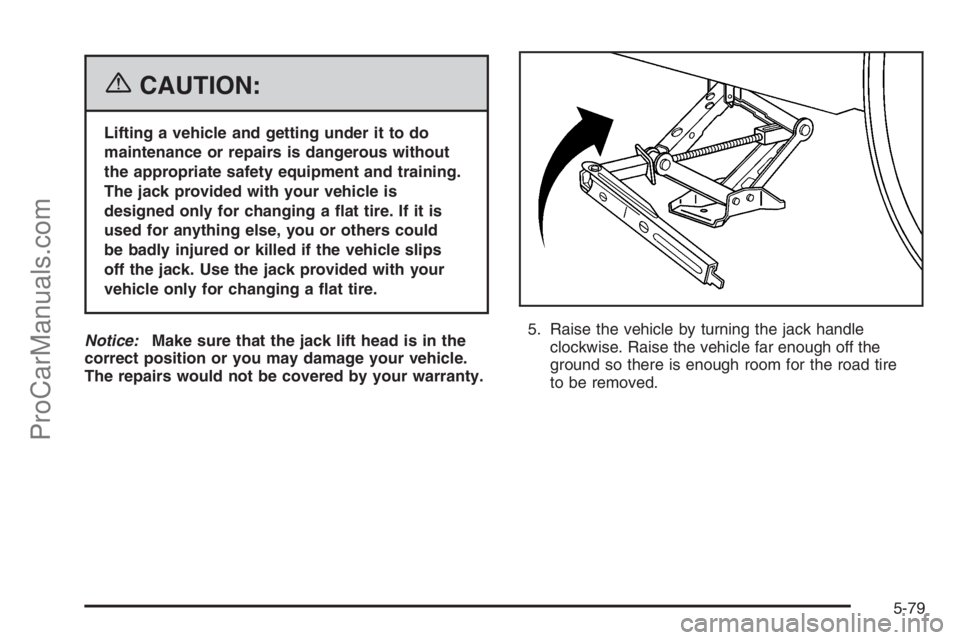
The repairs would not be covered by your warranty.5. Raise the vehicle by turning the jack handle
clockwise. Raise the vehicle far enough off the
ground so there is enough room for the road tire
to be removed.
5-79
ProCarManuals.com
Page 345 of 412
9. Place the compact spare tire on the wheel-mounting
surface.
{CAUTION:
Never use oil or grease on studs or nuts.
If you do, the nuts might come loose.
Your wheel could fall off, causing a serious
accident.
10. Reinstall the wheel nuts. Tighten each nut by
hand until the wheel is held against the hub.
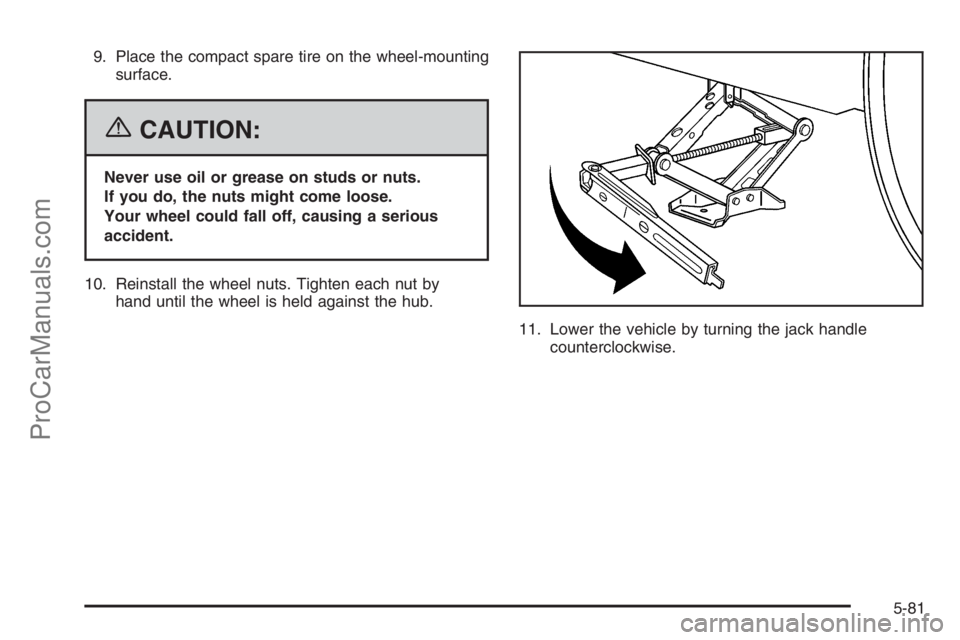
11. Lower the vehicle by turning the jack handle
counterclockwise.
5-81
ProCarManuals.com

