Seat Altea XL 2014 Owner's Manual
Manufacturer: SEAT, Model Year: 2014, Model line: Altea XL, Model: Seat Altea XL 2014Pages: 321, PDF Size: 4.52 MB
Page 181 of 321
179
Driving
Start-Stop function*
Description and operation
The Start-Stop function stops the engine when the vehicle is stop-
ped and starts it automatically when required.
– When the vehicle is stopped, put it in neutral and release the
clutch pedal. The engine will stop.
– When the clutch pedal is pressed, the engine starts again.
– The instrument panel display shows information about the sta-
tus of the Start-Stop function ⇒ Fig. 143.
Start-Stop function conditions
● The driver seat belt must be buckled.
● The bonnet must be closed.
● The engine must be at operating temperature.
● The steering wheel must not be turned more than 270°.
● The vehicle must not be on a steep gradient.
● The vehicle must not be in reverse.
● A trailer must not be connected.
● The temperature of the passenger compartment must be within the com-
fort limits (button AC
11 ⇒ Fig. 136 should be selected).
● The windscreen de-mist function must be off.
● If not, it requires an increase in airflow 10
⇒ Fig. 136 for more than three
presses.
● The temperature must not be set to HI or LO.
● The driver door must be closed.
● The diesel particulate filter must not be in regeneration mode, for diesel
engines. ●
The battery charge must not be low for the next start.
● The battery temperature must be between -1 °C (+30 °F) and +55 °C
(+131 °F).
● The Parking aid system (Park Assist*) must not be activated.
Start-Stop function interruption
In the following situations, the Start-Stop function will be interrupted and
the engine will automatically start:
● The vehicle starts moving.
● The brake pedal is pressed several times in a row.
● The battery has been discharged excessively.
● The Start-Stop System is manually deactivated.
● The windscreen de-mist function is turned on.
● The temperature of the passenger compartment exceeds the comfort
limits (button AC
11 ⇒ Fig. 136 should be selected).
● If in an increase in airflow 10 ⇒ Fig. 136 is required for more than three
presses.
● Temperature setting HI or LO is selected.
● The engine coolant temperature is insufficient.
● The alternator is faulty, for example the V-belt has ruptured.
● If any of the conditions described in the previous section are not fulfil-
led.
WARNING
Never allow the vehicle to move with the engine off for any reason. You
could lose control of your vehicle. This could cause an accident and seri-
ous injury.
● Power steering does not work when the engine is not running. That is
why it is much more difficult to turn the steering wheel.
● Turn off the Start-Stop system when driving through water (fording
streams, etc.).
Safety FirstOperating instructionsPractical TipsTechnical Specifications
Page 182 of 321
180Driving
Note
● For vehicles with the Start-Stop function and a manual gearbox, when
the engine is started, the clutch must be pressed.
● When the conditions for the Start-Stop function are not fulfilled, the in-
strument panel displays the Start-Stop indicator dimmed.
● If the steering wheel is turned more than 270°, Stop will not function;
however, the angle of steering wheel turn does not affect starting the vehi-
cle.
Activating and deactivating the Start-Stop function
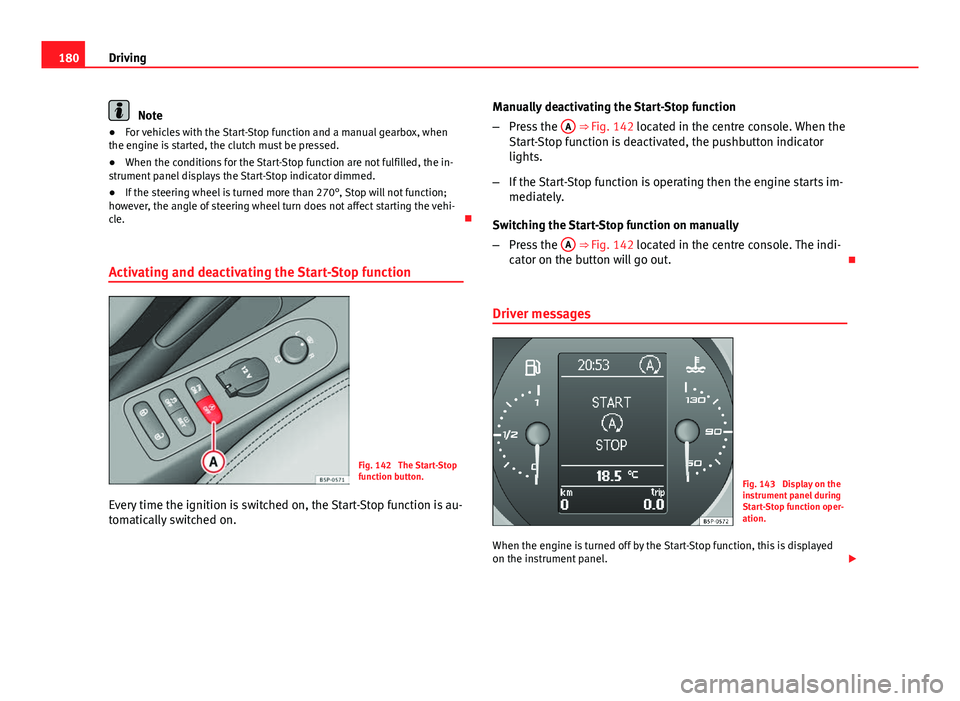
Fig. 142 The Start-Stop
function button.
Every time the ignition is switched on, the Start-Stop function is au-
tomatically switched on. Manually deactivating the Start-Stop function
–
Press the A
⇒ Fig. 142 located in the centre console. When the
Start-Stop function is deactivated, the pushbutton indicator
lights.
– If the Start-Stop function is operating then the engine starts im-
mediately.
Switching the Start-Stop function on manually
– Press the A
⇒ Fig. 142 located in the centre console. The indi-
cator on the button will go out.
Driver messages
Fig. 143 Display on the
instrument panel during
Start-Stop function oper-
ation.
When the engine is turned off by the Start-Stop function, this is displayed
on the instrument panel.
Page 183 of 321
181
Driving
Note
There are different versions of the dash panel; the display of indications on
the screen may differ.
Safety FirstOperating instructionsPractical TipsTechnical Specifications
Page 184 of 321
182Driving
Manual gearbox
Driving with a manual gearbox
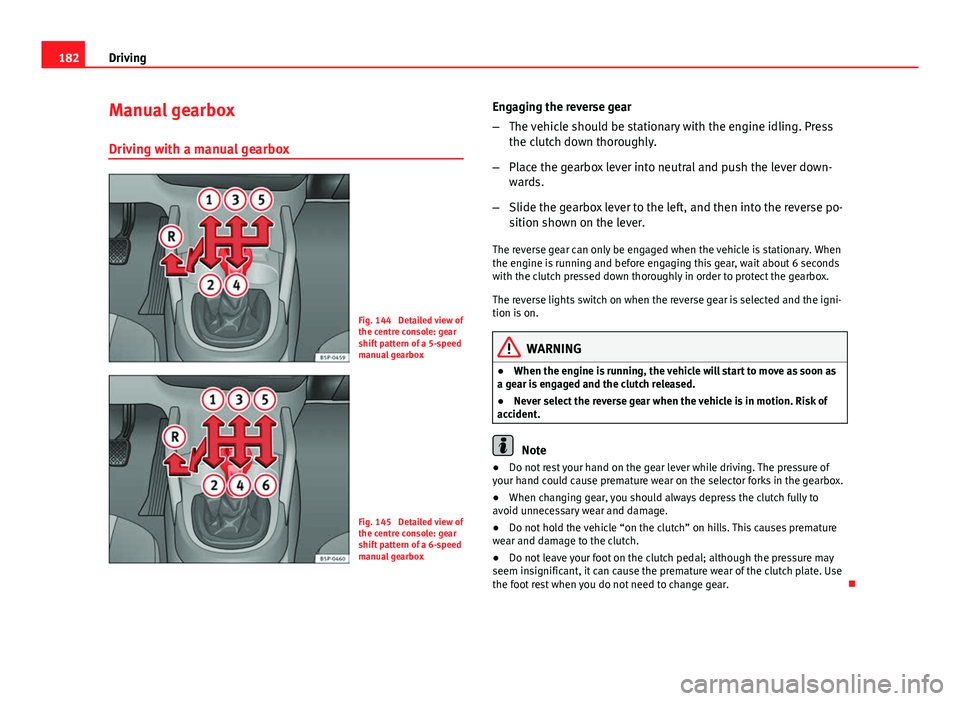
Fig. 144 Detailed view of
the centre console: gear
shift pattern of a 5-speed
manual gearbox
Fig. 145 Detailed view of
the centre console: gear
shift pattern of a 6-speed
manual gearbox Engaging the reverse gear
–
The vehicle should be stationary with the engine idling. Press
the clutch down thoroughly.
– Place the gearbox lever into neutral and push the lever down-
wards.
– Slide the gearbox lever to the left, and then into the reverse po-
sition shown on the lever.
The reverse gear can only be engaged when the vehicle is stationary. When
the engine is running and before engaging this gear, wait about 6 seconds
with the clutch pressed down thoroughly in order to protect the gearbox.
The reverse lights switch on when the reverse gear is selected and the igni-
tion is on.
WARNING
● When the engine is running, the vehicle will start to move as soon as
a gear is engaged and the clutch released.
● Never select the reverse gear when the vehicle is in motion. Risk of
accident.
Note
● Do not rest your hand on the gear lever while driving. The pressure of
your hand could cause premature wear on the selector forks in the gearbox.
● When changing gear, you should always depress the clutch fully to
avoid unnecessary wear and damage.
● Do not hold the vehicle “on the clutch” on hills. This causes premature
wear and damage to the clutch.
● Do not leave your foot on the clutch pedal; although the pressure may
seem insignificant, it can cause the premature wear of the clutch plate. Use
the foot rest when you do not need to change gear.
Page 185 of 321
183
Driving
Automatic gearbox/DSG automatic gearbox* Selector lever positions
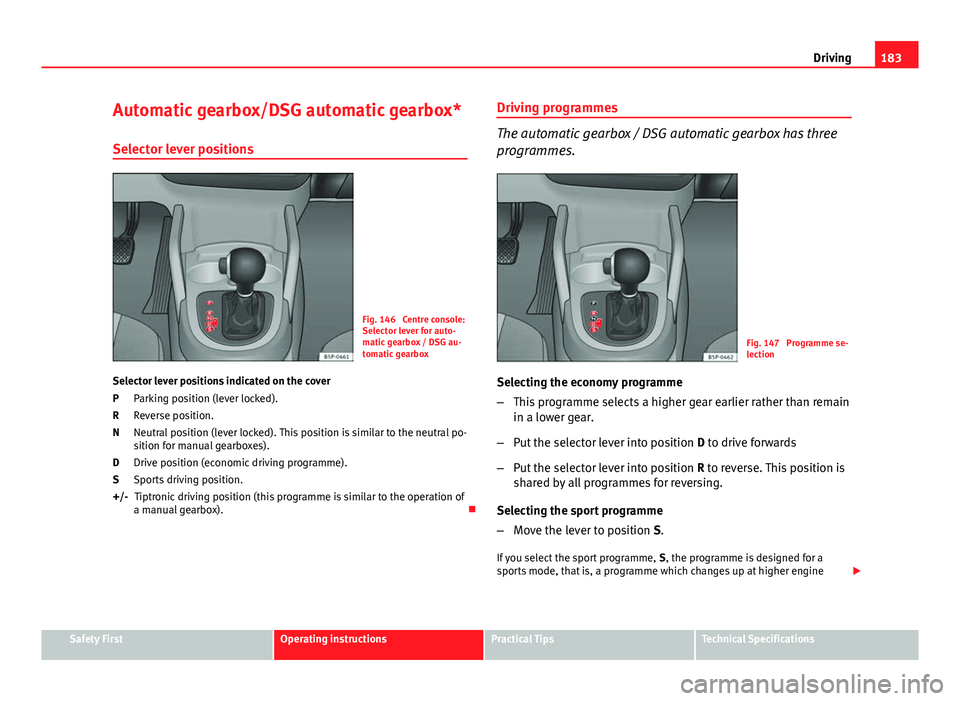
Fig. 146 Centre console:
Selector lever for auto-
matic gearbox / DSG au-
tomatic gearbox
Selector lever positions indicated on the cover Parking position (lever locked).
Reverse position.
Neutral position (lever locked). This position is similar to the neutral po-
sition for manual gearboxes).
Drive position (economic driving programme).
Sports driving position.Tiptronic driving position (this programme is similar to the operation of
a manual gearbox).
P
R
N
D
S
+/- Driving programmes
The automatic gearbox / DSG automatic gearbox has three
programmes.
Fig. 147 Programme se-
lection
Selecting the economy programme
– This programme selects a higher gear earlier rather than remain
in a lower gear.
– Put the selector lever into position D to drive forwards
– Put the selector lever into position R to reverse. This position is
shared by all programmes for reversing.
Selecting the sport programme
– Move the lever to position S.
If you select the sport programme, S, the programme is designed for a
sports mode, that is, a programme which changes up at higher engine
Safety FirstOperating instructionsPractical TipsTechnical Specifications
Page 186 of 321
184Driving
speeds to use the full power of the engine. This programme is not recom-
mended for use on the motorway or in the city.
Selecting the manual programme (tiptronic)
This programme allows driving similar to a manual gearbox.
This programme may be accessed using the selector lever or from the steer-
ing wheel controls when this option is fitted ⇒ page 186.
Selector lever locking
The selector lever lock prevents gears from being engaged
inadvertently, which would cause the vehicle to move.
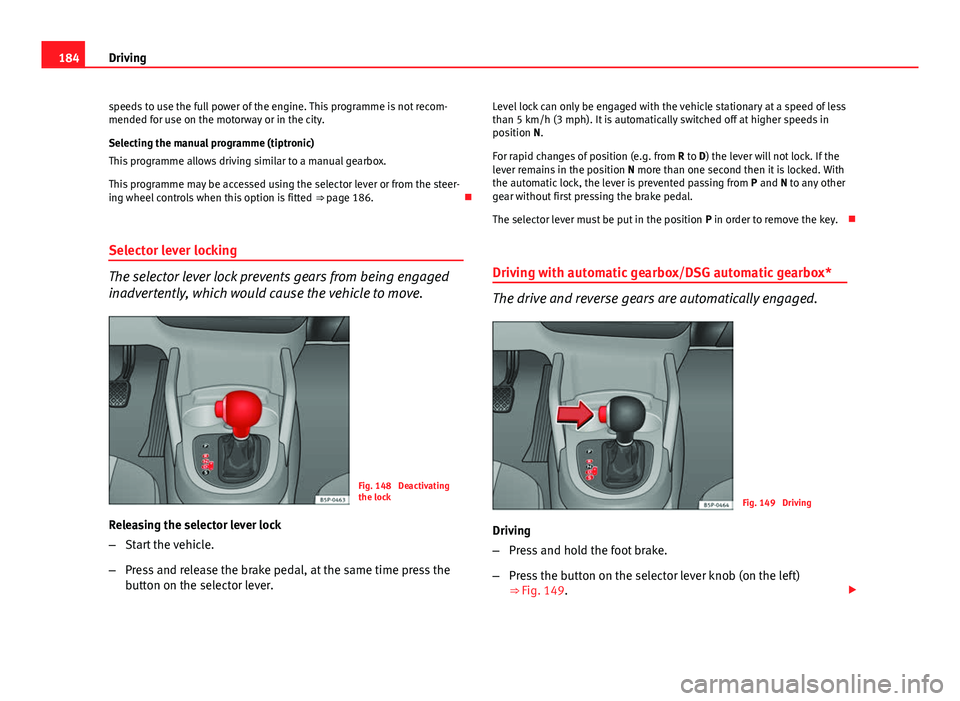
Fig. 148 Deactivating
the lock
Releasing the selector lever lock
– Start the vehicle.
– Press and release the brake pedal, at the same time press the
button on the selector lever. Level lock can only be engaged with the vehicle stationary at a speed of less
than 5 km/h (3 mph). It is automatically switched off at higher speeds in
position N.
For rapid changes of position (e.g. from
R to D) the lever will not lock. If the
lever remains in the position N more than one second then it is locked. With
the automatic lock, the lever is prevented passing from P and N to any other
gear without first pressing the brake pedal.
The selector lever must be put in the position P in order to remove the key.
Driving with automatic gearbox/DSG automatic gearbox*
The drive and reverse gears are automatically engaged.
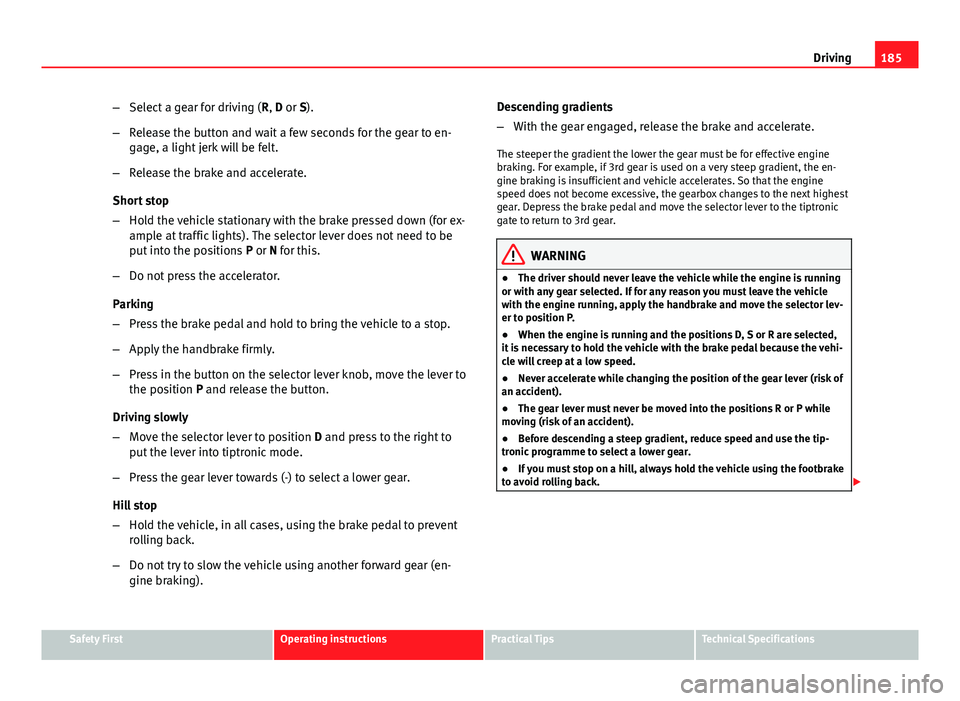
Fig. 149 Driving
Driving
– Press and hold the foot brake.
– Press the button on the selector lever knob (on the left)
⇒ Fig. 149.
Page 187 of 321
185
Driving
– Select a gear for driving ( R, D or S).
– Release the button and wait a few seconds for the gear to en-
gage, a light jerk will be felt.
– Release the brake and accelerate.
Short stop
– Hold the vehicle stationary with the brake pressed down (for ex-
ample at traffic lights). The selector lever does not need to be
put into the positions P or N for this.
– Do not press the accelerator.
Parking
– Press the brake pedal and hold to bring the vehicle to a stop.
– Apply the handbrake firmly.
– Press in the button on the selector lever knob, move the lever to
the position P and release the button.
Driving slowly
– Move the selector lever to position D and press to the right to
put the lever into tiptronic mode.
– Press the gear lever towards (-) to select a lower gear.
Hill stop
– Hold the vehicle, in all cases, using the brake pedal to prevent
rolling back.
– Do not try to slow the vehicle using another forward gear (en-
gine braking). Descending gradients
–
With the gear engaged, release the brake and accelerate.
The steeper the gradient the lower the gear must be for effective engine
braking. For example, if 3rd gear is used on a very steep gradient, the en-
gine braking is insufficient and vehicle accelerates. So that the engine
speed does not become excessive, the gearbox changes to the next highest
gear. Depress the brake pedal and move the selector lever to the tiptronic
gate to return to 3rd gear.
WARNING
● The driver should never leave the vehicle while the engine is running
or with any gear selected. If for any reason you must leave the vehicle
with the engine running, apply the handbrake and move the selector lev-
er to position P.
● When the engine is running and the positions D, S or R are selected,
it is necessary to hold the vehicle with the brake pedal because the vehi-
cle will creep at a low speed.
● Never accelerate while changing the position of the gear lever (risk of
an accident).
● The gear lever must never be moved into the positions R or P while
moving (risk of an accident).
● Before descending a steep gradient, reduce speed and use the tip-
tronic programme to select a lower gear.
● If you must stop on a hill, always hold the vehicle using the footbrake
to avoid rolling back.
Safety FirstOperating instructionsPractical TipsTechnical Specifications
Page 188 of 321
186Driving
WARNING (Continued)
● The footbrake must not be held for a long period of time, not even
lightly; continuous braking will cause overheating of the brakes and a re-
duction or even a loss of braking power and a significant increase in
braking distances.
● Never allow the vehicle to coast down a gradient with the selector lev-
er in positions N or D, even when the engine is not running. For descents,
the use of the tiptronic programme is recommended to keep the speed
reduced.
CAUTION
● Never use the automatic gearbox to hold the vehicle stationary on a hill,
even for short periods, as this may overheat the gearbox and cause dam-
age. Apply the handbrake or depress the foot brake to hold the vehicle in
position.
● If the vehicle is allowed to roll with the engine stopped but the selector
in position N then the gearbox may be damaged because it will not be lubri-
cated. Changing gear in tiptronic mode*
The tiptronic system allows the driver to select gears man-
ually
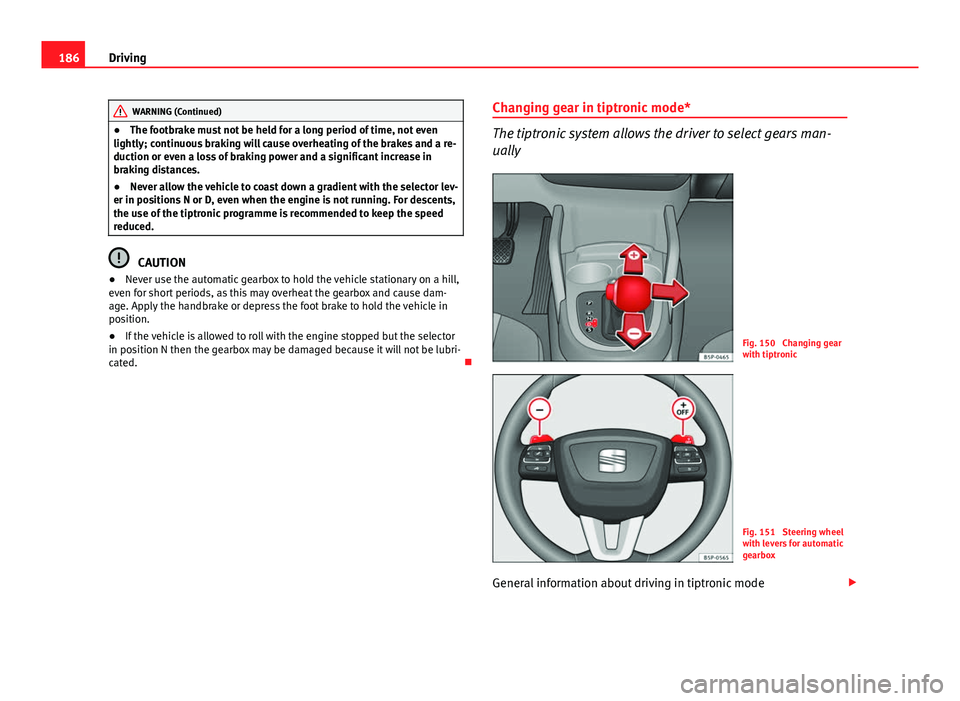
Fig. 150 Changing gear
with tiptronic
Fig. 151 Steering wheel
with levers for automatic
gearbox
General information about driving in tiptronic mode
Page 189 of 321
187
Driving
Changing gear with the selector lever
– Put the lever in position D and press towards the right to enter
the tiptronic gate ⇒ Fig. 150.
– Press the gear lever forwards +
⇒ Fig. 150 to select a higher
gear.
– Press the gear lever back –
⇒ Fig. 150 to select a lower gear.
Changing gear with the steering wheel levers
– Press the right paddle lever +
(+OFF) towards the steering
wheel to change up ⇒ Fig. 151.
– Press the left paddle –
towards the steering wheel to change
down ⇒ Fig. 151.
Using the paddle levers on the steering wheel, you can access manual driv-
ing mode regardless of the pre-selected driving mode.
General information about driving in tiptronic mode
When accelerating, the automatic gearbox / DSG automatic gearbox goes
into a higher gear a little before the engine reaches its maximum permitted
revolutions.
If a lower gear is selected, the automatic gearbox / DSG automatic gearbox
will only change down when the engine cannot go over its maximum permit-
ted revolutions.
If tiptronic is selected whilst the vehicle is in motion and the automatic
gearbox / DSG automatic gearbox is in third gear and selector lever position
D, tiptronic mode will then also be in third gear.
Changing gears in the normal or sport programme using the steering wheel
paddle levers
If the paddle levers ⇒ Fig. 151 are used in the normal or sport programme,
the system switches temporarily to tiptronic mode. To exit tiptronic mode again, press the right paddle lever
+ OFF
towards the steering wheel for ap-
proximately one second. You will also leave “Tiptronic” mode if the paddle
levers are not moved for a certain time.
Note
● The gearbox controls on the steering wheel can operate with the selector
lever in any position and with the vehicle in motion.
Kick-down feature
This feature allows maximum acceleration. If you press the accelerator down thoroughly, the gearbox automatically
changes down, depending on speed and engine speed, into a lower gear to
take full advantage of give the vehicle maximum acceleration.
The gearbox does not change gear until the engine reaches the maximum
determined engine speed for the gear.
WARNING
You could lose control of the vehicle if you accelerate on slippery road
surfaces. Risk of serious injury.
● Be particularly careful when using the kick-down features on slippery
road surfaces. With a fast acceleration, the vehicle could lose traction
and skid.
● You should use the kick-down feature only when traffic and weather
conditions allow it to be used safely.
Safety FirstOperating instructionsPractical TipsTechnical Specifications
Page 190 of 321
188Driving
Handbrake
Using the handbrake
The handbrake should be applied firmly to prevent the vehi-
cle from accidentally rolling away.
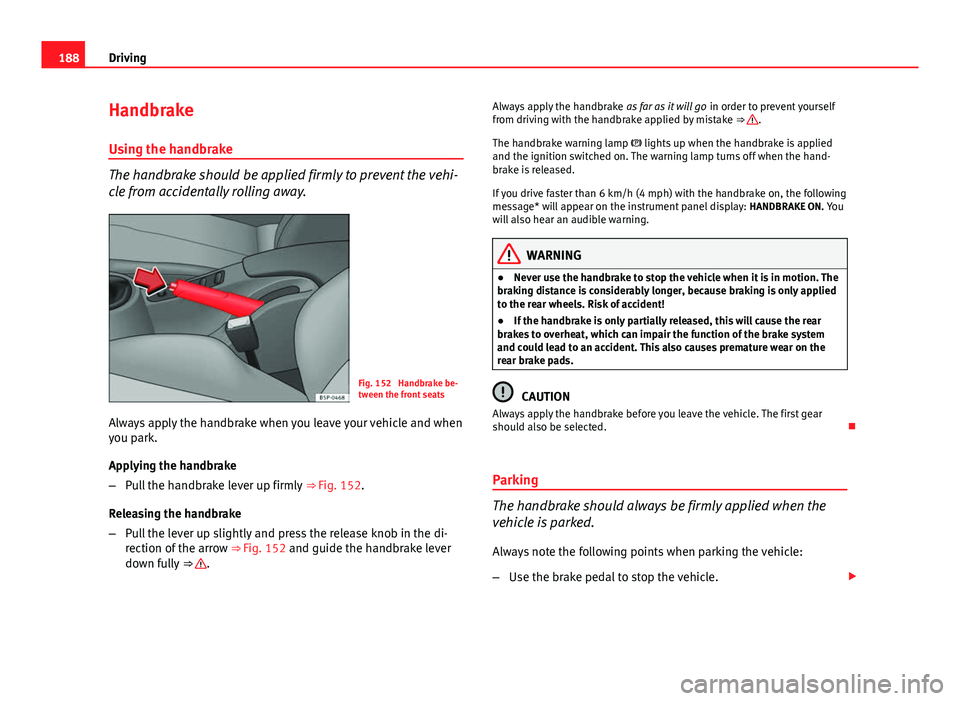
Fig. 152 Handbrake be-
tween the front seats
Always apply the handbrake when you leave your vehicle and when
you park.
Applying the handbrake
– Pull the handbrake lever up firmly ⇒ Fig. 152.
Releasing the handbrake
– Pull the lever up slightly and press the release knob in the di-
rection of the arrow ⇒ Fig. 152 and guide the handbrake lever
down fully ⇒
. Always apply the handbrake
as far as it will go in order to prevent yourself
from driving with the handbrake applied by mistake ⇒
.
The handbrake warning lamp lights up when the handbrake is applied
and the ignition switched on. The warning lamp turns off when the hand-
brake is released.
If you drive faster than 6 km/h (4 mph) with the handbrake on, the following
message* will appear on the instrument panel display: HANDBRAKE ON. You
will also hear an audible warning.
WARNING
● Never use the handbrake to stop the vehicle when it is in motion. The
braking distance is considerably longer, because braking is only applied
to the rear wheels. Risk of accident!
● If the handbrake is only partially released, this will cause the rear
brakes to overheat, which can impair the function of the brake system
and could lead to an accident. This also causes premature wear on the
rear brake pads.
CAUTION
Always apply the handbrake before you leave the vehicle. The first gear
should also be selected.
Parking
The handbrake should always be firmly applied when the
vehicle is parked.
Always note the following points when parking the vehicle:
– Use the brake pedal to stop the vehicle.