display Seat Exeo 2010 MEDIA SYSTEM 1.0
[x] Cancel search | Manufacturer: SEAT, Model Year: 2010, Model line: Exeo, Model: Seat Exeo 2010Pages: 124, PDF Size: 6.27 MB
Page 48 of 124
CD/MP347
Operating
RADIO, CD/MP3
TEL (telephone)
NAV, INFO
SETUP
Starting a CD from the dash panel displaySelecting CD track (CD player activated):
– Press the button on the multi-function steering wheel
⇒page 14 until TR appears at the top of the dash panel display.
– Scroll and press the left thumbwheel on the multi-function steering wheel to select the CD track.
Selecting CD track (CD player deactivated):
– Press the function selector button.
– Press the button on the multi-function steering wheel ⇒page 14 until TR appears at the top of the dash panel display.
– Scroll and press the left thumbwheel on the multi-function steering wheel to select the CD track.
Start fast forward:
– Keep the left thumbwheel on the multi-function steering wheel ⇒page 14 pressed down.
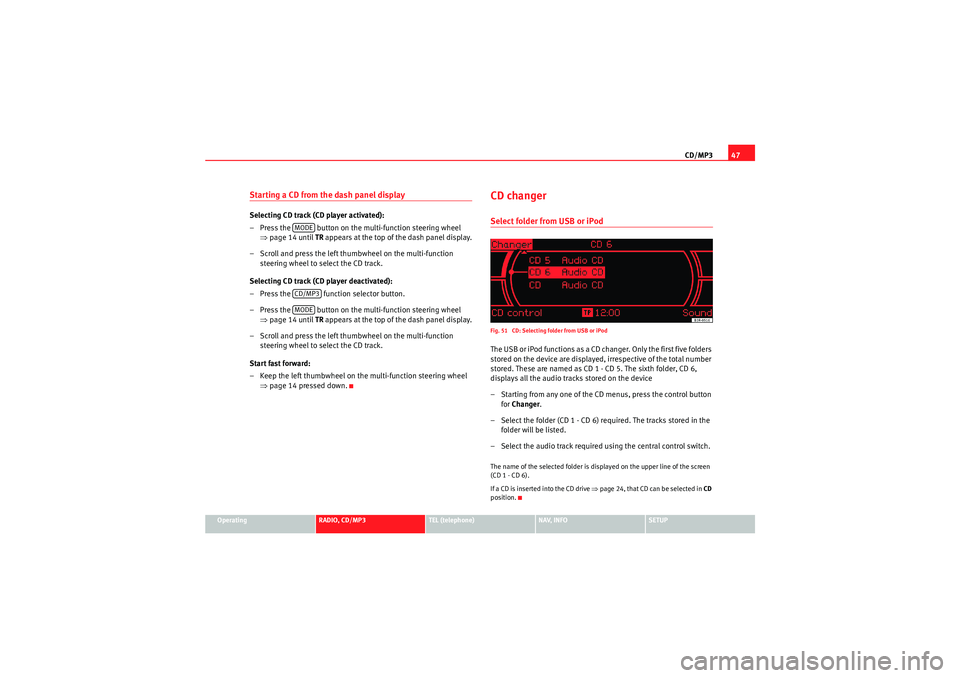
CD changerSelect folder from USB or iPodFig. 51 CD: Selecting folder from USB or iPodThe USB or iPod functions as a CD changer. Only the first five folders
stored on the device are displayed, irrespective of the total number
stored. These are named as CD 1 - CD 5. The sixth folder, CD 6,
displays all the audio tracks stored on the device
– Starting from any one of the CD menus, press the control button
for Changer .
– Select the folder (CD 1 - CD 6) required. The tracks stored in the folder will be listed.
– Select the audio track required using the central control switch.The name of the selected folder is displayed on the upper line of the screen
(CD 1 - CD 6).
If a CD is inser ted into the CD drive ⇒page 24, that CD can be selected in CD
position.
MODECD/MP3MODE
Media System 1.0_EN.book Seite 47 Donnerstag, 10. September 2009 1:52 13
Page 50 of 124
CD/MP349
Operating
RADIO, CD/MP3
TEL (telephone)
NAV, INFO
SETUP
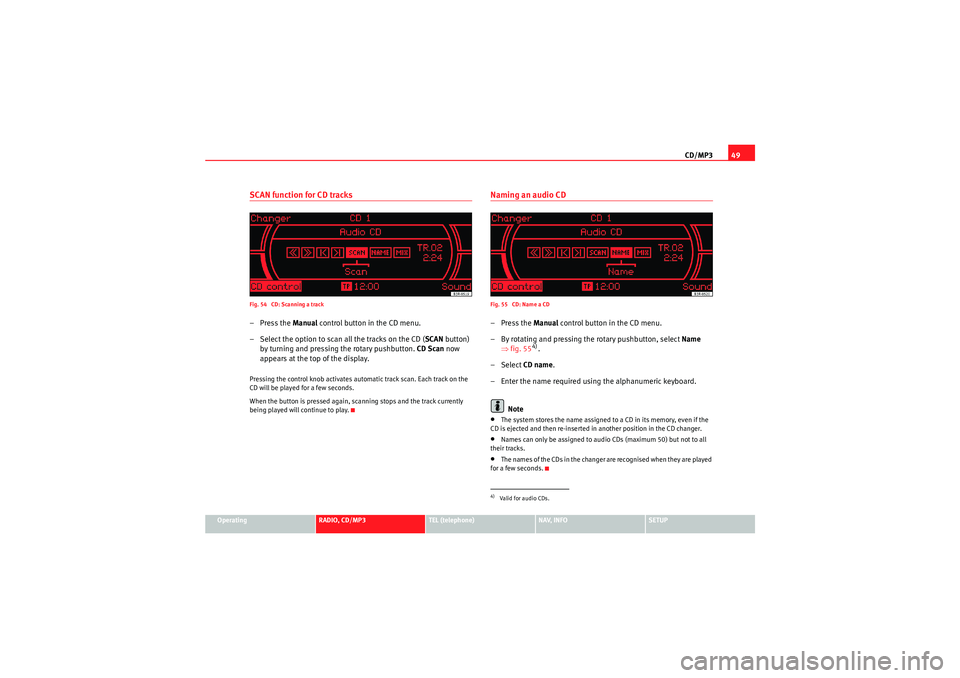
SCAN function for CD tracksFig. 54 CD: Scanning a track–Press the Manual control button in the CD menu.
– Select the option to scan all the tracks on the CD ( SCAN button)
by turning and pressing the rotary pushbutton. CD Scan now
appears at the top of the display.Pressing the control knob activates automatic track scan. Each track on the
CD will be played for a few seconds.
When the button is pressed again, scanning stops and the track currently
being played will continue to play.
Naming an audio CDFig. 55 CD: Name a CD–Press the Manual control button in the CD menu.
– By rotating and pressing the rotary pushbutton, select Name
⇒ fig. 55
4).
– Select CD name.
– Enter the name required using the alphanumeric keyboard.
Note
•The system stores the name assigned to a CD in its memory, even if the
CD is ejected and then re-inserted in another position in the CD changer.•Names can only be assigned to audio CDs (maximum 50) but not to all
their tracks.•The names of the CDs in the changer are recognised when they are played
for a few seconds.4)Valid for audio CDs.
Media System 1.0_EN.book Seite 49 Donnerstag, 10. September 2009 1:52 13
Page 52 of 124
CD/MP351
Operating
RADIO, CD/MP3
TEL (telephone)
NAV, INFO
SETUP
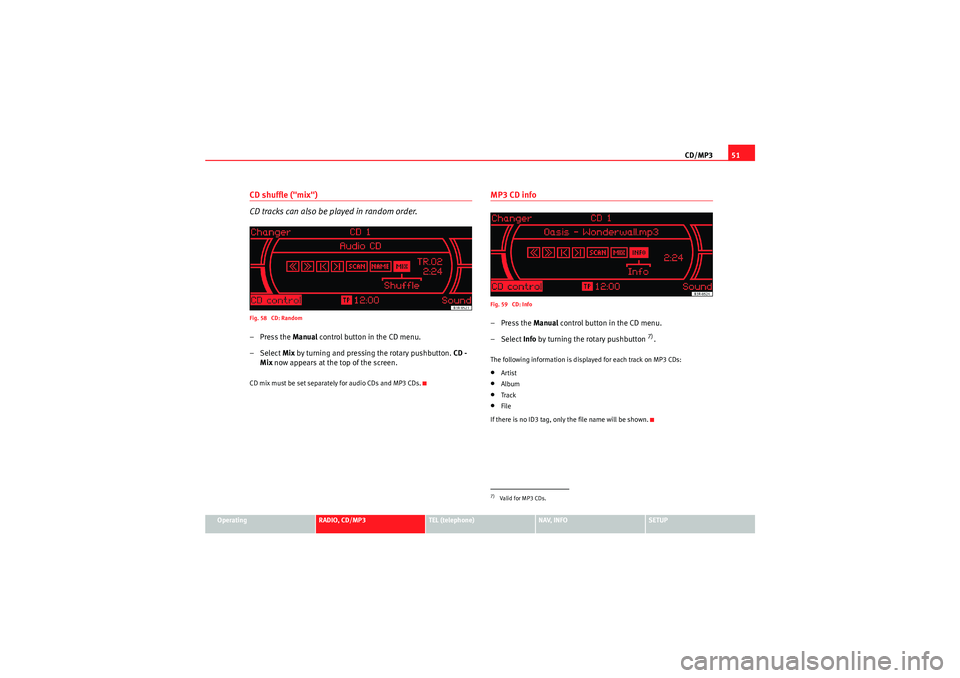
CD shuffle ("mix")
CD tracks can also be played in random order.Fig. 58 CD: Random–Press the Manual control button in the CD menu.
– Select Mix by turning and pressing the rotary pushbutton. CD -
Mix now appears at the top of the screen.CD mix must be set separately for audio CDs and MP3 CDs.
MP3 CD infoFig. 59 CD: Info–Press the Manual control button in the CD menu.
– Select Info by turning the ro tary pushbutton
7).
The following information is displayed for each track on MP3 CDs:•Artist•Album•Track•File
If there is no ID3 tag, only the file name will be shown.7)Valid for MP3 CDs.
Media System 1.0_EN.book Seite 51 Donnerstag, 10. September 2009 1:52 13
Page 53 of 124
CD/MP3
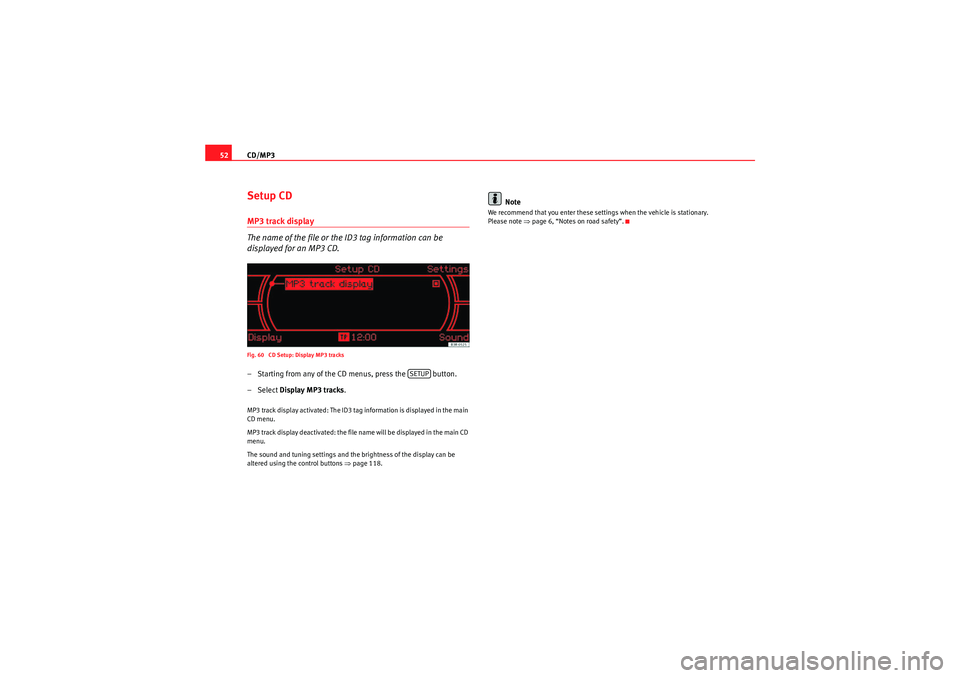
52Setup CDMP3 track display
The name of the file or the ID3 tag information can be
displayed for an MP3 CD.Fig. 60 CD Setup: Display MP3 tracks– Starting from any of the CD menus, press the button.
– Select Display MP3 tracks .MP3 track display activated: The ID3 tag information is displayed in the main
CD menu.
MP3 track display deactivated: the file name will be displayed in the main CD
menu.
The sound and tuning settings and the brightness of the display can be
altered using the control buttons ⇒ page 118.
Note
We recommend that you enter these settings when the vehicle is stationary.
Please note ⇒page 6, “Notes on road safety”.
SETUP
Media System 1.0_EN.book Seite 52 Donnerstag, 10. September 2009 1:52 13
Page 55 of 124
Sound settings
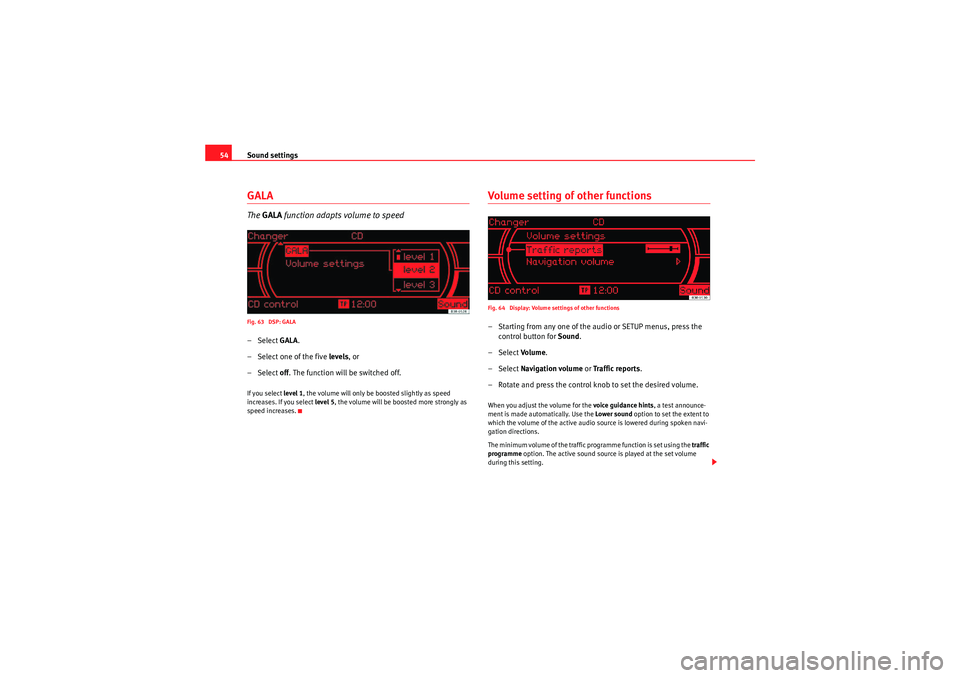
54GALAThe GALA function adapts volume to speedFig. 63 DSP: GALA– Select GALA.
– Select one of the five levels, or
– Select off. The function will be switched off.If you select level 1, the volume will only be boosted slightly as speed
increases. If you select level 5, the volume will be boosted more strongly as
speed increases.
Volume setting of other functionsFig. 64 Display: Volume settings of other functions– Starting from any one of the audio or SETUP menus, press the control button for Sound.
– Select Volu m e .
– Select Navigation volume or Traffic reports .
– Rotate and press the control knob to set the desired volume.When you adjust the volume for the voice guidance hints , a test announce-
ment is made automatically. Use the Lower sound option to set the extent to
which the volume of the active audio source is lowered during spoken navi-
gation directions.
The minimum volume of the traffic programme function is set using the traffic
programme option. The active sound source is played at the set volume
during this setting.
Media System 1.0_EN.book Seite 54 Donnerstag, 10. September 2009 1:52 13
Page 62 of 124
Mobile phone system61
Operating
RADIO, CD/MP3
TEL (telephone)
NAV, INFO
SETUP
Autonomy
The Bluetooth connection between the mobile phone and the mobile phone
adapter is restricted to the interior of the vehicle. The connection may be
susceptible to interference caused by other electronic devices or obstacles
between the devices. If your mobile phone is, for example, in the pocket of
your jacket, this may influence mobile phone detection or data transmission.
Note
•The use of mobile phones in the vehicle can generate electromagnetic
fields.
−Therefore, you should always operate mobile phones with an external
aerial. It is also valid for the use of mobiles using Bluetooth technology.
The external aerial directs the electromagnetic fields to the exterior,
which reduces the field strength in the vehicle interior.
− If retrofitting an external aerial, please ensure that it is installed
correctly.•For more information on how to bond your mobile phone, please refer to
the mobile phone operating instructions.
Using the telephoneIntroduction
Press the button to activate the telephone functions in
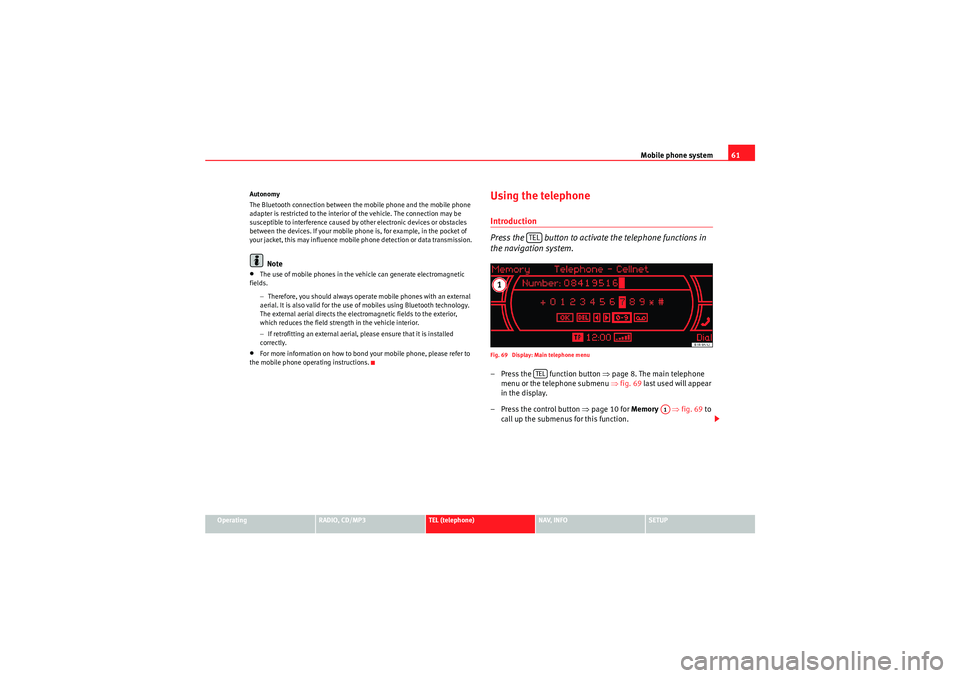
the navigation system.Fig. 69 Display: Main telephone menu– Press the function button ⇒page 8. The main telephone
menu or the telephone submenu ⇒fig. 69 last used will appear
in the display.
– Press the control button ⇒page 10 for Memory ⇒fig. 69 to
call up the submenus for this function.
TELTEL
A1
Media System 1.0_EN.book Seite 61 Donnerstag, 10. September 2009 1:52 13
Page 63 of 124
Mobile phone system
62The following submenus are available in the telephone function:
The following submenus are available in the telephone setup function:
The message “ Your telephone may not be connected or attached properly ”
will appear on the display if you press the button when there is no
connection between the mobile phone and the adapter. Insert the mobile
phone in the adapter ⇒page 59 or connect the phone to the system via Blue-
tooth ⇒page 60.
Requirements for using the telephone•The vehicle must be fitted with a mobile phone adapter ⇒page 57.•A mobile phone has been connected to the mobile phone adapter
⇒ page 59 or•A Bluetooth connection exists between the Bluetooth mobile phone and
the on-board phone system, and the ignition is switched on ⇒page 60.
The telephone functions described in this chapter depend on the following:
•The telephone used must be compatible with the mobile phone adapter
and it must support the telephone functions described.•The mobile network service provider must support the telephone func-
tions described.Note
•For technical reasons, mobile phones may be temporarily affected by
interference. Please refer to the instructions for your mobile phone for more
information.•The range of the handset may be affected in isolated areas (such as a
tunnel or underground garage).•Some places have no range at all. You will not be able to use the tele-
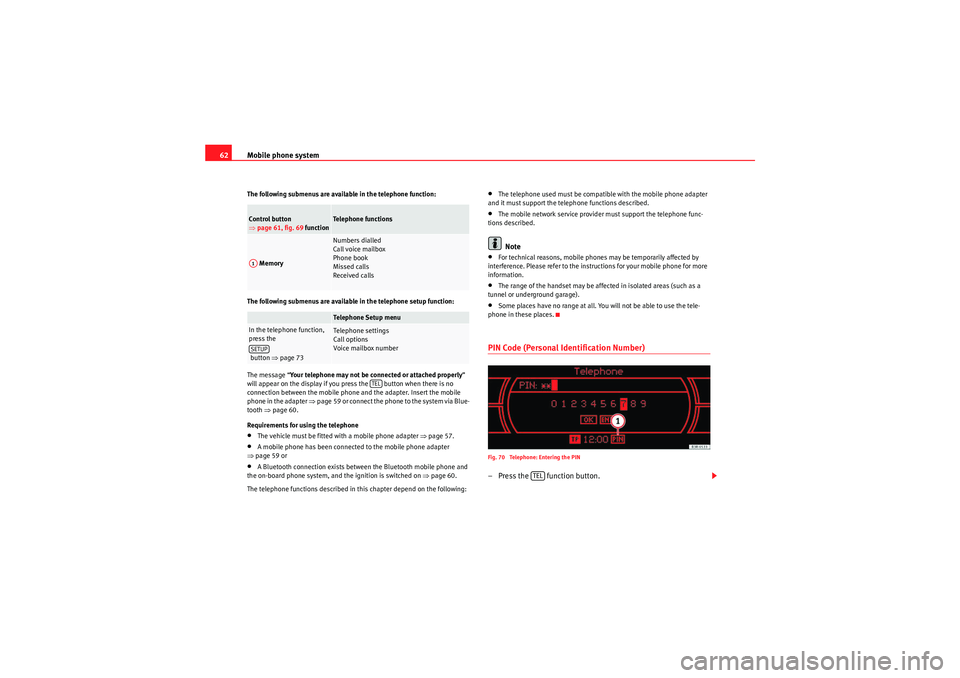
phone in these places.PIN Code (Personal Identification Number)Fig. 70 Telephone: Entering the PIN– Press the function button.
Control button
⇒ page 61, fig. 69 function
Te l e p h o n e f u n c t i o n s
Memory
Numbers dialled
Call voice mailbox
Phone book
Missed calls
Received callsTelephone Setup menu
In the telephone function,
press the
button ⇒page 73
Telephone settings
Call options
Voice mailbox num ber
A1SETUP
TEL
TEL
Media System 1.0_EN.book Seite 62 Donnerstag, 10. September 2009 1:52 13
Page 64 of 124
Mobile phone system63
Operating
RADIO, CD/MP3
TEL (telephone)
NAV, INFO
SETUP
– Enter the PIN code (Personal Identification Number) via the
speller ⇒page 62, fig. 70 and confirm with OK.The PIN symbol ⇒page 62, fig. 70 in the status line indicates that you
must enter your PIN code. You receive the PIN code from your mobile network
service provider together with the SIM card.
You can enter the PIN code using the speech control system and the
command ENTER PIN ⇒page 79 or using the keypad of your mobile phone.
The alphanumeric keyboard will be displayed automatically when the PIN
code is to be entered in the telephone menu. This will be the case, for
example, when you switch on the mobile phone.
The SIM card will automatically be blocked if you enter the PIN code incor-
rectly 3 times
10). The SIM card can be unblocked with the PUK (personal
unblocking key).
Note
•When you enter the PIN code the digits appear as * in the display.•The PIN sy m b ol may no t a lways b e sh own i n t he display ( de p end s o n t yp e
of mobile phone).•Depending on your type of mobile phone, you may need to enter the PIN
code at the phone. In this case, no message will appear in the display indi-
cating that you need to enter the PIN code.
Main telephone menuMaking a call
Telephone numbers can be entered using the keypad on the
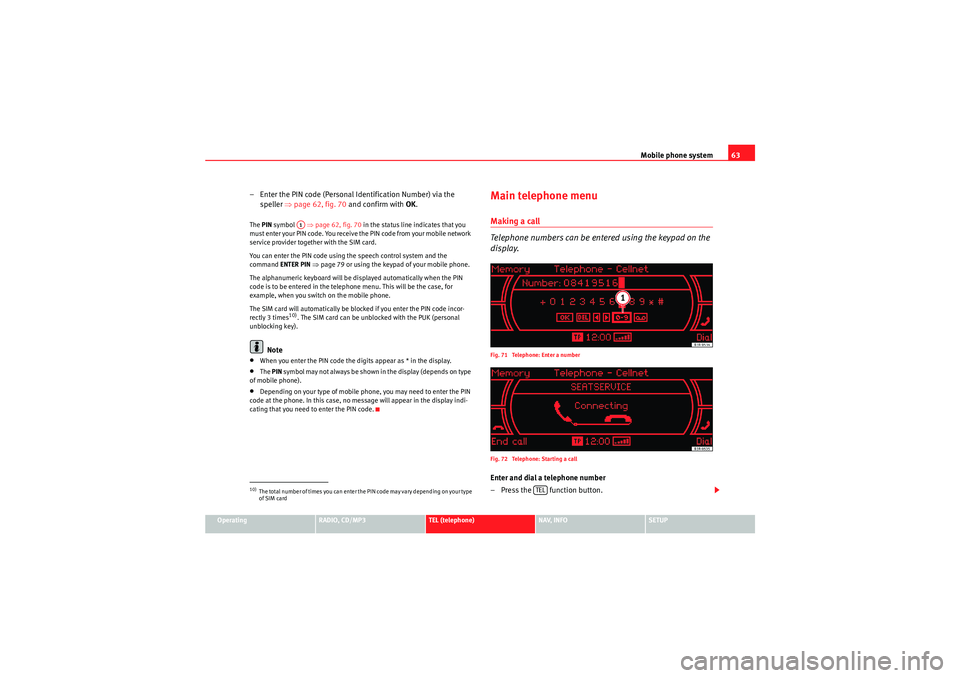
display.Fig. 71 Telephone: Enter a number
Fig. 72 Telephone: Starting a callEnter and dial a telephone number
– Press the function button.
10)The total number of times you can enter the PIN code may vary depending on your type
of SIM card
A1
TEL
Media System 1.0_EN.book Seite 63 Donnerstag, 10. September 2009 1:52 13
Page 65 of 124
Mobile phone system
64
– By rotating and pressing the control knob, dial the phone number required, without forgetting any area codes ⇒page 63,
fig. 71 .
– To start dialling the number, select OK in the alphanumeric
keyboard, or
– Press the control button for Dial ⇒ page 63, fig. 72 .
Entering the telephone number using a sequence of letters
– Press the function button.
– Enter an area code, e.g. 0800 by turning and pressing the rotary
pushbutton in the speller ⇒ page 63, fig. 71.
– Select 0-9 ⇒page 63, fig. 71 in the alphanumeric keyboard
for numbers. The keyboard for letters will appear ⇒page 21,
fig. 26 .
– Enter a string of letters, e.g. SEAT SERVICE by turning and
pressing the rotary pushbutton in the speller.
– To start dialling the SEAT SERVICE number, select OK in the
speller, or
–Press the Dial control button.
Finding and dialling stored telephone numbers
–Press the Memory control button.
– Select Numbers dialled , Phone book , Missed calls or Received
calls . The numbers will be listed.
– Using the rotary pushbutton, select the number you wish to store. The number will be included in the keyboard. – To start dialling the number, select
OK in the alphanumeric
keyboard, or
–Press the Dial control button.
If your vehicle is equipped with a speech control system*, you can dial
numbers using voice commands ⇒ page 79 or record names (name tags) for
the speech control phone book ⇒ page 76. In addition, you can redial the
last called phone number using the speech control system* ⇒page 79.
Note
•DTMF tones can be entere d directly using the alphanumeric keyboard or
loaded from the telephone numbers stored in the memory lists ⇒page 68.•The audio source is muted automatically when you make or receive tele-
phone calls. The Mute symbol ⇒page 12, fig. 13 will then appear in the
status line.•You can still make calls using the mobile phone. Please refer to the
instructions for your mobile phone for more information.•If you make calls using the mobile phone, the telephone number may not
appear on the display.•Navigation messages are given during a telephone call if the navigation
system has been set to do so ⇒page 106.
TELA1
A1
Media System 1.0_EN.book Seite 64 Donnerstag, 10. September 2009 1:52 13
Page 66 of 124
Mobile phone system65
Operating
RADIO, CD/MP3
TEL (telephone)
NAV, INFO
SETUP
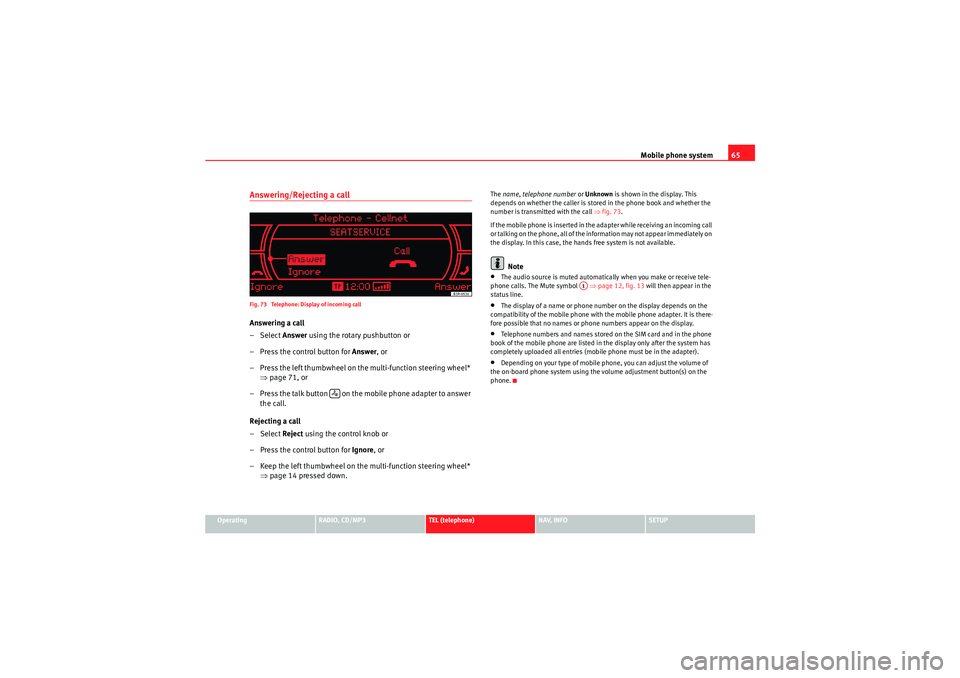
Answering/Rejecting a callFig. 73 Telephone: Display of incoming callAnswering a call
– Select Answer using the rotary pushbutton or
– Press the control button for Answer, or
– Press the left thumbwheel on the multi-function steering wheel* ⇒page 71, or
– Press the talk button on the mobile phone adapter to answer the call.
Rejecting a call
– Select Reject using the control knob or
– Press the control button for Ignore, or
– Keep the left thumbwheel on the multi-function steering wheel* ⇒page 14 pressed down.
The name, telephone number or Unknown is shown in the display. This
depends on whether the caller is stored in the phone book and whether the
number is transmitted with the call ⇒fig. 73 .
If the mobile phone is inserted in the adapter while receiving an incoming call
or talking on the phone, all of the information may not appear immediately on
the display. In this case, the hands free system is not available.
Note
•The audio source is muted automatically when you make or receive tele-
phone calls. The Mute symbol ⇒page 12, fig. 13 will then appear in the
status line.•The display of a name or phone number on the display depends on the
compatibility of the mobile phone with the mobile phone adapter. It is there-
fore possible that no names or phone numbers appear on the display.•Telephone numbers and names stored on the SIM card and in the phone
book of the mobile phone are listed in the display only after the system has
completely uploaded all entries (mobile phone must be in the adapter).•Depending on your type of mobile phone, you can adjust the volume of
the on-board phone system using the volume adjustment button(s) on the
phone.
A1
Media System 1.0_EN.book Seite 65 Donnerstag, 10. September 2009 1:52 13