radio Seat Leon 5D 2013 MEDIA SYSTEM TOUCH - COLOUR
[x] Cancel search | Manufacturer: SEAT, Model Year: 2013, Model line: Leon 5D, Model: Seat Leon 5D 2013Pages: 56, PDF Size: 2.47 MB
Page 19 of 56

18Audio modeSetup (FM, AM)
FM setup
●
Select the frequency band FM by pressing the infotainment buttonRADIO.
●
Press the function button Setup to open the menu FM setup.
Function button: effectSCAN: scan function. When the scan function is running, all available sta-tions on the current frequency band are played in sequence for aroundfive seconds each ⇒ page 14.
Traffic program*: TP function (traffic news monitoring) activated ⇒ page 16 a) Radio text: radio text is activated ⇒ page 16.a)Search mode: determines the setup of the buttons with arrows and .The setup will only be stored for the current band (FM, AM). Station list: All available stations on the selected frequency band can beselected with the arrow buttons. Presets: Using the arrow buttons, only switches between the stored sta-tions.Sort by*: choose the mode in which the stations will be arrangeda). Group: group the stations.Alphabetically: sort by alphabetical order.Delete presets: deletes the stored stations (all or separately). All stored stations are deleted (FM 1, FM 2, FM 3). To delete stations in-dividually, select the required memory bank. Then press the stored sta-tion button of the station to delete.
Advanced setup*: setup of the radio data services RDS.Function button: effect Radio data system (RDS): radio data system (RDS) activated ⇒ page 15.With the checkbox deselected , the functions depending on the RDSsystem will not be available. The function buttons depending on theRDS system will remain inactive (in grey). Alternative frequency (AF): the automatic station tracking is active. If thecheckbox is deselected , automatic station tracking is switched off.The function button Regional RDS will remain inactive (in grey).a)
Regional RDS: determines the setup for the regional automatic stationtracking via the RDS ⇒ page 15a). Fixed: only the alternative frequencies of the station tuned in that areadjusted to the same regional programme will be adjusted. Automatic: it will always change to the frequency of the station setthat offers the best reception at that time, even if it means interrupt-ing a regional broadcast.
a)
If the function button is deactivated (in grey), you must first activate the function button radio data system (RDS).
AM setup
●
Select the AM frequency band by pressing the RADIO infotainment but-ton.
●
Press the function button Setup to open the menu AM setup.
Function button: effectSCAN: scan function. When the scan function is running, all available sta-tions on the current frequency band are played in sequence for aroundfive seconds each ⇒ page 14.
Traffic program: The TP function (traffic news monitoring) is activated⇒ page 16.Search mode: determines the setup of the buttons with arrows and .The setup will only be stored for the current band (FM, AM). Station list: All available stations on the selected frequency band can beselected with the arrow buttons.
Page 24 of 56
23Audio modeFunction buttons of the main menu MediaFunction but-tonEffect
MEDIA
Press to select another media source ⇒ page 23.CD: internal CD drive unit ⇒ page 23.SD card: SD memory card ⇒ page 24.Bluetooth audio: Bluetooth audio ⇒ page 25.USB: USB data medium ⇒ page 29.AUX: external audio source ⇒ page 29.
SELECTIONOpens the list of tracks ⇒ page 27. or Changes track in Media mode ⇒ page 26.Playback will stop. The function button changes to ⇒ page 26.Playback will continue. The function button changes to ⇒ page 26.SETTINGSOpens the menu Media setup ⇒ page 27.Repeat all the tracks.Repeat the current track.Random play.
SCAN
With the scan function running, all the tracks in the currentplaylist will be played for ten seconds each.The function button is displayed only when the scan func-tion is running. To start the scan function, press the settingknob or open the track list Selection and press the functionbutton SCAN or press the right knob.
or Change folder in media modeInformation and possible iconsdisplayMeaningA
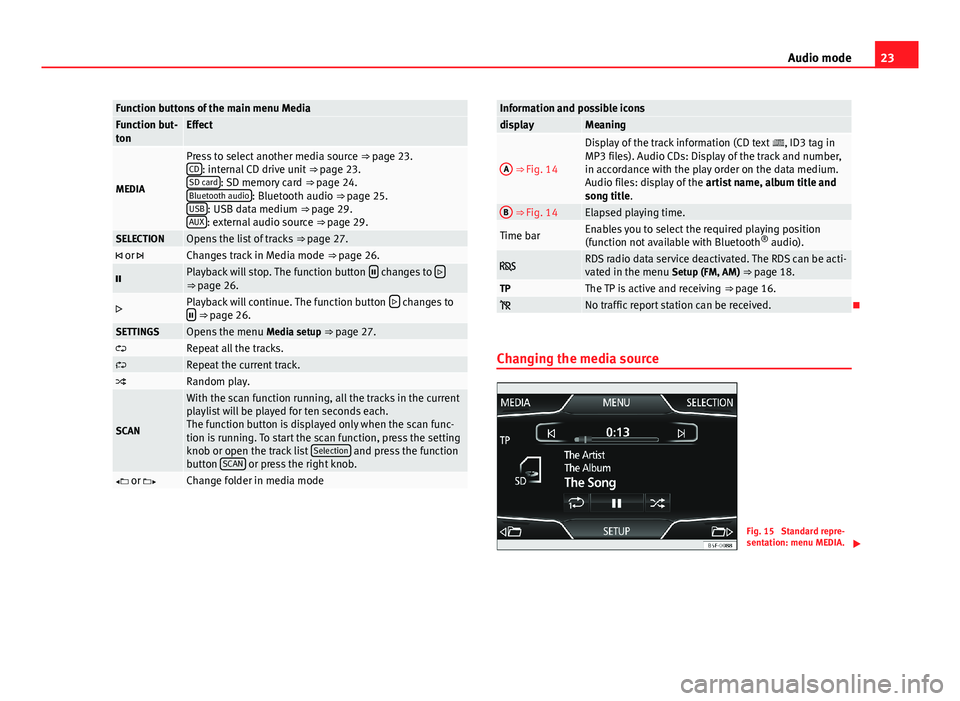
⇒ Fig. 14
Display of the track information (CD text , ID3 tag inMP3 files). Audio CDs: Display of the track and number,in accordance with the play order on the data medium.Audio files: display of the artist name, album title andsong title.
B ⇒ Fig. 14Elapsed playing time.Time barEnables you to select the required playing position(function not available with Bluetooth® audio). RDS radio data service deactivated. The RDS can be acti-vated in the menu Setup (FM, AM) ⇒ page 18.TPThe TP is active and receiving ⇒ page 16. No traffic report station can be received.
Changing the media source
Fig. 15
Standard repre-sentation: menu MEDIA.
Page 29 of 56
28Audio modeFunction button: effectRemove the SD card safely: the system closes the SD card, subsequently ena-bling it to be ejected safely ⇒ page 24. Traffic Information (TP): The TP function (traffic news monitoring) is activa-ted ⇒ page 16. If the function button is deactivated (in grey), you mustfirst activate the function button radio data system (RDS) in the FM Setupmenu ⇒ page 18.
Mix/Repeat incl. subfolders: the subfolders are taken into account in theplayback mode selected ⇒ page 22.SCAN: actives the SCAN function.External AUX device: enables or disables the AUX source.Bluetooth audio autoplay: ⇒ page 25.Bluetooth setup: ⇒ page 40.Safely remove the USB device: the system closes the USB, subsequently ena-bling it to be ejected safely.
USB/AUX-IN multimedia interface*
Introduction
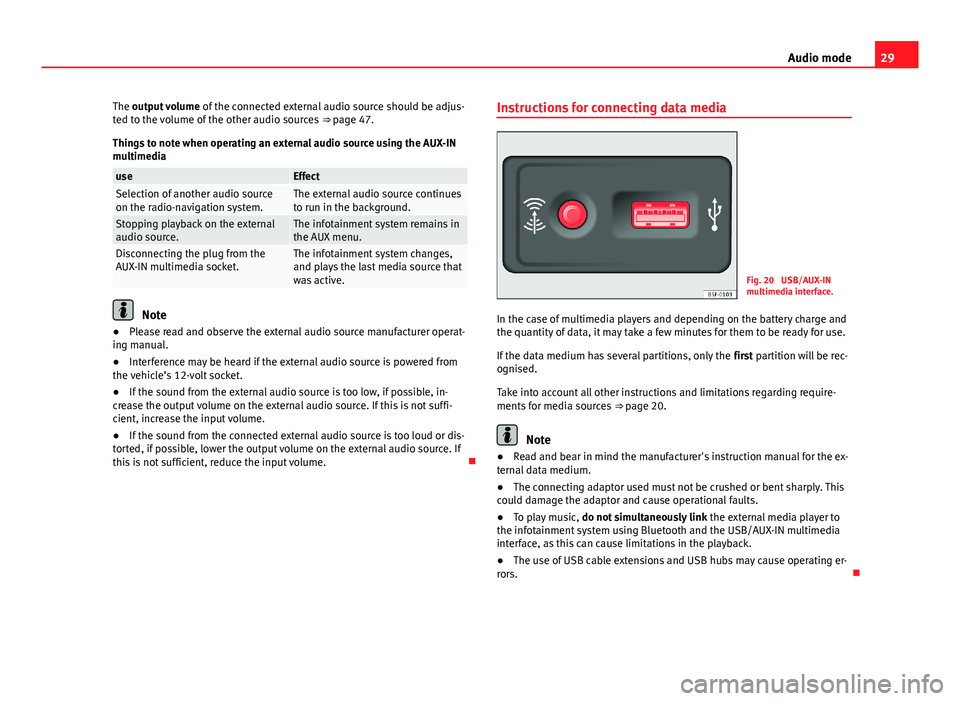
Depending on the market and the features, the vehicle may have a USB -AUX-IN connection ⇒ Fig. 20.
The infotainment system enables you to play and manage audio files froman external data medium connected to the USB/AUX-IN multimedia inter-face.
Where this manual refers to external data media, this means USB mass stor-age devices containing supported audio files, such as MP3 players and USBsticks.
The USB - AUX-IN multimedia interface supplies the usual USB voltage of 5volts.
External audio source connected to the AUX-IN multimedia
socket
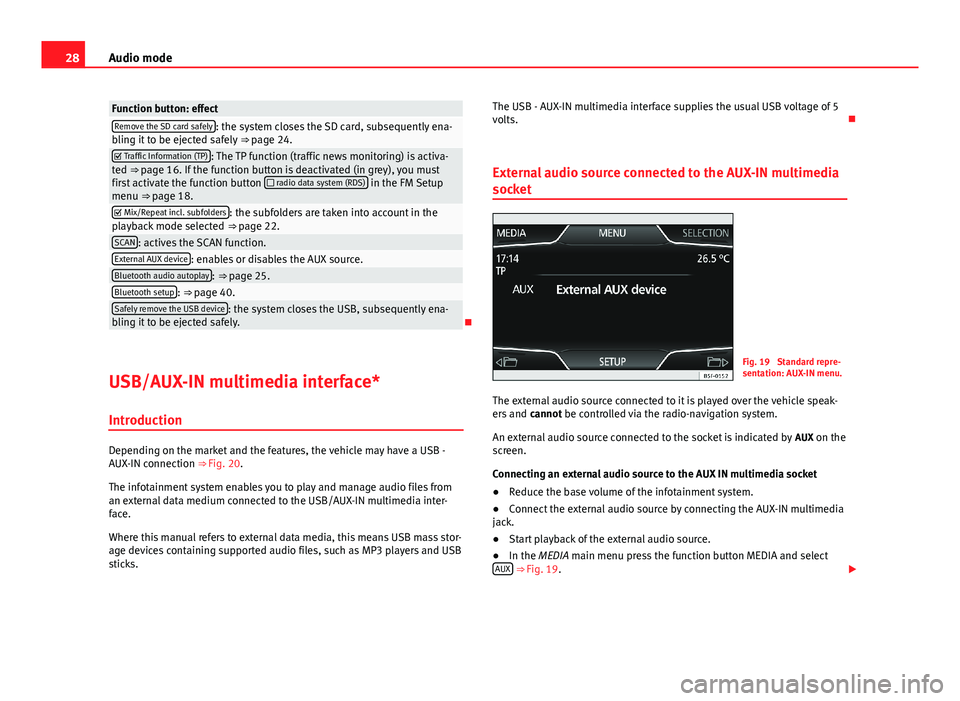
Fig. 19
Standard repre-sentation: AUX-IN menu.
The external audio source connected to it is played over the vehicle speak-ers and cannot be controlled via the radio-navigation system.
An external audio source connected to the socket is indicated by AUX on thescreen.
Connecting an external audio source to the AUX IN multimedia socket
●
Reduce the base volume of the infotainment system.
●
Connect the external audio source by connecting the AUX-IN multimediajack.
●
Start playback of the external audio source.
●
In the MEDIA main menu press the function button MEDIA and selectAUX ⇒ Fig. 19.
Page 30 of 56
29Audio modeThe output volume of the connected external audio source should be adjus-ted to the volume of the other audio sources ⇒ page 47.
Things to note when operating an external audio source using the AUX-INmultimedia
useEffectSelection of another audio sourceon the radio-navigation system.The external audio source continuesto run in the background.Stopping playback on the externalaudio source.The infotainment system remains inthe AUX menu.Disconnecting the plug from theAUX-IN multimedia socket.The infotainment system changes,and plays the last media source thatwas active.
Note
●Please read and observe the external audio source manufacturer operat-ing manual.●
Interference may be heard if the external audio source is powered fromthe vehicle’s 12-volt socket.
●
If the sound from the external audio source is too low, if possible, in-crease the output volume on the external audio source. If this is not suffi-cient, increase the input volume.
●
If the sound from the connected external audio source is too loud or dis-torted, if possible, lower the output volume on the external audio source. Ifthis is not sufficient, reduce the input volume.
Instructions for connecting data mediaFig. 20
USB/AUX-INmultimedia interface.
In the case of multimedia players and depending on the battery charge andthe quantity of data, it may take a few minutes for them to be ready for use.
If the data medium has several partitions, only the first partition will be rec-ognised.
Take into account all other instructions and limitations regarding require-ments for media sources ⇒ page 20.
Note
●Read and bear in mind the manufacturer's instruction manual for the ex-ternal data medium.●
The connecting adaptor used must not be crushed or bent sharply. Thiscould damage the adaptor and cause operational faults.
●
To play music, do not simultaneously link the external media player tothe infotainment system using Bluetooth and the USB/AUX-IN multimediainterface, as this can cause limitations in the playback.
●
The use of USB cable extensions and USB hubs may cause operating er-rors.
Page 33 of 56
32PHONE mode*●Consult the compatibility list to ensure your mobile phone will workproperly.●
If you detect any strange behaviour between your mobile phone and theradio, restart your mobile by switching it off and on again.
●
Most electronic devices are shielded against high-frequency radio sig-nals. On certain occasions, nevertheless, electronic equipment might notbe protected against the radio frequency signals of the telephone manage-ment (Phone). This may produce interference.
Places with special regulations
Switch off the mobile phone and the preinstallation for mobile telephonesin places with risk of explosion. These areas are common but are not alwaysclearly marked ⇒ in Introduction to telephone management on page 31.They include, for example:
●
Areas with piping and reservoirs containing chemical products.
●
Below deck, on boats and ferries.
●
Near vehicles that run on liquefied gas (such as propane or butane).
●
In places where there are chemical substances or particles such as flour,dust or metal chips in the air.
●
In any other place where you must turn off the engine of your vehicle.
WARNINGSwitch off your mobile phone in places with risk of explosion! Your mo-bile phone will automatically connect to the mobile phone network assoon as the Bluetooth connection is cut from the mobile preinstallation.
NoteIn areas with special requirements and where the use of mobile phones isprohibited, you must keep the mobile phone and its preinstallation switch-ed off at all times. The radiation emitted by mobile phones when switchedon can cause interference in sensitive technical and medical equipment,which could damage this equipment or cause it to stop working properly.
Linking and connecting your mobile phone to
the infotainment system
To operate a mobile phone through the infotainment system, you need tolink both devices one time only.
For your safety, we recommend you carry out this connection when the vehi-cle is stationary. In some countries you cannot perform the pairing with thevehicle running.
You must guarantee the following setup in the mobile phone and the info-tainment system:
●
The Bluetooth® function must be active and visible on the mobile phoneand infotainment system, respectively.
●
The keypad lock of the mobile phone must be disconnected.
●
The notification and key tones of your mobile phone must be disconnec-ted.
In some countries, after switching the ignition on, the Bluetooth® functionof the infotainment system must be activated or remain visible for around 3minutes.
During the linking process you must enter data using your mobile phone'skeypad. To do so, you must have your mobile phone to hand.
Page 35 of 56
34PHONE mode*Note●The behaviour may vary depending on the device connected.●
For some android mobile devices you must accept the request to accessthe PBAP phonebook after linking, to be able to access the phonebook. It isrecommended to activate the option “always” so as not to have to accept itevery time you connect.
General information
Please refer to the notes on using a mobile phone in the vehicle withoutconnection to exterior antenna ⇒ Booklet Instruction Manual, chapter Ac-cessories and technical modifications.
Only use devices that support Bluetooth. At your SEAT dealership, or on theInternet, you will find information about products that support Bluetooth.
Take into account the instruction manual of the mobile phone and of themanufacturer of the accessories. In areas with poor coverage there may beanomalies in the reception and calls may be interrupted.
Most electronic devices are shielded against radio frequency signals (high-frequency). On some occasions, nevertheless, electronic devices cannot beprotected against the radio frequency signals from the telephone manager.This may produce interference.
Note
●There may be restrictions on the use of Bluetooth devices in some coun-tries. Information is available from the local authorities.●
To connect the phone manager to a device via Bluetooth technology,read the corresponding instruction manual for the particular safety instruc-tions. Only use products that support Bluetooth.
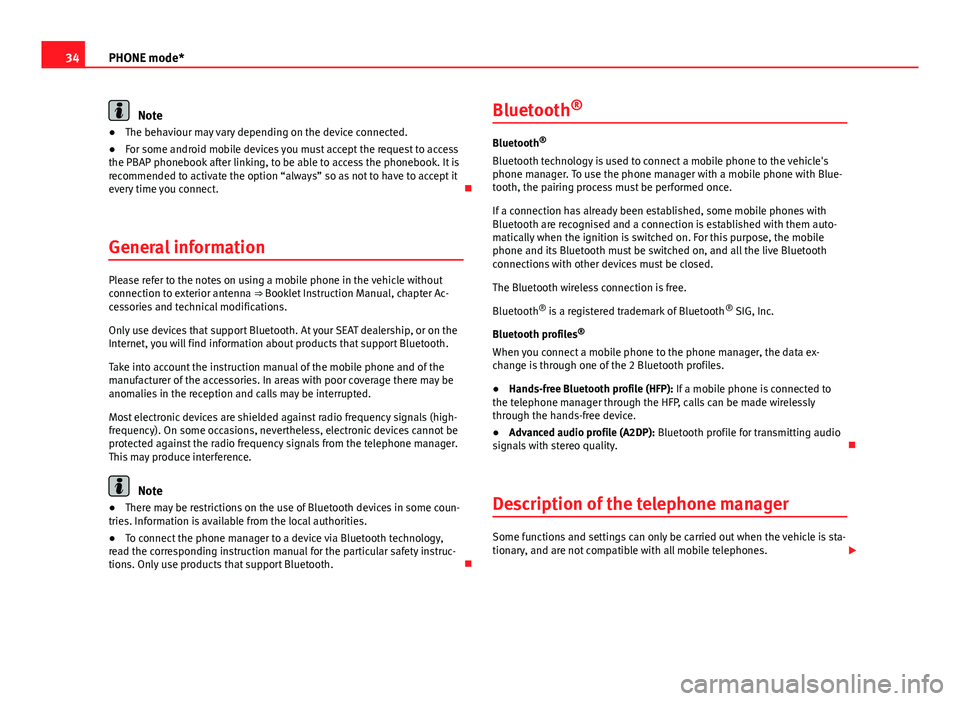
Bluetooth®
Bluetooth®
Bluetooth technology is used to connect a mobile phone to the vehicle'sphone manager. To use the phone manager with a mobile phone with Blue-tooth, the pairing process must be performed once.
If a connection has already been established, some mobile phones withBluetooth are recognised and a connection is established with them auto-matically when the ignition is switched on. For this purpose, the mobilephone and its Bluetooth must be switched on, and all the live Bluetoothconnections with other devices must be closed.
The Bluetooth wireless connection is free.
Bluetooth® is a registered trademark of Bluetooth® SIG, Inc.
Bluetooth profiles®
When you connect a mobile phone to the phone manager, the data ex-change is through one of the 2 Bluetooth profiles.
●
Hands-free Bluetooth profile (HFP): If a mobile phone is connected tothe telephone manager through the HFP, calls can be made wirelesslythrough the hands-free device.
●
Advanced audio profile (A2DP): Bluetooth profile for transmitting audiosignals with stereo quality.
Description of the telephone manager
Some functions and settings can only be carried out when the vehicle is sta-tionary, and are not compatible with all mobile telephones.
Page 41 of 56

40PHONE mode*Bluetooth setup
In the PHONE main menu, press the function button Setup and then pressBluetooth setup.
Function button: effect Bluetooth: press to switch off the Bluetooth in the system.Visibility: activate and deactivate the Bluetooth “visibility” of the infotain-ment system using the function button . To link a mobile phone to theinfotainment system the visibility must be activated. With the settingAt start-up, visibility is disabled after a certain time. If you have a Bluetoothaudio device active and playing, the visibility is automatically set to “notvisible”.
Name: when you open this option it opens a keyboard, with which you canmodify the default name of the device.My devices: shows the devices linked to the system. In this menu connection/disconnection of the required profiles of theBluetooth device connections can be managed.When pressing a device a new screen will open with the availableprofiles.When a profile is pressed the system connects to this profile.If it is already connected to a profile it will disconnect the selectedprofile.
Find: looks for Bluetooth devices that are switched on and visible withinthe working radius of the infotainment system. The working radius is ap-proximately 10 metres.
A2DP Bluetooth audio: function button that activates and deactivates theuse of the radio as the Bluetooth receiver of the audio source.
User profile setup
In the main menu PHONE, press the function button Setup and then pressUser profile.
Function button: effectMemory in use: Displays the number of total contacts downloaded that con-tain at least one phone number, maximum of 2000 phones.Sort by: determine the order sequence of the phonebook entries, by sur-name, first name, or by first name, surname.Import contacts: press to import the phonebook of the telephone connected,or to update a phonebook that has already been imported.
Note
Some telephones require a restart to download the last contacts addedagain.
Page 46 of 56
45SetupSetupSystem setup Menu (SETUP)
Introduction
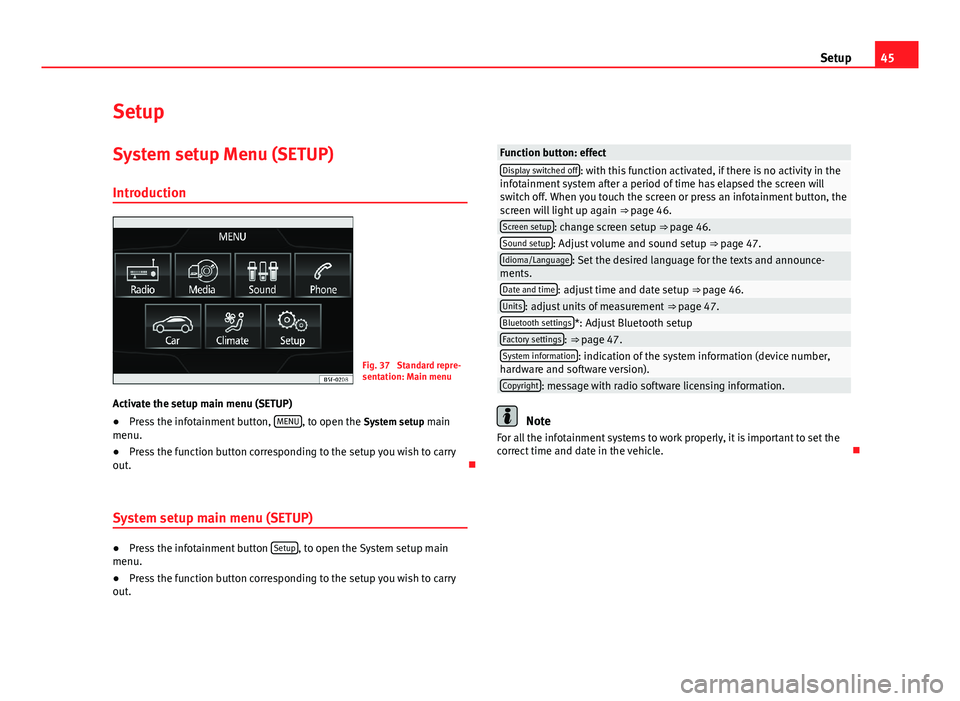
Fig. 37
Standard repre-sentation: Main menu
Activate the setup main menu (SETUP)
●
Press the infotainment button, MENU, to open the System setup mainmenu.
●
Press the function button corresponding to the setup you wish to carryout.
System setup main menu (SETUP)
●
Press the infotainment button Setup, to open the System setup mainmenu.
●
Press the function button corresponding to the setup you wish to carryout.
Function button: effectDisplay switched off: with this function activated, if there is no activity in theinfotainment system after a period of time has elapsed the screen willswitch off. When you touch the screen or press an infotainment button, thescreen will light up again ⇒ page 46.
Screen setup: change screen setup ⇒ page 46.Sound setup: Adjust volume and sound setup ⇒ page 47.Idioma/Language: Set the desired language for the texts and announce-ments.Date and time: adjust time and date setup ⇒ page 46.Units: adjust units of measurement ⇒ page 47.Bluetooth settings*: Adjust Bluetooth setupFactory settings: ⇒ page 47.System information: indication of the system information (device number,hardware and software version).Copyright: message with radio software licensing information.
Note
For all the infotainment systems to work properly, it is important to set thecorrect time and date in the vehicle.
Page 49 of 56
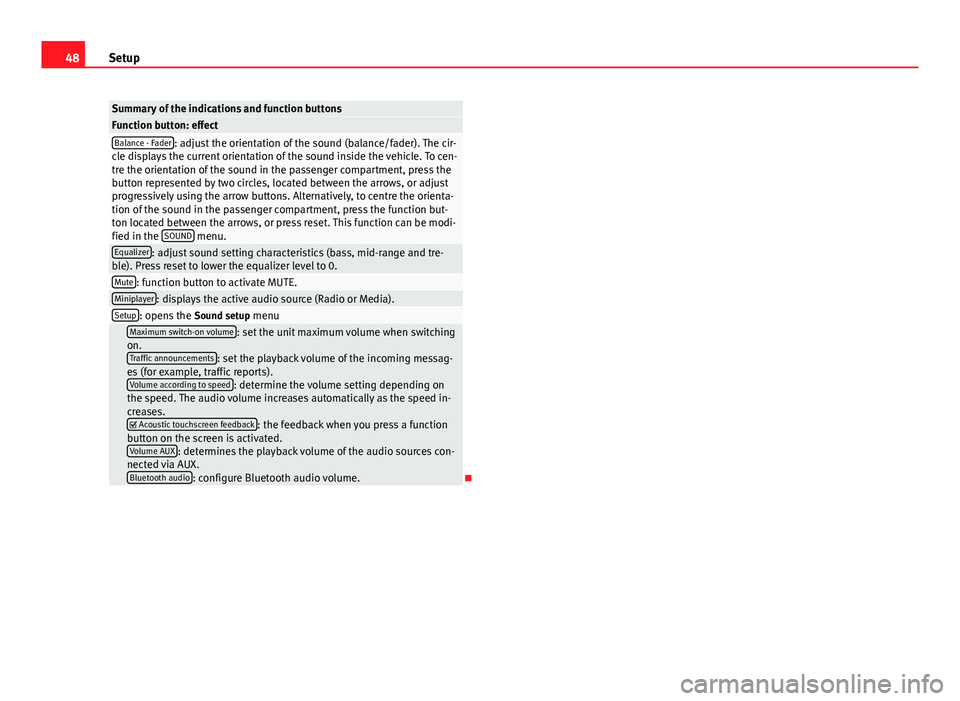
48SetupSummary of the indications and function buttonsFunction button: effectBalance - Fader: adjust the orientation of the sound (balance/fader). The cir-cle displays the current orientation of the sound inside the vehicle. To cen-tre the orientation of the sound in the passenger compartment, press thebutton represented by two circles, located between the arrows, or adjustprogressively using the arrow buttons. Alternatively, to centre the orienta-tion of the sound in the passenger compartment, press the function but-ton located between the arrows, or press reset. This function can be modi-fied in the SOUND menu.
Equalizer: adjust sound setting characteristics (bass, mid-range and tre-ble). Press reset to lower the equalizer level to 0.Mute: function button to activate MUTE.Miniplayer: displays the active audio source (Radio or Media).Setup: opens the Sound setup menu Maximum switch-on volume: set the unit maximum volume when switchingon.Traffic announcements: set the playback volume of the incoming messag-es (for example, traffic reports).Volume according to speed: determine the volume setting depending onthe speed. The audio volume increases automatically as the speed in-creases. Acoustic touchscreen feedback: the feedback when you press a functionbutton on the screen is activated.Volume AUX: determines the playback volume of the audio sources con-nected via AUX.Bluetooth audio: configure Bluetooth audio volume.
Page 50 of 56
49AbbreviationsAbbreviationsAbbreviationsAbbreviationMeaningAMAmplitude modulation (medium wave, MW).AUX-INAUX IN multimedia socket (auxiliary input).FMFrequency modulation (very high frequency, VHF).RDSRadio data system.TPTraffic Programme.