ignition SKODA YETI 2011 1.G / 5L User Guide
[x] Cancel search | Manufacturer: SKODA, Model Year: 2011, Model line: YETI, Model: SKODA YETI 2011 1.G / 5LPages: 252, PDF Size: 3.61 MB
Page 27 of 252
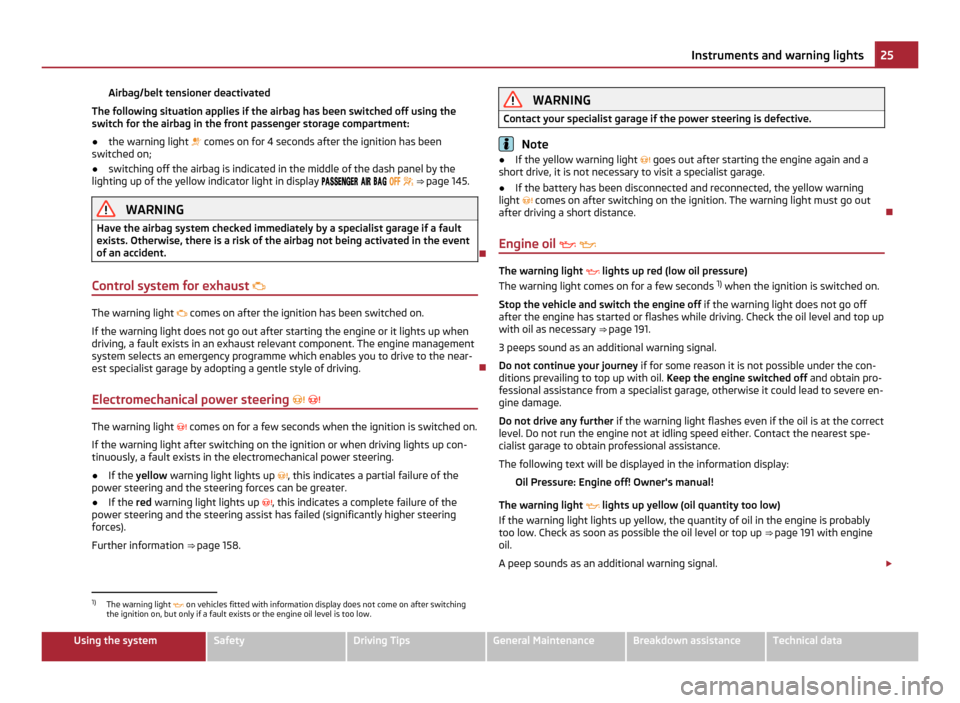
Airbag/belt tensioner deactivated
The following situation applies if the airbag has been switched off using the
switch for the airbag in the front passenger storage compartment:
● the warning light comes on for 4 seconds after the ignition has been
switched on;
● switching off the airbag is indicated in the middle of the dash panel by the
lighting up of the yellow indicator light in display
⇒ page 145. WARNING
Have the airbag system checked immediately by a specialist garage if a fault
exists. Otherwise, there is a risk of the airbag not being activated in the event
of an accident.
Control system for exhaust The warning light
comes on after the ignition has been switched on.
If the warning light does not go out after starting the engine or it lights up when
driving, a fault exists in an exhaust relevant component. The engine management
system selects an emergency programme which enables you to drive to the near-
est specialist garage by adopting a gentle style of driving.
Electromechanical power steering
The warning light
comes on for a few seconds when the ignition is switched on.
If the warning light after switching on the ignition or when driving lights up con-
tinuously, a fault exists in the electromechanical power steering.
● If the yellow warning light lights up , this indicates a partial failure of the
power steering and the steering forces can be greater.
● If the
red warning light lights up , this indicates a complete failure of the
power steering and the steering assist has failed (significantly higher steering
forces).
Further information ⇒ page 158. WARNING
Contact your specialist garage if the power steering is defective. Note
● If the yellow warning light goes out after starting the engine again and a
short drive, it is not necessary to visit a specialist garage.
● If the battery has been disconnected and reconnected, the yellow warning
light comes on after switching on the ignition. The warning light must go out
after driving a short distance.
Engine oil The warning light
lights up red (low oil pressure)
The warning light comes on for a few seconds 1)
when the ignition is switched on.
Stop the vehicle and switch the engine off if the warning light does not go off
after the engine has started or flashes while driving. Check the oil level and top up
with oil as necessary ⇒ page 191
.
3 peeps sound as an additional warning signal.
Do not continue your journey if for some reason it is not possible under the con-
ditions prevailing to top up with oil. Keep the engine switched off and obtain pro-
fessional assistance from a specialist garage, otherwise it could lead to severe en-
gine damage.
Do not drive any further if the warning light flashes even if the oil is at the correct
level. Do not run the engine not at idling speed either. Contact the nearest spe-
cialist garage to obtain professional assistance.
The following text will be displayed in the information display:
Oil Pressure: Engine off! Owner's manual!
The warning light lights up yellow (oil quantity too low)
If the warning light lights up yellow, the quantity of oil in the engine is probably
too low. Check as soon as possible the oil level or top up ⇒ page 191 with engine
oil.
A peep sounds as an additional warning signal. £1)
The warning light on vehicles fitted with information display does not come on after switching
the ignition on, but only if a fault exists or the engine oil level is too low. 25
Instruments and warning lights Using the system Safety Driving Tips General Maintenance Breakdown assistance Technical data
Page 28 of 252
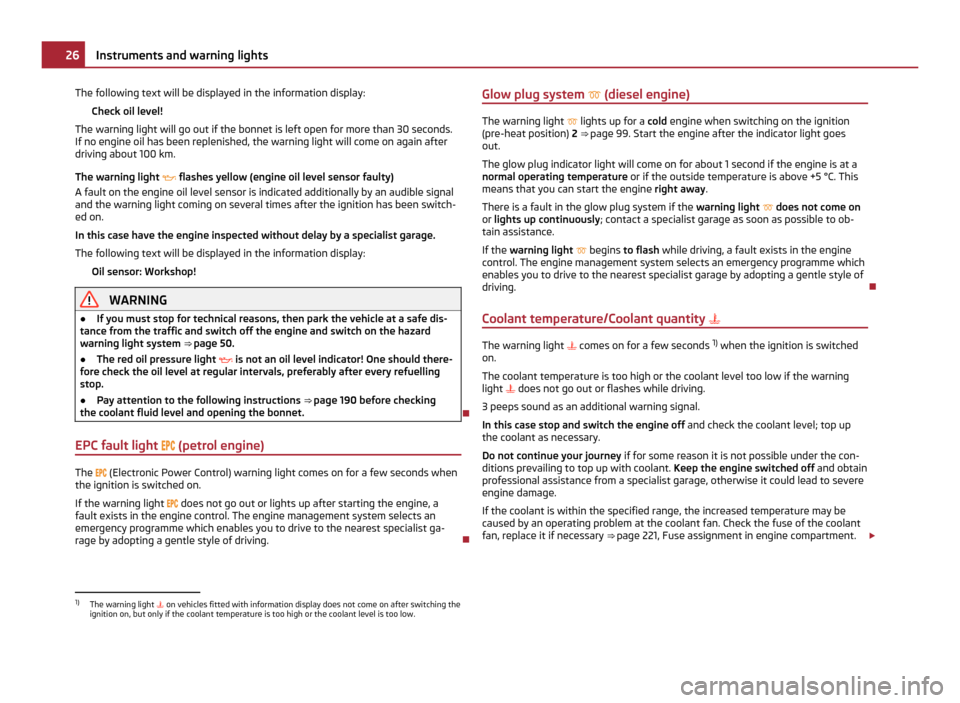
The following text will be displayed in the information display:
Check oil level!
The warning light will go out if the bonnet is left open for more than 30 seconds.
If no engine oil has been replenished, the warning light will come on again after
driving about 100 km.
The warning light flashes yellow (engine oil level sensor faulty)
A fault on the engine oil level sensor is indicated additionally by an audible signal
and the warning light coming on several times after the ignition has been switch-
ed on.
In this case have the engine inspected without delay by a specialist garage.
The following text will be displayed in the information display:
Oil sensor: Workshop! WARNING
● If you must stop for technical reasons, then park the vehicle at a safe dis-
tance from the traffic and switch off the engine and switch on the hazard
warning light system ⇒ page 50.
● The red oil pressure light is not an oil level indicator! One should there-
fore check the oil level at regular intervals, preferably after every refuelling
stop.
● Pay attention to the following instructions ⇒ page 190 before checking
the coolant fluid level and opening the bonnet.
EPC fault light
(petrol engine) The
(Electronic Power Control) warning light comes on for a few seconds when
the ignition is switched on.
If the warning light does not go out or lights up after starting the engine, a
fault exists in the engine control. The engine management system selects an
emergency programme which enables you to drive to the nearest specialist ga-
rage by adopting a gentle style of driving. Glow plug system (diesel engine) The warning light
lights up for a cold
engine when switching on the ignition
(pre-heat position) 2 ⇒ page 99. Start the engine after the indicator light goes
out.
The glow plug indicator light will come on for about 1 second if the engine is at a
normal operating temperature or if the outside temperature is above +5 °C. This
means that you can start the engine right away.
There is a fault in the glow plug system if the warning light does not come on
or lights up continuously ; contact a specialist garage as soon as possible to ob-
tain assistance.
If the warning light begins to flash while driving, a fault exists in the engine
control. The engine management system selects an emergency programme which
enables you to drive to the nearest specialist garage by adopting a gentle style of
driving.
Coolant temperature/Coolant quantity The warning light
comes on for a few seconds 1)
when the ignition is switched
on.
The coolant temperature is too high or the coolant level too low if the warning
light does not go out or flashes while driving.
3 peeps sound as an additional warning signal.
In this case stop and switch the engine off and check the coolant level; top up
the coolant as necessary.
Do not continue your journey if for some reason it is not possible under the con-
ditions prevailing to top up with coolant. Keep the engine switched off and obtain
professional assistance from a specialist garage, otherwise it could lead to severe
engine damage.
If the coolant is within the specified range, the increased temperature may be
caused by an operating problem at the coolant fan. Check the fuse of the coolant
fan, replace it if necessary ⇒ page 221, Fuse assignment in engine compartment
.£ 1)
The warning light on vehicles fitted with information display does not come on after switching the
ignition on, but only if the coolant temperature is too high or the coolant level is too low. 26
Instruments and warning lights
Page 29 of 252
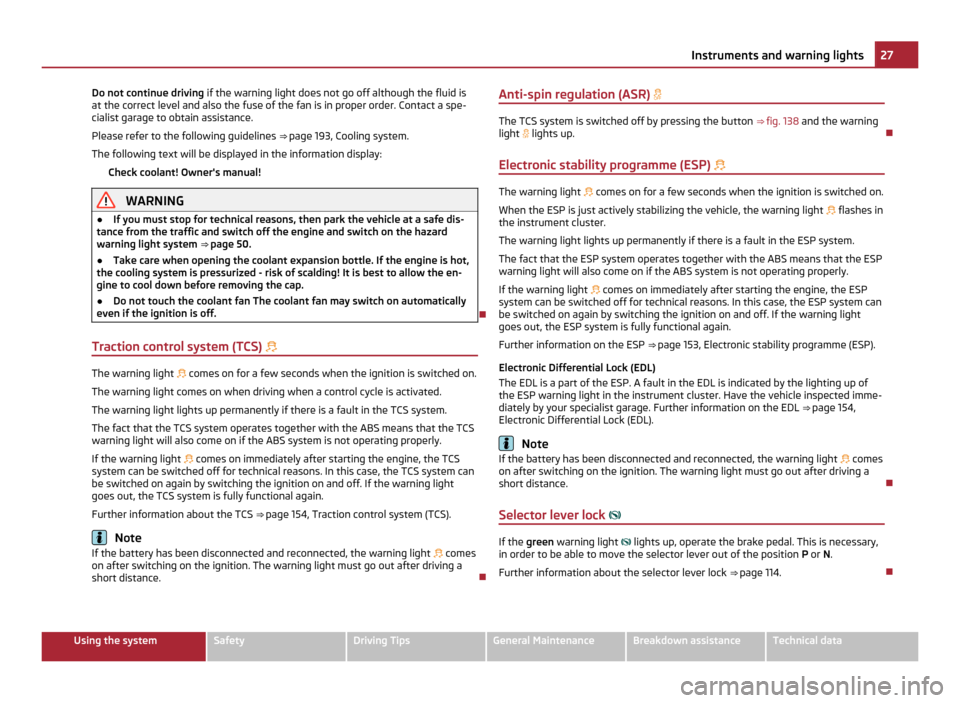
Do not continue driving
if the warning light does not go off although the fluid is
at the correct level and also the fuse of the fan is in proper order. Contact a spe-
cialist garage to obtain assistance.
Please refer to the following guidelines ⇒ page 193, Cooling system
.
The following text will be displayed in the information display: Check coolant! Owner's manual! WARNING
● If you must stop for technical reasons, then park the vehicle at a safe dis-
tance from the traffic and switch off the engine and switch on the hazard
warning light system ⇒ page 50.
● Take care when opening the coolant expansion bottle. If the engine is hot,
the cooling system is pressurized - risk of scalding! It is best to allow the en-
gine to cool down before removing the cap.
● Do not touch the coolant fan The coolant fan may switch on automatically
even if the ignition is off.
Traction control system (TCS) The warning light
comes on for a few seconds when the ignition is switched on.
The warning light comes on when driving when a control cycle is activated.
The warning light lights up permanently if there is a fault in the TCS system.
The fact that the TCS system operates together with the ABS means that the TCS
warning light will also come on if the ABS system is not operating properly.
If the warning light comes on immediately after starting the engine, the TCS
system can be switched off for technical reasons. In this case, the TCS system can
be switched on again by switching the ignition on and off. If the warning light
goes out, the TCS system is fully functional again.
Further information about the TCS ⇒ page 154, Traction control system (TCS)
.Note
If the battery has been disconnected and reconnected, the warning light comes
on after switching on the ignition. The warning light must go out after driving a
short distance. Anti-spin regulation (ASR) The TCS system is switched off by pressing the button
⇒ fig. 138 and the warning
light lights up.
Electronic stability programme (ESP) The warning light
comes on for a few seconds when the ignition is switched on.
When the ESP is just actively stabilizing the vehicle, the warning light flashes in
the instrument cluster.
The warning light lights up permanently if there is a fault in the ESP system.
The fact that the ESP system operates together with the ABS means that the ESP
warning light will also come on if the ABS system is not operating properly.
If the warning light comes on immediately after starting the engine, the ESP
system can be switched off for technical reasons. In this case, the ESP system can
be switched on again by switching the ignition on and off. If the warning light
goes out, the ESP system is fully functional again.
Further information on the ESP ⇒
page 153, Electronic stability programme (ESP).
Electronic Differential Lock (EDL)
The EDL is a part of the ESP. A fault in the EDL is indicated by the lighting up of
the ESP warning light in the instrument cluster. Have the vehicle inspected imme-
diately by your specialist garage. Further information on the EDL ⇒ page 154,
Electronic Differential Lock (EDL). Note
If the battery has been disconnected and reconnected, the warning light comes
on after switching on the ignition. The warning light must go out after driving a
short distance.
Selector lever lock If the
green warning light lights up, operate the brake pedal. This is necessary,
in order to be able to move the selector lever out of the position P or N.
Further information about the selector lever lock ⇒ page 114. 27
Instruments and warning lights Using the system Safety Driving Tips General Maintenance Breakdown assistance Technical data
Page 30 of 252
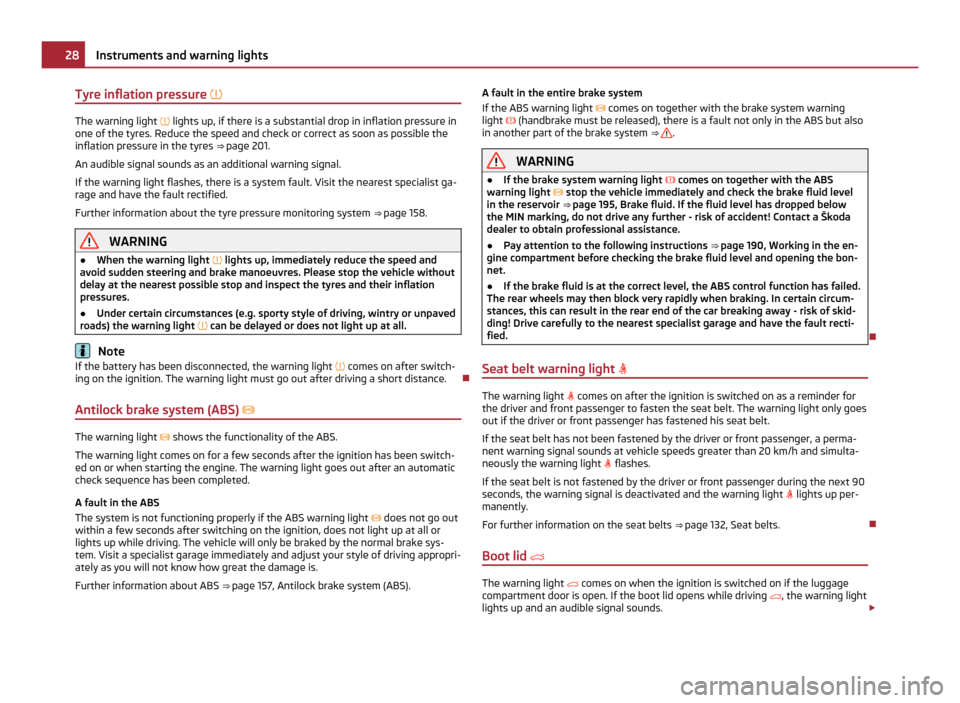
Tyre inflation pressure
The warning light
lights up, if there is a substantial drop in inflation pressure in
one of the tyres. Reduce the speed and check or correct as soon as possible the
inflation pressure in the tyres ⇒ page 201.
An audible signal sounds as an additional warning signal.
If the warning light flashes, there is a system fault. Visit the nearest specialist ga-
rage and have the fault rectified.
Further information about the tyre pressure monitoring system ⇒ page 158.WARNING
● When the warning light lights up, immediately reduce the speed and
avoid sudden steering and brake manoeuvres. Please stop the vehicle without
delay at the nearest possible stop and inspect the tyres and their inflation
pressures.
● Under certain circumstances (e.g. sporty style of driving, wintry or unpaved
roads) the warning light can be delayed or does not light up at all.Note
If the battery has been disconnected, the warning light comes on after switch-
ing on the ignition. The warning light must go out after driving a short distance.
Antilock brake system (ABS) The warning light
shows the functionality of the ABS.
The warning light comes on for a few seconds after the ignition has been switch-
ed on or when starting the engine. The warning light goes out after an automatic
check sequence has been completed.
A fault in the ABS
The system is not functioning properly if the ABS warning light does not go out
within a few seconds after switching on the ignition, does not light up at all or
lights up while driving. The vehicle will only be braked by the normal brake sys-
tem. Visit a specialist garage immediately and adjust your style of driving appropri-
ately as you will not know how great the damage is.
Further information about ABS ⇒ page 157, Antilock brake system (ABS)
.A fault in the entire brake system
If the ABS warning light
comes on together with the brake system warning
light (handbrake must be released), there is a fault not only in the ABS but also
in another part of the brake system ⇒ .
WARNING
● If the brake system warning light comes on together with the ABS
warning light stop the vehicle immediately and check the brake fluid level
in the reservoir ⇒ page 195
, Brake fluid. If the fluid level has dropped below
the MIN marking, do not drive any further - risk of accident! Contact a Škoda
dealer to obtain professional assistance.
● Pay attention to the following instructions ⇒
page 190, Working in the en-
gine compartment before checking the brake fluid level and opening the bon-
net.
● If the brake fluid is at the correct level, the ABS control function has failed.
The rear wheels may then block very rapidly when braking. In certain circum-
stances, this can result in the rear end of the car breaking away - risk of skid-
ding! Drive carefully to the nearest specialist garage and have the fault recti-
fied.
Seat belt warning light The warning light
comes on after the ignition is switched on as a reminder for
the driver and front passenger to fasten the seat belt. The warning light only goes
out if the driver or front passenger has fastened his seat belt.
If the seat belt has not been fastened by the driver or front passenger, a perma-
nent warning signal sounds at vehicle speeds greater than 20 km/h and simulta-
neously the warning light flashes.
If the seat belt is not fastened by the driver or front passenger during the next 90
seconds, the warning signal is deactivated and the warning light lights up per-
manently.
For further information on the seat belts ⇒ page 132,
Seat belts.
Boot lid The warning light
comes on when the ignition is switched on if the luggage
compartment door is open. If the boot lid opens while driving
, the warning light
lights up and an audible signal sounds. £28
Instruments and warning lights
Page 31 of 252
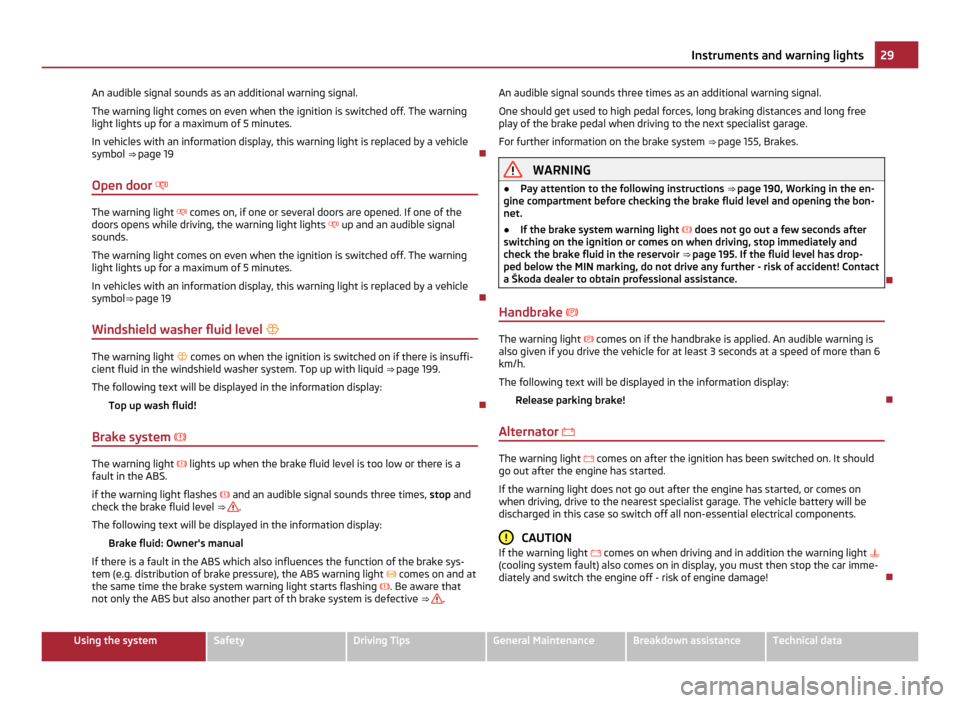
An audible signal sounds as an additional warning signal.
The warning light comes on even when the ignition is switched off. The warning
light lights up for a maximum of 5 minutes.
In vehicles with an information display, this warning light is replaced by a vehicle
symbol ⇒ page 19
Open door The warning light
comes on, if one or several doors are opened. If one of the
doors opens while driving, the warning light lights up and an audible signal
sounds.
The warning light comes on even when the ignition is switched off. The warning
light lights up for a maximum of 5 minutes.
In vehicles with an information display, this warning light is replaced by a vehicle
symbol ⇒
page 19
Windshield washer fluid level The warning light
comes on when the ignition is switched on if there is insuffi-
cient fluid in the windshield washer system. Top up with liquid ⇒ page 199
.
The following text will be displayed in the information display: Top up wash fluid!
Brake system The warning light
lights up when the brake fluid level is too low or there is a
fault in the ABS.
if the warning light flashes and an audible signal sounds three times, stop and
check the brake fluid level ⇒ .
The following text will be displayed in the information display: Brake fluid: Owner's manual
If there is a fault in the ABS which also influences the function of the brake sys-
tem (e.g. distribution of brake pressure), the ABS warning light comes on and at
the same time the brake system warning light starts flashing . Be aware that
not only the ABS but also another part of th brake system is defective ⇒ .An audible signal sounds three times as an additional warning signal.
One should get used to high pedal forces, long braking distances and long free
play of the brake pedal when driving to the next specialist garage.
For further information on the brake system ⇒ page 155, Brakes
. WARNING
● Pay attention to the following instructions ⇒
page 190, Working in the en-
gine compartment before checking the brake fluid level and opening the bon-
net.
● If the brake system warning light does not go out a few seconds after
switching on the ignition or comes on when driving, stop immediately and
check the brake fluid in the reservoir ⇒
page 195. If the fluid level has drop-
ped below the MIN marking, do not drive any further - risk of accident! Contact
a Škoda dealer to obtain professional assistance.
Handbrake The warning light
comes on if the handbrake is applied. An audible warning is
also given if you drive the vehicle for at least 3 seconds at a speed of more than 6
km/h.
The following text will be displayed in the information display:
Release parking brake!
Alternator The warning light
comes on after the ignition has been switched on. It should
go out after the engine has started.
If the warning light does not go out after the engine has started, or comes on
when driving, drive to the nearest specialist garage. The vehicle battery will be
discharged in this case so switch off all non-essential electrical components. CAUTION
If the warning light comes on when driving and in addition the warning light
(cooling system fault) also comes on in display, you must then stop the car imme-
diately and switch the engine off - risk of engine damage! 29
Instruments and warning lights Using the system Safety Driving Tips General Maintenance Breakdown assistance Technical data
Page 32 of 252
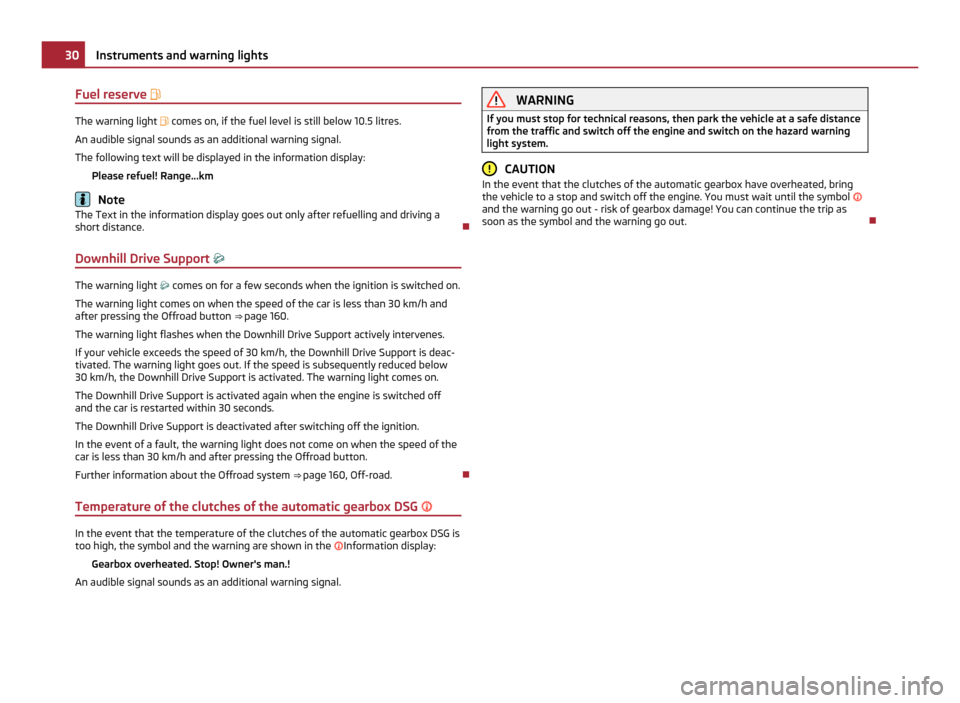
Fuel reserve
The warning light
comes on, if the fuel level is still below 10.5 litres.
An audible signal sounds as an additional warning signal.
The following text will be displayed in the information display: Please refuel! Range...km Note
The Text in the information display goes out only after refuelling and driving a
short distance.
Downhill Drive Support The warning light
comes on for a few seconds when the ignition is switched on.
The warning light comes on when the speed of the car is less than 30 km/h and
after pressing the Offroad button ⇒ page 160
.
The warning light flashes when the Downhill Drive Support actively intervenes.
If your vehicle exceeds the speed of 30 km/h, the Downhill Drive Support is deac-
tivated. The warning light goes out. If the speed is subsequently reduced below
30 km/h, the Downhill Drive Support is activated. The warning light comes on.
The Downhill Drive Support is activated again when the engine is switched off
and the car is restarted within 30 seconds.
The Downhill Drive Support is deactivated after switching off the ignition.
In the event of a fault, the warning light does not come on when the speed of the
car is less than 30 km/h and after pressing the Offroad button.
Further information about the Offroad system ⇒ page 160, Off-road.
Temperature of the clutches of the automatic gearbox DSG In the event that the temperature of the clutches of the automatic gearbox DSG is
too high, the symbol and the warning are shown in the Information display:
Gearbox overheated. Stop! Owner's man.!
An audible signal sounds as an additional warning signal. WARNING
If you must stop for technical reasons, then park the vehicle at a safe distance
from the traffic and switch off the engine and switch on the hazard warning
light system. CAUTION
In the event that the clutches of the automatic gearbox have overheated, bring
the vehicle to a stop and switch off the engine. You must wait until the symbol
and the warning go out - risk of gearbox damage! You can continue the trip as
soon as the symbol and the warning go out. 30
Instruments and warning lights
Page 33 of 252
Locking and Unlocking
Vehicle key
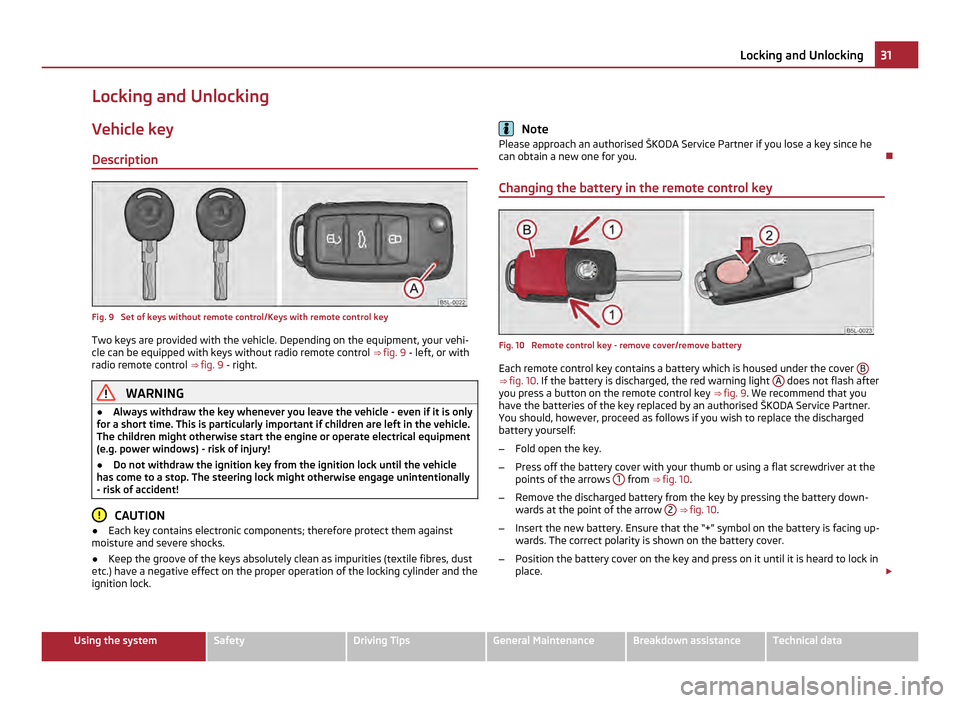
Description Fig. 9 Set of keys without remote control/Keys with remote control key
Two keys are provided with the vehicle. Depending on the equipment, your vehi-
cle can be equipped with keys without radio remote control ⇒
fig. 9 - left, or with
radio remote control ⇒ fig. 9 - right. WARNING
● Always withdraw the key whenever you leave the vehicle - even if it is only
for a short time. This is particularly important if children are left in the vehicle.
The children might otherwise start the engine or operate electrical equipment
(e.g. power windows) - risk of injury!
● Do not withdraw the ignition key from the ignition lock until the vehicle
has come to a stop. The steering lock might otherwise engage unintentionally
- risk of accident! CAUTION
● Each key contains electronic components; therefore protect them against
moisture and severe shocks.
● Keep the groove of the keys absolutely clean as impurities (textile fibres, dust
etc.) have a negative effect on the proper operation of the locking cylinder and the
ignition lock. Note
Please approach an authorised ŠKODA Service Partner if you lose a key since he
can obtain a new one for you.
Changing the battery in the remote control key Fig. 10 Remote control key - remove cover/remove battery
Each remote control key contains a battery which is housed under the cover
B ⇒
fig. 10 . If the battery is discharged, the red warning light A does not flash after
you press a button on the remote control key ⇒
fig. 9 . We recommend that you
have the batteries of the key replaced by an authorised ŠKODA Service Partner.
You should, however, proceed as follows if you wish to replace the discharged
battery yourself:
– Fold open the key.
– Press off the battery cover with your thumb or using a flat screwdriver at the
points of the arrows 1 from
⇒
fig. 10.
– Remove the discharged battery from the key by pressing the battery down-
wards at the point of the arrow 2
⇒
fig. 10.
– Insert the new battery. Ensure that the “+” symbol on the battery is facing up-
wards. The correct polarity is shown on the battery cover.
– Position the battery cover on the key and press on it until it is heard to lock in
place. £ 31
Locking and Unlocking Using the system Safety Driving Tips General Maintenance Breakdown assistance Technical data
Page 34 of 252
For the sake of the environment
Dispose of a used battery in accordance with environmental regulations. Note
● Pay attention to the correct polarity when changing the battery.
● The replacement battery must have the same specification as the original bat-
tery.
● If it is still not be possible to unlock or lock the vehicle with the remote control
key even after replacing the battery, this means that the system has to be
synchronised ⇒ page 38.
Electronic immobiliser The electronic immobiliser prevents the vehicle being operated by
an unauthorised person.
An electronic chip is integrated in the head of the key. The immobiliser is deactiva-
ted with the aid of this chip when the key is inserted in the ignition lock. The elec-
tronic immobiliser is automatically activated when you withdraw the ignition key
from the lock. Note
It is only possible to start the engine of your car with a Genuine ŠKODA key with
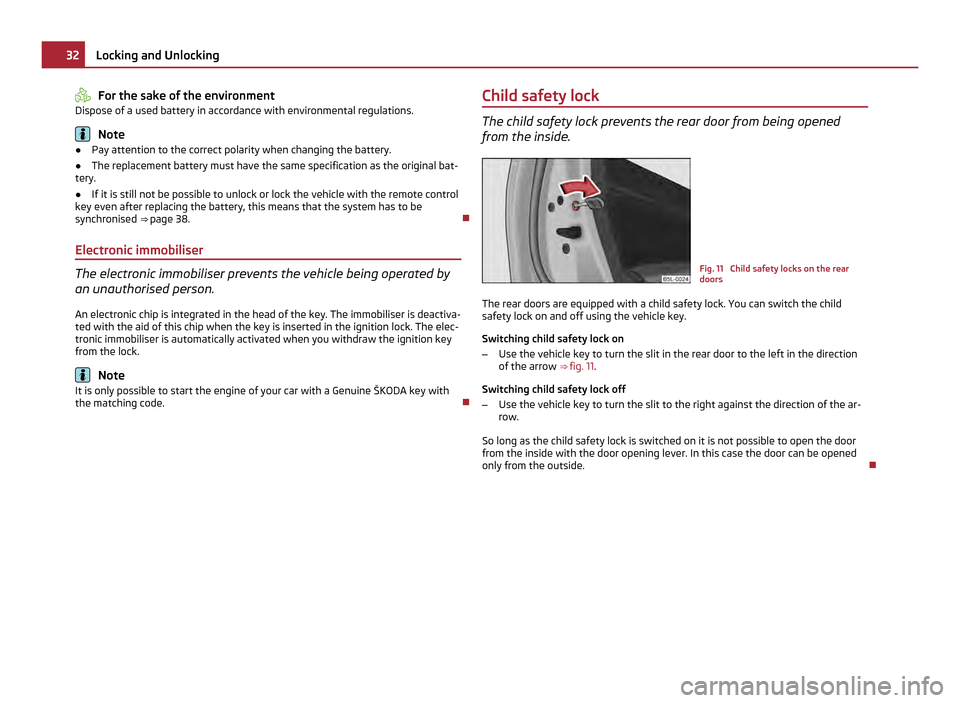
the matching code. Child safety lock The child safety lock prevents the rear door from being opened
from the inside.
Fig. 11 Child safety locks on the rear
doors
The rear doors are equipped with a child safety lock. You can switch the child
safety lock on and off using the vehicle key.
Switching child safety lock on
– Use the vehicle key to turn the slit in the rear door to the left in the direction
of the arrow ⇒
fig. 11.
Switching child safety lock off
– Use the vehicle key to turn the slit to the right against the direction of the ar-
row.
So long as the child safety lock is switched on it is not possible to open the door
from the inside with the door opening lever. In this case the door can be opened
only from the outside. 32
Locking and Unlocking
Page 35 of 252
Central locking system
Description When using the central locking and unlocking system,
all the doors and the fuel
filler flap are locked or unlocked at the same time (if it was not set differently in
the menu point Settings - Convenience of the information display). The boot lid is
unlocked when opening. It can be opened by pressing the hand grip above the li-
cence plate ⇒ page 36.
Operation of the central locking system is possible:
● from the outside using the vehicle key ⇒ page 34,
● using the button for the central locking system ⇒ page 35,
● with a remote control key ⇒
page 37,
Indicator light in the driver's door
After locking the vehicle, the warning light flashes for around 2 seconds in quick
succession, afterwards it begins to flash evenly at longer intervals.
If the vehicle is locked and the safe securing system ⇒ page 34 is not operating,
the indicator light in the driver door flashes for about 2 seconds fast, goes out and
starts to flash evenly at longer intervals after about 30 seconds.
If the indicator light first of all flashes fast for about 2 seconds, afterwards lights
up for about 30 seconds and then flashes slowly, there is a fault in the system of
the central locking or the interior monitor ⇒ page 39. Visit a specialist garage to
obtain assistance.
Convenience operation of windows
One can open and close the electrically powered windows when unlocking and
locking the vehicle ⇒ page 41.
Opening a single door
This function makes it possible to only unlock the driver's door. The other doors
and the fuel filler flap remain locked and are only unlocked after repetitive unlock-
ing.
This function can be activated/deactivated by a specialist garage.
On vehicles with an information display, this function can be switched on in the
menu Settings Convenience - Door open. Unlocking a vehicle side door
This selection function enables to unlock both doors on the driver's side. The oth-
er doors and the fuel filler flap remain locked and are only unlocked after repeti-
tive unlocking.
You can have the function opening a single door activated by an authorised
ŠKODA
Service Partner on request or you can activate it yourself with the aid of
the Information display ⇒ page 20.
Automatic locking and unlocking
All the doors and the boot lid are locked automatically once the car reaches a
speed of about 15 km/h.
If the ignition key is withdrawn, the car is then automatically unlocked again. In
addition, it is possible for the driver to unlock the car by pressing the central lock-
ing button or by pulling the door opening lever.
This function can be activated/deactivated by a specialist garage.
On vehicles with an information display, this function can be switched on in the
menu Settings Convenience - Door open. WARNING
Locking the doors prevents that doors open on their own in an exceptional sit-
uation (accident). Locked doors also prevent unauthorised entry into the vehi-
cle from outside, for example at road crossings. Locked doors do, however,
make it more difficult for rescuers to get into the vehicle in an emergency -
danger to life! Note
● In the event of an accident in which the airbags are deployed, the locked doors
are automatically unlocked in order to enable rescuers to gain access to the vehi-
cle.
● Only the front door which is fitted with a locking cylinder can be unlocked and
locked using the key if the central locking system fails. You can lock or unlock
manually the other doors and the boot lid.
–Emergency locking of the door ⇒
page 35.
– Emergency unlocking of the boot lid ⇒ page 36. 33
Locking and Unlocking Using the system Safety Driving Tips General Maintenance Breakdown assistance Technical data
Page 36 of 252
Safe securing
The central locking system is equipped with a
safe securing system. Locking the
vehicle from the outside causes the door locks to be automatically blocked. The
warning light flashes for around 2 seconds in quick succession, afterwards it be-
gins to flash evenly at longer intervals. It is not possible to open the doors with
the door handle either from the inside or from the outside. This acts as an effec-
tive deterrent for attempts to break into your vehicle.
You can deactivate the safe securing system by locking twice within 2
seconds.
If the safe securing system is not operating, the warning light in the driver door
flashes for about 2 seconds fast, goes out and starts to flash evenly at longer in-
tervals after about 30°seconds.
The safe securing system is again activated the next time the vehicle is unlocked
and locked again.
If the vehicle is locked and the safe securing system is deactivated, you can open
the vehicle from the inside by pulling on the door opening lever. The door is un-
locked and opened at the same time. WARNING
If the vehicle is locked from the outside and the safe securing system is acti-
vated, there must not be any person and animals in the vehicle as it is then
not possible to open either a door or a window from the inside. The locked
doors make it more difficult for rescuers to get into the vehicle in an emergen-
cy - hazard! Note
● The anti-theft alarm system is also activated with the deactivated safe secur-
ing system when locking the vehicle. The interior monitor is however not activa-
ted.
● When activating the Safelock function after you lock the vehicle, the message
CHECK DEADLOCK will appear to inform you about this. In vehicles equipped with
an information display, the message Check deadlock! appears Owner's manual!
(CHECK DEADLOCK appears. Unlocking the vehicle using the key
Fig. 12 Turning the key for unlocking
and locking the vehicle
– Turn the key in the locking cylinder of the driver's door in the direction of trav-
el (unlock position) A
⇒ fig. 12 .
– Pull on the door handle and open the door.
● All the doors (only the driver's door on vehicles with anti-theft alarm system)
and the fuel filler flap are unlocked.
● The boot lid is then unlocked.
● The switched on interior lights come on over the door contact.
● The safe securing system is deactivated.
● The windows open while the key is held in the unlock position.
● The indicator light in the driver door stops flashing if the car is not fitted with
an anti-theft alarm system ⇒
page 38. Note
If the vehicle is equipped with an anti-theft alarm system, you must insert the key
into the ignition lock and switch the ignition on within 15 seconds after unlocking
the door in order to deactivate the anti-theft alarm system. The alarm will be trig-
gered
if you do not switch on the ignition within 15 seconds.
Locking the vehicle with the key –
Turn the key in the locking cylinder of the driver's door in the opposite direc-
tion of travel (lock position) B
⇒
fig. 12.
● The doors, the boot lid and the fuel filler flap are locked.
● The switched on interior lights will switch off over the door contact. £34
Locking and Unlocking