window TOYOTA COROLLA HATCHBACK 2023 Owner's Guide
[x] Cancel search | Manufacturer: TOYOTA, Model Year: 2023, Model line: COROLLA HATCHBACK, Model: TOYOTA COROLLA HATCHBACK 2023Pages: 436, PDF Size: 8.72 MB
Page 260 of 436
2606-1. Maintenance and care
6-1.Maintenance and care
Working from top to bottom,
liberally apply water to the
vehicle body, wheel wells and
underside of the vehicle to
remove any dirt and dust.
Wash the vehicle body using
a sponge or soft cloth, such
as a chamois.
For hard-to-remove marks,
use car wash soap and rinse
thoroughly with water.
Wipe away any water.
Wax the vehicle when the
waterproof coating deterio-
rates.
If water does not bead on a clean
surface, apply wax when the vehi-
cle body is cool.
■Automatic car washes
●Fold the mirrors before washing
the vehicle. Start washing from the
front of the vehicle. Make sure to
extend the mirrors before driving.
●Brushes used in automatic car
washes may scratch the vehicle
surface, parts (wheel, etc.) and
harm your vehicle’s paint.
●In certain automatic car washes,
the rear spoiler ma y interfere with machine operation. This may pre-
vent the vehicle from being
cleaned properly or result in dam-
age to the r
ear spoiler.
■High pressure car washes
As water may enter the cabin, do
not bring the nozzle tip near the
gaps around the doors or perimeter
of the windows, or spray these
areas continuously.
■When using a car wash
If the door handle becomes wet
while the electronic key is within the
effective range, the door may lock
and unlock repeatedly. In that case,
follow the following correction pro-
cedures to wash the vehicle:
●Place the key in a position 6 ft. (2
m) or more separate from the
vehicle while the vehicle is being
washed. (Take care to ensure that
the key is not stolen.)
●Set the electronic key to bat-
tery-saving mode to disable the
smart key system. ( P.103)
■Wheels and wheel ornaments
●Remove any dirt immediately by
using a neutral detergent.
●Wash detergent off with water
immediately after use.
●To protect the paint from damage,
make sure to obs erve the follow-
ing precautions.
• Do not use acidic, alkaline or abrasive detergent
• Do not use hard brushes
• Do not use detergent on the wheels when they are hot, such
as after driving or parking in hot
weather
■Brake pads and calipers
Rust may form if the vehicle is
parked with wet brake pads or disc
rotors, causing them to stick. Before
parking the vehicle after it is
washed, drive slo wly and apply the
brakes several times to dry the
parts.
Cleaning and protect-
ing the vehicle exte-
rior
Perform cleaning in a man-
ner appropriate to each
component and its material.
Cleaning instructions
Page 264 of 436
2646-1. Maintenance and care
Remove dirt using a
water-dampened soft cloth or
synthetic chamois.
Wipe the surface with a dry,
soft cloth to remove any
remaining moisture.
■Cleaning the areas with
satin-finish metal accents
The metal areas use a layer of real
metal for the surface. It is necessary
to clean them regularly. If dirty areas
are left uncleaned for long periods
of time, they may be difficult to
clean.
Remove dirt and dust using a
vacuum cleaner.
Wipe off any excess dirt and
dust with a soft cloth damp-
ened with diluted detergent.
Use a diluted water solution of
approximately 5% neutral wool
detergent.
Wring out any excess water
from the cloth and thoroughly
wipe off all remaining traces
of detergent.
Wipe the surface with a dry,
soft cloth to remove any
remaining moisture. Allow the
leather to dry in a shaded and
ventilated area.
■Caring for leather areas
Toyota recommends cleaning the
interior of the vehicle at least twice a
year to maintain t he quality of the
vehicle’s interior.
Remove dirt and dust using a
vacuum cleaner.
Wipe it off with a soft cloth
dampened with neutral deter-
gent diluted to approximately
1%.
Wring out any excess water
from the cloth and thoroughly
wipe off remaining traces of
detergent and water.
NOTICE
■Cleaning the inside of the rear
window
●Do not use glass cleaner to
clean the rear window, as this
may cause damage to the rear
window defogger heater wires
or antenna. Use a cloth damp-
ened with lukewarm water to
gently wipe the window clean.
Wipe the window in strokes run-
ning parallel to the heater wires
or antenna.
●Be careful not to scratch or
damage the heater wires or
antenna.
Cleaning the areas with
satin-finish metal accents
Cleaning the leather areas
Cleaning the synthetic
leather areas
Page 269 of 436
2696-2. Maintenance
6
Maintenance and care
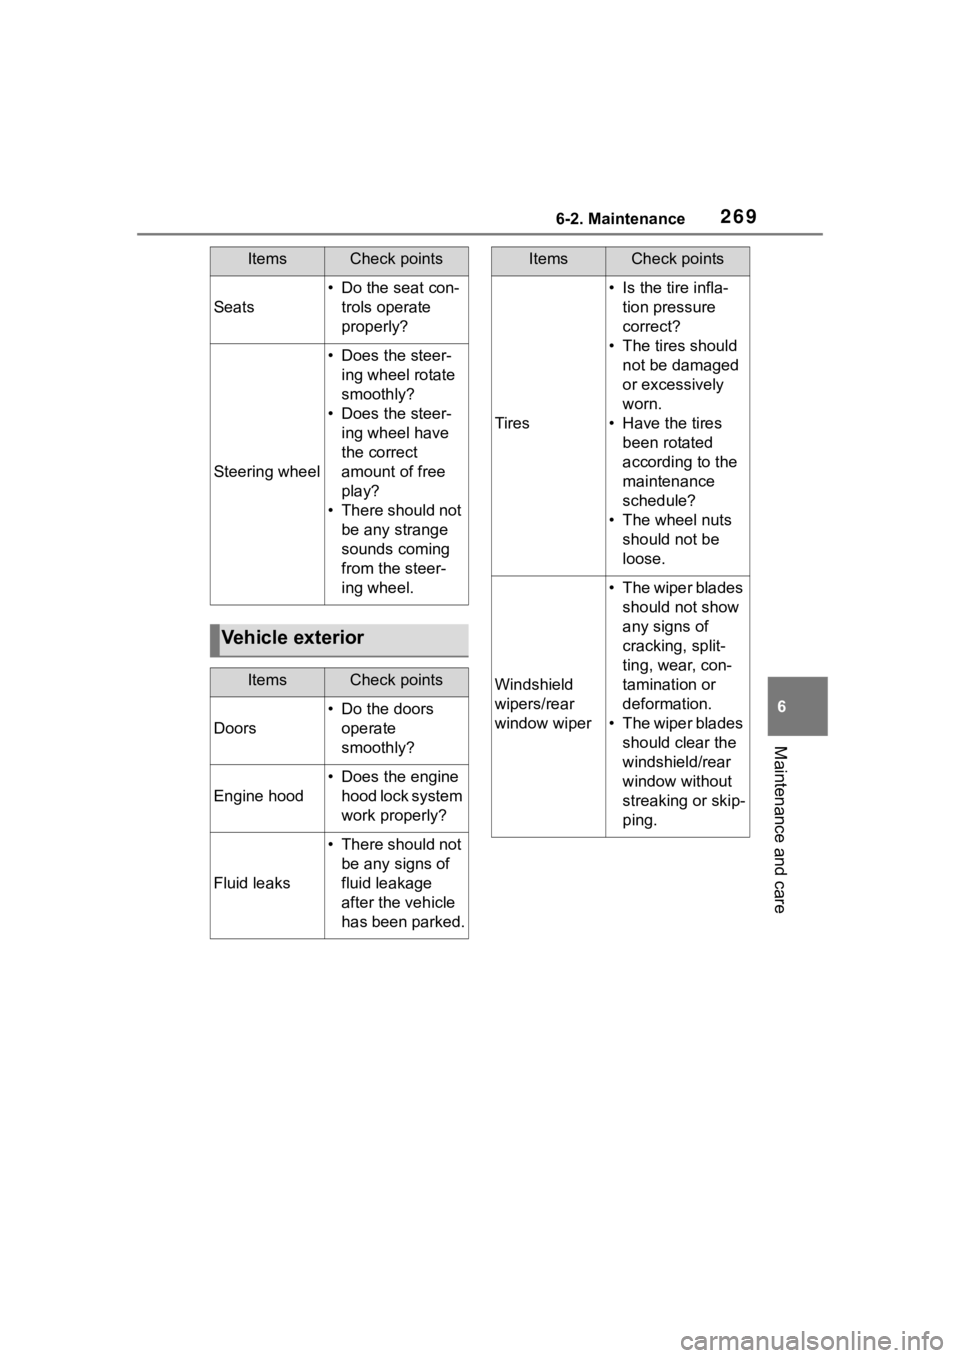
Seats
• Do the seat con-trols operate
properly?
Steering wheel
• Does the steer-ing wheel rotate
smoothly?
• Does the steer- ing wheel have
the correct
amount of free
play?
• There should not be any strange
sounds coming
from the steer-
ing wheel.
Vehicle exterior
ItemsCheck points
Doors
• Do the doors operate
smoothly?
Engine hood
• Does the engine hood lock system
work properly?
Fluid leaks
• There should not be any signs of
fluid leakage
after the vehicle
has been parked.
ItemsCheck points
Tires
• Is the tire infla-tion pressure
correct?
• The tires should not be damaged
or excessively
worn.
• Have the tires been rotated
according to the
maintenance
schedule?
• The wheel nuts should not be
loose.
Windshield
wipers/rear
window wiper
• The wiper blades should not show
any signs of
cracking, split-
ting, wear, con-
tamination or
deformation.
• The wiper blades should clear the
windshield/rear
window without
streaking or skip-
ping.
ItemsCheck points
Page 286 of 436
2866-3. Do-it-yourself maintenance
4Press or to select
“Vehicle Settings” and then
press and hold .
5 Press or to select
“TPWS setting” and then
press .
6 Press or to select
“Pressure unit setting”.
7 Press or to select the
desired unit and then press
.
7-inch display
1 Park the vehicle in a safe
place and turn the engine
switch off.
Changing the unit cannot be per-
formed while the vehicle is moving.
2Turn the engine switch to
ON.
3 Select of the multi-infor-
mation display and then
press .
4 Press or to select
“Vehicle Settings” and then
press and hold .
5 Press or to select
“TPWS setting” and then
press .
6 Press or to select
“Pressure unit setting”. 7
Press or to select the
desired unit and then press
.
■Routine tire inflation pressure
checks
The tire pressure warning system
does not replace routine tire inflation
pressure checks . Make sure to
check tire inflation pressure as part
of your routine o f daily vehicle
checks.
■Tire inflation pressure
●It may take a few minutes to dis-
play the tire inflation pressure
after the engine switch is turned to
ON. It may also take a few min-
utes to display the tire inflation
pressure after infl ation pressure
has been adjusted.
●Tire inflation pressure changes
with temperature.
The displayed values may also be
different from the values mea-
sured using a tire pressure gauge.
■Situations in which the tire
pressure warning system may
not operate properly
●In the following cases, the tire
pressure warning system may not
operate properly.
• If non-genuine Toyota wheels are used.
• A tire has been replaced with a
tire that is not an OE (Original
Equipment) tire.
• A tire has been replaced with a
tire that is not of the specified size.
• Tire chains, etc. are equipped.
• An auxiliary-support ed run-flat tire
is equipped.
• If a window tint that affects the radio wave signals is installed.
• If there is a lot of snow or ice on the vehicle, particularly around the
wheels or wheel housings.
• If the tire inflation pressure is extremely higher than the speci-
fied level.
Page 313 of 436
3137-1. Essential information
7
When trouble arises
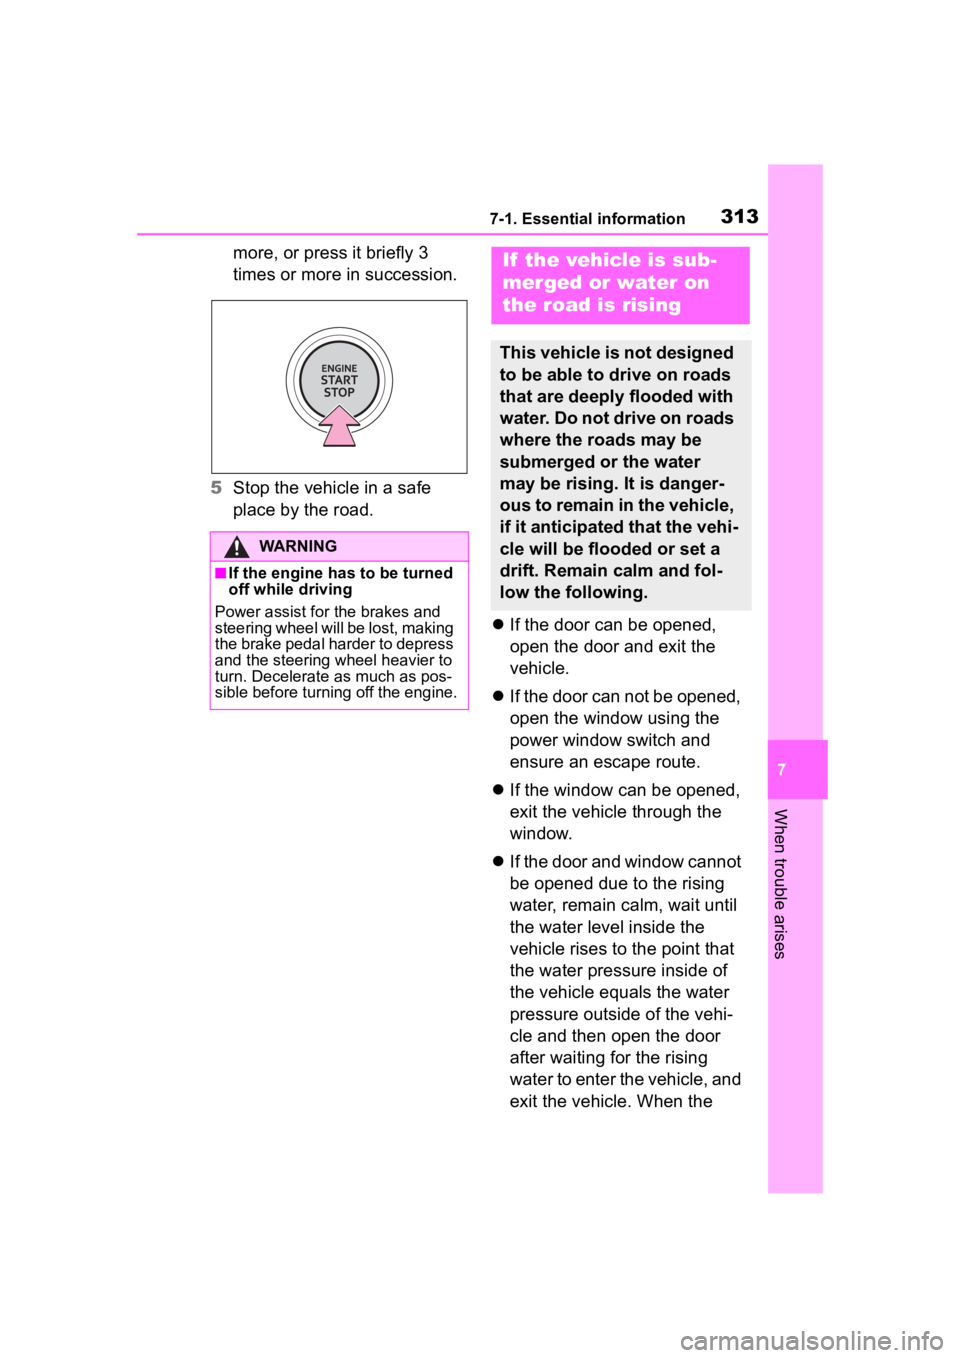
more, or press it briefly 3
times or more in succession.
5 Stop the vehicle in a safe
place by the road.
If the door can be opened,
open the door and exit the
vehicle.
If the door can not be opened,
open the window using the
power window switch and
ensure an escape route.
If the window can be opened,
exit the vehicle through the
window.
If the door and window cannot
be opened due to the rising
water, remain calm, wait until
the water level inside the
vehicle rises to the point that
the water pressure inside of
the vehicle equals the water
pressure outside of the vehi-
cle and then open the door
after waiting for the rising
water to enter the vehicle, and
exit the vehicle. When the
WARNING
■If the engine has to be turned
off while driving
Power assist for the brakes and
steering wheel will be lost, making
the brake pedal harder to depress
and the steering wheel heavier to
turn. Decelerate as much as pos-
sible before turning off the engine.
If the vehicle is sub-
merged or water on
the road is rising
This vehicle is not designed
to be able to drive on roads
that are deeply flooded with
water. Do not drive on roads
where the roads may be
submerged or the water
may be rising. It is danger-
ous to remain in the vehicle,
if it anticipated that the vehi-
cle will be flooded or set a
drift. Remain calm and fol-
low the following.
Page 314 of 436
3147-1. Essential information
outside water level exceeds
half the height of the door, the
door cannot be opened from
the inside due to water pres-
sure.
■Water level exceeds the floor
When the water level exceeds the
floor and time has passed, the elec-
trical equipment will get damaged,
the power windows will not operate,
the engine stop, and the vehicle
may not be able to get moving.
■Using an emergency escape
hammer*
Laminated glass is used in the wind-
shield on this vehicle.
Laminated glass cannot be shat-
tered with an emergency hammer
*.
Tempered glass is used in the win-
dows on this vehicle.
*: Contact your Toyota dealer or
aftermarket accessory manufac-
turer for further information about
an emergency hammer.
WARNING
■Caution while driving
Do not drive on roads where the
roads may be submerged or the
water may be rising. Otherwise
the vehicle may be damaged and
cannot move, as well as become
flooded and set a drift, which may
lead to death.
Page 357 of 436
3577-2. Steps to take in an emergency
7
When trouble arises
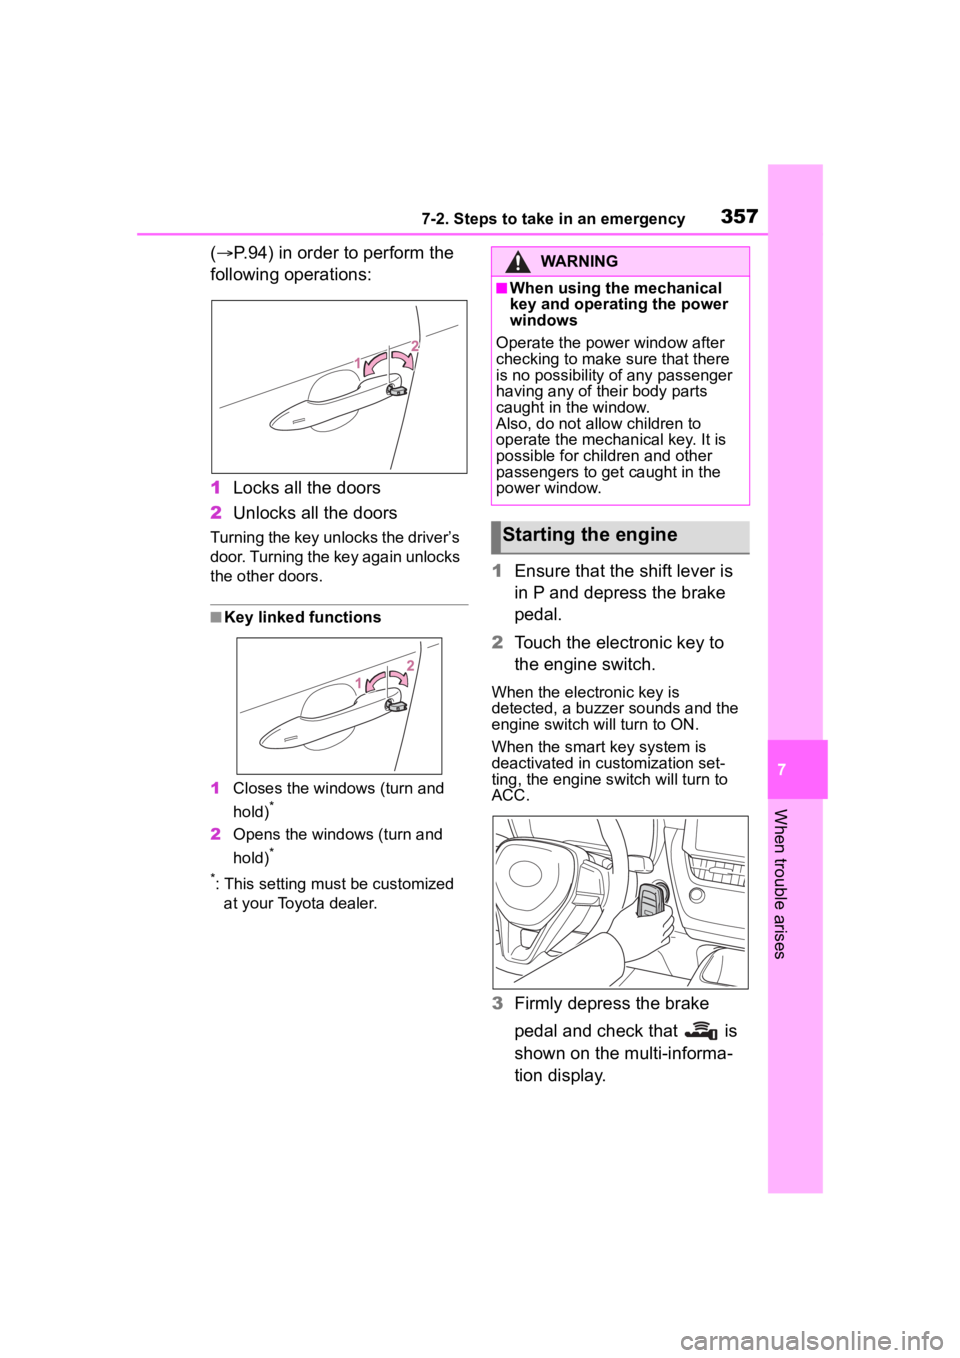
(P.94) in order to perform the
following operations:
1 Locks all the doors
2 Unlocks all the doors
Turning the key unlocks the driver’s
door. Turning the key again unlocks
the other doors.
■Key linked functions
1 Closes the windo ws (turn and
hold)
*
2 Opens the windows (turn and
hold)
*
*
: This setting must be customized at your Toyota dealer.
1 Ensure that the shift lever is
in P and depress the brake
pedal.
2 Touch the electronic key to
the engine switch.
When the electronic key is
detected, a buzzer sounds and the
engine switch will turn to ON.
When the smart key system is
deactivated in customization set-
ting, the engine switch will turn to
ACC.
3Firmly depress the brake
pedal and check that is
shown on the multi-informa-
tion display.
WARNING
■When using the mechanical
key and operating the power
windows
Operate the power window after
checking to make sure that there
is no possibility of any passenger
having any of their body parts
caught in the window.
Also, do not allo w children to
operate the mechanical key. It is
possible for children and other
passengers to get caught in the
power window.
Starting the engine
Page 380 of 436
3808-1. Specifications
Recommended inflation pres-
sureCold tire inflation pressure recommended
by a manufacturer
Accessory weight
The combined weight (in excess of those
standard items which may be replaced) of
automatic transmission, power steering,
power brakes, power windows, power
seats, radio and heater, to the extent that
these items are available as fac-
tory-installed equipment (whether installed
or not)
Curb weight
The weight of a motor vehicle with stan-
dard equipment, including the maximum
capacity of fuel, oil and coolant, and if so
equipped, air conditioning and additional
weight optional engine
Maximum loaded vehicle
weight
The sum of:
(a) Curb weight
(b) Accessory weight
(c) Vehicle capacity weight
(d) Production options weight
Normal occupant weight
150 lb. (68 kg) times the number of occu-
pants specified in the second column of
Table 1
* that follows
Occupant distribution
Distribution of occupan ts in a vehicle as
specified in the thi rd column of Table 1
*
below
Production options weight
The combined weight o f installed regular
production options weighing over 5 lb. (2.3
kg) in excess of the s tandard items which
they replace, not previously considered in
curb weight or accessory weight, including
heavy duty brakes, ride levelers, roof rack,
heavy duty battery, and special trim
Rim
A metal support for a tire or a tire and tube
assembly upon which the tire beads are
seated
Tire related termMeaning
Page 390 of 436
3908-2. Customization
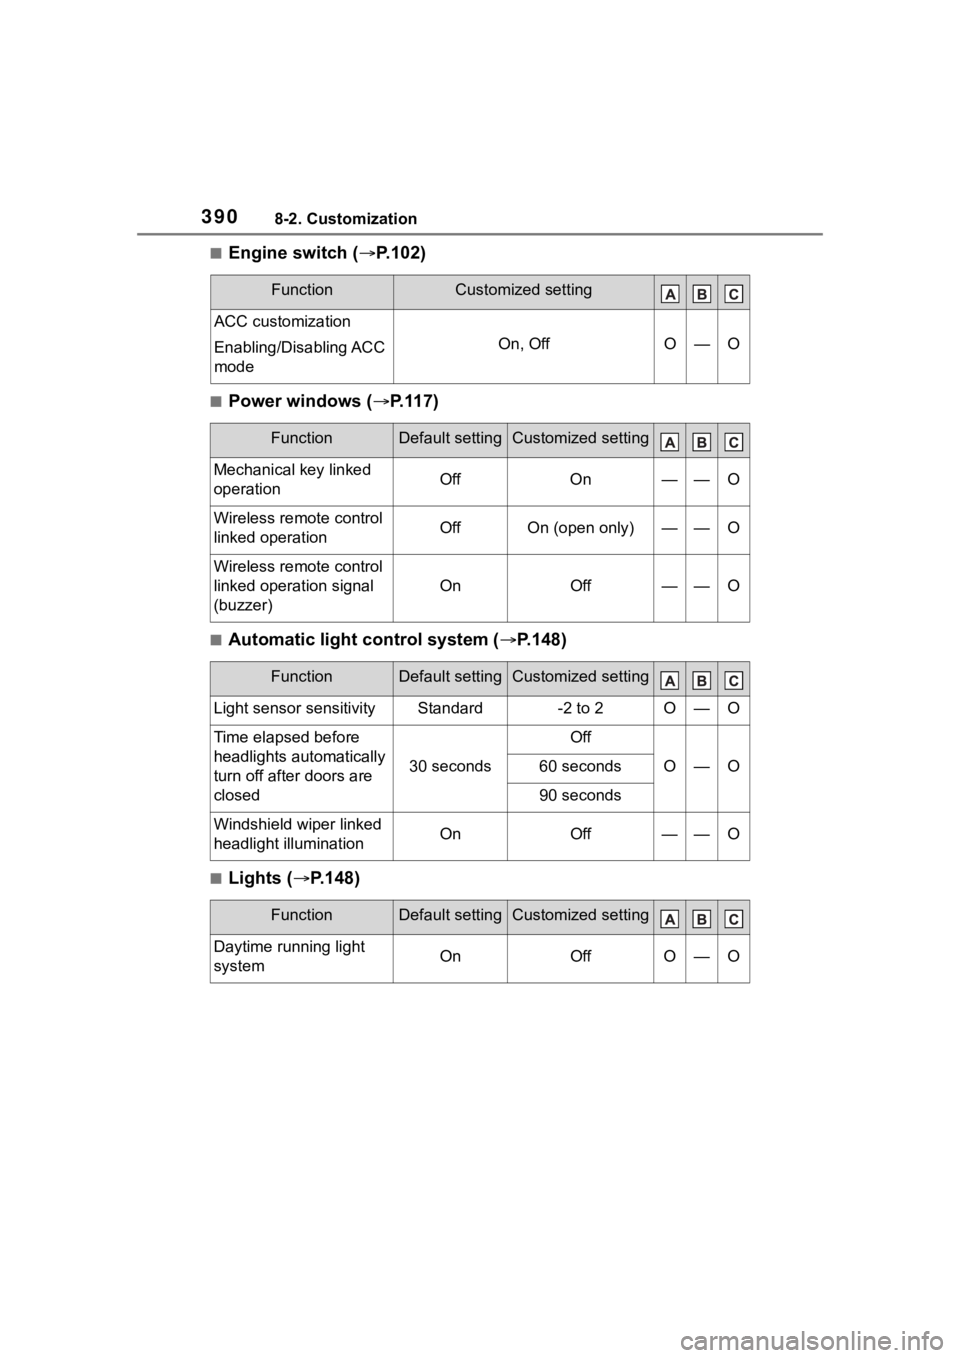
■Engine switch (P.102)
■Power windows ( P.117)
■Automatic light control system ( P.148)
■Lights ( P.148)
FunctionCustomized setting
ACC customization
Enabling/Disabling ACC
mode
On, OffO—O
FunctionDefault settingCustomized setting
Mechanical key linked
operationOffOn——O
Wireless remote control
linked operationOffOn (open only)——O
Wireless remote control
linked operation signal
(buzzer)
OnOff——O
FunctionDefault settingCustomized setting
Light sensor sensitivityStandard-2 to 2O—O
Time elapsed before
headlights automatically
turn off after doors are
closed
30 seconds
Off
O—O60 seconds
90 seconds
Windshield wiper linked
headlight illuminationOnOff——O
FunctionDefault settingCustomized setting
Daytime running light
systemOnOffO—O
Page 409 of 436
409What to do if... (Troubleshooting)
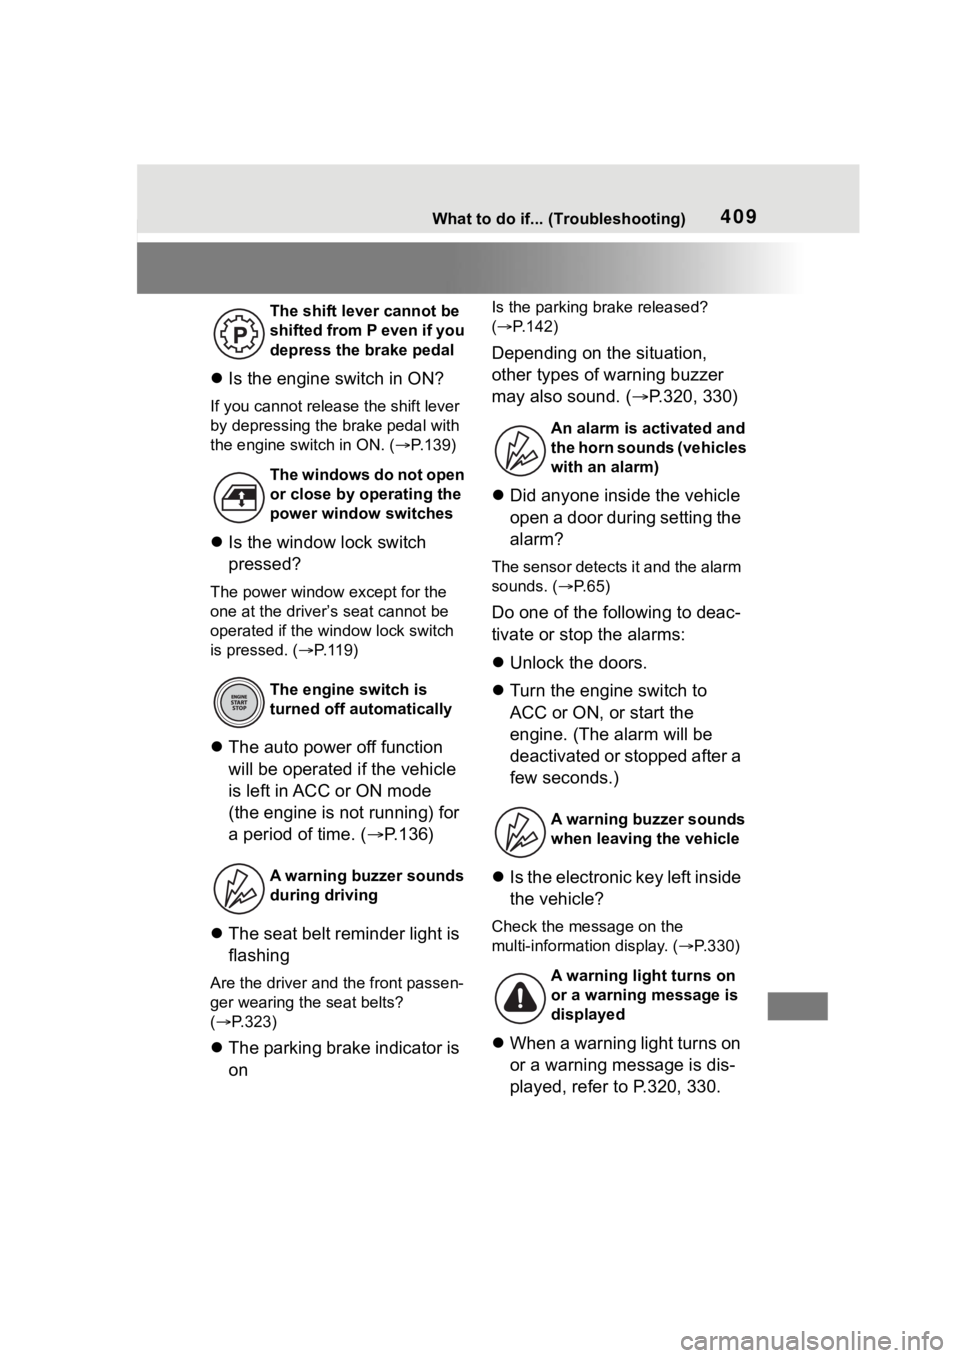
Is the engine switch in ON?
If you cannot release the shift lever
by depressing the brake pedal with
the engine switch in ON. ( P.139)
Is the window lock switch
pressed?
The power window except for the
one at the driver’s seat cannot be
operated if the win dow lock switch
is pressed. ( P.119)
The auto power off function
will be operated if the vehicle
is left in ACC or ON mode
(the engine is not running) for
a period of time. ( P.136)
The seat belt reminder light is
flashing
Are the driver and the front passen-
ger wearing the seat belts?
( P.323)
The parking brake indicator is
on
Is the parking br ake released?
( P.142)
Depending on the situation,
other types of warning buzzer
may also sound. ( P.320, 330)
Did anyone inside the vehicle
open a door during setting the
alarm?
The sensor detects it and the alarm
sounds. ( P. 6 5 )
Do one of the following to deac-
tivate or stop the alarms:
Unlock the doors.
Turn the engine switch to
ACC or ON, or start the
engine. (The alarm will be
deactivated or stopped after a
few seconds.)
Is the electronic key left inside
the vehicle?
Check the message on the
multi-informat ion display. (P.330)
When a warning light turns on
or a warning message is dis-
played, refer to P.320, 330.
The shift lever cannot be
shifted from P even if you
depress the brake pedal
The windows do not open
or close by operating the
power window switches
The engine switch is
turned off automatically
A warning buzzer sounds
during driving
An alarm is activated and
the horn sounds (vehicles
with an alarm)
A warning buzzer sounds
when leaving the vehicle
A warning light turns on
or a warning message is
displayed