Infotainment VAUXHALL VIVARO C 2020 Owner's Manual
[x] Cancel search | Manufacturer: VAUXHALL, Model Year: 2020, Model line: VIVARO C, Model: VAUXHALL VIVARO C 2020Pages: 289, PDF Size: 10.16 MB
Page 13 of 289

In brief111Power windows .....................41
2 Exterior mirrors .....................38
3 Side air vents ...................... 148
4 Selective ride control ..........171
5 Turn lights ........................... 133
Headlight flash ....................131
High beam ........................... 130
Exit lighting .......................... 136
6 Head-up display controls ....120
7 Steering wheel controls ........93
8 Steering wheel paddles ........93
9 Instruments ......................... 104
Driver Information Centre .... 115
10 Button for Driver
Information Centre ..............115
Windscreen wiper and
washer .................................. 94
Rear wiper and washer .........96
11 Head-up display ..................120
12 Air vents .............................. 148
13 Control elements for Info
Display ................................ 11914Info Display ......................... 119
15 Climate control system ........ 140
16 Storage compartment ...........78
17 Storage compartment ...........78
18 AUX input
19 Power outlet .......................... 97
20 Airbag deactivation ...............64
21 USB port ............................... 97
22 Seat heating .......................... 51
23 Electronic Stability Control
and Traction Control ...........170
Tyre deflation detection
system ................................. 238
Stop-start system ................156
Heated windscreen ...............44
Electric child locks ................. 28
Central locking system ..........24
24 Hazard warning flashers .....132
25 Manual transmission ...........167
Automatic transmission .......164
26 Power button ....................... 153
27 Automatic locking ..................2828Ignition switch .....................152
29 Control elements for
Infotainment system
30 Steering wheel adjustment ...93
31 Fuse box ............................. 230
32 Horn ...................................... 94
33 Cruise control ...................... 173
Speed limiter ....................... 176
Adaptive cruise control .......179
34 Bonnet release lever ...........213
35 Anti-theft alarm system .........36
Lane departure warning ......200
Side blind spot alert ............194
Parking assist ...................... 191
Parking heater ....................146
Headlight range adjustment 131
High beam assist ................130
Page 95 of 289
Instruments and controls93Controls
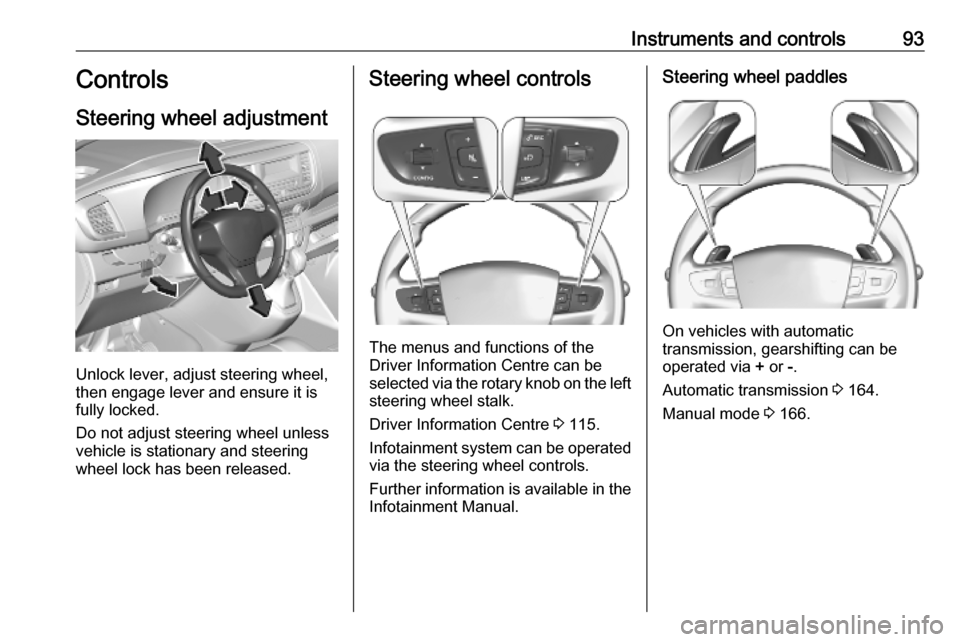
Steering wheel adjustment
Unlock lever, adjust steering wheel,
then engage lever and ensure it is
fully locked.
Do not adjust steering wheel unless
vehicle is stationary and steering
wheel lock has been released.
Steering wheel controls
The menus and functions of the
Driver Information Centre can be
selected via the rotary knob on the left
steering wheel stalk.
Driver Information Centre 3 115.
Infotainment system can be operated
via the steering wheel controls.
Further information is available in the
Infotainment Manual.
Steering wheel paddles
On vehicles with automatic
transmission, gearshifting can be
operated via + or -.
Automatic transmission 3 164.
Manual mode 3 166.
Page 99 of 289
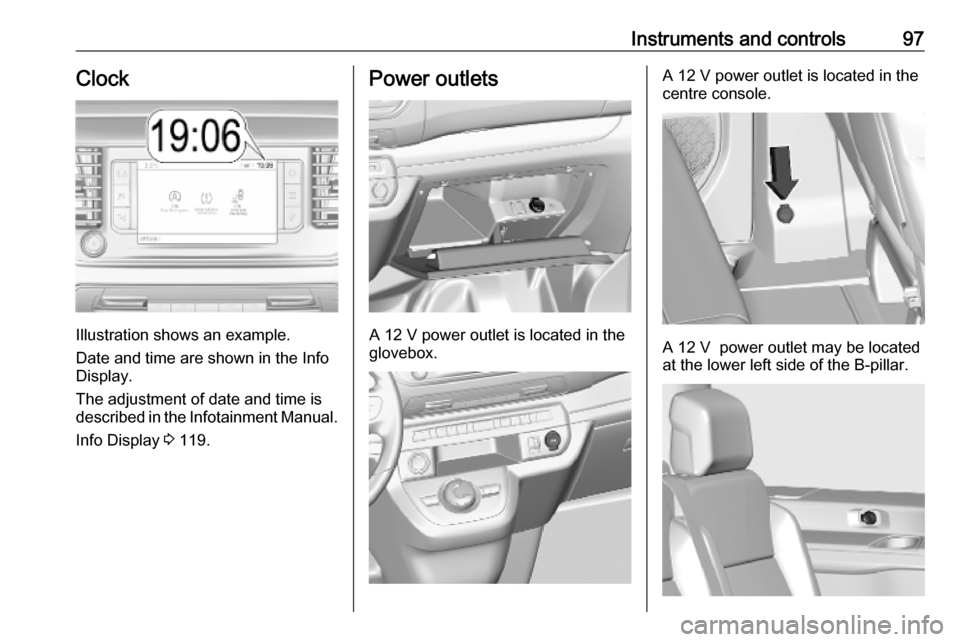
Instruments and controls97Clock
Illustration shows an example.
Date and time are shown in the Info
Display.
The adjustment of date and time is
described in the Infotainment Manual.
Info Display 3 119.
Power outlets
A 12 V power outlet is located in the
glovebox.
A 12 V power outlet is located in the
centre console.
A 12 V power outlet may be located
at the lower left side of the B-pillar.
Page 101 of 289

Instruments and controls99Infotainment system. For further
information, see Infotainment
Manual.
Notice
The sockets must always be kept clean and dry.
Page 121 of 289
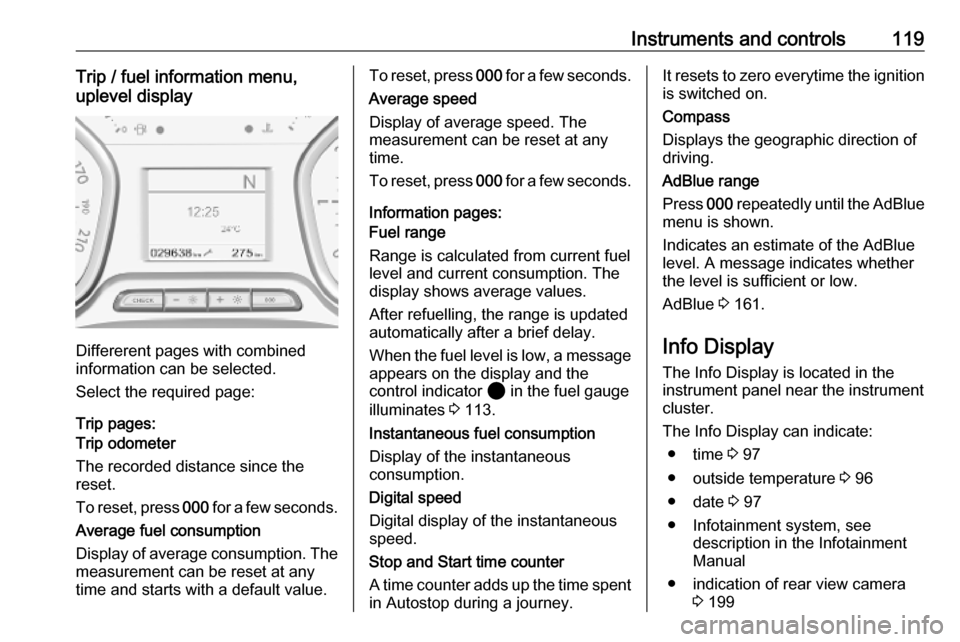
Instruments and controls119Trip / fuel information menu,
uplevel display
Differerent pages with combined
information can be selected.
Select the required page:
Trip pages:
Trip odometer
The recorded distance since the
reset.
To reset, press 000 for a few seconds.
Average fuel consumption
Display of average consumption. The measurement can be reset at any
time and starts with a default value.
To reset, press 000 for a few seconds.
Average speed
Display of average speed. The
measurement can be reset at any
time.
To reset, press 000 for a few seconds.
Information pages:
Fuel range
Range is calculated from current fuel
level and current consumption. The
display shows average values.
After refuelling, the range is updated
automatically after a brief delay.
When the fuel level is low, a message appears on the display and the
control indicator 2 in the fuel gauge
illuminates 3 113.
Instantaneous fuel consumption
Display of the instantaneous
consumption.
Digital speed
Digital display of the instantaneous
speed.
Stop and Start time counter
A time counter adds up the time spent
in Autostop during a journey.It resets to zero everytime the ignition is switched on.
Compass
Displays the geographic direction of
driving.
AdBlue range
Press 000 repeatedly until the AdBlue
menu is shown.
Indicates an estimate of the AdBlue
level. A message indicates whether
the level is sufficient or low.
AdBlue 3 161.
Info Display The Info Display is located in theinstrument panel near the instrument
cluster.
The Info Display can indicate: ● time 3 97
● outside temperature 3 96
● date 3 97
● Infotainment system, see description in the Infotainment
Manual
● indication of rear view camera 3 199
Page 122 of 289
120Instruments and controls● indication of panoramic viewsystem 3 196
● navigation, see description in the
Infotainment Manual
● vehicle and system messages 3 122
● settings for vehicle personalisation 3 123
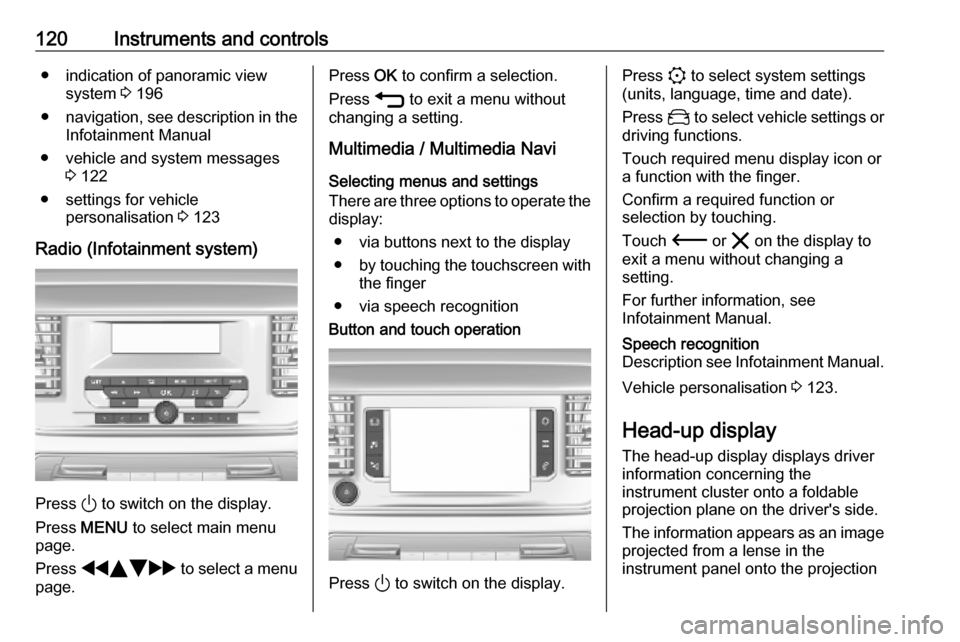
Radio (Infotainment system)
Press ) to switch on the display.
Press MENU to select main menu
page.
Press fYZ g to select a menu
page.
Press OK to confirm a selection.
Press 1 to exit a menu without
changing a setting.
Multimedia / Multimedia Navi
Selecting menus and settings
There are three options to operate the
display:
● via buttons next to the display● by touching the touchscreen with
the finger
● via speech recognitionButton and touch operation
Press ) to switch on the display.
Press : to select system settings
(units, language, time and date).
Press _ to select vehicle settings or
driving functions.
Touch required menu display icon or a function with the finger.
Confirm a required function or
selection by touching.
Touch 3 or & on the display to
exit a menu without changing a
setting.
For further information, see
Infotainment Manual.Speech recognition
Description see Infotainment Manual.
Vehicle personalisation 3 123.
Head-up display The head-up display displays driverinformation concerning the
instrument cluster onto a foldable projection plane on the driver's side.
The information appears as an image
projected from a lense in the
instrument panel onto the projection
Page 125 of 289
Instruments and controls123● If an unintended lane changeoccurs.
● If the exhaust filter has reached the maximum filling level.
When the vehicle is parked and /
or the driver's door is opened
● With exterior lights on.
During an Autostop ● If the driver's door is opened.
● If any condition for a restart of the
engine is not fulfilled.Vehicle personalisation
The vehicle's behaviour can be
personalised by changing the settings
in the Info Display.
Depending on vehicle equipment and
country-specific regulations some of
the functions described below may
not be available.
Some functions are only displayed or active when the engine is running.
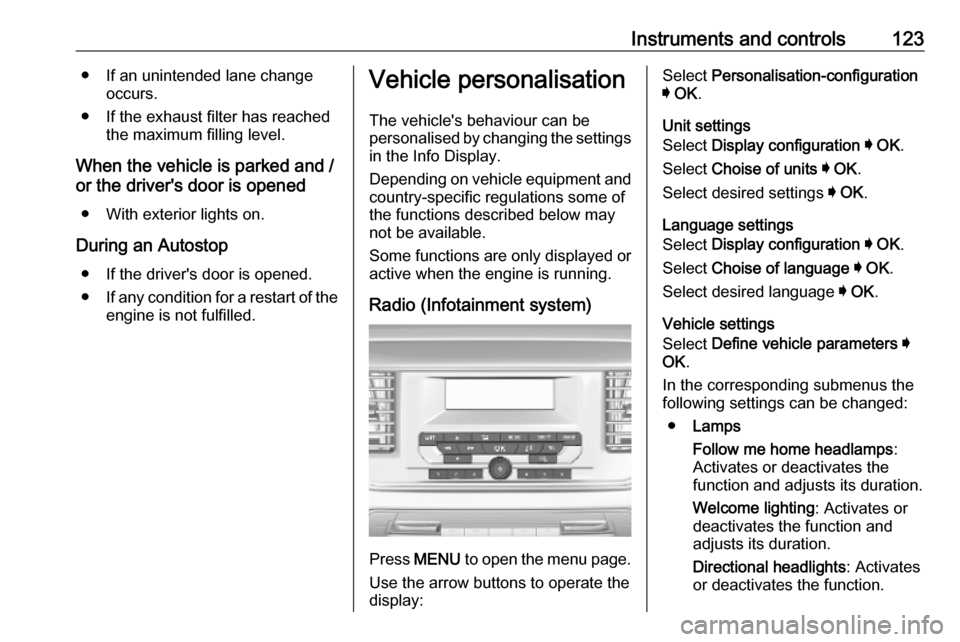
Radio (Infotainment system)
Press MENU to open the menu page.
Use the arrow buttons to operate the
display:
Select Personalisation-configuration
I OK .
Unit settings
Select Display configuration I OK .
Select Choise of units I OK .
Select desired settings I OK .
Language settings
Select Display configuration I OK .
Select Choise of language I OK .
Select desired language I OK .
Vehicle settings
Select Define vehicle parameters I
OK .
In the corresponding submenus the
following settings can be changed:
● Lamps
Follow me home headlamps :
Activates or deactivates the
function and adjusts its duration.
Welcome lighting : Activates or
deactivates the function and
adjusts its duration.
Directional headlights : Activates
or deactivates the function.
Page 148 of 289
146Climate control● Air conditioning and automaticmode are automatically switchedon. The LED in the button A/C
illuminates, AUTO is shown in the
display.
● Temperature and air distribution are set automatically and the fan
runs at high speed.
● Switch on heated rear window è.
● Switch on heated windscreen 9 .
● To return to previous mode, press h again.
Notice
If h is pressed while the engine is
running, an Autostop will be inhibited until h is pressed again.
If h is pressed while the engine is
in an Autostop, the engine will restart
automatically.
Heated rear window è 3 43.
Heated exterior mirrors m 3 39.
Heated windscreen 9 3 44.
Stop-start system 3 156.Deactivation of electronic climate
control system
Press s subsequently until the
electronic climate control system is
deactivated.
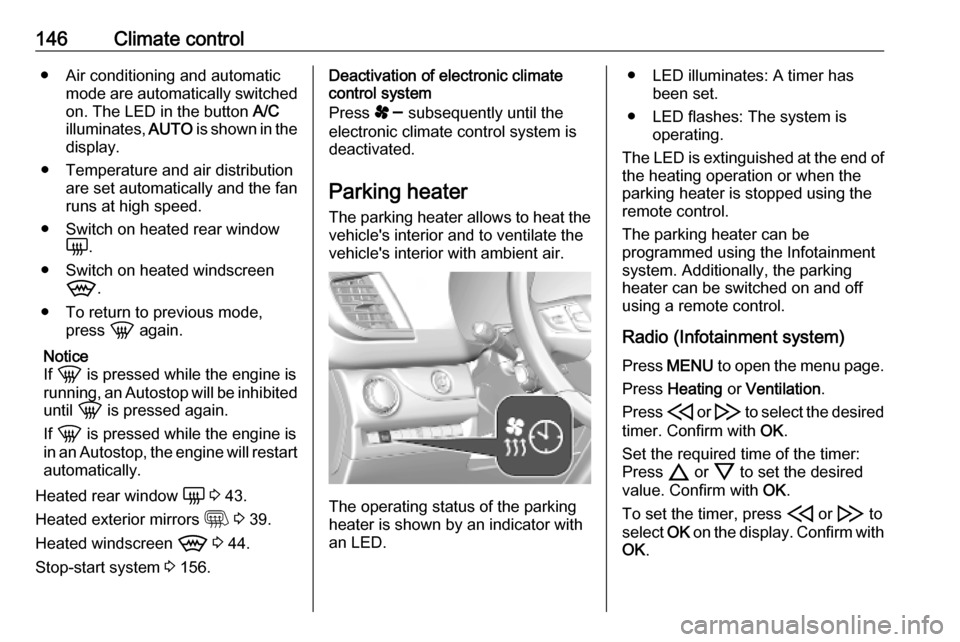
Parking heater
The parking heater allows to heat the vehicle's interior and to ventilate the
vehicle's interior with ambient air.
The operating status of the parking
heater is shown by an indicator with
an LED.
● LED illuminates: A timer has been set.
● LED flashes: The system is operating.
The LED is extinguished at the end of
the heating operation or when the
parking heater is stopped using the
remote control.
The parking heater can be
programmed using the Infotainment
system. Additionally, the parking
heater can be switched on and off
using a remote control.
Radio (Infotainment system) Press MENU to open the menu page.
Press Heating or Ventilation .
Press H or I to select the desired
timer. Confirm with OK.
Set the required time of the timer:
Press 7 or 8 to set the desired
value. Confirm with OK.
To set the timer, press H or I to
select OK on the display. Confirm with
OK .
Page 220 of 289

218Vehicle care● See the Owner's Manual forfurther information.
● Explosive gas may be present in the vicinity of the vehicle battery.
Heating functionalities Notice
Individual heating functionalities,
such as heated seats or heated
steering wheel, may be temporarily
unavailable in the event of electrical
loading constraints. Functions will
be resumed after some minutes.
Power saving mode
This mode deactivates electrical
consumers to avoid excessive
discharging of the vehicle battery.
These consumers, such as the
Infotainment system, windscreen
wipers, low beam headlights,
courtesy light, etc. can be used for a
total maximum time of about
40 minutes after ignition is switched
off.Deactivating power saving mode
Power saving mode is deactivated
automatically when the engine is
restarted. Run the engine for a
sufficient charge:
● for less than 10 minutes to use the consumers for approx.
5 minutes
● for more than 10 minutes to use the consumers for up to approx.
30 minutes
Diesel fuel system bleeding If the tank has been run dry, the diesel fuel system must be bled. The
bleeding procedure differs between
the engine types 3 268. Fuel up with
at least five litres of diesel before
starting the bleeding procedure.
Engines DV5RUCd, DV5RUC 1. Switch on the ignition.
2. Wait 1 minute and switch off the
ignition.
3. Try to start the engine.
If the engine does not start after a
short time, repeat the procedure.Engines DW10FEU, DW10FD,
DW10FDCU, DW10F
1. Switch on the ignition.
2. Wait 6 seconds and switch off the ignition.
3. Repeat steps 1 and 2 for ten times.
4. Try to start the engine.
If the engine does not start after a
short time, repeat the procedure.
Engine DV6DU1. Open the engine bonnet.
2. If necessary, unclip the engine
style cover to access the priming
pump.
3. Operate the priming pump
repeatedly until resistance is felt
(there may be resistance at the first
press).
4. Try to start the engine. If the engine
does not start after a short time, wait
around 15 seconds before trying
again. If the engine does not start
after a few attempts, repeat step 3
and try again to start the engine.
5. Put the engine style cover in place
and clip it in.
Page 234 of 289
232Vehicle care
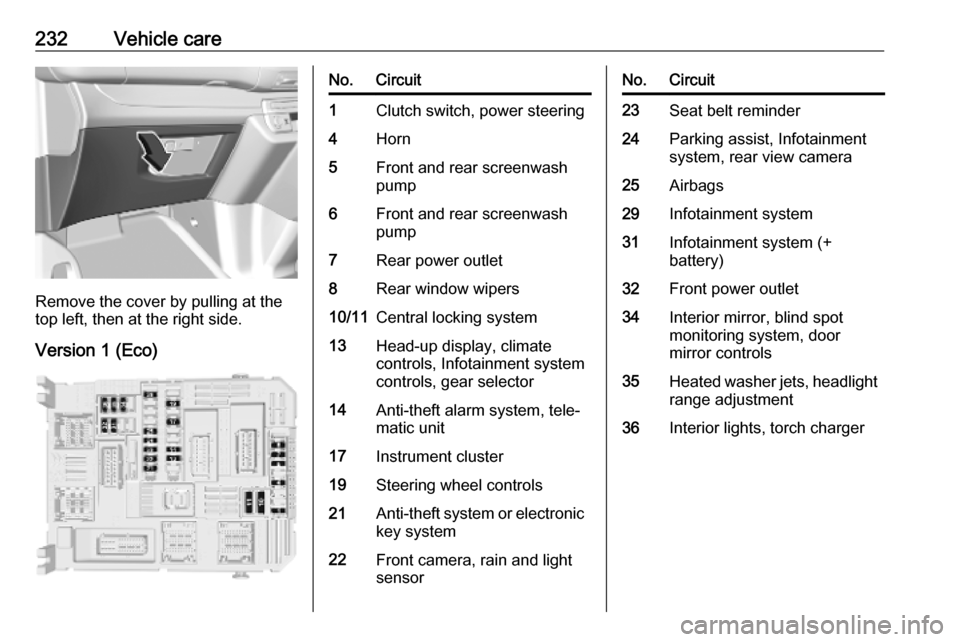
Remove the cover by pulling at the
top left, then at the right side.
Version 1 (Eco)
No.Circuit1Clutch switch, power steering4Horn5Front and rear screenwash
pump6Front and rear screenwash
pump7Rear power outlet8Rear window wipers10/11Central locking system13Head-up display, climate
controls, Infotainment system
controls, gear selector14Anti-theft alarm system, tele‐
matic unit17Instrument cluster19Steering wheel controls21Anti-theft system or electronic key system22Front camera, rain and light
sensorNo.Circuit23Seat belt reminder24Parking assist, Infotainment
system, rear view camera25Airbags29Infotainment system31Infotainment system (+
battery)32Front power outlet34Interior mirror, blind spot
monitoring system, door
mirror controls35Heated washer jets, headlight
range adjustment36Interior lights, torch charger