light Acura ILX 2016 Owner's Guide
[x] Cancel search | Manufacturer: ACURA, Model Year: 2016, Model line: ILX, Model: Acura ILX 2016Pages: 521, PDF Size: 24.09 MB
Page 143 of 521

142
uuOperating the Switches Around the Steering Wheel uBrightness Control
Controls
Brightness Control
When the power mode is in ON, you can use
the brightness control knob to adjust
instrument panel brightness.
Brighten: Turn the knob to the right.
Dim: Turn the knob to the left.
You will hear a beep when the brightness
reaches minimum or maximum. The multi-
information display will return to its original
state several seconds after you adjust the
brightness.
■Brightness level indicator
The brightness level is shown on the multi-
information display while you are adjusting it.
1 Brightness Control
Instrument panel brightne ss varies, depending on
whether the exterior lights are on or off. The
instrument panel dims to reduce glare when they are
on.
When it is bright out side and the headlight
integration with the wi per is activated, the
instrument panel bri ghtness does not change.
Pressing the SEL/RESET button or either
(information) button change s to a different display.
If you turn the knob to the right until the brightness
display is up to max, the beeper sounds. This cancels
the reduced instrument panel brightness when the
parking lights are on.
The brightness can be set differently for when the
exterior lights are on, and when they are off.
Control Knob
Models with full color display
Models without full color display
16 ACURA ILX-31TX66300.book 142 ページ 2014年12月22日 月曜日 午後10時15分
Page 146 of 521
145
uuOperating the Switches Around the Steering Wheel uDriving Position Memory System*
Controls
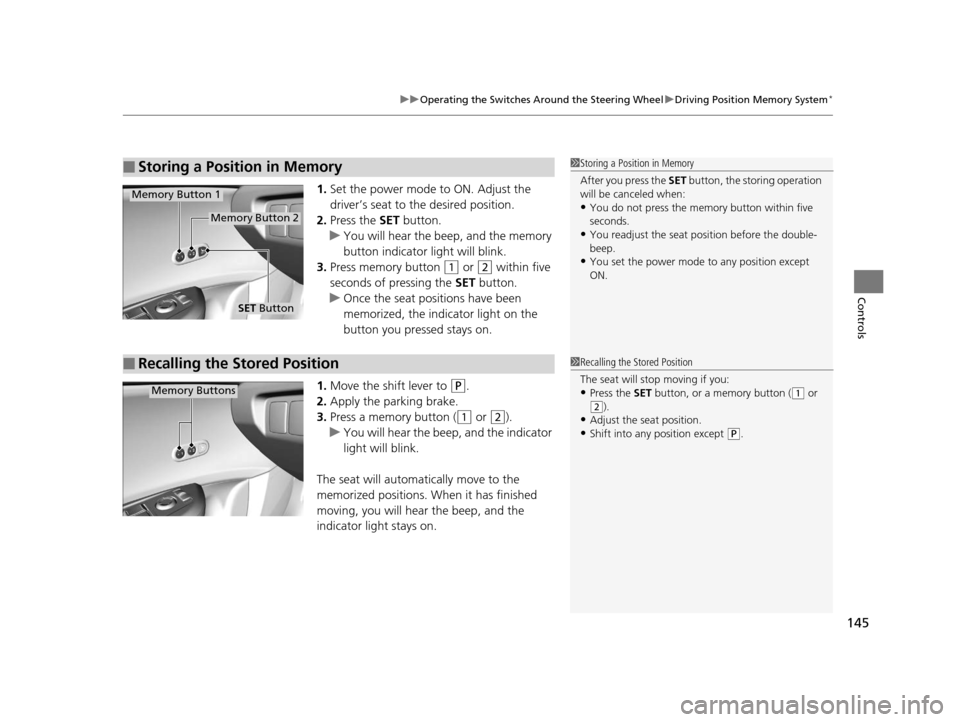
1. Set the power mode to ON. Adjust the
driver’s seat to the desired position.
2. Press the SET button.
u You will hear the beep, and the memory
button indicator light will blink.
3. Press memory button
(1 or (2 within five
seconds of pressing the SET button.
u Once the seat positions have been
memorized, the indicator light on the
button you pressed stays on.
1. Move the shift lever to
(P.
2. Apply the parking brake.
3. Press a memory button (
(1 or (2).
u You will hear the beep, and the indicator
light will blink.
The seat will automatically move to the
memorized positions. When it has finished
moving, you will hear the beep, and the
indicator light stays on.
■Storing a Position in Memory1 Storing a Position in Memory
After you press the SET button, the storing operation
will be canceled when:
•You do not press the memory button within five
seconds.
•You readjust the seat position before the double-
beep.
•You set the power mode to any position except
ON.
SET Button
Memory Button 1
Memory Button 2
■Recalling the Stored Position1Recalling the Stored Position
The seat will st op moving if you:
•Press the SET button, or a memory button ((1 or
(2).•Adjust the seat position.
•Shift into any position except (P.
Memory Buttons
16 ACURA ILX-31TX66300.book 145 ページ 2014年12月22日 月曜日 午後10時15分
Page 147 of 521
146
Controls
Adjusting the Mirrors
Interior Rearview Mirror
Adjust the angle of the rearview mirror when you are sitting in the correct driving
position.
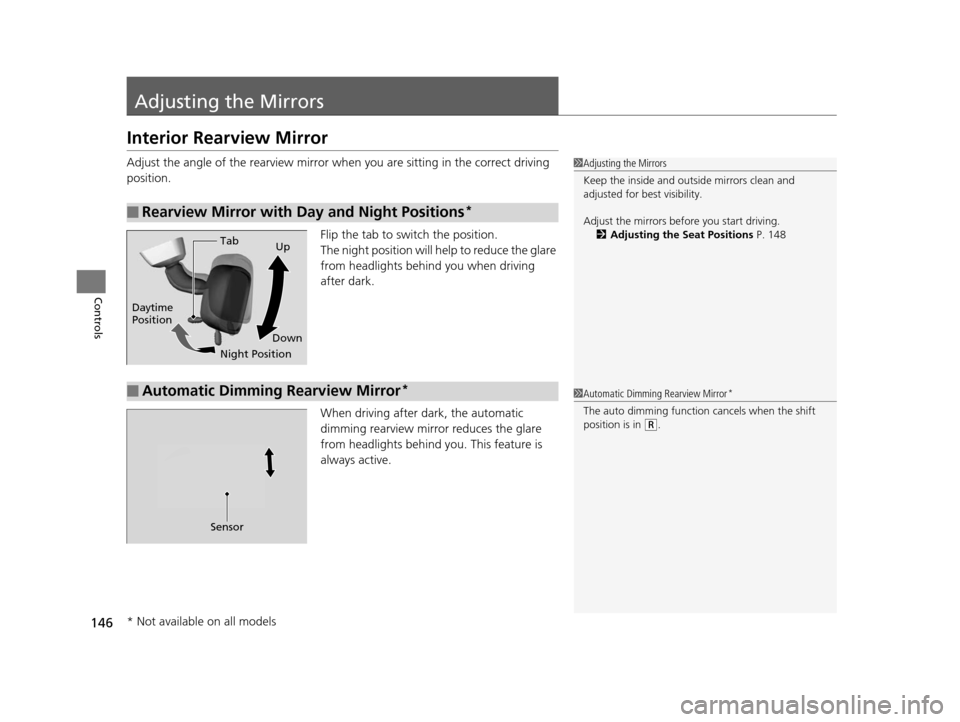
Flip the tab to switch the position.
The night position will help to reduce the glare
from headlights behind you when driving
after dark.
When driving after dark, the automatic
dimming rearview mirror reduces the glare
from headlights behind you. This feature is
always active.
■Rearview Mirror with Day and Night Positions*
1Adjusting the Mirrors
Keep the inside and out side mirrors clean and
adjusted for best visibility.
Adjust the mirrors befo re you start driving.
2 Adjusting the Seat Positions P. 148
Tab
Daytime
Position
Night PositionUp
Down
■Automatic Dimming Rearview Mirror*1 Automatic Dimming Rearview Mirror*
The auto dimming function cancels when the shift
position is in
(R.
Sensor
* Not available on all models
16 ACURA ILX-31TX66300.book 146 ページ 2014年12月22日 月曜日 午後10時15分
Page 157 of 521

156
Controls
Interior Lights/Interior Convenience Items
Interior Lights
■ON
The interior lights come on regardless of
whether the doors are open or closed.
■Door activated
The interior lights come on in the following
situations:
• When any of the doors are opened.
• You unlock the driver's door.
• The lights also come on when the power
mode is set to VEHICLE OFF (LOCK).
■OFF
The interior lights remain off regardless of
whether the doors are open or closed.
The map lights can be turned on and off by
pressing the (map light) button.
■Interior Light Switches1 Interior Light Switches
In the door activated position, the interior lights fade
out and go off about 30 se conds after the doors are
closed.
The lights go off after 30 seconds in the following
situations:
•When you unlock the driver's door but do not open
it.
•When you set the power mode to VEHICLE OFF
(LOCK) but do not open a door.
You can change the interi or lights dimming time.
2 Customized Features P. 97, 245
The interior lights go off i mmediately in the following
situations:
•When you lock the driver's door.
•When you set the power mode to ON.
If you leave any of the doors open, the interior lights
go off after a bout 15 minutes.
Door Activated Position
Off
Front
On
Off
Rear
On
Door Activated Position
■Map Lights1
Map Lights
When the interior light swit ch is in the door activated
position and any door is open, pressing the
button does not turn off the map light.
16 ACURA ILX-31TX66300.book 156 ページ 2014年12月22日 月曜日 午後10時15分
Page 158 of 521

157
uuInterior Lights/Interior Convenience Items uInterior Convenience Items
Continued
Controls
Interior Convenience Items
Pull the handle to open the glove box. You
can lock the glove box with the built-in key.
Press the button to open the console
compartment.
■Glove Box1 Glove Box
3WARNING
An open glove box can cause serious injury
to your passenger in a crash, even if the
passenger is wearing the seat belt.
Always keep the glove box closed while
driving.
Glove Box
To Lock
■Console Compartment
Button
16 ACURA ILX-31TX66300.book 157 ページ 2014年12月22日 月曜日 午後10時15分
Page 159 of 521
uuInterior Lights/Interior Convenience Items uInterior Convenience Items
158
Controls
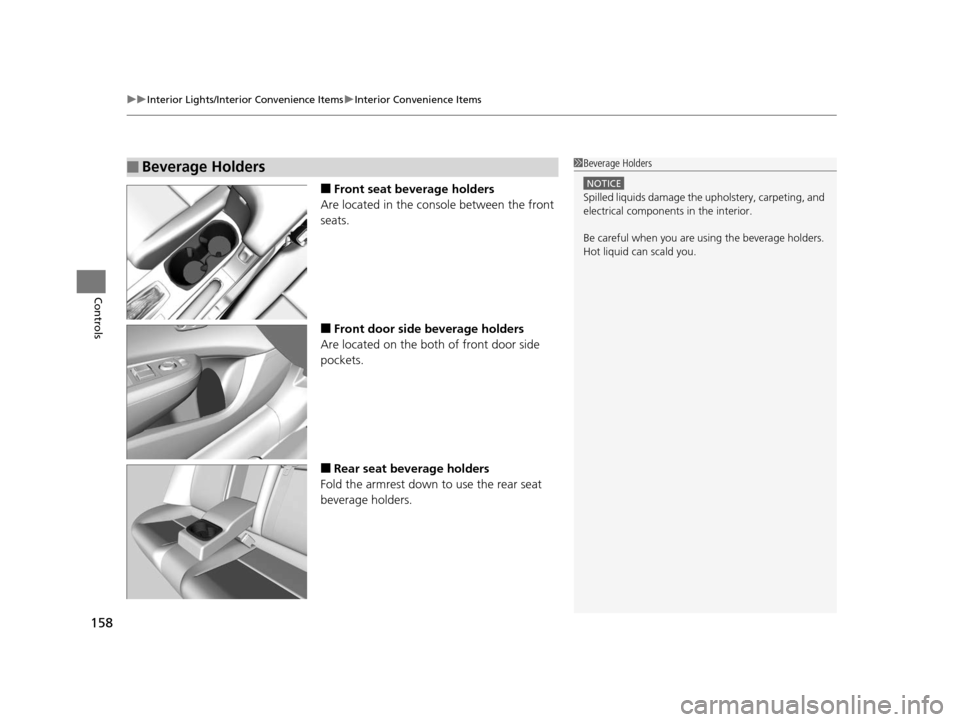
■Front seat beverage holders
Are located in the console between the front
seats.
■Front door side beverage holders
Are located on the both of front door side
pockets.
■Rear seat beverage holders
Fold the armrest down to use the rear seat
beverage holders.
■Beverage Holders1 Beverage Holders
NOTICE
Spilled liquids damage the upholstery, carpeting, and
electrical components in the interior.
Be careful when you are us ing the beverage holders.
Hot liquid can scald you.
16 ACURA ILX-31TX66300.book 158 ページ 2014年12月22日 月曜日 午後10時15分
Page 160 of 521

Continued159
uuInterior Lights/Interior Convenience Items uInterior Convenience Items
Controls
The accessory power sockets can be used when the power mode is in ACCESSORY
or ON. Open the console lid and the cover to use it.
There is a coat hook on the rear left grab
handle. Pull it down to use it.
■Accessory Power Socket1Accessory Power Socket
NOTICE
Do not insert an automotive type cigarette lighter
element.
This can overheat the power socket.
The accessory power socket is designed to supply
power for 12 volt DC access ories that are rated 180
watts or less (15 amps).
To prevent battery drain, only use the power socket
with the engine running.
■Coat Hook1 Coat Hook
The coat hook is not desi gned for large or heavy
items.
16 ACURA ILX-31TX66300.book 159 ページ 2014年12月22日 月曜日 午後10時15分
Page 161 of 521
uuInterior Lights/Interior Convenience Items uInterior Convenience Items
160
Controls
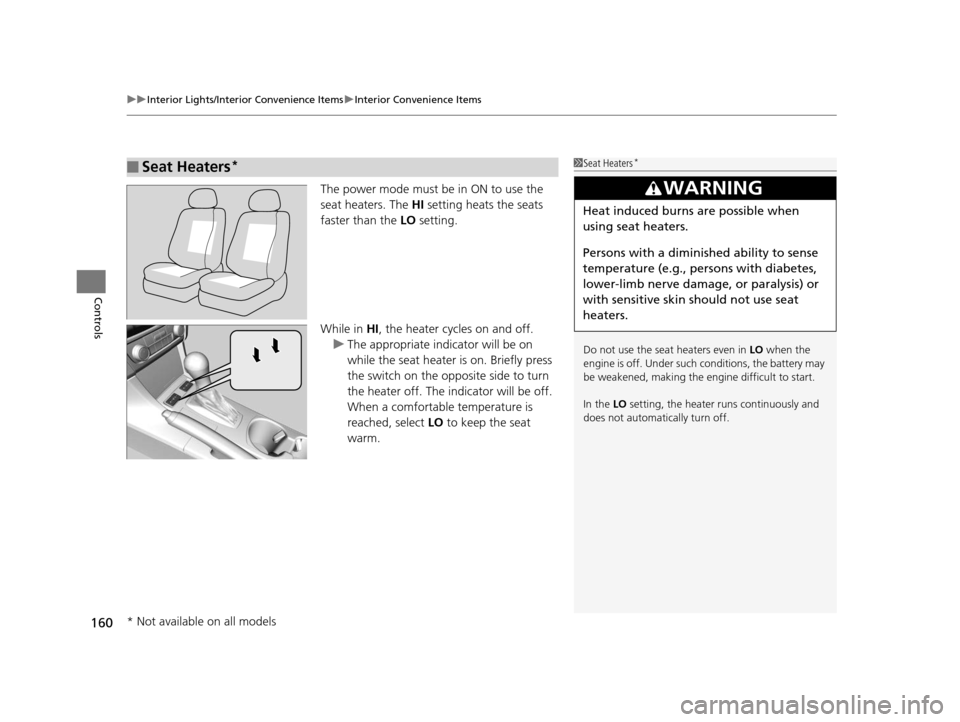
The power mode must be in ON to use the
seat heaters. The HI setting heats the seats
faster than the LO setting.
While in HI, the heater cycles on and off.
u The appropriate indicator will be on
while the seat heater is on. Briefly press
the switch on the opposite side to turn
the heater off. The in dicator will be off.
When a comfortable temperature is
reached, select LO to keep the seat
warm.
■Seat Heaters*1 Seat Heaters*
Do not use the seat heaters even in LO when the
engine is off. Under such conditions, the battery may
be weakened, making the engine difficult to start.
In the LO setting, the heater runs continuously and
does not automatically turn off.
3WARNING
Heat induced burns are possible when
using seat heaters.
Persons with a diminished ability to sense
temperature (e.g., persons with diabetes,
lower-limb nerve damage, or paralysis) or
with sensitive skin should not use seat
heaters.
* Not available on all models
16 ACURA ILX-31TX66300.book 160 ページ 2014年12月22日 月曜日 午後10時15分
Page 168 of 521
167
uuAudio System uAuxiliary Input Jack*
Features
Auxiliary Input Jack*
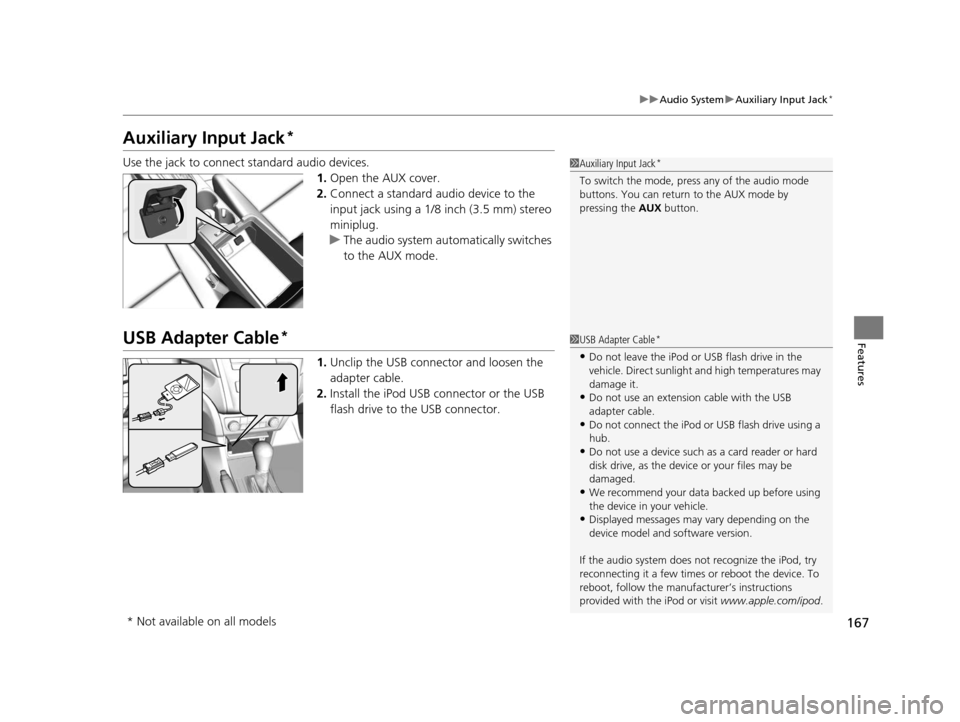
Use the jack to connect standard audio devices.
1.Open the AUX cover.
2. Connect a standard audio device to the
input jack using a 1/8 inch (3.5 mm) stereo
miniplug.
u The audio system auto matically switches
to the AUX mode.
USB Adapter Cable*
1. Unclip the USB connec tor and loosen the
adapter cable.
2. Install the iPod USB connector or the USB
flash drive to the USB connector.
1Auxiliary Input Jack*
To switch the mode, pres s any of the audio mode
buttons. You can return to the AUX mode by
pressing the AUX button.
1USB Adapter Cable*
•Do not leave the iPod or USB flash drive in the
vehicle. Direct sunlight and high temperatures may
damage it.
•Do not use an extension cable with the USB
adapter cable.
•Do not connect the iPod or USB flash drive using a
hub.
•Do not use a device such as a card reader or hard
disk drive, as the device or your files may be
damaged.
•We recommend your data backed up before using
the device in your vehicle.
•Displayed messages may vary depending on the
device model and software version.
If the audio system does not recognize the iPod, try
reconnecting it a few times or reboot the device. To
reboot, follow the manufac turer’s instructions
provided with the iPod or visit www.apple.com/ipod.
* Not available on all models
16 ACURA ILX-31TX66300.book 167 ページ 2014年12月22日 月曜日 午後10時15分
Page 169 of 521
168
uuAudio System uUSB Port*
Features
USB Port*
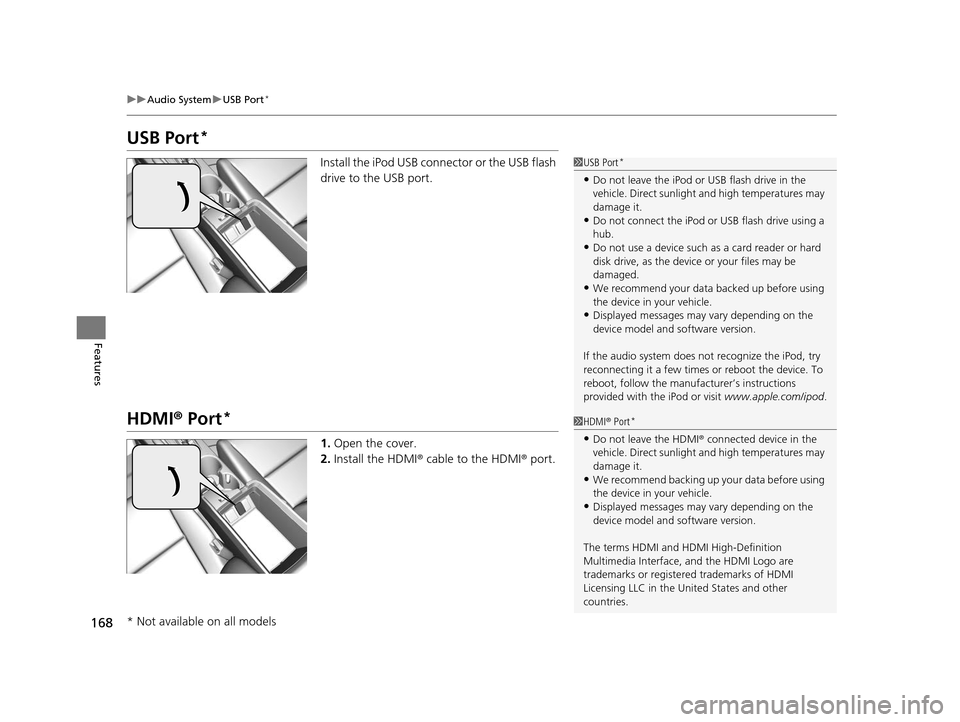
Install the iPod USB connector or the USB flash
drive to the USB port.
HDMI ® Port*
1. Open the cover.
2. Install the HDMI ® cable to the HDMI ® port.
1 USB Port*
•Do not leave the iPod or USB flash drive in the
vehicle. Direct sunlight and high temperatures may
damage it.
•Do not connect the iPod or USB flash drive using a
hub.
•Do not use a device such as a card reader or hard
disk drive, as the device or your files may be
damaged.
•We recommend your data backed up before using
the device in your vehicle.
•Displayed messages may vary depending on the
device model and software version.
If the audio system does not recognize the iPod, try
reconnecting it a few times or reboot the device. To
reboot, follow the manufac turer’s instructions
provided with the iPod or visit www.apple.com/ipod.
1HDMI ® Port*
•Do not leave the HDMI ® connected device in the
vehicle. Direct sunlight and high temperatures may
damage it.
•We recommend backing up yo ur data before using
the device in your vehicle.
•Displayed messages may vary depending on the
device model and software version.
The terms HDMI and HDMI High-Definition
Multimedia Interface, and the HDMI Logo are
trademarks or registered trademarks of HDMI
Licensing LLC in the United States and other
countries.
* Not available on all models
16 ACURA ILX-31TX66300.book 168 ページ 2014年12月22日 月曜日 午後10時15分