service schedule Acura Integra 2000 Sedan Owner's Manual
[x] Cancel search | Manufacturer: ACURA, Model Year: 2000, Model line: Integra, Model: Acura Integra 2000Pages: 273, PDF Size: 4.4 MB
Page 1 of 273

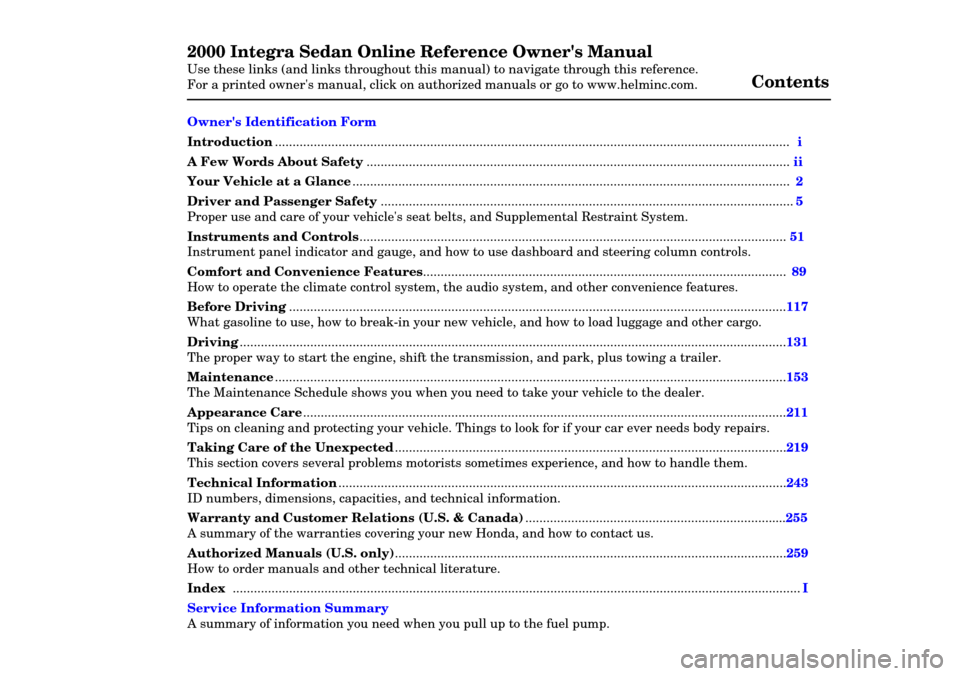
2000 Integra Sedan Online Reference Owner's Manual
Use these links (and links throughout this manual) to navigate through this reference.
For a printed owner's manual, click on authorized manuals or go to www.helminc.com. Contents
Owner's Identification Form
Introduction........................................................................\
...................................................... .................... i
A Few Words About Safety ........................................................................\
................................................ ii
Your Vehicle at a Glance........................................................................\
.................................................... 2
Driver and Passenger Safety ........................................................................\
.............................................
5
Proper use and care of your vehicle's seat belts, and Supplemental Restraint System.
Instruments and Controls........................................................................\
................................................. 51
Instrument panel indica tor and gauge, and how to use dashboard and steering column controls.
Comfort and Convenience Features........................................................................\
...............................
89
How to operate the climate control system, the audio system, and other convenience features.
Before Driving ........................................................................\
.....................................................................117
What gasoline to use, how to break-in your new vehicle, and how to load luggage and other cargo.
Driving........................................................................\
...................................................................................131
The proper way to start the engine, shift the transmission, and park, plus towing a trailer.
Maintenance........................................................................\
.........................................................................153
The Maintenance Schedule shows you when you need to take your vehicle to the dealer.
Appearance Care........................................................................\
.................................................................211
Tips on cleaning and protecting your vehicle. Things to look for if your car ever needs body repairs.
Taking Care of the Unexpected........................................................................\
.......................................219
This section covers several problems motorists sometimes experience, and how to handle them.
Technical Information........................................................................\
.......................................................243
ID numbers, dimensions, capaciti es, and technical information.
Warranty and Customer Relations (U.S. & Canada)..........................................................................255
A summary of the warranties covering your new Honda, and how to contact us.
Authorized Manuals (U.S. only)........................................................................\
.......................................259
How to order manuals and other technical literature.
Index ........................................................................\
......................................................................................... I
Service Information Summary
A summary of information you need when you pull up to the fuel pump.
Page 156 of 273

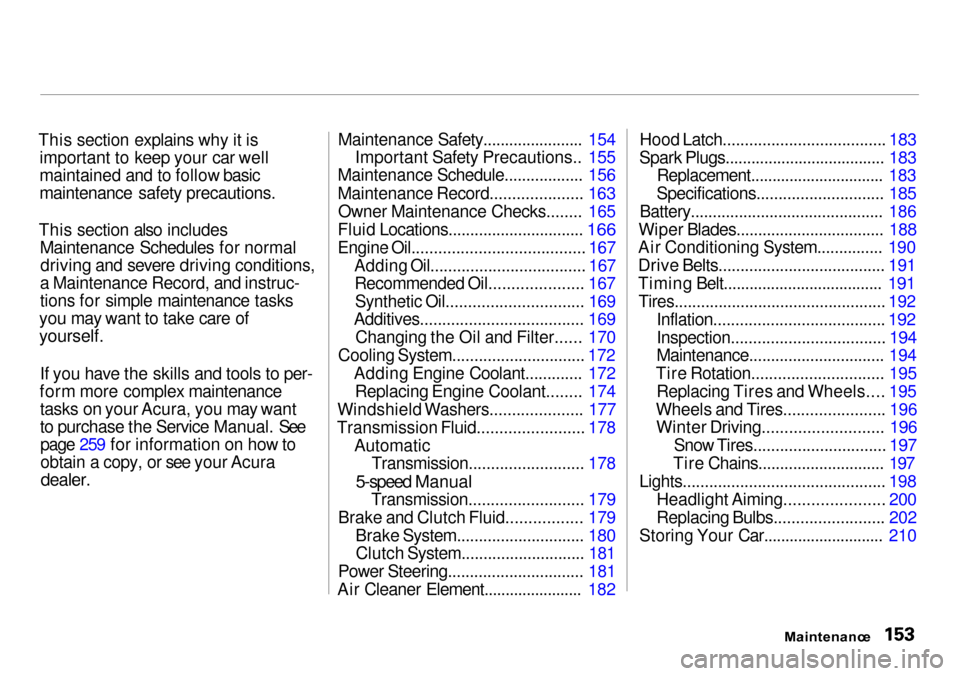
This section explains why it is important to keep your car well
maintained and to follow basic
maintenance safety precautions.
This section also includes Maintenance Schedules for normaldriving and severe driving conditions,
a Maintenance Record, and instruc-
tions for simple maintenance tasks
you may want to take care of
yourself.
If you have the skills and tools to per-
form more complex maintenance tasks on your Acura, you may want
to purchase the Service Manual. Seepage 259 for information on how to
obtain a copy, or see your Acura
dealer.
Maintenance Safety....................... 154
Important Safety Precautions.. 155
Maintenance Schedule.................. 156
Maintenance Record..................... 163
Owner Maintenance Checks........ 165
Fluid Locations............................... 166
Engine Oil......................................
. 167
Adding Oil................................... 167
Recommended Oil..................... 167
Synthetic Oil............................... 169
Additives..................................... 169
Changing the Oil and Filter...... 170
Cooling System.............................. 172 Adding Engine Coolant............. 172Replacing Engine Coolant........ 174
Windshield Washers..................... 177
Transmission Fluid........................ 178 AutomaticTransmission.......................... 178
5-speed Manual
Transmission.......................... 179
Brake and Clutch Fluid................. 179 Brake System............................. 180Clutch System............................
181
Power Steering..............................
. 181
Air Cleaner Element....................... 182 Hood Latch..................................... 183
Spark Plugs..................................... 183 Replacement............................... 183
Specifications............................. 185
Battery............................................ 186
Wiper Blades.................................. 188
Air Conditioning System............... 190
Drive Belts...................................... 191
Timing Belt..................................... 191
Tires................................................ 192 Inflation....................................... 192
Inspection...................................
194
Maintenance............................... 194
Tire Rotation.............................. 195 Replacing Tires and Wheels.... 195
Wheels and Tires....................... 196 Winter Driving........................... 196
Snow Tires.............................. 197
Tire Chains............................. 197
Lights.............................................. 198
Headlight Aiming.....................
. 200
Replacing Bulbs......................... 202
Storing Your Car............................ 210
Maintenance
Page 157 of 273

Maintenanc
e Safet y
Regularly maintaining your car is the
best way to protect your investment.
Proper maintenance is essential to
your safety and the safety of your passengers. It will also reward you
with more economical, trouble-free driving and help reduce air pollution. This section includes instructions for
simple maintenance tasks, such as
checking and adding oil. Any service items not detailed in this section
should be performed by an Acura
technician or other qualified
mechanic.
Some of the most important safety
precautions are given here. However,
we cannot warn you of every conceivable hazard that can arise in
performing maintenance. Only you
can decide whether or not you should perform a given task.
Maintenanc e
Improperly maintaining this car
or failing to correct a problem
before driving can cause a
crash in which you can be seriously hurt or killed.
Always follow the inspection
and maintenance
recommendations and
schedules in this owner's
manual.
Failure to properly follow
maintenance instructions and
precautions can cause you to
be seriously hurt or killed.
Always follow the procedures
and precautions in this owner's
manual.
Page 159 of 273

Maintenanc
e Schedul e
The Maintenance Schedule specifies how often you should have your car serviced and what things need
attention. It is essential that you have
your car serviced as scheduled to retain its high level of safety,dependability, and emissions control
performance.
The services and time or distance
intervals shown in the maintenanceschedule assume you will use your
vehicle as normal transportation for passengers and their possessions.
You should also follow these
recommendations:
Avoid exceeding your car's load
limit. This puts excess stress on
the engine, brakes, and many
other parts of your car. The load
limit is shown on the label on the
driver's doorjamb.
Operate your car on reasonable
roads within the legal speed limit.
Drive your car regularly over a
distance of several miles
(kilometers).
Always use unleaded gasoline with
the proper octane rating (see page
118). Whic
h Schedul e t o Follow :
Service your car according to the
time and mileage periods on one of
the Maintenance Schedules on the
following pages. Select the schedule
for "Severe Conditions" if most of
your driving is done under one or more of the conditions listed on thatpage. Otherwise, follow the schedule
for "Normal Conditions."
Maintenanc e
Page 162 of 273

Service at the indicated distance or time, whichever comes first. Do the items in A
, B , C as required for each distance/time interval Follow this
schedule if the severe driving conditions described in the Severe Conditions Schedule on the next page do not apply.
#: See information on maintenance and emissions warranty, lastcolumn, page 157.*: See Timing Belt on page 191 to determine need for replacement.
Maintenance
page 195 ).
Page 164 of 273

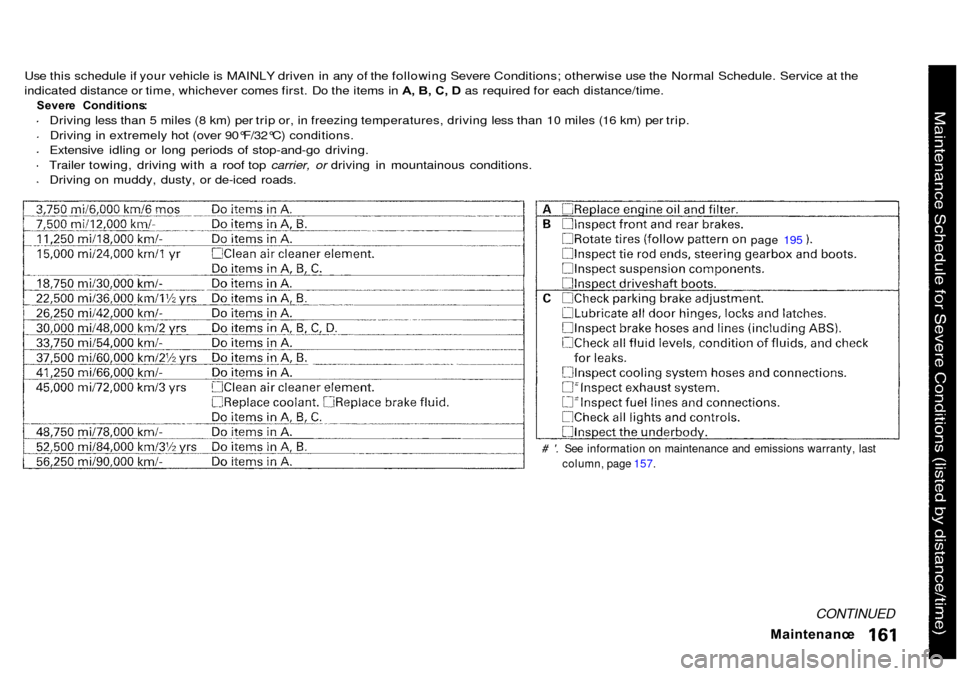
Use this schedule if your vehicle is MAINLY driven in any of the following Severe Conditions; otherwise use the Normal Schedule. Service at the
indicated distance or time, whichever comes first. Do the items in A, B, C, D as required for each distance/time.
Sever e Conditions :
Driving less than 5 miles (8 km) per trip or, in freezing temperatures, driving less than 10 miles (16 km) per trip.
Driving in extremely hot (over 90°F/32°C) conditions.
Extensive idling or long periods of stop-and-go driving.
Trailer towing, driving with a roof top carrier, or driving in mountainous conditions.
Driving on muddy, dusty, or de-iced roads.
# '. See information on maintenance and emissions warranty, lastcolumn, page 157.
Maintenance
CONTINUED
page 195
Page 172 of 273

Engin
e Oi l
The SAE numbers tell you the oil's viscosity or weight. Select the oil for
your car according to this chart.
An oil with a viscosity of 5W-30 is
preferred for improved fuel economy
and year-round protection in your Acura. You may use a 10W-30 oil if
the temperature in your area never
goes below 20°F ( — 7°C).
Syntheti
c Oi l
You may use a synthetic motor oil if it meets the same requirements
given for conventional motor oil:
energy conserving, a service
classification of SJ, and the proper
weight as shown on the chart. When using synthetic oil, you must follow
the oil and filter change intervals
given in the maintenance schedule. Additive
s
Your Honda does not need any oil additives. Purchasing additives for
the engine or transmission will not increase your car's performance or
longevity. It only increases the cost of operating your car.
Maintenance
Ambien
t Temperatur e
Page 173 of 273

Engin
e Oi l
Changin g th e Oi l an d Filte r
Always change the oil and filter according to the time and distance
(miles/kilometers) recommenda- tions in the maintenance schedule.
The oil and filter collect contami- nants that can damage your engine if
they are not removed regularly.
Changing the oil and filter requires
special tools and access from
underneath the car. The car should
be raised on a service station-type
hydraulic lift for this service. Unless you have the knowledge and proper
equipment, you should have this
maintenance done by a skilled
mechanic.
1. Run the engine until it reaches
normal operating temperature,
then shut it off.
2. Open the hood and remove the engine oil fill cap. Remove the oil
drain bolt and washer from the
bottom of the engine. Drain the oil
into an appropriate container.
3. Remove the oil filter and let the
remaining oil drain. A special
wrench (available from your Acura dealer) is required to remove the
filter.
4. Install a new oil filter according to instructions that come with it.
Maintenanc e
OI
L FILTE R
OI L DRAI N BOL T WASHE R
Page 182 of 273

Transmissio
n Fluid , Brak e an d Clutc h Flui d
5-spee d Manua l Transmissio n
Check the fluid level with the
transmission at normal operating temperature and the car sitting on
level ground. Remove the transmission filler bolt and carefully
feel inside the bolt hole with your
finger. The fluid level should be up
to the edge of the bolt hole. If it isnot, add Genuine Honda Manual
Transmission Fluid (MTF) until it starts to run out of the hole. Reinstall
the filler bolt and tighten it securely. If Honda MTF is not available, you
may use an API service SG, SH or SJ
grade motor oil with a viscosity of
SAE 10W-30 or 10W-40 as a
temporary replacement. An SG
grade is preferred, but an SH or SJ grade may be used if SG is notavailable. However, motor oil does
not contain the proper additives and
continued use can cause stiffershifting. Replace as soon as
convenient.
The transmission should be drained and refilled with new fluid according
to the time and distance recommen- dations in the maintenance schedule. Brak
e an d Clutc h Flui d
Check the fluid level in the reser-
voirs monthly. There are up to two reservoirs, depending on the model.
They are: Brake fluid reservoir (all models)
Clutch fluid reservoir
(manual transmission only)
The brake fluid should be replaced according to the time and distance
recommendations in the mainte- nance schedule.
CONTINUED
Maintenanc e
FILLE
R BOL T
Correc
t leve l
Page 185 of 273

Ai
r Cleane r Elemen t
The air cleaner element should be cleaned or replaced according to the
time and distance recommendations in the maintenance schedule.
Cleanin g (Sever e Conditions )
Clean the air cleaner element by
blowing compressed air through it in
the opposite direction to normal air
flow. If you do not have access to compressed air (such as a service
station), ask your Acura dealer to do
this service.
Follow the replacement procedure
for removal and reinstallation.
The air cleaner element is inside the air cleaner housing on the passenger'sside of the engine compartment. Replacemen
t
To replace it:
1. Loosen the three bolts and remove the air cleaner housing cover.
2. Lift up the old air cleaner element and pull it out of the duct.Carefully clean the inside of the
air cleaner housing with a damp
rag.
3. Attach the new air cleaner
element to the duct. Make sure
the tab on the duct fits in the notch on the air cleaner element.
Install the new air cleaner element
in the air cleaner housing correctly
placing the square part of the
flange on the element in the mating recess on the housing.
4. Reinstall the air cleaner housing cover, and tighten the three bolts.
Maintenanc e
BOLT
S
AIR CLEANE R ELEMEN T