service indicator Acura MDX 2012 Owner's Manual
[x] Cancel search | Manufacturer: ACURA, Model Year: 2012, Model line: MDX, Model: Acura MDX 2012Pages: 621, PDF Size: 11.15 MB
Page 8 of 621

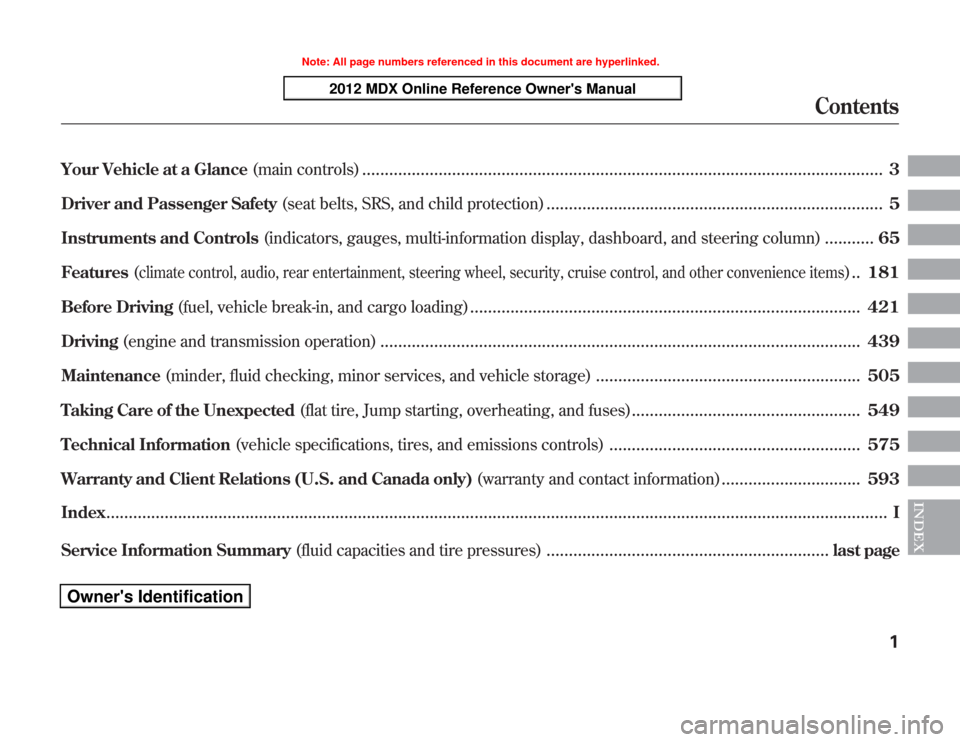
Your Vehicle at a Glance(main controls)
....................................................................................................................
3
Driver and Passenger Safety(seat belts, SRS, and child protection)
...........................................................................
5
Instruments and Controls(indicators, gauges, multi-information display, dashboard, and steering column)
...........
65
Features(
climate control, audio, rear entertainment, steering wheel, security, cruise control, and other convenience items
)..
181
Before Driving(fuel, vehicle break-in, and cargo loading)
.......................................................................................
421
Driving(engine and transmission operation)
...........................................................................................................
439
Maintenance(minder, fluid checking, minor services, and vehicle storage)
...........................................................
505
Taking Care of the Unexpected(flat tire, Jump starting, overheating, and fuses)
...................................................
549
Technical Information(vehicle specifications, tires, and emissions controls)
........................................................
575
Warranty and Client Relations (U.S. and Canada only)(warranty and contact information)
...............................
593
Index
..............................................................................................................................................................................
I
INDEX
Service Information Summary(fluid capacities and tire pressures)
...............................................................
last page
Contents
1
Page 9 of 621

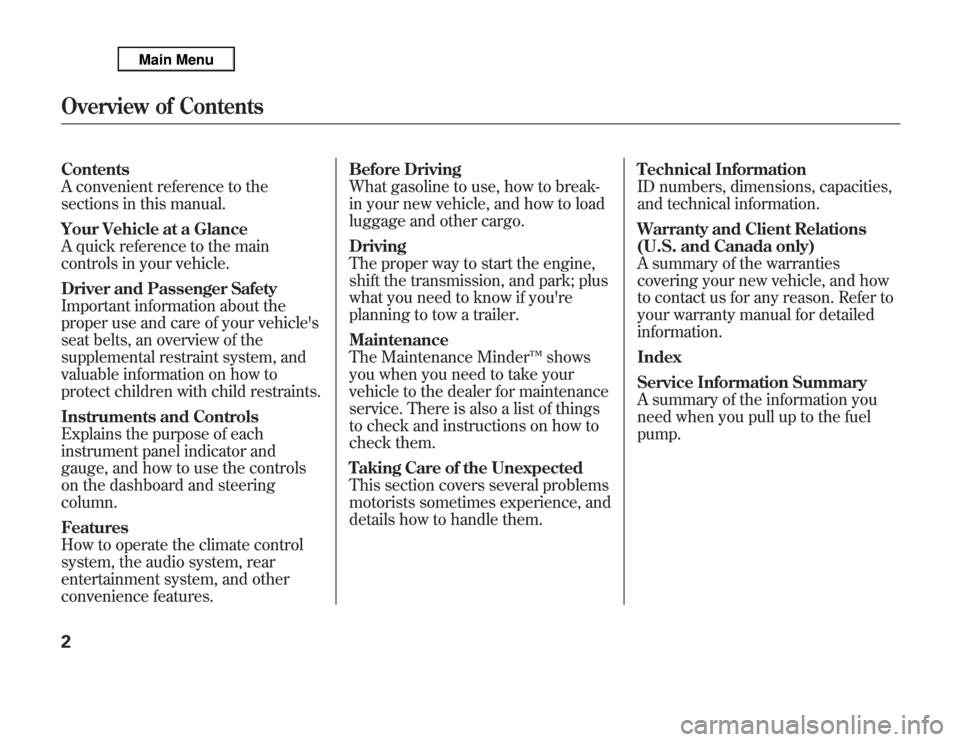
Contents
A convenient reference to the
sections in this manual.
Your Vehicle at a Glance
A quick reference to the main
controls in your vehicle.
Driver and Passenger Safety
Important information about the
proper use and care of your vehicle's
seat belts, an overview of the
supplemental restraint system, and
valuable information on how to
protect children with child restraints.
Instruments and Controls
Explains the purpose of each
instrument panel indicator and
gauge, and how to use the controls
on the dashboard and steering
column.
Features
How to operate the climate control
system, the audio system, rear
entertainment system, and other
convenience features.Before Driving
What gasoline to use, how to break-
in your new vehicle, and how to load
luggage and other cargo.
Driving
The proper way to start the engine,
shift the transmission, and park; plus
what you need to know if you're
planning to tow a trailer.
Maintenance
The Maintenance Minder™shows
you when you need to take your
vehicle to the dealer for maintenance
service. There is also a list of things
to check and instructions on how to
check them.
Taking Care of the Unexpected
This section covers several problems
motorists sometimes experience, and
details how to handle them.Technical Information
ID numbers, dimensions, capacities,
and technical information.
Warranty and Client Relations
(U.S. and Canada only)
A summary of the warranties
covering your new vehicle, and how
to contact us for any reason. Refer to
your warranty manual for detailed
information.
Index
Service Information Summary
A summary of the information you
need when you pull up to the fuel
pump.Overview of Contents2
Page 12 of 621

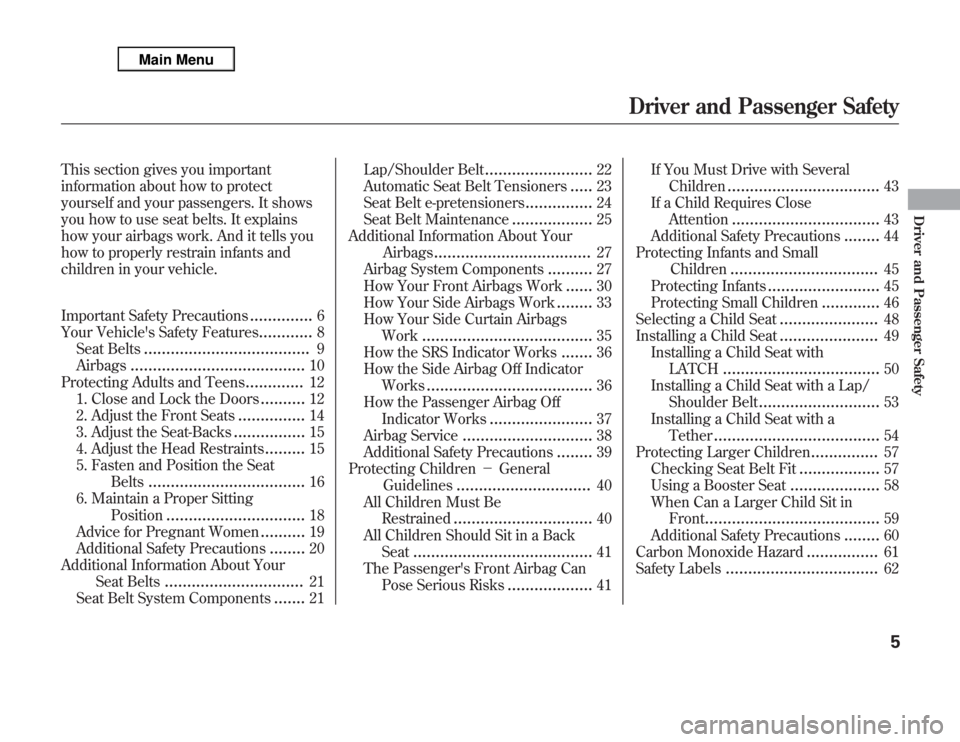
This section gives you important
information about how to protect
yourself and your passengers. It shows
you how to use seat belts. It explains
how your airbags work. And it tells you
how to properly restrain infants and
children in your vehicle.
Important Safety Precautions
..............
6
Your Vehicle's Safety Features
............
8
Seat Belts
.....................................
9
Airbags
.......................................
10
Protecting Adults and Teens
.............
12
1. Close and Lock the Doors
..........
12
2. Adjust the Front Seats
...............
14
3. Adjust the Seat-Backs
................
15
4. Adjust the Head Restraints
.........
15
5. Fasten and Position the Seat
Belts
...................................
16
6. Maintain a Proper Sitting
Position
...............................
18
Advice for Pregnant Women
..........
19
Additional Safety Precautions
........
20
Additional Information About Your
Seat Belts
...............................
21
Seat Belt System Components
.......
21Lap/Shoulder Belt
........................
22
Automatic Seat Belt Tensioners
.....
23
Seat Belt e-pretensioners
...............
24
Seat Belt Maintenance
..................
25
Additional Information About Your
Airbags
...................................
27
Airbag System Components
..........
27
How Your Front Airbags Work
......
30
How Your Side Airbags Work
........
33
How Your Side Curtain Airbags
Work
......................................
35
How the SRS Indicator Works
.......
36
How the Side Airbag Off Indicator
Works
.....................................
36
How the Passenger Airbag Off
Indicator Works
.......................
37
Airbag Service
.............................
38
Additional Safety Precautions
........
39
Protecting Children-General
Guidelines
..............................
40
All Children Must Be
Restrained
...............................
40
All Children Should Sit in a Back
Seat
........................................
41
The Passenger's Front Airbag Can
Pose Serious Risks
...................
41If You Must Drive with Several
Children
..................................
43
If a Child Requires Close
Attention
.................................
43
Additional Safety Precautions
........
44
Protecting Infants and Small
Children
.................................
45
Protecting Infants
.........................
45
Protecting Small Children
.............
46
Selecting a Child Seat
......................
48
Installing a Child Seat
......................
49
Installing a Child Seat with
LATCH
...................................
50
Installing a Child Seat with a Lap/
Shoulder Belt
...........................
53
Installing a Child Seat with a
Tether
.....................................
54
Protecting Larger Children
...............
57
Checking Seat Belt Fit
..................
57
Using a Booster Seat
....................
58
When Can a Larger Child Sit in
Front
.......................................
59
Additional Safety Precautions
........
60
Carbon Monoxide Hazard
................
61
Safety Labels
..................................
62
Driver and Passenger Safety
5
Driver and Passenger Safety
Page 45 of 621

Airbag Service
Your airbag systems are virtually
maintenance free, and there are no
parts you can safely service.
However, you must have your
vehicle serviced if:●
An airbag ever inflates.
Any airbag
that has deployed must be
replaced along with the control
unit and other related parts. Any
seat belt tensioner that activates
must also be replaced.
We recommend against the use of
salvaged airbag system
components, including the airbag,
tensioners, sensors, and control
unit.
Do not try to remove or replace
any airbag by yourself. This must
be done by an authorized dealer or
a knowledgeable body shop.
●
The SRS indicator alerts you to a
problem.
Take your vehicle to an
authorized dealer as soon as
possible. If you ignore this
indication, your airbags may not
operate properly.
●
If your vehicle has a moderate to
severe impact.
Even if your airbags
do not inflate, your dealer should
inspect the driver's seat position
sensor, the front passenger's
weight sensors, the front seat belt
tensioners, and all seat belts and
their anchors worn during a crash
to make sure they are operating
properly.
Additional Information About Your Airbags38
Page 79 of 621

Low Tire Pressure/
TPMS Indicator
This indicator normally comes on for
a few seconds when you turn the
ignition switch to the ON (II)
position.
This indicator has two functions:
1. If it comes on while driving, it
indicates that one or more of your
vehicle's tires are significantly low
on pressure.
You will also see a‘‘CHECK TIRE
PRESSURE’’message on the multi-
information display (see page 88).
Check the tire pressure monitor on
the multi-information display and
determine the cause (see page 456).If this happens, pull to the side of the
road when it is safe, check which tire
has lost pressure on the multi-
information display, and determine
the cause. If it is because of a flat tire,
have the flat tire repaired as soon as
possible. If two or more tires are
underinflated, call a professional
towing service. For more
information, see page 572.
2. If this indicator begins to flash,
there is a problem with the tire
pressure monitoring system
(TPMS). You will also see a
‘‘CHECK TPMS SYSTEM’’
message on the multi-information
display. The indicator continues to
flash for a while (approximately 1
minute), then stays on. If this
happens, have your dealer check
the system as soon as possible.
For more information, see page
458.
A/T Temperature
Indicator
This indicator monitors the
temperature of the automatic
transmission fluid. It should come on
for a few seconds when you turn the
ignition switch to the ON (II)
position. If it comes on while driving,
it means the transmission fluid
temperature is too high. Pull to the
side of the road when it is safe, shift
to Park, and let the engine idle until
the indicator goes out.
You will also see an‘‘A/T TEMP
HIGH’’message on the multi-
information display (see page 88).
Continuing to drive with the A/T
temperature indicator on may cause
serious damage to the transmission.
Instrument Panel Indicators72
Page 429 of 621

Break-in Period
Help assure your vehicle's future
reliability and performance by paying
extra attention to how you drive
during the first 600 miles (1,000 km).
During this period:●
Avoid full-throttle starts and rapid
acceleration.
●
Avoid hard braking for the first 200
miles (300 km).
●
Do not change the oil until the
multi-information display indicates
it is needed.
●
Do not tow a trailer.
You should also follow these
recommendations with an
overhauled or exchanged engine, or
when the brakes are replaced.Fuel Recommendation
Your vehicle is designed to operate
on premium unleaded gasoline with
a pump octane of 91 or higher. If this
octane grade is unavailable, regular
unleaded gasoline with a pump
octane of 87 or higher may be used
temporarily. The use of regular
unleaded gasoline can cause metallic
knocking noises in the engine and
will result in decreased engine
performance. The long-term use of
regular-grade gasoline can lead to
engine damage.
To help prevent harmful fuel system and
engine deposits, use high quality fuel
containing detergent and additives. In
addition, in order to maintain good
performance, fuel economy, and
emissions control, we strongly
recommend the use of gasoline that
does NOT contain harmful
manganesebased fuel additives such as
MMT, if such gasoline is available.
Use of gasoline with these additives
may adversely affect performance,
and cause the malfunction indicator
lamp on your instrument panel to
come on. If this happens, contact
your dealer for service.
Break-in Period, Fuel Recommendation422
Page 432 of 621

5. Screw the fuel fill cap back on until
it clicks at least once. If you do not
properly tighten the cap, you will
see a‘‘TIGHTEN FUEL CAP’’
message on the multi-information
display (see right column on this
page), and the malfunction
indicator lamp may also come on
(see page 563).
6. Push the fuel fill door closed until
it latches.Tighten Fuel Cap Message
Your vehicle's on board diagnostic system
will detect a loose or missing fuel fill cap as
an evaporative system leak. The first time a
leak is detected a‘‘TIGHTEN FUEL CAP’’
message appears on the multi-information
display. Turn the engine off, and confirm the
fuel fill cap is installed. If it is, loosen it, then
retighten it until it clicks at least once. The
message should go off after several days of
normal driving once you tighten or replace
the fuel fill cap. To scroll to another message,
press the INFO button. The‘‘TIGHTEN
FUEL CAP’’message will appear each time
you restart the engine until the system turns
the message off.
If the system still detects a leak in
the vehicle's evaporative emissions
system, the malfunction indicator
lamp (MIL) comes on. If the fuel fill
cap was not already tightened, turn
the engine off, and check or
retighten the fuel fill cap until it
clicks at least once. The MIL should
go off after several days of normal
driving once the cap is tightened or
replaced. If the MIL does not go off,
have your vehicle inspected by a
dealer. For more information, see
page 563.Service Station Procedures
425
Before Driving
Page 462 of 621

Your vehicle is equipped with a tire
pressure monitoring system (TPMS)
that turns on every time you start the
engine and monitors the pressure in
your tires while driving.
Each tire has its own pressure
sensor. If the air pressure of a tire
becomes significantly low, the sensor
in that tire immediately sends a
signal that causes the low tire
pressure/TPMS indicator in the
instrument panel to come on. If this
happens, you will see which tire is
losing pressure on the multi-
information display along with a
‘‘CHECK TIRE PRESSURE’’
message.
Low Tire Pressure/
TPMS Indicator
When the low tire pressure/TPMS
indicator is on, one or more of your
tires is significantly underinflated.
You should stop and check your tires
as soon as possible, and inflate them
to the proper pressure as indicated
on the vehicle's tire information
placard.
It is possible that the pressures
shown on the multi-information
display and the pressures you
manually measure are slightly
different.
If the difference is significant or you
cannot make the low tire pressure/
TPMS indicator and message on the
multi-information display go out after
inflating the tires to the specified
values, have your dealer check the
system as soon as possible.If you think you can safely drive a
short distance to a service station,
proceed slowly to the station, then
inflate the tire to the recommended
pressure.
If the tire is flat, or if the tire pressure
is too low to continue driving, replace
the tire with the compact spare tire
(see page 551).
Driving on a significantly under-
inflated tire causes the tire to
overheat and can lead to tire failure.
Under-inflation also reduces fuel
efficiency and tire tread life, and may
affect the vehicle's handling and
stopping ability.
Because tire pressure varies by
temperature and other conditions,
the low tire pressure/TPMS
indicator may come on unexpectedly.
CONTINUED
Tire Pressure Monitoring System (TPMS)
455
Driving
Page 466 of 621

If the low tire pressure/TPMS
indicator comes on, or the multi-
information display shows a‘‘CHECK
TPMS SYSTEM’’message, the VSA
system automatically turns on even
when the VSA system is turned off
by pressing the VSA OFF button
(see page 474). If this happens, you
cannot turn the VSA system off by
pressing the VSA OFF button again.
When you restart the vehicle with
the compact spare tire, the TPMS
system message will also be
displayed on the multi-information
display after several miles
(kilometers) driving.Changing a Tire with TPMS
If you have a flat tire, the low tire
pressure/TPMS and tire monitor
indicators will come on. Replace the
indicated flat tire with the compact
spare tire (see page 551).
After the flat tire is replaced with the
spare tire, the low tire pressure/
TPMS indicator stays on while
driving. After several miles
(kilometers) driving, this indicator
begins to flash, then stays on again.
You will also see a‘‘CHECK TPMS
SYSTEM’’message on the multi-
information display. This is normal;
the system cannot monitor the spare
tire pressure. Manually check the
spare tire pressure to be sure it is
correct.This indicator and the warning
message on the multi-information
display will go off, after several miles
(kilometers) driving, when the spare
tire is replaced with the specified
regular tire equipped with the tire
pressure monitor sensor.
Each wheel is equipped with a tire
pressure sensor. You must use
TPMS specific wheels. It is
recommended that you always have
your tires serviced by your dealer or
a qualified technician.
Never use a puncture-repairing agent
in a flat tire. If used, you will have to
replace the tire pressure sensor.
Have the flat tire repaired by your
dealer as soon as possible.
CONTINUED
Tire Pressure Monitoring System (TPMS)
459
Driving
Page 550 of 621

Your tires have wear indicators
molded into the tread. When the
tread wears down, you will see a 1/2
inch (12.7 mm) wide band across the
tread. This shows there is less than
1/16 inch (1.6 mm) of tread left on
the tire.
A tire this worn gives very little
traction on wet roads. You should
replace the tire if you can see three
or more tread wear indicators.Tire Service Life
The service life of your tires is
dependent on many factors,
including, but not limited to, driving
habits, road conditions, vehicle
loading, inflation pressure,
maintenance history, speed, and
environmental conditions (even
when the tires are not in use).In addition to your regular
inspections and inflation pressure
maintenance, it is recommended that
you have annual inspections
performed once the tires reach five
years old. It is also recommended
that all tires, including the spare, be
removed from service after 10 years
from the date of manufacture,
regardless of their condition or state
of wear.
The last four digits of the TIN (tire
identification number) are found on
the sidewall of the tire and indicate
the date of manufacture (SeeTire
Labelingon page 583).
INDICATOR LOCATION MARKS
TREAD WEAR INDICATORS
CONTINUED
Tires
543
Maintenance