climate control Acura RL 2000 3.5 User Guide
[x] Cancel search | Manufacturer: ACURA, Model Year: 2000, Model line: RL, Model: Acura RL 2000Pages: 330, PDF Size: 4.53 MB
Page 174 of 330

Fuel
Econom y
The condition of your car and your driving habits are the two most
important things that affect the fuel
mileage you get.
Ca r Conditio n
Always maintain your car according to the maintenance schedule. This
will keep it in top operating condition.
An important part of that mainte- nance is the Owne r Maintenanc e
Check s (see page 213 ). For
example, an underinflated tire
causes more "rolling resistance,"
which uses fuel. It also wears out
faster, so check the tire pressure at
least monthly.
In winter, the build-up of snow on
your car's underside adds weight and rolling resistance. Frequent cleaning
helps your fuel mileage and reduces
the chance of corrosion. Drivin
g Habit s
You can improve fuel economy by driving moderately. Rapid acceler-
ation, abrupt cornering, and hard
braking use more fuel.
Always drive in the highest gear that allows the engine to run and acceler-
ate smoothly.
Depending on traffic conditions, try
to maintain a constant speed. Every
time you slow down and speed up,
your car uses extra fuel. Use the cruise control, when appropriate, toincrease fuel economy. A cold engine uses more fuel than a
warm engine. It is not necessary to "warm-up" a cold engine by letting it
idle for a long time. You can drive
away in about a minute, no matter
how cold it is outside. The engine will warm up faster, and you get
better fuel economy. To cut down on
the number of "cold starts," try to combine several short trips into one.
The air conditioning puts an extra load on the engine which makes ituse more fuel. Turn off the A/C orset the climate control to a higher
temperature to cut down on air
conditioning use. Use the flow-
through ventilation when the outside
air temperature is moderate.
Before Drivin g
Page 224 of 330
Coolin
g Syste m
Replacin g Engin e Coolan t
The cooling system should be completely drained and refilled with
new coolant according to the time and distance recommendations in
the maintenance schedule. Only use Genuine Honda Antifreeze/Coolant.
Draining the coolant requires access
to the underside of the car. Unless
you have the tools and knowledge,
you should have this maintenance done by a skilled mechanic.
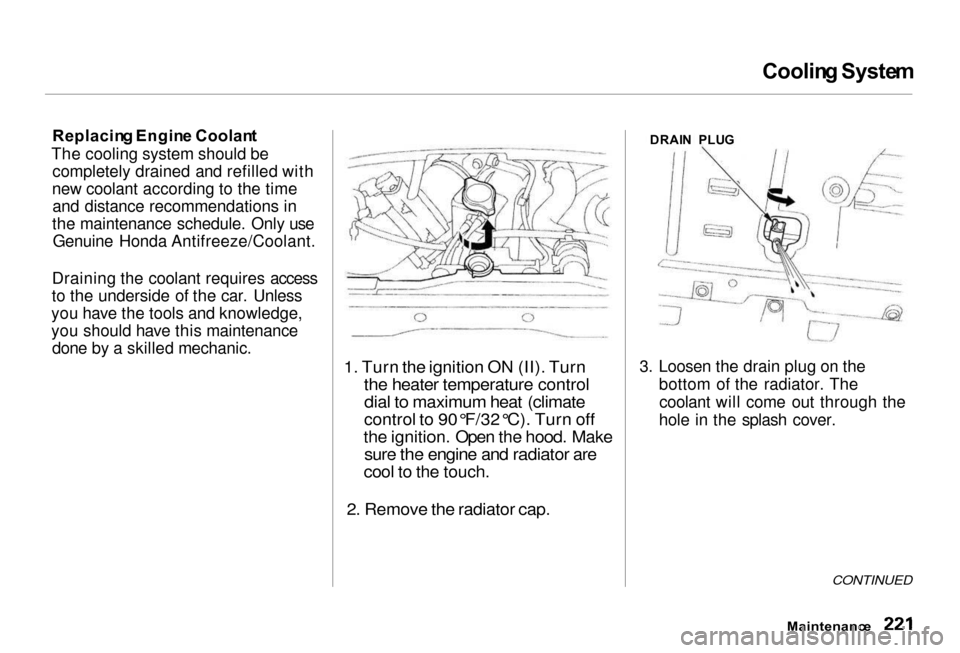
1. Turn the ignition ON (II). Turn
the heater temperature controldial to maximum heat (climate
control to 90°F/32°C). Turn off
the ignition. Open the hood. Make
sure the engine and radiator are
cool to the touch.
2. Remove the radiator cap.
DRAI
N PLU G
3. Loosen the drain plug on the bottom of the radiator. Thecoolant will come out through the
hole in the splash cover.
CONTINUED
Maintenanc e
Page 239 of 330
Batter
y
If your car's battery is disconnected
or goes dead, the engine's computer
needs to "relearn" the idle control.
After replacing or recharging the battery:
1. Make sure the climate control sys- tem is off.
2. Start the engine and let it run until it warms up (the radiator cooling
fan comes on at least twice), and
let it idle for five more minutes.
Your audio system will also disable it-
self when the battery is disconnected
or goes dead. The next time you turn
on the radio you will see "Code" in
the frequency display. Use the Pre-
set buttons to enter the five-digit
code (see page 162 ).
Charging the battery with the cables
connected can seriously damage your
car's electronic controls. Detach the
battery cables before connecting the
battey' to a charger.
Maintenanc e
NOTIC
E
Page 243 of 330
Ai
r Conditionin g Filter , Driv e Belt s
Ai r Conditionin g Filte r
The air conditioning filter removes pollen and dust that is brought in
from the outside through the climate control system.
This filter should be replaced every 30,000 miles (48,000 km) under nor-
mal conditions. It should be replaced every 15,000 miles (24,000 km) if you
drive primarily in urban areas that
have high concentrations of soot in
the air from industry and diesel-pow- ered vehicles. Replace it more often
if air flow from the climate control system becomes less than usual.
Have the air conditioning filter re-
placed by your Acura dealer. Driv
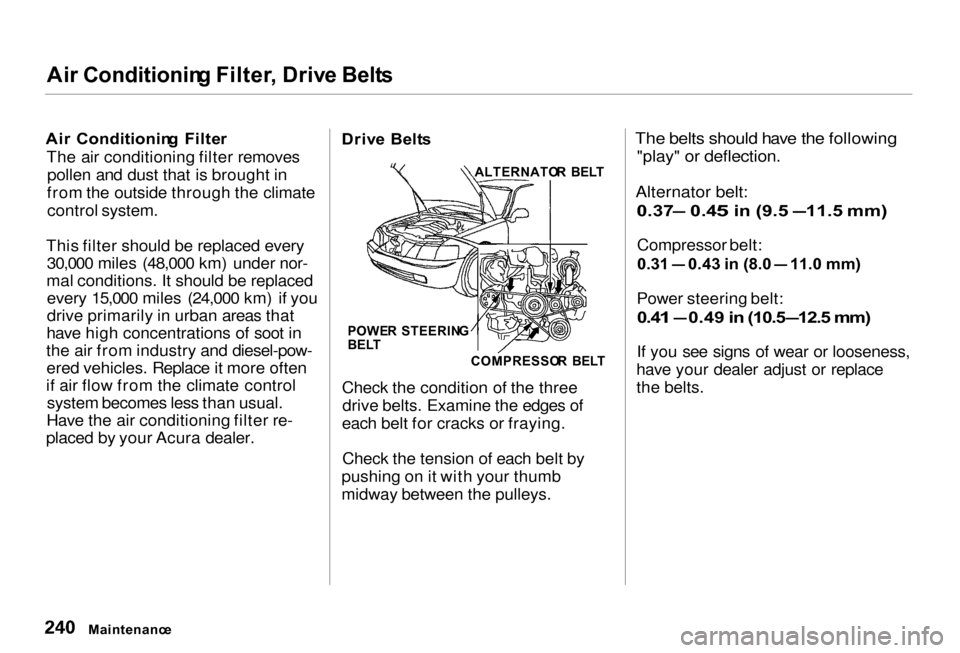
e Belt s
Check the condition of the three drive belts. Examine the edges of
each belt for cracks or fraying.
Check the tension of each belt by
pushing on it with your thumb
midway between the pulleys.
The belts should have the following
"play" or deflection.
Alternator belt:
0.37— 0.45 in (9.5 —11.5 mm)
Compressor belt:
0.31 — 0.43 in (8.0 — 11.0 mm)
Power steering belt:
0.41 — 0.49 in (10.5 —12.5 mm)
If you see signs of wear or looseness,
have your dealer adjust or replace
the belts.
Maintenanc e
ALTERNATO
R BEL T
COMPRESSO R BEL T
POWE
R STEERIN G
BEL T
Page 281 of 330
Jum
p Startin g
If your car's battery has run down,
you may be able to start the engine by using a booster battery. Although
this seems like a simple procedure,
you should take several precautions.
You cannot start your Acura bypushing or pulling it. To jump start your car, follow these
directions closely:
1. Open the hood and check the physical condition of the battery
(see page 234). In very cold
weather, check the condition of
the electrolyte. If it seems slushy
or like ice, do not try jump starting
until it thaws.
If a battery sits in extreme cold, the
electrolyte inside can freeze.
Attempting to jump start with a frozen
battery can cause it to rupture.
2. Turn off all the electrical acces- sories: climate control, stereo
system, lights, etc.
Put the transmission in Neutral or
Park and set the parking brake.
Takin g Car e
o
f th e Unexpecte d
A battery can explode if you do
not follow the correct procedure,
seriously injuring anyone nearby.
Keep all sparks, open flames,
and smoking materials away
from the battery.
NOTICE
Page 283 of 330
I
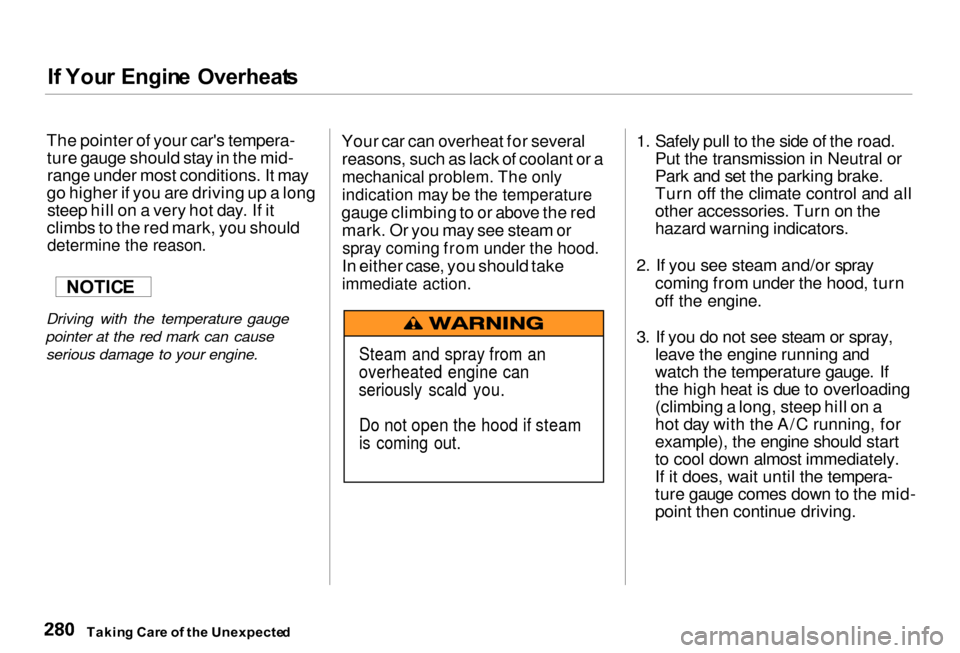
f You r Engin e Overheat s
The pointer of your car's tempera- ture gauge should stay in the mid-range under most conditions. It may
go higher if you are driving up a long steep hill on a very hot day. If it
climbs to the red mark, you should
determine the reason.
Driving with the temperature gauge
pointer at the red mark can cause serious damage to your engine. Your car can overheat for several
reasons, such as lack of coolant or a
mechanical problem. The only
indication may be the temperature
gauge climbing to or above the red mark. Or you may see steam or
spray coming from under the hood.
In either case, you should take
immediate action.
1. Safely pull to the side of the road.
Put the transmission in Neutral or
Park and set the parking brake.
Turn off the climate control and all
other accessories. Turn on the
hazard warning indicators.
2. If you see steam
and/or spray
coming from under the hood, turn
of
f the engine.
3. I
f you do not see steam
or spray,
leave the engine running and
watch the temperature gauge. If
the high heat is due to overloading
(climbing a long, steep hill
on a
hot day with the A/C running, for
example), the engine should start
to cool down
almost immediately.
If it does, wait
until the tempera-
ture gauge comes down
to the mid-
point then continue driving.
Takin g Car e
o
f th e Unexpecte d
NOTIC
E
Steam and spray from an
overheated engine can
seriously scald you.
Do not open the hood if steam
is coming out.
Page 284 of 330
I
f You r Engin e Overheat s
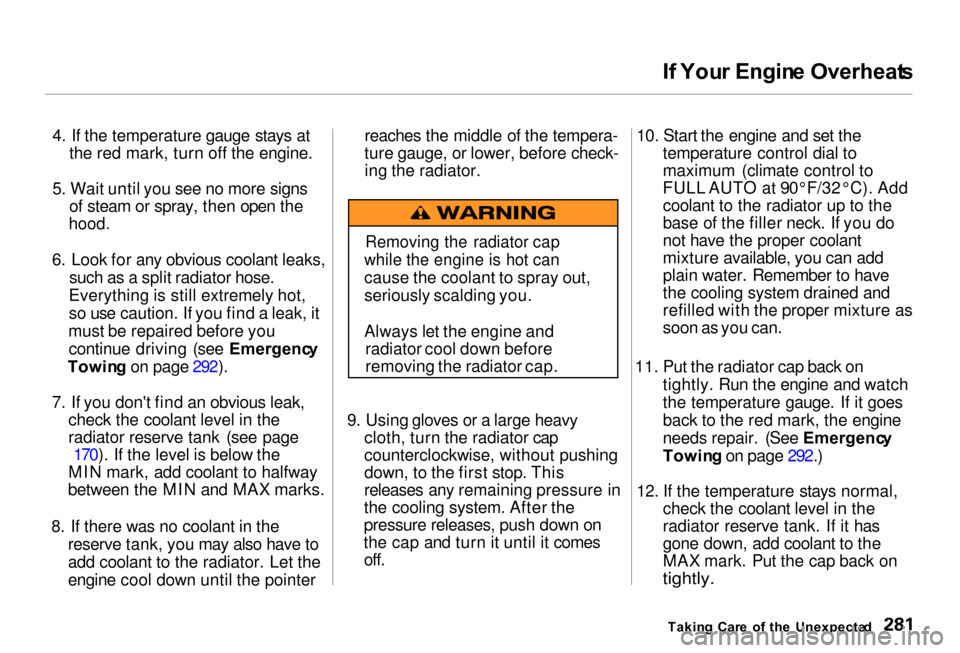
4. If the temperature gauge stays at the red mark, turn off the engine.
5. Wait until you see no more signs of steam or spray, then open the
hood.
6. Look for any obvious coolant leaks, such as a split radiator hose.
Everything is still extremely hot,
so use caution. If you find a leak, it
must be repaired before you continue driving (see Emergenc y
Towin g on page 292).
7. If you don't find an obvious leak, check the coolant level in the
radiator reserve tank (see page170). If the level is below the
MIN mark, add coolant to halfway
between the MIN and MAX marks.
8. If there was no coolant in the reserve tank, you may also have to
add coolant to the radiator. Let the
engine cool down until the pointer reaches the middle of the tempera-
ture gauge, or lower, before check- ing the radiator.
9. Using gloves or a large heavy cloth, turn the radiator cap
counterclockwise, without pushing
down, to the first stop. This
releases any remaining pressure in
the cooling system. After the
pressure releases, push down on
the cap and turn it until it comes off. 10. Start the engine and set the
temperature control dial to
maximum (climate control to
FULL AUTO at 90° F/32° C). Add
coolant to the radiator up to the
base of the filler neck. If you do
not have the proper coolant
mixture available, you can add
plai
n water. Remember to have
the cooling system drained and
refilled with the proper mixture as
soon as you can.
11. Put the radiator cap back
on
tightly. Run the engine and watch
the temperature gauge. If it goes
back t
o the red mark, the engine
needs repair. (See Emergenc y
Towin g o
n page 29
2.)
12. If the temperature stays normal, check the coolant level in the
radiator reserve tank. If it has
gone down, add coolant to the
MAX mark. Put the cap back
on
tightly.
Takin g Car e
o
f th e Unexpecte d
Removing the radiator cap
while the engine is hot can
cause the coolant to spray out,
seriously scalding you.
Always let the engine and radiator cool down before
removing the radiator cap.
Page 286 of 330
Chargin
g Syste m Indicato r
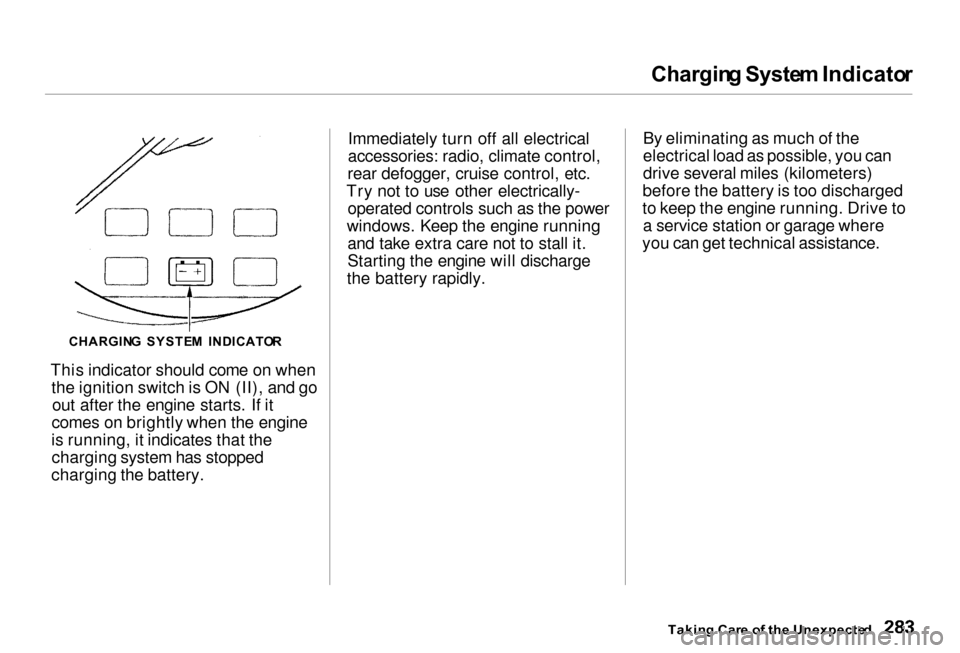
This indicator should come on when the ignition switch is ON (II), and goout after the engine starts. If it
comes on brightly when the engine
is running, it indicates that the charging system has stopped
charging the battery. Immediately turn off all electrical
accessories: radio, climate control,
rear defogger, cruise control, etc.
Try not to use other electrically- operated controls such as the power
windows. Keep the engine running and take extra care not to stall it.
Starting the engine will discharge
the battery rapidly. By eliminating as much of the
electrical load as possible, you can
drive several miles (kilometers)
before the battery is too discharged
to keep the engine running. Drive to a service station or garage where
you can get technical assistance.
Takin g Car e o f th e Unexpecte d
CHARGIN
G SYSTE M INDICATO R
Page 304 of 330

DO
T Tir e Qualit y Gradin g (U.S . Cars )
The tires on your car meet all U.S. Federal Safety Requirements. All
tires are also graded for treadwear,
traction, and temperature perform- ance according to Department of
Transportation (DOT) standards.
The following explains these
gradings.
Unifor m Tir e Qualit y Gradin g
Quality grades can be found where
applicable on the tire sidewall
between the tread shoulder and the
maximum section width. For
example:
Treadwea r 20 0
Tractio n A A
Temperatur e A
Treadwea
r
The treadwear grade is a compara- tive rating based on the wear rate of
the tire when tested under controlled
conditions on a specified government
test course. For example, a tire
graded 150 would wear one and one
half (1-1/2) times as well on the
government course as a tire graded 100. The relative performance of
tires depends upon the actual condi-
tions of their use, however, and may depart significantly from the norm
due to variations in driving habits,
service practices, and differences in
road characteristics and climate.
Tractio
n
The traction grades, from highest to lowest, are AA, A, B, and C. Those
grades represent the tire's ability tostop on wet pavement as measured
under controlled conditions onspecified government test surfaces
of asphalt and concrete. A tire
marked C may have poor traction
performance.
Warning: The traction grade assigned to this tire is based onstraight-ahead braking traction tests,
and does not include acceleration,
cornering, hydroplaning, or peak
traction characteristics.
Technical Informatio n
Page 308 of 330

Emission
s Control s
The burning of gasoline in your car's engine produces several byproducts.
Some of these are carbon monoxide (CO), oxides of nitrogen (NOx) and
hydrocarbons (HC). Gasoline evaporating from the tank also
produces hydrocarbons. Controlling
the production of NOx, CO, and HC
is important to the environment.
Under certain conditions of sunlight
and climate, NOx and HC react to
form photochemical "smog." Carbon
monoxide does not contribute to smog creation, but it is a poisonous
gas.
Th
e Clea n Ai r Ac t
The United States Clean Air Act*
sets standards for automobile
emissions. It also requires that
automobile manufacturers explain to owners how their emissions controls
work and what to do to maintain
them. This section summarizes how
the emissions controls work.
Scheduled maintenance is on page
206.
* In Canada, Acura vehicles comply
with the Canadian Motor Vehicle
Safety Standards (CMVSS) for
Emissions valid at the time they are
manufactured.
Crankcas e Emission s Contro l
Syste m
Your car has a Positive Crankcase
Ventilation System. This keeps gasses that build up in the engine'scrankcase from going into the
atmosphere. The Positive Crankcase
Ventilation valve routes them from the crankcase back to the intake
manifold. They are then drawn into
the engine and burned.
Evaporativ e Emission s Contro l
Syste m
As gasoline evaporates in the fuel tank, an evaporative emissionscontrol canister filled with charcoal
adsorbs the vapor. It is stored in this
canister while the engine is off. After
the engine is started and warmed up,
the vapor is drawn into the engine and burned during driving.
Onboar d Refuelin g Vapo r
Recover y
The Onboard Refueling Vapor Recovery (ORVR) system captures
the fuel vapors during refueling. The
vapors are adsorbed in a canister
filled with activated carbon. While driving, the fuel vapors are drawn
into the engine and burned off.
Technical Informatio n