brake light Acura RL 2002 3.5 Owner's Manual
[x] Cancel search | Manufacturer: ACURA, Model Year: 2002, Model line: RL, Model: Acura RL 2002Pages: 343, PDF Size: 4.66 MB
Page 54 of 343
This section gives inf ormation about
the controls and displays that
contribute to the daily operation of
your Acura. All the essential controls
are within easy reach............................
Control Locations .52
...............................
Indicator Lights .53
.............................................
Gauges .58
...............................
Speedometer .58
.................................
Tachometer .58
.....................................
Odometer .59
Trip Meter/Outside
...........
Temperature Indicator .59
...................
Temperature Gauge .60
..................................
Fuel Gauge .60
Maintenance Required
...................................
Indicator .61 Controls Near the Steering
.......................................
Wheel .62
...................................
Headlights .63
....................
Automatic Lighting .64
............
Daytime Running Lights .65
....
Instrument Panel Brightness .66
................................
Turn Signals .66
...................................
Fog Lights .67
.....................
Windshield Wipers .68
..................
Windshield Washers .70
..........................
Hazard Warning .70
.............
Rear Window Def ogger .71
....
Steering Wheel Adjustments .71
...............................
Keys and Locks .74
..............................................
Keys .74
....................
Immobilizer System .75
............................
Ignition Switch .77
......................
Power Door Locks .78
...................
Remote Transmitter .79
..............
Childproof Door Locks .82
...........................................
Trunk .83
........
Emergency Trunk Opener .84
....................................
Glove Box .85
............................
Seat Adjustments .86
.........
Driver’s Seat Adjustments .86
...........
Driver’s Lumbar Support .88 Front Passenger’s Seat
............................
Adjustments .88
..........................
Head Restraints .88
............................................
Armrest .89
.............................................
Mirrors .91
....
Adjusting the Power Mirrors .91
Driving Position Memory ..........................................
System .93
....................................
Seat Heaters .95
.........................................
Ski Sleeve .96
..............................
Power Windows .98
.......................................
Moonroof .100
...............................
Parking Brake .102
..................................
Digital Clock .102
........................
Sunglasses Holder .104
...........................
Beverage Holder .105
.................
Console Compartment .106
........................................
Coin Box .106
........................................
Sun Visor .107
................................
Vanity Mirror .107
.............
Accessory Power Socket .108
..........................
Cigarette Lighter .109
.........................................
Ashtrays .110
................................
Ceiling Lights .111
............................
Courtesy Lights .112
Instruments and Controls
Inst rument s and Cont rols51
01/09/28 19:33:22 31SZ3660_054
Page 57 of 343

The engine can be severely damaged
if this light f lashes or stays on when
the engine is running. For complete
inf ormation, see page .
If this light comes on when the
engine is running, the battery is not
being charged. For complete
inf ormation, see page .This light has two f unctions:
If you do not f asten your seat belt,
the beeper will stop af ter a f ew
seconds but the light stays on until
you do. Both the light and the beeper
stay of f if you f asten your seat belt
bef ore turning on the ignition. This indicator lights when you turn
the ignition switch ON (II). It is a
reminder to you and your passengers
to protect yourselves by f astening
the seat belts. A beeper also sounds
if you have not fastened your seat
belt. The instrument panel has many
indicators to give you important
inf ormation about your car. This indicator comes on when you
turn the ignition switch ON (II). It
is a reminder to check the parking
brake. Driving with the parking
brake not f ully released can
damage the brakes and tires.
If the indicator remains lit af ter
you have fully released the
parking brake while the engine is
running, or if it comes on while
driving, it can indicate a problem
in the brake system. For complete
information, see page .
1.
2.
295
296
299
Indicator L ights
Inst rument s and Cont rols
L ow Oil Pressure
Indicator
Charging System
IndicatorParking Brake and Brake System
Indicator
Seat Belt Reminder L ight
54
U.S. Canada
01/09/28 19:33:49 31SZ3660_057
Page 59 of 343
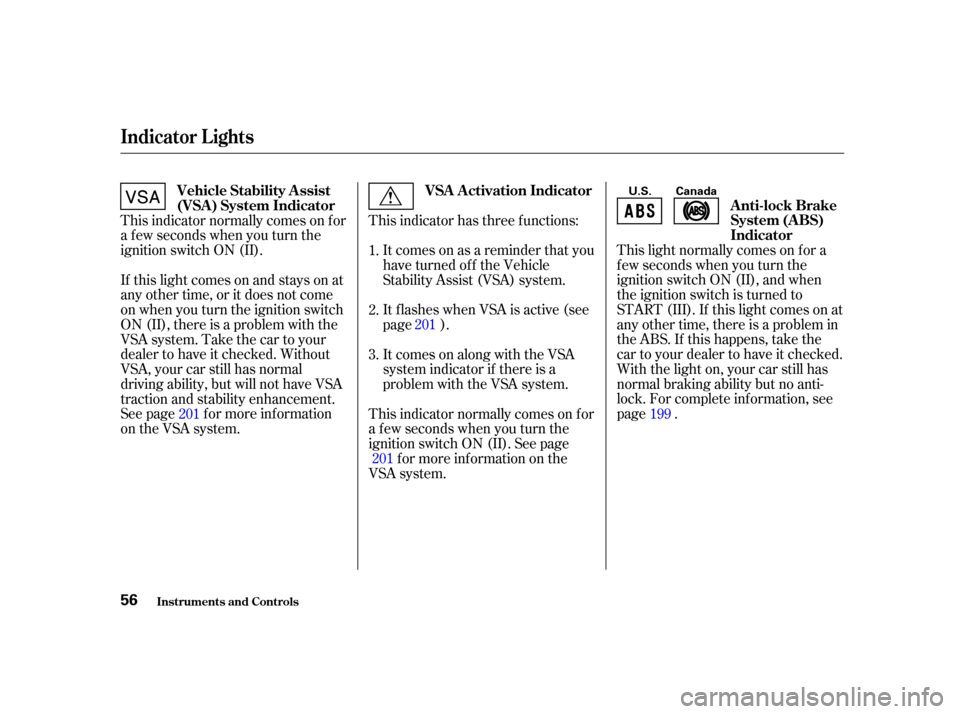
This light normally comes on f or a
f ew seconds when you turn the
ignition switch ON (II), and when
the ignition switch is turned to
START (III). If this light comes on at
any other time, there is a problem in
theABS.If thishappens,takethe
cartoyourdealertohaveitchecked.
With the light on, your car still has
normal braking ability but no anti-
lock. For complete inf ormation, see
page .
This indicator normally comes on f or
a f ew seconds when you turn the
ignition switch ON (II). It comes on as a reminder that you
have turned of f the Vehicle
Stability Assist (VSA) system.
It flashes when VSA is active (see
page ).
If this light comes on and stays on at
any other time, or it does not come
on when you turn the ignition switch
ON (II), there is a problem with the
VSA system. Take the car to your
dealer to have it checked. Without
VSA, your car still has normal
driving ability, but will not have VSA
traction and stability enhancement.
See page f or more inf ormation
on the VSA system. This indicator has three f unctions:
This indicator normally comes on f or
a f ew seconds when you turn the
ignition switch ON (II). See page
f or more inf ormation on the
VSA system. It comes on along with the VSA
system indicator if there is a
problem with the VSA system.
1.
2.
3.
201
201 199
201
Inst rument s and Cont rols
Indicator L ights
Anti-lock Brake
System (A BS)
Indicator
Vehicle Stability Assist
(VSA ) System Indicator
VSA A ctivation Indicator
56
U.S. Canada
01/09/28 19:34:18 31SZ3660_059
Page 60 of 343
This light comes on with the high
beam headlights. See page f or
inf ormation on the headlight
controls.
On Canadian models, this indicator
comes on with reduced brightness
when the Daytime Running Lights
(DRL) are on (see page ).
This indicator lights when you turn
the ignition switch to ON (II) with
the headlight switch of f and the
parking brake set. It should go of f if
youturnontheheadlightsorrelease
the parking brake. If it comes on at
any other time, it means there is a
problem with the DRL. There may
also be a problem with the high
beam headlights.
The lef t or right turn signal light
blinks when you signal a lane change
or turn. If the light does not blink or
blinks rapidly, it usually means one
of the turn signal bulbs is burned out
(see page ). Replace the bulb as
soon as possible, since other drivers
cannot see that you are signalling.
WhenyouturnontheHazard
Warning switch, both turn signal
lights blink. All turn signals on the
outside of the vehicle should f lash.
This light comes on as a reminder
that you must ref uel soon.
All the lights in the monitor display
come on f or a f ew seconds when you
turn the ignition switch ON (II). A burned out brake light is a hazard
when drivers behind you cannot tell
you are braking. Have your brake
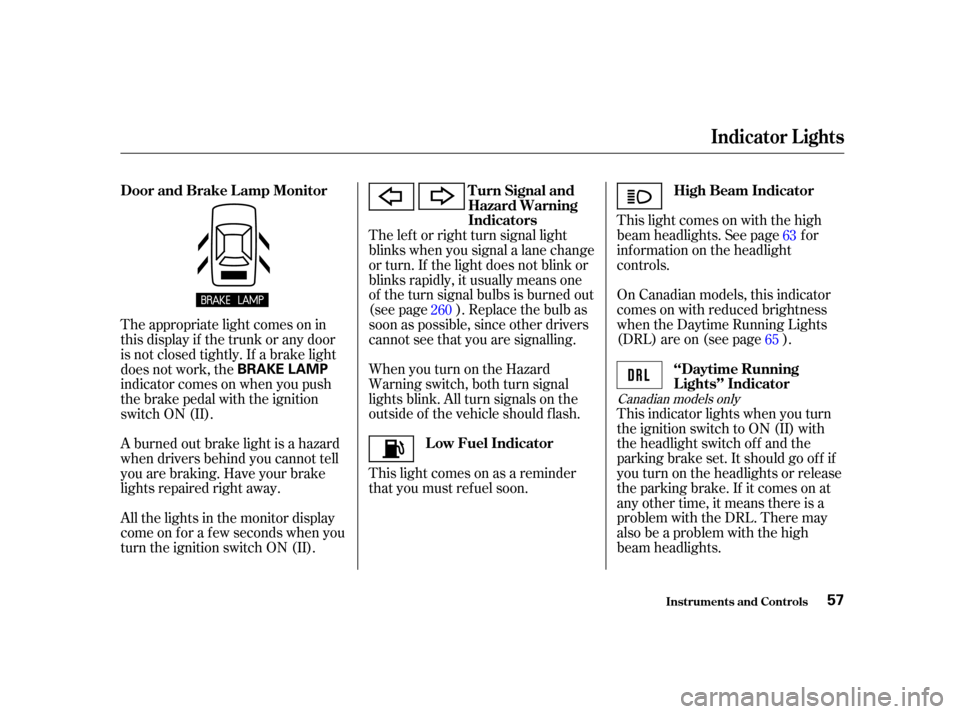
lights repaired right away. The appropriate light comes on in
this display if the trunk or any door
is not closed tightly. If a brake light
does not work, the
indicator comes on when you push
the brake pedal with the ignition
switch ON (II). 63
65
260
Canadian models only
High Beam Indicator
‘‘Daytime Running
Lights’’ Indicator
Turn Signal and
Hazard Warning
Indicators
Low Fuel Indicator
Door and Brake L amp Monitor
Indicator L ights
Inst rument s and Cont rols57
BRAKE LAMP
01/09/28 19:34:32 31SZ3660_060
Page 68 of 343
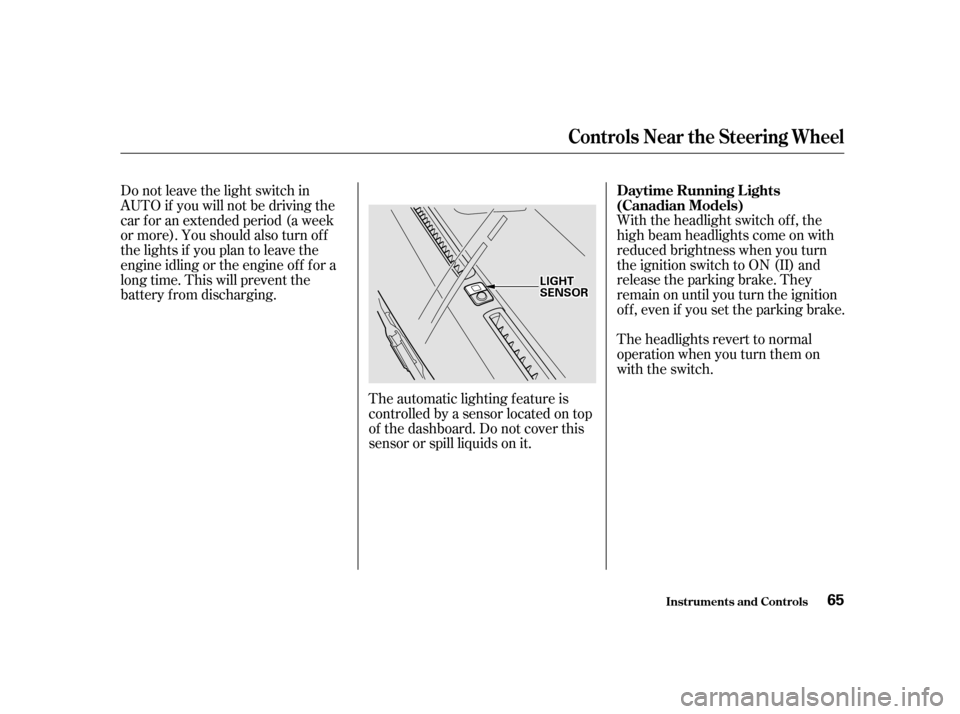
The automatic lighting f eature is
controlledbyasensorlocatedontop
of the dashboard. Do not cover this
sensor or spill liquids on it.With the headlight switch off, the
high beam headlights come on with
reduced brightness when you turn
the ignition switch to ON (II) and
release the parking brake. They
remain on until you turn the ignition
of f , even if you set the parking brake.
The headlights revert to normal
operation when you turn them on
with the switch.
Do not leave the light switch in
AUTO if you will not be driving the
car f or an extended period (a week
ormore).Youshouldalsoturnoff
the lights if you plan to leave the
engine idling or the engine of f f or a
long time. This will prevent the
battery f rom discharging.
Controls Near the Steering Wheel
Inst rument s and Cont rols
Daytime Running L ights
(Canadian Models)
65
L LI
IGGH HT
T
S
SE EN
NS SOOR R
01/09/28 19:35:52 31SZ3660_068
Page 97 of 343
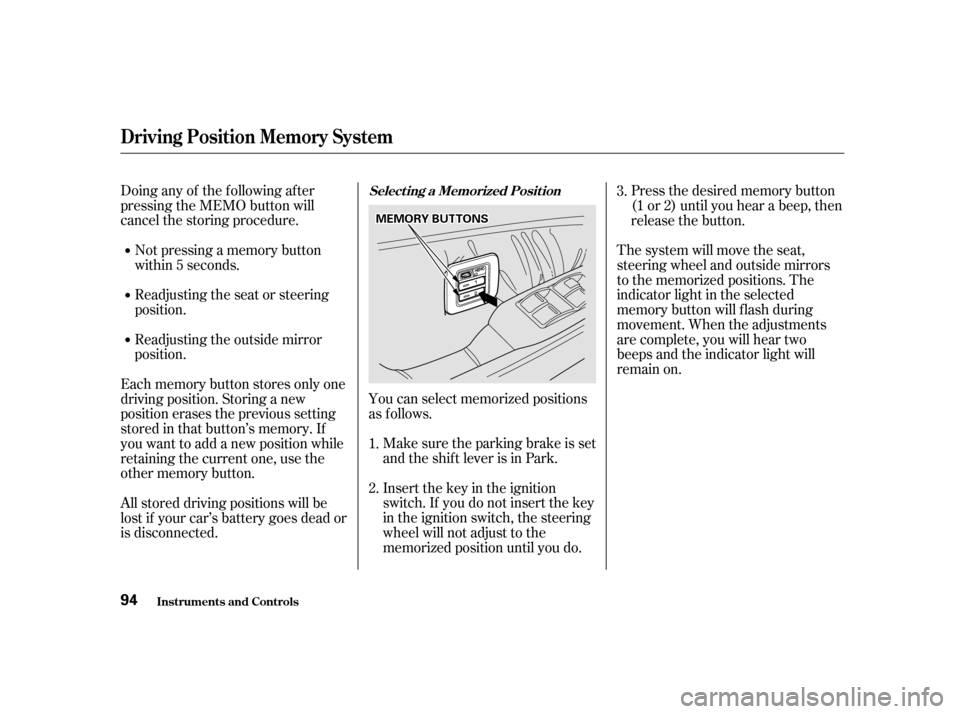
Doing any of the f ollowing af ter
pressing the MEMO button will
cancel the storing procedure.Not pressing a memory button
within 5 seconds.
Readjusting the seat or steering
position.
You can select memorized positions
as f ollows.Make sure the parking brake is set
and the shif t lever is in Park.
Insert the key in the ignition
switch. If you do not insert the key
in the ignition switch, the steering
wheel will not adjust to the
memorized position until you do. Press the desired memory button
(1 or 2) until you hear a beep, then
release the button.
The system will move the seat,
steering wheel and outside mirrors
to the memorized positions. The
indicator light in the selected
memory button will f lash during
movement. When the adjustments
are complete, you will hear two
beeps and the indicator light will
remain on.
Readjusting the outside mirror
position.
Each memory button stores only one
driving position. Storing a new
position erases the previous setting
stored in that button’s memory. If
you want to add a new position while
retaining the current one, use the
other memory button.
All stored driving positions will be
lost if your car’s battery goes dead or
is disconnected. 3.
1.
2.Select ing a Memorized Posit ion
Driving Posit ion Memory Syst em
Inst rument s and Cont rols94
M M E
EM
M O
ORRYY B
BUUT TT
TO
ON NSS
01/09/28 19:40:31 31SZ3660_097
Page 105 of 343
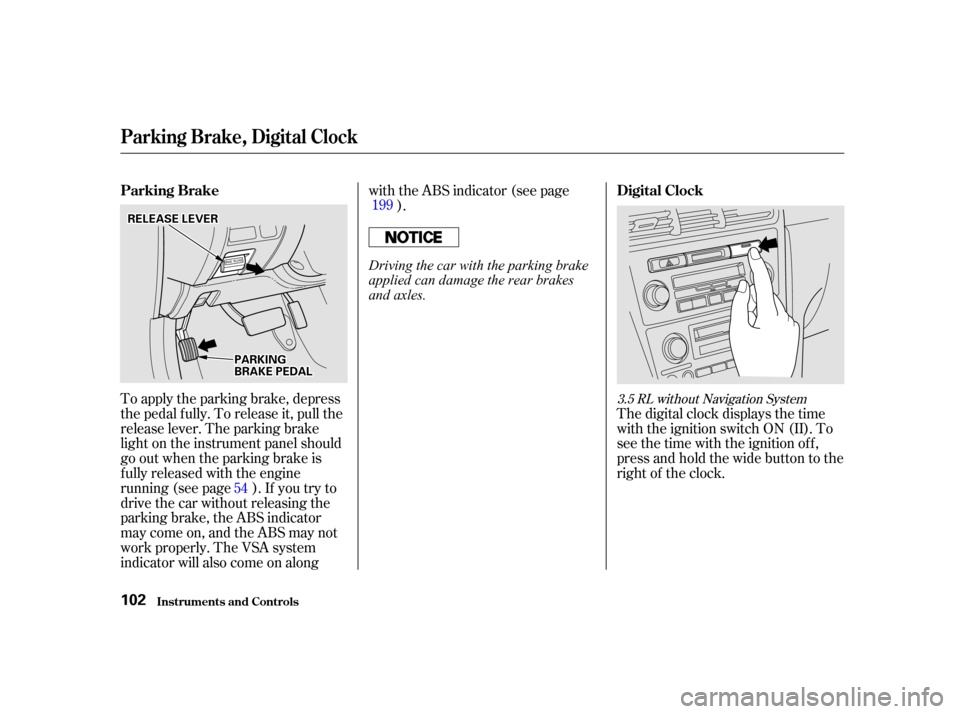
The digital clock displays the time
with the ignition switch ON (II). To
see the time with the ignition off,
press and hold the wide button to the
right of the clock.
To apply the parking brake, depress
the pedal f ully. To release it, pull the
release lever. The parking brake
light on the instrument panel should
go out when the parking brake is
f ully released with the engine
running (see page ). If you try to
drive the car without releasing the
parking brake, the ABS indicator
maycomeon,andtheABSmaynot
work properly. The VSA system
indicator will also come on along with the ABS indicator (see page
).
54 199
3.5 RL without Navigation System
Parking Brake
Digital Clock
Parking Brake, Digital Clock
Inst rument s and Cont rols102
P PA
A R
RKKIINNG G
B
BR RAA K
KEE P
PE
ED
D A
AL
L
R
RE
EL
LEE A
A S
SEE L
LEE V
V E
ER
R
Driving the car with the parking brake
applied can damage the rear brakes
and axles.
01/09/28 19:41:49 31SZ3660_105
Page 160 of 343
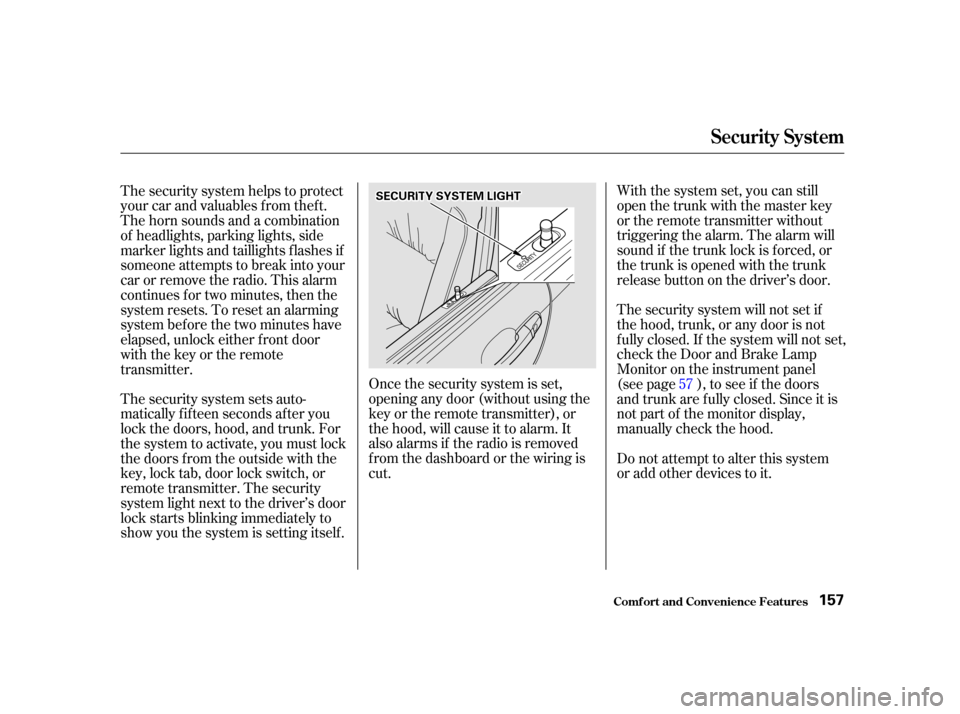
Once the security system is set,
opening any door (without using the
key or the remote transmitter), or
the hood, will cause it to alarm. It
also alarms if the radio is removed
f rom the dashboard or the wiring is
cut.With the system set, you can still
open the trunk with the master key
or the remote transmitter without
triggering the alarm. The alarm will
sound if the trunk lock is f orced, or
the trunk is opened with the trunk
releasebuttononthedriver’sdoor.
The security system will not set if
the hood, trunk, or any door is not
f ully closed. If the system will not set,
check the Door and Brake Lamp
Monitor on the instrument panel
(see page ), to see if the doors
and trunk are f ully closed. Since it is
notpartofthemonitordisplay,
manually check the hood.
The security system sets auto-
matically fifteen seconds after you
lock the doors, hood, and trunk. For
the system to activate, you must lock
the doors f rom the outside with the
key, lock tab, door lock switch, or
remote transmitter. The security
system light next to the driver’s door
lock starts blinking immediately to
show you the system is setting itself . Do not attempt to alter this system
or add other devices to it.
The security system helps to protect
your car and valuables f rom thef t.
The horn sounds and a combination
of headlights, parking lights, side
marker lights and taillights f lashes if
someone attempts to break into your
carorremovetheradio.Thisalarm
continues f or two minutes, then the
system resets. To reset an alarming
system bef ore the two minutes have
elapsed, unlock either f ront door
with the key or the remote
transmitter.
57
Comf ort and Convenience Feat ures
Security System
157
S SEEC
CU UR RIITT Y
Y S
SYYSSTTE
EM
M L
LIIGGH HT
T
01/09/28 19:50:11 31SZ3660_160
Page 162 of 343
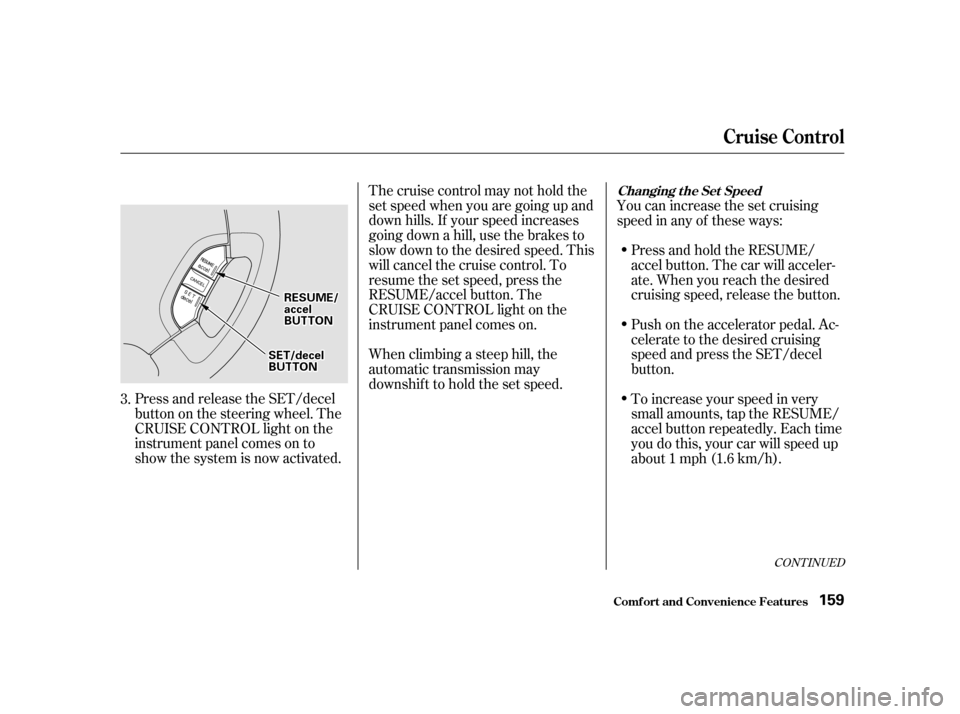
Press and release the SET/decel
buttononthesteeringwheel.The
CRUISE CONTROL light on the
instrument panel comes on to
show the system is now activated.Thecruisecontrolmaynotholdthe
set speed when you are going up and
down hills. If your speed increases
going down a hill, use the brakes to
slow down to the desired speed. This
will cancel the cruise control. To
resume the set speed, press the
RESUME/accel button. The
CRUISE CONTROL light on the
instrument panel comes on.
When climbing a steep hill, the
automatic transmission may
downshif t to hold the set speed.
You can increase the set cruising
speed in any of these ways:
Press and hold the RESUME/
accel button. The car will acceler-
ate. When you reach the desired
cruising speed, release the button.
Push on the accelerator pedal. Ac-
celerate to the desired cruising
speed and press the SET/decel
button.
To increase your speed in very
small amounts, tap the RESUME/
accel button repeatedly. Each time
you do this, your car will speed up
about 1 mph (1.6 km/h).
3.
CONT INUED
Changing t he Set Speed
Cruise Control
Comf ort and Convenience Feat ures159
S SE
ET
T/
/d
d e
ecceel l
B
BU UT TT
TO
ON N
R
RE
ES
SU UM M E
E/
/
a
ac ccceel l
B
BU UT TT
TO
ON N
01/09/28 19:50:30 31SZ3660_162
Page 163 of 343

Youcancancelthecruisecontrolin
any of these ways:Tap the brake pedal.
Push the CANCEL button on the
steering wheel.
Press the Cruise Control Master
Switch.
You can decrease the set cruising
speed in any of these ways:
Press and hold the SET/decel
button. The car will decelerate.
Release the button when you
reach the desired speed.
Tap the brake pedal lightly with
your f oot. The CRUISE
CONTROL light on the
instrument panel will go out.
When the car slows to the desired
speed, press the SET/decel button.
The car will then maintain the
desired speed.
To slow down in very small
amounts, tap the SET/decel
button repeatedly. Each time you
do this, your car will slow down
about 1 mph (1.6 km/h). Even with the cruise control turned
on, you can still use the accelerator
pedal to speed up f or passing. Af ter
completing the pass, take your foot
of f the accelerator pedal. The car
will return to the set cruising speed.
Resting your f oot on the brake pedal
will cause the cruise control to
cancel.
Cancelling t he Cruise Cont rol
Cruise Control
Comf ort and Convenience Feat ures160
C CA
A N
NC CEEL
L
B
BU UT TT
TO
ON N
01/09/28 19:50:42 31SZ3660_163