run flat Acura RLX 2017 Quick Guide
[x] Cancel search | Manufacturer: ACURA, Model Year: 2017, Model line: RLX, Model: Acura RLX 2017Pages: 73, PDF Size: 7.37 MB
Page 6 of 73
4 || 5
S AFETY
S
AFETY
TABLE OF
CONTENTS
INDEX
VISUAL INDEX
VOICE COMMAND INDEX
SAFETY
INFORMATION
CLIENT
INFORMATION
INSTRUMENT PANEL
SPECIFICATIONS
VEHICLE
CONTROLS
MAINTENANCE
AUDIO AND
CONNECTIVITY
HANDLING THE UNEXPECTED
BLUETOOTH®
HANDSFREELINK®
DRIVING
ACURALINK®
NAVIGATION
Carbon Monoxide Gas
The engine exhaust from this vehicle contains carbon monoxide, a colorless,
odorless, and highly toxic gas. As long as you properly maintain your vehicle and
follow the instructions set forth below, you will not accumulate dangerous levels
of carbon monoxide gas in the vehicle interior.
Have the exhaust system inspected for leaks whenever:
•
The exhaust system is making an unusual noise.
•
The exhaust system may hav
e been damaged.
•
The
vehicle is raised for an oil change.
When you operate a vehicle with the trunk open, airflow can pull exhaust gas into
the interior and create a hazardous condition. If you must drive with the trunk
open, open all the windows and set the climate control system as shown below.
1.
Select
the fresh air mode.
2.
Select the mode.
3.
Set the
fan speed to high.
4.
Set
the temperature control to a comfortable setting.
A
djust the climate control system in the same manner if you sit in your parked
vehicle with the engine running.
Carbon monoxide gas is toxic. Breathing it can cause unconsciousness and
even kill you.
Avoid any enclosed areas or activities that expose you to carbon monoxide.
WARNING
An enclosed area such as a garage can quickly fill up with carbon monoxide gas.
Do not run the engine with the garage door closed. Even when the garage door is
open, drive out of the garage immediately after starting the engine.
Seat Belts
A seat belt is your best protection in all types of collisions. Airbags are designed to
supplement seat belts, not replace them. So even though your vehicle is equipped
with airbags, make sure you and your passengers always wear your seat belts and
wear them properly.
Lap/Shoulder Seat BeltsAll five seating positions are equipped with lap/shoulder seat belts with
emergency locking retractors. In normal driving, the retractor lets you move
freely while keeping some tension on the belt. During a collision or sudden stop,
the retractor locks to restrain your body. The front passenger’s and rear seat belts
also have a lockable retractor for use with child seats.
The front seats are equipped with automatic seat belt tensioners to enhance
safety. The tensioners automatically tighten the front seat belts during a
moderate-to-severe front collision, sometimes even if the collision is not severe
enough to inflate the front airbags or the driver’s knee airbag.
Seat belt e-pretensioners* are motor-powered and start to retract the front seat
belts when the CMBS*, brake assist system, or VSA system is in operation. They
may also activate when you steer the vehicle hard, or the vehicle is impacted.
After retracting, the seat belts are slackened to their original positions.
Proper Use of Seat BeltsFollow these guidelines for proper use:
•
All
occupants should sit upright, well back in the seat, and remain in that
position for the duration of the trip. Slouching and leaning reduces the
effectiveness of the belt and can increase the chance of serious injury in a crash.
•
Nev
er place the shoulder part of a lap/shoulder seat belt under your arm or
behind your back. This could cause very serious injuries in a crash.
•
T
wo people should never use the same seat belt. If they do, they could be very
seriously injured in a crash.
•
Do not put an
y accessories on the seat belts. Devices intended to improve
comfort or reposition the shoulder part of a seat belt can reduce the protective
capability and increase the chance of serious injury in a crash.
•
No
one should sit in a seat with an inoperative seat belt or one that does not
appear to be working correctly. Using a seat belt that is not working properly
may not protect the occupant in a crash. Have a dealer check the belt as soon
as possible.
*if equipped
Page 54 of 73
100 || 101
HANDLING THE UNEXPECTED
HANDLING THE UNEXPECTED
TABLE OF
CONTENTS
INDEX
VISUAL INDEX
VOICE COMMAND INDEX
SAFETY
INFORMATION
CLIENT
INFORMATION
INSTRUMENT PANEL
SPECIFICATIONS
VEHICLE
CONTROLS
MAINTENANCE
AUDIO AND
CONNECTIVITY
HANDLING THE UNEXPECTED
BLUETOOTH®
HANDSFREELINK®
DRIVING
ACURALINK®
NAVIGATION
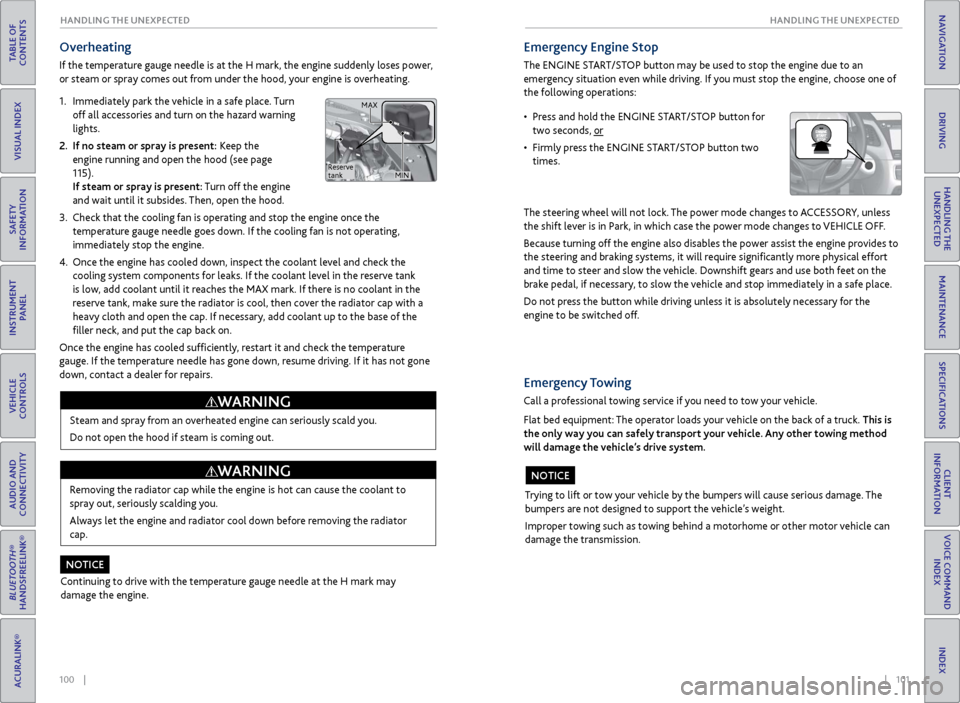
Overheating
If the temperature gauge needle is at the H mark, the engine suddenly loses power,
or steam or spray comes out from under the hood, your engine is overheating.
1.
Immediatel
y park the vehicle in a safe place. Turn
off all accessories and turn on the hazard warning
lights.
2.
If no steam
or spray is present: Keep the
engine running and open the hood (see page
115).
If steam or spray is present: Turn off the engine
and wait until it subsides. Then, open the hood.
3.
Check that the
cooling fan is operating and stop the engine once the
temperature gauge needle goes down. If the cooling fan is not operating,
immediately stop the engine.
4.
Once
the engine has cooled down, inspect the coolant level and check the
cooling system components for leaks. If the coolant level in the reserve tank
is low, add coolant until it reaches the MAX mark. If there is no coolant in the
reserve tank, make sure the radiator is cool, then cover the radiator cap with a
heavy cloth and open the cap. If necessary, add coolant up to the base of the
filler neck, and put the cap back on.
Once the engine has cooled sufficiently, restart it and check the temperature
gauge. If the temperature needle has gone down, resume driving. If it has not gone
down, contact a dealer for repairs.
Steam and spray from an overheated engine can seriously scald you.
Do not open the hood if steam is coming out.
WARNING
Removing the radiator cap while the engine is hot can cause the coolant to
spray out, seriously scalding you.
Always let the engine and radiator cool down before removing the radiator
cap.
WARNING
Continuing to drive with the temperature gauge needle at the H mark may
damage the engine.
NOTICE
Emergency Engine Stop
The ENGINE START/STOP button may be used to stop the engine due to an
emergency situation even while driving. If you must stop the engine, choose one of
the following operations:
The steering wheel will not lock. The power mode changes to ACCESSORY, unless
the shift lever is in Park, in which case the power mode changes to VEHICLE OFF.
Because turning off the engine also disables the power assist the engine provides to
the steering and braking systems, it will require significantly more physical effort
and time to steer and slow the vehicle. Downshift gears and use both feet on the
brake pedal, if necessary, to slow the vehicle and stop immediately in a safe place.
Do not press the button while driving unless it is absolutely necessary for the
engine to be switched off.
• Press and hold the ENGINE START/STOP button for two seconds, or
•
Firml
y press the ENGINE START/STOP button two
times.
Trying to lift or tow your vehicle by the bumpers will cause serious damage. The
bumpers are not designed to support the vehicle’s weight.
Improper towing such as towing behind a motorhome or other motor vehicle can
damage the transmission.
NOTICE
Emergency Towing
Call a professional towing service if you need to tow your vehicle.
Flat bed equipment: The operator loads your vehicle on the back of a truck. This is
the only way you can safely transport your vehicle. Any other towing method
will damage the vehicle’s drive system.
Reserve
tank MAX
MIN
Page 56 of 73
104 || 105
HANDLING THE UNEXPECTED
HANDLING THE UNEXPECTED
TABLE OF
CONTENTS
INDEX
VISUAL INDEX
VOICE COMMAND INDEX
SAFETY
INFORMATION
CLIENT
INFORMATION
INSTRUMENT PANEL
SPECIFICATIONS
VEHICLE
CONTROLS
MAINTENANCE
AUDIO AND
CONNECTIVITY
HANDLING THE UNEXPECTED
BLUETOOTH®
HANDSFREELINK®
DRIVING
ACURALINK®
NAVIGATION
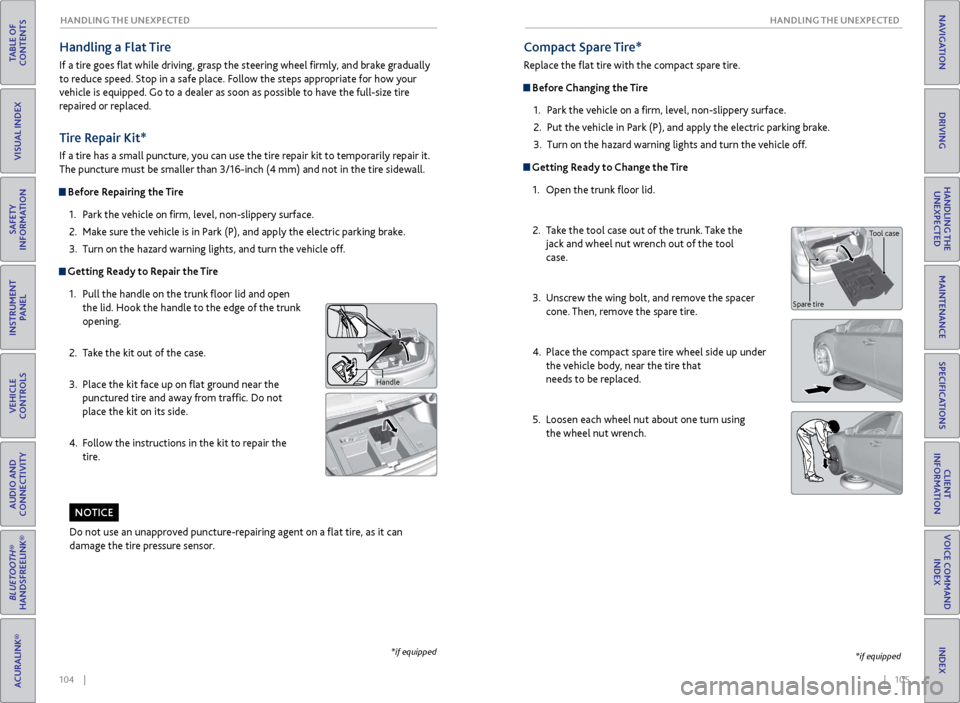
Tire Repair Kit*
If a tire has a small puncture, you can use the tire repair kit to temporarily repair it.
The puncture must be smaller than 3/16-inch (4 mm) and not in the tire sidewall.
Before Repairing the Tire
1.
P
ark the vehicle on firm, level, non-slippery surface.
2.
Mak
e sure the vehicle is in Park (P), and apply the electric parking brake.
3.
Turn on the
hazard warning lights, and turn the vehicle off.
Getting Ready to Repair the Tire1.
Pull the
handle on the trunk floor lid and open
the lid. Hook the handle to the edge of the trunk
opening.
2.
T
ake the kit out of the case.
3.
Place
the kit face up on flat ground near the
punctured tire and away from traffic. Do not
place the kit on its side.
4.
F
ollow the instructions in the kit to repair the
tire.
Handle
Compact Spare Tire*
Replace the flat tire with the compact spare tire.
Before Changing the Tire
1.
P
ark the vehicle on a firm, level, non-slippery surface.
2.
Put
the vehicle in Park (P), and apply the electric parking brake.
3.
Turn on the
hazard warning lights and turn the vehicle off.
Getting Ready to Change the Tire1.
Open the trunk
floor lid.
2.
T
ake the tool case out of the trunk. Take the
jack and wheel nut wrench out of the tool
case.
3.
Unscr
ew the wing bolt, and remove the spacer
cone. Then, remove the spare tire.
4.
Place
the compact spare tire wheel side up under
the vehicle body, near the tire that
needs to be replaced.
5.
Loosen each
wheel nut about one turn using
the wheel nut wrench.
*if equipped
Do not use an unapproved puncture-repairing agent on a flat tire, as it can
damage the tire pressure sensor.
NOTICE
Tool case
Spare tire
Handling a Flat Tire
If a tire goes flat while driving, grasp the steering wheel firmly, and brake gradually
to reduce speed. Stop in a safe place. Follow the steps appropriate for how your
vehicle is equipped. Go to a dealer as soon as possible to have the full-size tire
repaired or replaced.
*if equipped
Page 57 of 73
106 || 107
HANDLING THE UNEXPECTED
HANDLING THE UNEXPECTED
TABLE OF
CONTENTS
INDEX
VISUAL INDEX
VOICE COMMAND INDEX
SAFETY
INFORMATION
CLIENT
INFORMATION
INSTRUMENT PANEL
SPECIFICATIONS
VEHICLE
CONTROLS
MAINTENANCE
AUDIO AND
CONNECTIVITY
HANDLING THE UNEXPECTED
BLUETOOTH®
HANDSFREELINK®
DRIVING
ACURALINK®
NAVIGATION
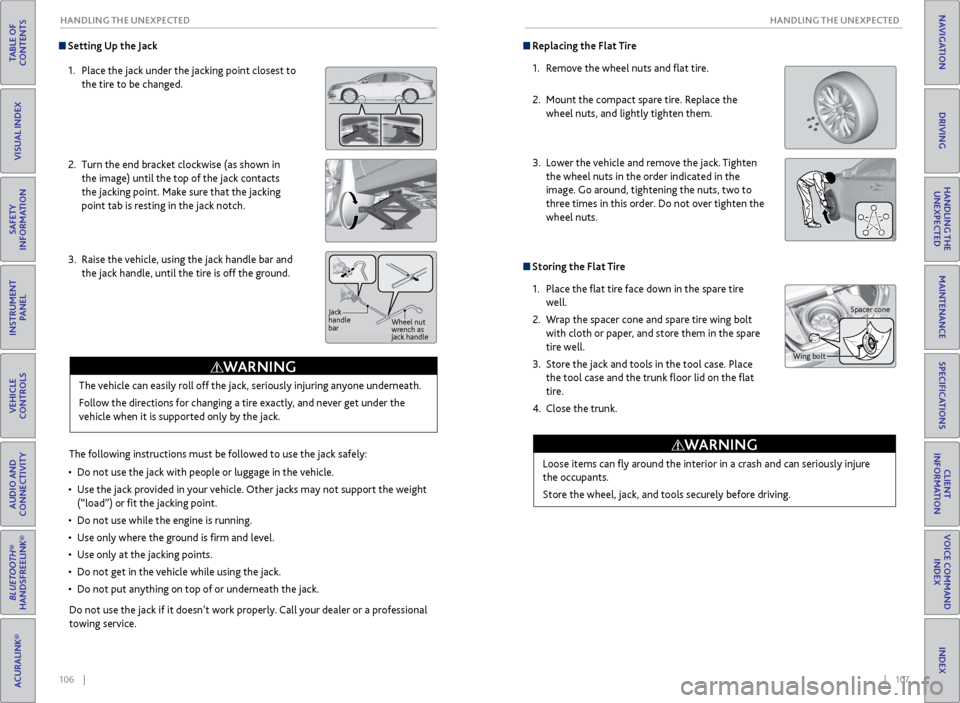
Setting Up the Jack
1.
Place
the jack under the jacking point closest to
the tire to be changed.
2.
Turn
the end bracket clockwise (as shown in
the image) until the top of the jack contacts
the jacking point. Make sure that the jacking
point tab is resting in the jack notch.
3.
Raise
the vehicle, using the jack handle bar and
the jack handle, until the tire is off the ground.
The following instructions must be followed to use the jack safely:
•
Do not use
the jack with people or luggage in the vehicle.
•
Use
the jack provided in your vehicle. Other jacks may not support the weight
(“load”) or fit the jacking point.
•
Do not use
while the engine is running.
•
Use
only where the ground is firm and level.
•
Use
only at the jacking points.
•
Do not get in
the vehicle while using the jack.
•
Do
not put anything on top of or underneath the jack.
The vehicle can easily roll off the jack, seriously injuring anyone underneath.
Follow the directions for changing a tire exactly, and never get under the
vehicle when it is supported only by the jack.
WARNING
Do not use the jack if it doesn’t work properly. Call your dealer or a professional
towing service.
Jack
handle
bar
Wheel nut
wrench as
jack handle
Replacing the Flat Tire
1.
R
emove the wheel nuts and flat tire.
2.
Mount the
compact spare tire. Replace the
wheel nuts, and lightly tighten them.
3.
Lower
the vehicle and remove the jack. Tighten
the wheel nuts in the order indicated in the
image. Go around, tightening the nuts, two to
three times in this order. Do not over tighten the
wheel nuts.
Storing the Flat Tire
1.
Place the
flat tire face down in the spare tire
well.
2.
W
rap the spacer cone and spare tire wing bolt
with cloth or paper, and store them in the spare
tire well.
3.
Stor
e the jack and tools in the tool case. Place
the tool case and the trunk floor lid on the flat
tire.
4.
Close the trunk.
Loose items can
fly around the interior in a crash and can seriously injure
the occupants.
Store the wheel, jack, and tools securely before driving.
WARNING
Wing bolt Spacer cone
Page 73 of 73
138 || 139
INDEX
INDEX
TABLE OF
CONTENTS
INDEX
VISUAL INDEX
VOICE COMMAND INDEX
SAFETY
INFORMATION
CLIENT
INFORMATION
INSTRUMENT PANEL
SPECIFICATIONS
VEHICLE
CONTROLS
MAINTENANCE
AUDIO AND
CONNECTIVITY
HANDLING THE UNEXPECTED
BLUETOOTH®
HANDSFREELINK®
DRIVING
ACURALINK®
NAVIGATION
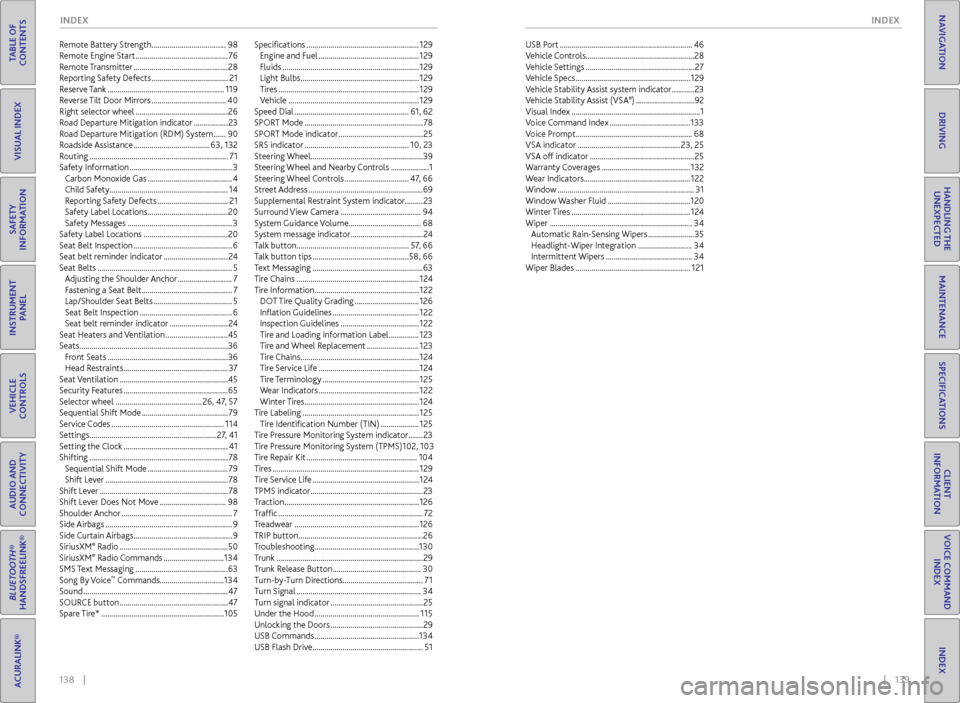
Remote Battery Strength ..................................... 98
R emote Engine Start .............................................. 76
Remote Transmitter
............................................... 28
Reporting Safety Defects
......................................21
Reserve Tank
.......................................................... 119
Reverse Tilt Door Mirrors
.....................................40
Right selector wheel
.............................................. 26
Road Departure Mitigation indicator
.................23
Road Departure Mitigation (RDM) System
......90
Roadside Assistance
...................................... 63, 132
Routing
..................................................................... 71
Safety Information
................................................... 3
Carbon Monoxide Gas
..........................................4
Child Safety ........................................................... 14
Reporting Safety Defects
...................................21
Safety Label Locations
........................................20
Safety Messages
.................................................... 3
Safety Label Locations
..........................................20
Seat Belt Inspection
................................................. 6
Seat belt reminder indicator
................................24
Seat Belts
................................................................... 5
Adjusting the Shoulder Anchor
...........................7
Fastening a Seat Belt
............................................. 7
Lap/Shoulder Seat Belts
.......................................5
Seat Belt Inspection
.............................................. 6
Seat belt reminder indicator
.............................24
Seat Heaters and
Ventilation
...............................45
Seats
........................................................................\
.. 36
Front Seats
............................................................ 36
Head Restraints
.................................................... 37
Seat Ventilation
...................................................... 45
Security Features
.................................................... 65
Selector wheel
........................................... 26, 47, 57
Sequential Shift Mode
........................................... 79
Service Codes
........................................................ 114
Settings
............................................................... 27, 41
Setting the Clock
.................................................... 41
Shifting
..................................................................... 78
Sequential Shift Mode
........................................79
Shift Lever
............................................................. 78
Shift Lever
................................................................ 78
Shift Lever Does Not Move
.................................98
Shoulder Anchor
....................................................... 7
Side Airbags
............................................................... 9
Side Curtain Airbags
................................................. 9
SiriusXM
® Radio ...................................................... 50
SiriusXM® Radio Commands .............................. 134
SMS T
ext Messaging .............................................. 63
Song By Voice
™ Commands ................................134
Sound
........................................................................\
47
SOURCE button
...................................................... 47
Spare Tire*
............................................................. 105Specifications
........................................................
129
Engine and Fuel ..................................................
129
Fluids ....................................................................
129
Light Bulbs...........................................................129
Tires ......................................................................
129
Vehicle .................................................................
129
Speed Dial .........................................................
61, 62
SPORT Mode ...........................................................
78
SPORT Mode indicator ..........................................
25
SRS indicator ....................................................
10, 23
Steering Wheel ........................................................39
Steering Wheel and Nearby Controls ...................
1
Steering Wheel Controls
................................
47
, 66
Street Address .........................................................
69
Supplemental Restraint System indicator.........23
Surround View Camera
........................................
94
S
ystem Guidance Volume
.................................... 68
System message indicator ....................................
24
Talk button ........................................................
57, 66
Talk button tips ................................................
58, 66
Text Messaging .......................................................
63
Tire Chains .............................................................
124
Tire Information ....................................................
122
DOT Tire Quality Grading
................................
126
Inflation Guidelines
...........................................
122
Inspection Guidelines .......................................
122
Tire and Loading Information Label ...............
123
Tire and Wheel Replacement ..........................
123
Tire Chains ...........................................................
124
Tire Service Life ..................................................
124
Tire Terminology ................................................
125
Wear Indicators ..................................................
122
Winter Tires .........................................................
124
Tire Labeling ..........................................................
125
Tire Identification Number (TIN)
...................
125
Tir
e Pressure Monitoring System indicator .......
23
Tire Pressure Monitoring System (TPMS) 102, 103
Tire Repair Kit .......................................................
104
Tires ........................................................................\
.
129
Tire Service Life .....................................................
124
TPMS indicator ........................................................
23
Traction...................................................................126
Traffic ........................................................................\
72
Treadwear ..............................................................
126
TRIP button ..............................................................
26
Troubleshooting ....................................................130
Trunk ........................................................................\
.
29
Trunk Release Button ............................................
30
Turn-by-Turn Directions........................................ 71
Turn Signal ..............................................................34
Turn signal indicator
..............................................25
Under the Hood
....................................................115
Unlocking the Doors
..............................................29
USB Commands
....................................................134
USB Flash Drive
.......................................................51USB Port
..................................................................
46
Vehicle Controls ......................................................28
Vehicle Settings ......................................................
27
Vehicle Specs .........................................................
129
Vehicle Stability Assist system indicator ...........
23
Vehicle Stability Assist (VSA
®) ............................. 92
Visual Index
................................................................ 1
Voice Command Index
........................................ 133
Voice Prompt
.......................................................... 68
VSA indicator
................................................... 23, 25
VSA off indicator
.................................................... 25
Warranty Coverages
............................................ 1
32
Wear Indicators
..................................................... 122
Window
.................................................................... 31
Window Washer Fluid
......................................... 120
Winter Tires
........................................................... 124
Wiper
....................................................................... 34
Automatic Rain-Sensing Wipers
....................... 35
Headlight-Wiper Integration
........................... 34
Intermittent Wipers
........................................... 34
Wiper Blades
......................................................... 121