ECU Acura RSX 2003 Owner's Guide
[x] Cancel search | Manufacturer: ACURA, Model Year: 2003, Model line: RSX, Model: Acura RSX 2003Pages: 320, PDF Size: 4.24 MB
Page 84 of 320
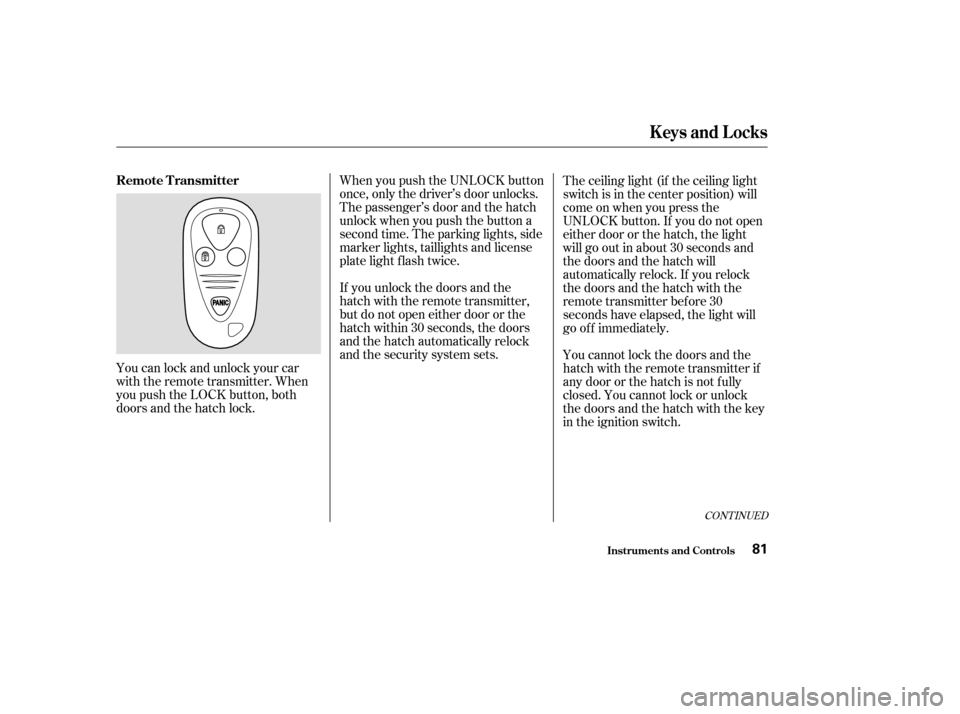
You can lock and unlock your car
with the remote transmitter. When
you push the LOCK button, both
doors and the hatch lock.When you push the UNLOCK button
once, only the driver’s door unlocks.
The passenger’s door and the hatch
unlock when you push the button a
second time. The parking lights, side
marker lights, taillights and license
plate light flash twice.
If you unlock the doors and the
hatch with the remote transmitter,
but do not open either door or the
hatch within 30 seconds, the doors
and the hatch automatically relock
and the security system sets.
The ceiling light (if the ceiling light
switch is in the center position) will
come on when you press the
UNLOCK button. If you do not open
either door or the hatch, the light
will go out in about 30 seconds and
the doors and the hatch will
automatically relock. If you relock
the doors and the hatch with the
remote transmitter before 30
seconds have elapsed, the light will
go of f immediately.
You cannot lock the doors and the
hatch with the remote transmitter if
any door or the hatch is not f ully
closed. You cannot lock or unlock
the doors and the hatch with the key
in the ignition switch.
CONT INUED
Remote Transmitter
Keys and Locks
Inst rument s and Cont rols81
Page 90 of 320

The back of the rear seat folds down
to give you more cargo space. Each
side f olds down separately. With only
half the seat f olded, you can still
carry a passenger in the back seat.
To unlatch either side of the seat-
back, pull up on the release tab.
Move the seat belt out of the way
and fold the seat-back down.To lock the seat-back upright, push
the seat-back firmly against its latch.
Tug on the seat-back to make sure it
is latched.
Do not put any heavy items on the
seat-back when it is folded.
Make sure all items in the cargo area
are secured. Loose items can f ly
f orward and cause injury if you have
to brake hard. See
on page .
To get into the rear seat on the
passenger’s side, push down on the
release lever at the base of the seat-
back. The seat-back will tilt f orward,
and the seat will slide f orward to
allow easier access to the rear seat. 164
Folding Rear Seat
Carrying Cargo
Seat A djustments
Inst rument s and Cont rols87
RELEASE TAB
RELEASE LEVER
Page 104 of 320
.....................
Heating and Cooling .102
...............
Temperature Sensors . 108
Audio System (All models ......................
except Type-S) .109
....
AM/FM/CD Audio System . 109
.................
Operating the Radio . 109
.................
Adjusting the Sound . 113
..............................
Digital Clock .114
............
Audio System Lighting . 115
.........
Operating the CD Player . 115
.....
Operating the CD Changer . 117
....
CD Player Error Indications . 119
CD Changer Error .............................
Indications .120
Operating the Cassette .....................................
Player .121
............
Tape Search Functions . 123
.................
Caring f or Cassettes . 124
................
Audio System (Type S) . 125
AM/FM/Cassette/ .
CD Changer Audio System . 125
.................
Operating the Radio . 126
.................
Adjusting the Sound . 129
..............................
Digital Clock .130
............
Audio System Lighting . 131
....................
Radio Frequencies . 131........................
Radio Reception .131
Operating the Cassette .....................................
Player .133
............
Tape Search Functions . 134
Caring f or the Cassette .....................................
Player .137
Loading CDs in the .................................
Changer .139
...................................
Operation .141
Removing CDs from the .................................
Changer .143
.......
Protecting Compact Discs . 145
CD Changer Error .............................
Indications .146
.......................
Thef t Protection .147
............................
Security System .148
...............................
Cruise Control .149
Comf ort and Convenience Features
Comf ort and Convenience Feat ures101
Page 151 of 320
Once the security system is set,
opening either door (without using
the key or the remote transmitter),
or the hood, will cause it to alarm. It
also alarms if the radio is removed
f rom the dashboard or the wiring is
cut.Do not attempt to alter this system
or add other devices to it.
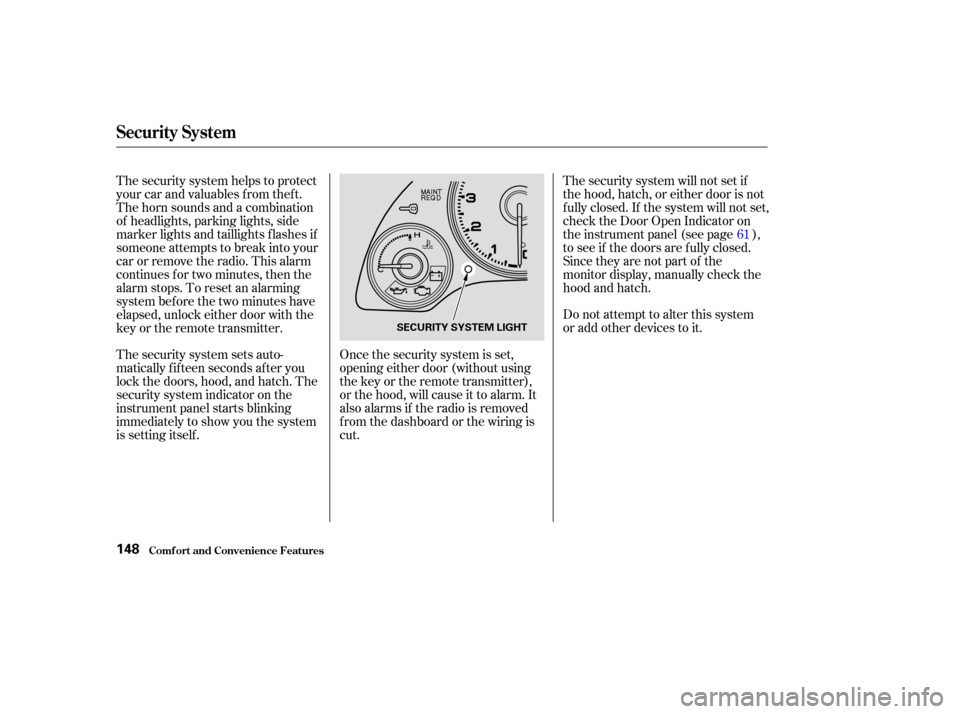
The security system sets auto-
matically fifteen seconds after you
lock the doors, hood, and hatch. The
security system indicator on the
instrument panel starts blinking
immediately to show you the system
is setting itself . The security system will not set if
the hood, hatch, or either door is not
f ully closed. If the system will not set,
check the Door Open Indicator on
the instrument panel (see page ),
to see if the doors are f ully closed.
Since they are not part of the
monitor display, manually check the
hood and hatch.
The security system helps to protect
your car and valuables f rom thef t.
The horn sounds and a combination
of headlights, parking lights, side
marker lights and taillights f lashes if
someone attempts to break into your
carorremovetheradio.Thisalarm
continues f or two minutes, then the
alarm stops. To reset an alarming
system bef ore the two minutes have
elapsed, unlock either door with the
key or the remote transmitter.
61
Security System
Comf ort and Convenience Feat ures148
SECURITY SYSTEM LIGHT
Page 161 of 320
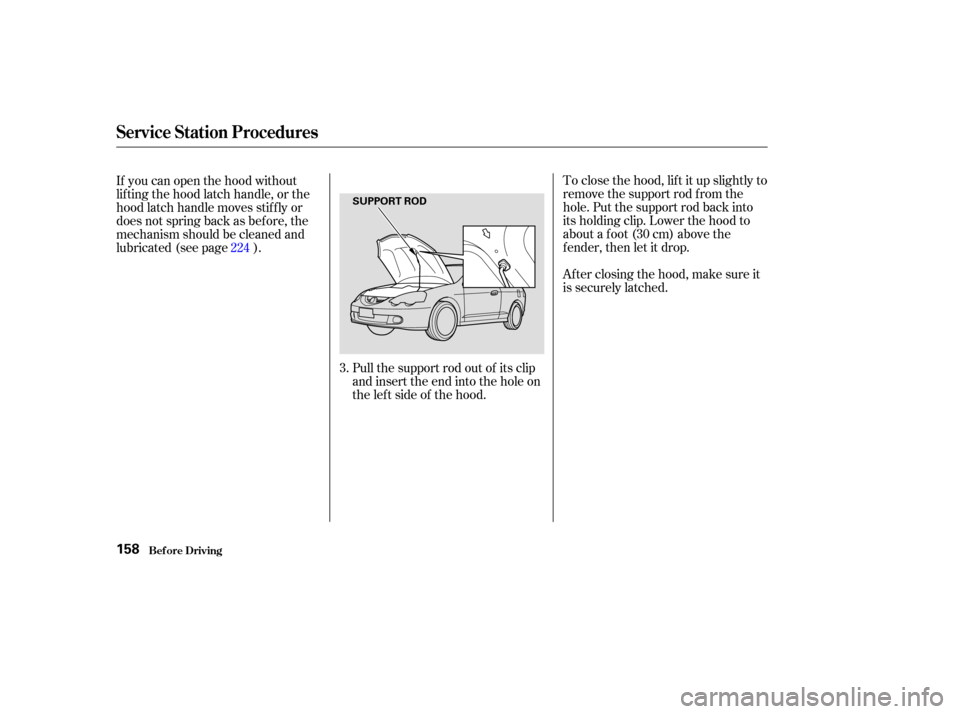
To close the hood, lif t it up slightly to
remove the support rod f rom the
hole. Put the support rod back into
its holding clip. Lower the hood to
about a f oot (30 cm) above the
fender,thenletitdrop.
After closing the hood, make sure it
is securely latched.
Pull the support rod out of its clip
and insert the end into the hole on
theleftsideof thehood.
If you can open the hood without
lifting the hood latch handle, or the
hood latch handle moves stif f ly or
does not spring back as bef ore, the
mechanism should be cleaned and
lubricated (see page ).
3.
224
Service Station Procedures
Bef ore Driving158
SUPPORT ROD
Page 168 of 320
Store or secure all items that could
be thrown around and hurt
someone during a crash.
Be sure items placed on the f loor
behind the f ront seats cannot roll
under the seats and interf ere with
the driver’s ability to operate the
pedals, or with the proper
operation of the seats.
Keep the glove box closed while
driving. If it is open, a passenger
could injure their knees during a
crash or sudden stop.
This f igure includes the total weight
of all occupants, cargo, accessories,
and the tongue weight if you are
towing a trailer.
To f igure out how much cargo you
can carry:
Add up the weight of all occupants.
If you are towing a trailer, add the
tongue weight to the number
above.
The f inal number is the total weight
of cargo you can carry. Subtract the total f rom 700 lbs
(325 kg).
The maximum load for your car is
700 lbs (325 kg).
Carrying Items in the Passenger
Compartment
Load Limit
Carrying Cargo
Bef ore Driving165
Overloading or improper
loading can affect handling and
stability and cause a crash in
which you can be hurt or killed.
Follow all load limits and other
loading guidelines in this
manual.
Page 171 of 320

Make sure all windows, mirrors,
and outside lights are clean and
unobstructed. Remove f rost, snow,
or ice.Check the adjustment of the seat
(see page ).
Check the adjustment of the
inside and outside mirrors (see
page ).
Check the adjustment of the
steering wheel (see page ).
Fasten your seat belt. Check that
your passengers have f astened
their seat belts (see page ).Turn the ignition switch ON (II).
Check the indicator lights in the
instrument panel.
Start the engine (see page ).
Check the gauges and indicator
lights in the instrument panel (see
page ).
Check that the hood and hatch are
f ully closed.
Visually check the tires. If a tire
looks low, use a gauge to check its
pressure.
Check that any items you may be
carrying with you inside are stored
properly or f astened down
securely.
Youshoulddothefollowingchecks
and adjustments every day bef ore
you drive your car.
Make sure the doors and hatch
are securely closed and locked.
1.
2.
3.
9. 8.
7. 6. 5.
4. 10.
11.
12.
16
86
95 74 169
59
Preparing to Drive
Driving168
Page 191 of 320

The best way to conf irm that vehicle
and trailer weights are within limits
is to have them checked at a public
scale.
Using a suitable scale or a special
tongue load gauge, check the tongue
load the f irst time you set up a
towing combination (a f ully-loaded
vehicle and trailer), then recheck the
tongue load whenever the conditions
change.Towing can require a variety of
equipment, depending on the size of
your trailer, how it will be used, and
how much load you are towing.
Discuss your needs with your trailer
sales or rental agency, and f ollow the
guidelines in the rest of this section.
Also make sure that all equipment is
properly installed and that it meets
f ederal, state, province, and local
regulations.Any hitch used on your vehicle must
be properly bolted to the underbody.
Always use saf ety chains. Make sure
they are secured to both the trailer
and hitch, and that they cross under
the tongue so they can catch the
trailer if it becomes unhitched.
Leave enough slack to allow the
trailer to turn corners easily, but do
not let the chains drag on the ground.
Checking L oads
T owing Equipment and
A ccessories
Hitches
Saf et y Chains
Towing a Trailer
Driving188
Page 193 of 320

Many states and Canadian provinces
require special outside mirrors when
towing a trailer. Even if they don’t,
you should install special mirrors if
you cannot clearly see behind you, or
if the trailer creates a blind spot.
Askyourtrailersalesorrental
agency if any other items are
recommended or required f or your
towing situation.When preparing to tow, and bef ore
driving away, be sure to check the
f ollowing:
The vehicle has been properly
serviced, and the tires, brakes,
suspension, and cooling system
are in good operating condition.
Allitemsonandinthetrailerare
properly secured and cannot shif t
while you drive.
The lights and brakes on your
vehicle and the trailer are working
properly. Your vehicle tires and spare are
properly inf lated (see page ),
and the trailer tires and spare are
inflated as recommended by the
trailer maker.
Thehitch,safetychains,andany
other attachments are secure. All weights and loads are within
limits (see page ). 235
187
Pre-T ow Checklist
Additional Trailer Equipment
Towing a Trailer
Driving190
Page 210 of 320
CONT INUED
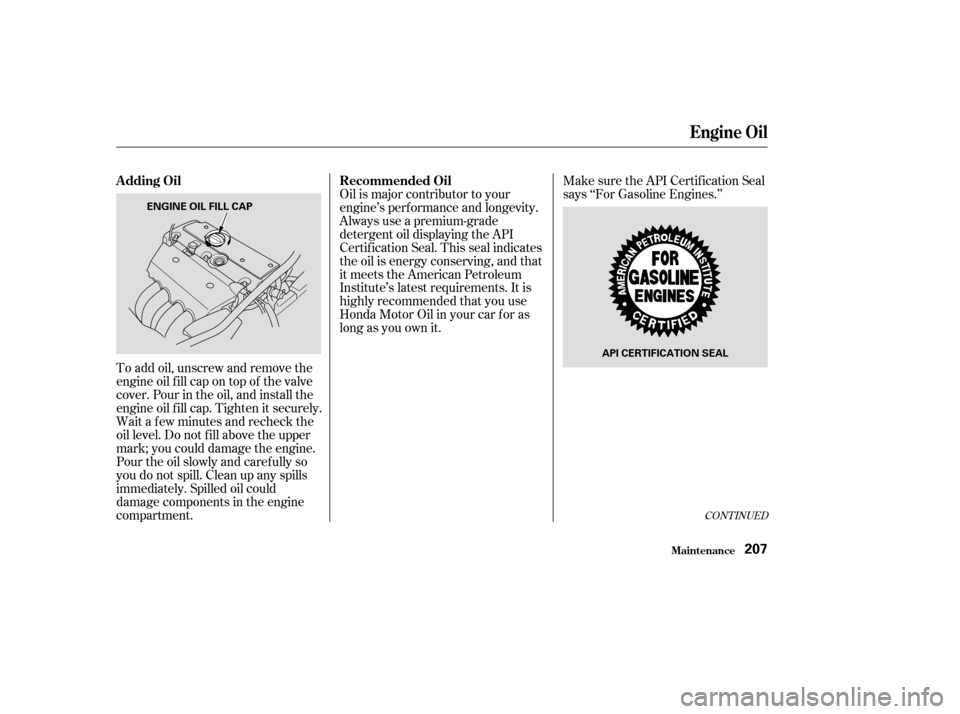
To add oil, unscrew and remove the
engine oil f ill cap on top of the valve
cover. Pour in the oil, and install the
engine oil f ill cap. Tighten it securely.
Wait a f ew minutes and recheck the
oil level. Do not f ill above the upper
mark; you could damage the engine.Make sure the API Certif ication Seal
says ‘‘For Gasoline Engines.’’
Oil is major contributor to your
engine’s perf ormance and longevity.
Always use a premium-grade
detergent oil displaying the API
Certif ication Seal. This seal indicates
the oil is energy conserving, and that
it meets the American Petroleum
Institute’s latest requirements. It is
highly recommended that you use
Honda Motor Oil in your car f or as
long as you own it.
Pour the oil slowly and caref ully so
you do not spill. Clean up any spills
immediately. Spilled oil could
damage components in the engine
compartment. A dding Oil Recommended Oil
Engine Oil
Maint enance207
ENGINE OIL FILL CAP
API CERTIFICATION SEAL