odometer Acura RSX 2006 Owner's Manual
[x] Cancel search | Manufacturer: ACURA, Model Year: 2006, Model line: RSX, Model: Acura RSX 2006Pages: 255, PDF Size: 3.41 MB
Page 50 of 255

This section gives inf ormation about
the controls and displays that
contribute to the daily operation of
your vehicle. All the essential
controls are within easy reach............................
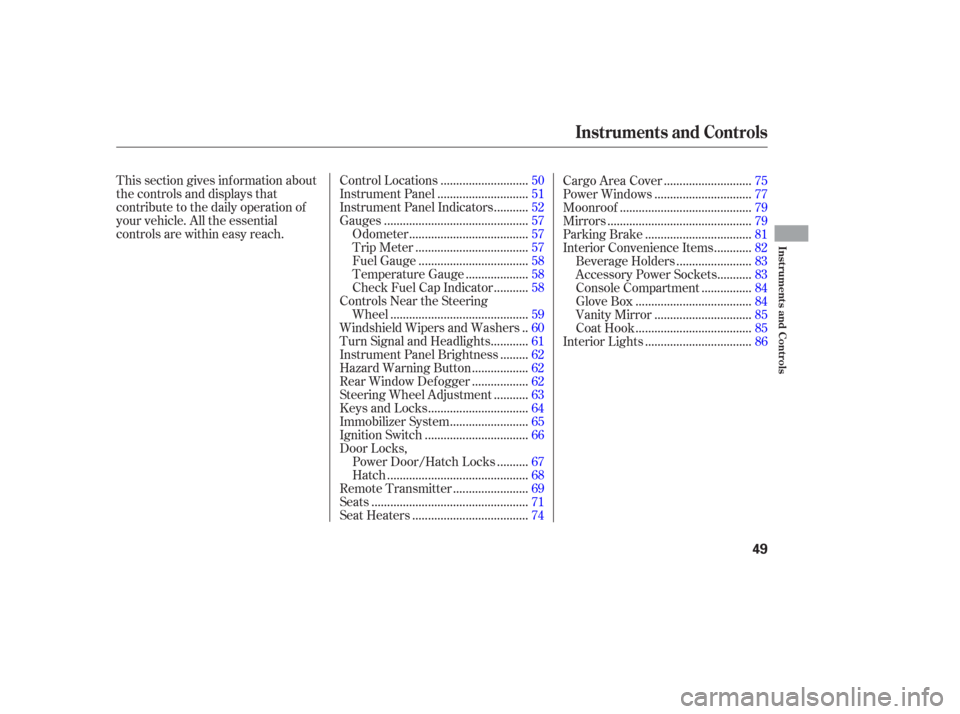
Control Locations .50
............................
Instrument Panel .51
..........
Instrument Panel Indicators .52
.............................................
Gauges .57
.....................................
Odometer .57
...................................
Trip Meter .57
..................................
Fuel Gauge .58
...................
Temperature Gauge .58
..........
Check Fuel Cap Indicator .58
Controls Near the Steering ...........................................
Wheel .59
.
Windshield Wipers and Washers .60
...........
Turn Signal and Headlights .61
........
Instrument Panel Brightness .62
.................
Hazard Warning Button .62
.................
Rear Window Def ogger .62
..........
Steering Wheel Adjustment .63
...............................
Keys and Locks .64
........................
Immobilizer System .65
................................
Ignition Switch .66
Door Locks, .........
Power Door/Hatch Locks .67
............................................
Hatch .68
.......................
Remote Transmitter .69
.................................................
Seats .71
....................................
Seat Heaters .74...........................
Cargo Area Cover .75
..............................
Power Windows .77
.........................................
Moonroof .79
.............................................
Mirrors .79
.................................
Parking Brake .81
...........
Interior Convenience Items .82
.......................
Beverage Holders .83
..........
Accessory Power Sockets .83
...............
Console Compartment .84
....................................
Glove Box .84
..............................
Vanity Mirror .85
....................................
Coat Hook .85
.................................
Interior Lights .86
Instruments and Controls
Inst rument s and Cont rols
49
Page 58 of 255

The odometer shows the total
distance your vehicle has been
driven. It measures miles in U.S.
models and kilometers in Canadian
models. It is illegal under U.S.
federal law and Canadian provincial
regulations to disconnect, reset, or
alter the odometer with the intent to
change the number of miles or
kilometers indicated.This meter shows the number of
miles (U.S.) or kilometers (Canada)
driven since you last reset it.To reset a trip meter, display it and
then press and hold the select/reset
knob until the number resets to ‘‘0.0’’.
There are two trip meters: Trip A
and Trip B. The odometer and the
two trip meters use the same display.
Switch between these displays and
the odometer by pressing the select/
reset knob repeatedly. Each trip
meter works independently, so you can keep track of two dif f erent
distances.
Odometer T rip Meter
Gauges
Inst rument s and Cont rols
57
TEMPERATURE GAUGE TACHOMETER SPEEDOMETER FUEL GAUGE
ODOMETER/TRIP METER SELECT/RESET KNOB
Page 59 of 255

This shows how much f uel you have.
It may show slightly more or less
than the actual amount. The needle
returns to the bottom after you turn
of f the ignition.(Odometer/trip meter message)
This shows the temperature of the
engine’s coolant. During normal
operation, the pointer should rise
from the bottom white mark to about
the middle of the gauge. In severe
driving conditions, such as very hot
weather or a long period of uphill
driving, the pointer may rise to near
the upper white mark. If it reaches
the red (Hot) mark, pull safely to the
side of the road. Turn to page f or
instructions and precautions on
checking the engines cooling system. If your f uel cap is loose or missing, a
‘‘CHECK FUEL CAP’’ message
appears as text in the odometer/trip
meter display after you start the
engine. Turn the engine of f and
conf irm the f uel cap is installed. If it
is, loosen the cap, then retighten it
until it clicks at least once. When you
restart the engine, the message
appears again. To clear the message,
press and hold the select/reset knob
until the message is replaced on the
odometer/trip meter display.
If the system still detects a loose or
missing f uel f ill cap, the malf unction
indicator lamp (MIL) comes on.
Turn the engine of f , and check or
retighten the f uel f ill cap until it
clicks at least once. The MIL goes
out af ter 3 days of normal driving
once the cap is tightened or replaced.
If it does not go out, have your
dealer inspect the vehicle. For more
inf ormation, see page .
214
217
Fuel Gauge
T emperature GaugeCheck Fuel Cap Indicator
Gauges
58
Avoid driving with an extremely low
f uel level. Running out of f uel could
cause the engine to misf ire, damaging
the catalytic converter.
Page 136 of 255

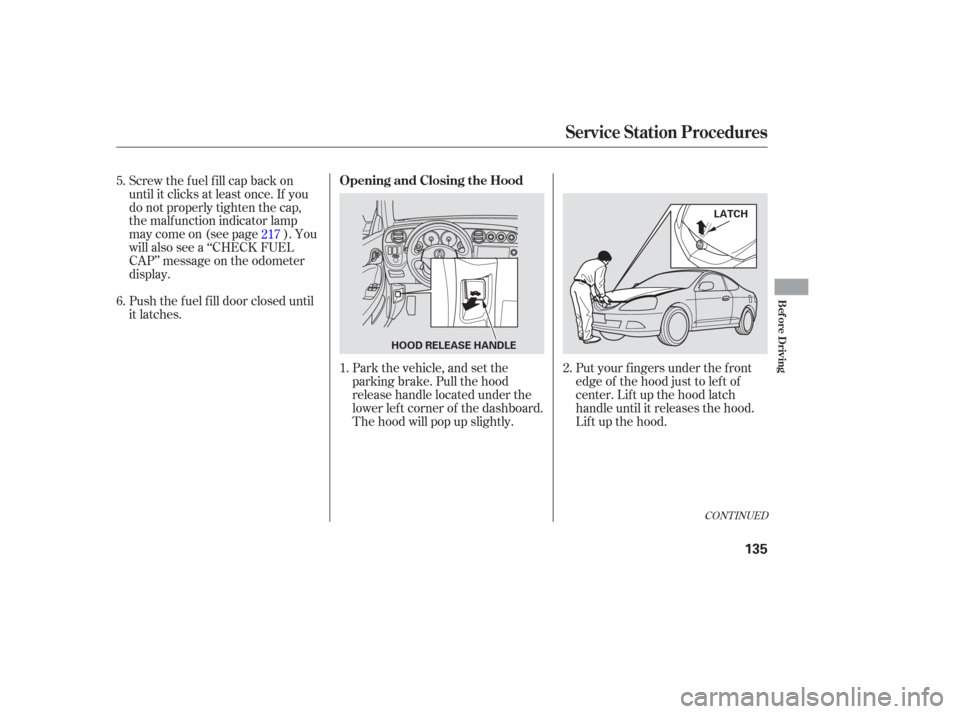
Park the vehicle, and set the
parking brake. Pull the hood
release handle located under the
lower lef t corner of the dashboard.
The hood will pop up slightly.Put your f ingers under the f ront
edge of the hood just to lef t of
center. Lif t up the hood latch
handle until it releases the hood.
Lif t up the hood.
Push the f uel f ill door closed until
it latches. Screw the fuel fill cap back on
until it clicks at least once. If you
do not properly tighten the cap,
the malf unction indicator lamp
maycomeon(seepage ).You
will also see a ‘‘CHECK FUEL
CAP’’ message on the odometer
display.
1. 2.
5.
6.
217
CONT INUED
Service Station Procedures
Opening and Closing the Hood
Bef ore Driving
135
HOOD RELEASE HANDLE LATCH
Page 218 of 255

If the indicator comes on
while driving, it means one
of the engine’s emissions control
systems may have a problem. Even
though you may f eel no dif f erence in
your vehicle’s perf ormance, it can
reduce your f uel economy and cause
increased emissions. Continued
operation may cause serious damage. If the indicator comes on repeatedly,
even though it may turn of f as you
continue driving, have the vehicle
checked by your dealer as soon as
possible.
Your vehicle has certain ‘‘readiness
codes’’ that are part of the on-board
diagnostics f or the emissions
systems. In some states, part of the
emissions testing is to make sure
these codes are set. If they are not
set, the test cannot be completed.If the battery in your vehicle has
been disconnected or gone dead,
these codes are erased. It takes at
least three days of driving under
various conditions to set the codes
again.
To check if they are set, turn the
ignition to the ON (II) position,
without starting the engine. The
malf unction indicator lamp will come
on f or 20 seconds. If it then goes of f ,
the readiness codes are set. If it
blinks five times, the readiness
codes are not set. If possible, do not
take your vehicle for a state
emissions test until the readiness
codes are set. Ref er to
for more
inf ormation (see page ).
If you have recently ref ueled your
vehicle, the indicator could come on
because of a loose or missing f uel f ill
cap. You will also see a ‘‘CHECK
FUEL CAP’’ message on the
odometer display. Tighten the cap
until it clicks at least once.
Tightening the cap will not turn the
indicator turn of f immediately; it
takes at least three days of normal
driving.
238
Readiness Codes
State
Emissions T esting
Malf unction Indicator L amp
T aking Care of t he Unexpect ed
217
If you keep driving with the
malf unction indicator lamp on, you can
damage your vehicle’s emissions
controls and engine. Those repairs may
not be covered by your vehicle’s
warranties.
Page 251 of 255

.........................................
Moonroof .79
......................
Closing Manually .219
.....................................
Operation .79
...................
Neutral Gear Position .152
..................
New Vehicle Break-in .133
.....................
Normal Shif t Speeds .149
...................
NOTICE, Explanation of .i
...............
Numbers, Identif ication .228
...
Octane Requirement, Gasoline .133
.........................................
Odometer .57
...............................
Odometer, Trip .57
Oil ........................
Change, How to .175
......................
Change, When to .169
......................
Checking Engine .147
..............
Pressure Indicator .53,216
Selecting Proper Viscosity
..............................
Chart .174,175
...........
ON (Ignition Key Position) .66 Onboard Ref ueling Vapor
....................................
Recovery .236
..............................
Outside Mirrors .80
....................
Overheating, Engine .214
.......
Owner Maintenance Checks .168
..............
Panel Brightness Control .62
........................
Park Gear Position .152
...........................................
Parking .157
.................................
Parking Brake .81
Parking Brake and Brake .................
System Indicator .53,218
........................
Parking Lights .61,187
..
Parking Over Things that Burn .157
....................
Playing the Radio .93,106
..........................
Playing a Disc .97,113
..........
Playing a Disc Changer .99,115
.......................
Playing a Tape .102,110
.............................
PGM-FI System .236
..........................
Power Door Locks .67
.................
Power Socket Locations .83
..............................
Power Windows .77
.........
Pregnancy, Using Seat Belts .17 .........
Protecting Adults and Teens .13
...
Additional Safety Precautions .18
.....
Advice f or Pregnant Women .17
........................
Protecting Children .28
.....................
General Guidelines .28
...........................
Protecting Inf ants .32
.............
Protecting Small Children .33
...................
Radiator Overheating .214
.............
Radio/Disc Sound System .92
...........................
Readiness Codes .238
..
Rear Lights, Bulb Replacement .189
............................
Rear Seat Access .72
..........................
Rear Seat, Folding .73
............................
Rear View Mirror .79
.................
Rear Window Def ogger .62
....................
Rear Window Washer .60
.......................
Rear Window Wiper .60
...............
Reclining the Seat Backs .71
.......
Recommended Shif t Speeds .149
.......................
Reminder Indicators .52
.......................
Remote Transmitter .69
Replacement Inf ormation ..............
Dust and Pollen Filter .191
Index
N
O P
R
VI