change time Acura TL 2000 3.2 Owner's Manual
[x] Cancel search | Manufacturer: ACURA, Model Year: 2000, Model line: TL, Model: Acura TL 2000Pages: 311, PDF Size: 3.05 MB
Page 2 of 311
Owner's Identification
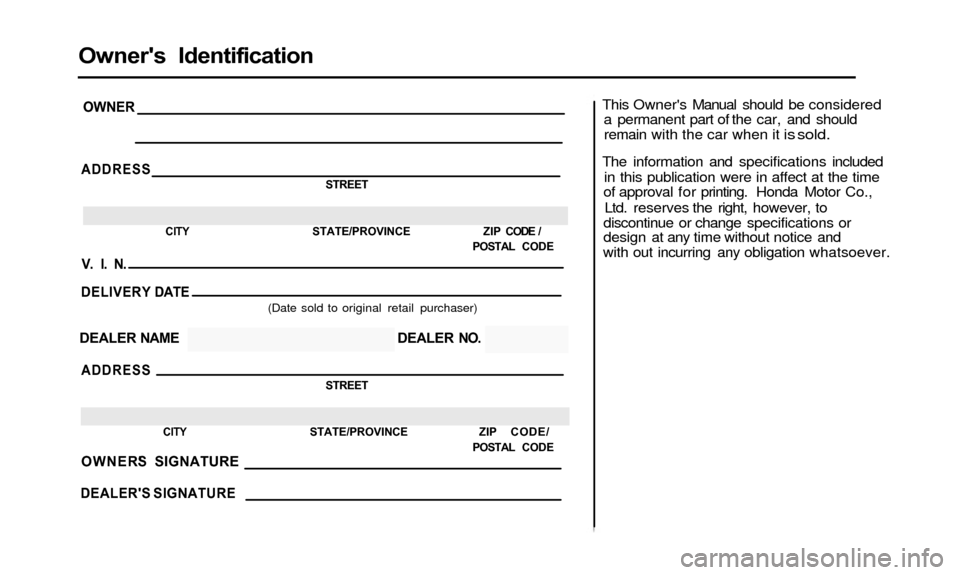
This Owner's Manual should be considereda permanent part of the car, and shouldremain with the car when it is sold.
The information and specifications included
in this publication were in affect at the time
of approval for printing. Honda Motor Co.,
Ltd. reserves the right, however, to
discontinue or change specifications or
design at any time without notice and
with out incurring any obligation whatsoever.
OWNER
ADDRESSSTREET
CITY STATE/PROVINCE ZIP CODE /POSTAL CODE
V. I. N.
DELIVERY DATE(Date sold to original retail purchaser)
DEALER NAME DEALER NO.
ADDRESSSTREET
CITY STATE/PROVINCE ZIP CODE/
POSTAL CODEOWNER'S SIGNATURE
DEALER'S SIGNATURE
Page 59 of 311
Indicator Lights
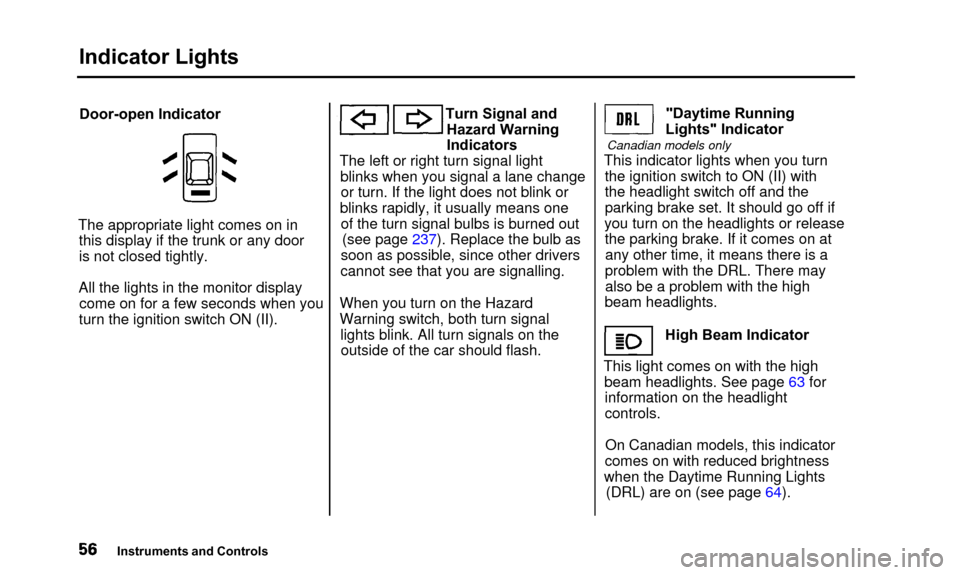
Door-open Indicator
The appropriate light comes on in this display if the trunk or any door
is not closed tightly.
All the lights in the monitor display come on for a few seconds when you
turn the ignition switch ON (II). Turn Signal and
Hazard Warning
Indicators
The left or right turn signal light blinks when you signal a lane changeor turn. If the light does not blink or
blinks rapidly, it usually means one of the turn signal bulbs is burned out (see page 237). Replace the bulb as
soon as possible, since other drivers
cannot see that you are signalling.
When you turn on the Hazard
Warning switch, both turn signal lights blink. All turn signals on theoutside of the car should flash. "Daytime Running
Lights" Indicator
Canadian models only
This indicator lights when you turn the ignition switch to ON (II) with
the headlight switch off and the
parking brake set. It should go off if
you turn on the headlights or release the parking brake. If it comes on atany other time, it means there is a
problem with the DRL. There may also be a problem with the high
beam headlights.
High Beam Indicator
This light comes on with the high beam headlights. See page 63 forinformation on the headlight
controls.
On Canadian models, this indicator
comes on with reduced brightness
when the Daytime Running Lights (DRL) are on (see page 64).
Instruments and Controls
Page 69 of 311
Controls Near the Steering Wheel
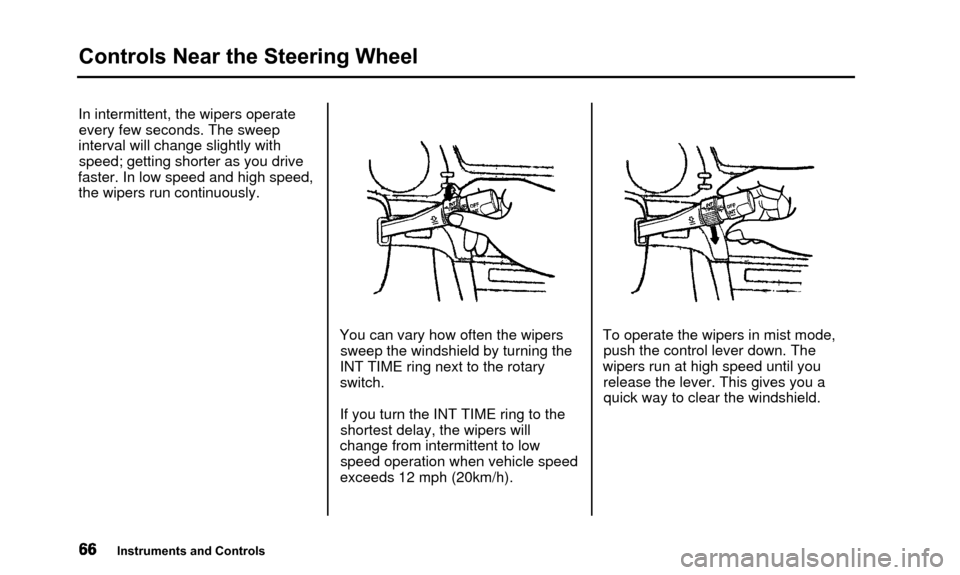
In intermittent, the wipers operateevery few seconds. The sweep
interval will change slightly with speed; getting shorter as you drive
faster. In low speed and high speed, the wipers run continuously.
You can vary how often the wiperssweep the windshield by turning the
INT TIME ring next to the rotary
switch.
If you turn the INT TIME ring to the shortest delay, the wipers will
change from intermittent to low speed operation when vehicle speed
exceeds 12 mph (20km/h). To operate the wipers in mist mode,
push the control lever down. The
wipers run at high speed until you release the lever. This gives you aquick way to clear the windshield.
Instruments and Controls
Page 78 of 311

Keys and Locks
As required by the FCC:
This device complies with Part 15 of the
FCC rules. Operation is subject to the
following two conditions: (1) This device
may not cause harmful interference, and
(2) this device must accept any
interference received, including
interference that may cause undesired
operation.
Changes or modifications not expressly
approved by the party responsible for
compliance could void the user's
authority to operate the equipment.
This device complies with Industry
Canada Standard RSS-210.
Operation is subject to the following two
conditions: (1) this device may not cause
interference, and (2) this device must
accept any interference that may cause
undesired operation of the device.Ignition Switch
The ignition switch is on the right side of the steering column. It has
four positions:
• LOCK (0)
• ACCESSORY (I)
• ON (II)
• START (IIP LOCK (0) - You can insert or
remove the key only in this position.
To switch from ACCESSORY to LOCK, you must push the key inslightly as you turn it. The shift lever
must also be in Park. The anti-theft
lock will lock the steering column
when you remove the key.
If the front wheels are turned, the
anti-theft lock may sometimes make
it difficult to turn the key from
LOCK to ACCESSORY. Firmly turn
the steering wheel to the left or to
the right as you turn the key.
CONTINUED
Instruments and Controls
Page 135 of 311
Audio System
If you turn the system off while a CD
is playing, either with the PWR/VOL
knob or by turning off the ignition, the disc will stay in the drive. When
you turn the system back on, the CD
will begin playing where it left off.
Press the eject button to remove the
disc from the drive.
If you eject the disc, but do not
remove it from the slot, the system
will automatically reload the disc after 15 seconds and put the CD
player in pause mode. To begin
playing the disc, press the CD button.
You can use the SKIP buttons while a disc is playing to select passages
and change tracks.
To move rapidly within a track, press and hold an appropriate SKIP button.
Press the button to move forward,
or the button to move backward.
Release the button when the system
reaches the point you want.
Each time you press the button
and release it, the system skips
forward to the beginning of the next
track. Press and release the
button to skip backward to the
beginning of the current track. Press and release it again to skip to the
beginning of the previous track. REPEAT - To activate the Repeat
feature, press and release the Repeat
button. You will see REPEAT in the display. The system continuously
replays the current track. Press the
Repeat button again to turn it off.
RANDOM PLAY - This feature,
when activated, plays the tracks on the CD in random order, rather thanin the order they are recorded on theCD. To activate Random Play, press
the RDM button. You will see RDM in the display. The system will then
select and play tracks randomly.
This continues until you deactivate Random Play by pressing the RDM
button again.
Comfort and Convenience Features
Page 144 of 311
Audio System
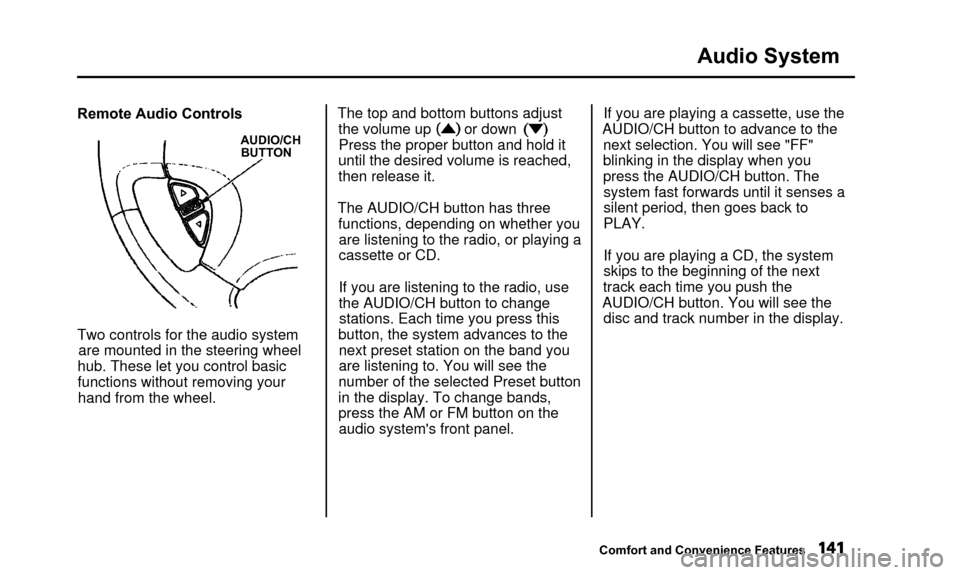
Remote Audio Controls
AUDIO/CHBUTTON
Two controls for the audio system
are mounted in the steering wheel
hub. These let you control basic
functions without removing your hand from the wheel. The top and bottom buttons adjust
the volume up or down
Press the proper button and hold it
until the desired volume is reached,
then release it.
The AUDIO/CH button has three functions, depending on whether youare listening to the radio, or playing a
cassette or CD.
If you are listening to the radio, use
the AUDIO/CH button to changestations. Each time you press this
button, the system advances to the next preset station on the band youare listening to. You will see the
number of the selected Preset button
in the display. To change bands,
press the AM or FM button on the audio system's front panel. If you are playing a cassette, use the
AUDIO/CH button to advance to the next selection. You will see "FF"blinking in the display when you
press the AUDIO/CH button. The system fast forwards until it senses a
silent period, then goes back to
PLAY.
If you are playing a CD, the system
skips to the beginning of the next
track each time you push the
AUDIO/CH button. You will see the disc and track number in the display.
Comfort and Convenience Features
Page 151 of 311
Service Station Procedures
4. Stop filling the tank after the fuelnozzle automatically clicks off. Do
not try to "top off' the tank, leavesome room for the fuel to expand
with temperature changes.
Your car has an on-board refueling vapor recovery system to helpkeep fuel vapors from going into
the atmosphere. If the fuel pump
keeps clicking off even though the
tank is not full, there may be aproblem with this system. Consult
your dealer. 5. Screw the fuel fill cap back on,
tighten it until it clicks several
times. If you do not properly
tighten the cap, the MalfunctionIndicator Lamp may come on (see
page 54).
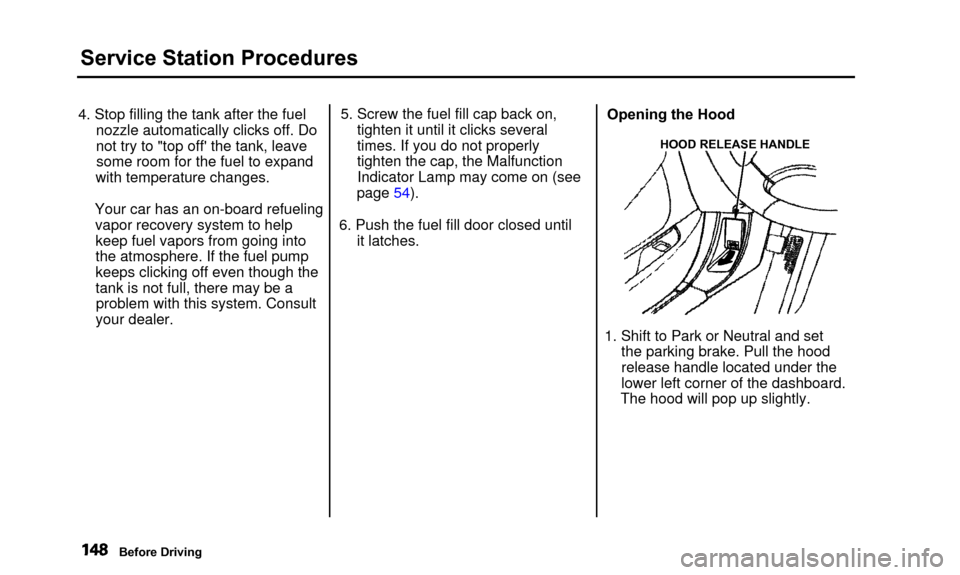
6. Push the fuel fill door closed until it latches. Opening the Hood
HOOD RELEASE HANDLE
1. Shift to Park or Neutral and set
the parking brake. Pull the hood
release handle located under the
lower left corner of the dashboard.
The hood will pop up slightly.
Before Driving
Page 177 of 311

The Braking System
Important Safety Reminders
ABS does not reduce the time or distance it takes to stop the
vehicle, it only helps with steering control during braking. You should
always maintain a safe following
distance from other vehicles.
ABS will not prevent a skid that results from changing direction
abruptly, such as trying to take a
corner too fast or making a sudden
lane change. Always drive at a safe,prudent speed for the road and
weather conditions. ABS cannot prevent a loss of
stability. Always steer moderately
when you are braking hard. Severe or sharp steering wheel movement
can still cause your car to veer into oncoming traffic or off the road.
A vehicle with ABS may require a longer distance to stop on loose or
uneven surfaces, such as gravel or
snow, than a vehicle without anti-
lock. Slow down and allow a greater
distance between vehicles under
those conditions.ABS Indicator
ABS INDICATOR
The ABS is self-checking. If anythinggoes wrong, the ABS indicator on
the instrument panel comes on (seepage 55). This means the anti-lock
function of the braking system has
shut down. The brakes still work like
a conventional system without anti-
lock, providing normal stopping
ability. You should have the dealer inspect your car as soon as possible.
Driving
Page 184 of 311

Towing a Trailer
• Gross Vehicle Weight Rating(GVWR):
The total weight of the vehicle, all occupants, all cargo, and the
tongue load must not exceed: 4,430 lbs (2,010 kg)
• Gross Axle Weight Rating
(GAWR):
The total weight of the vehicle, all occupants, all cargo, and the
tongue load must not exceed:
2,425 lbs (1,100 kg)
on the front axle
2,050 lbs (930 kg)
on the rear axle Exceeding load limits or
improperly loading your vehicle
and trailer can cause a crash in
which you can be seriously injured or killed.
Check the loading of your
vehicle and trailer carefully before starting to drive. Checking Loads
The best way to confirm that vehicle and trailer weights are within limits
is to have them checked at a publicscale.
Using a suitable scale or a special
tongue load gauge, check the tongue
load the first time you set up a towing combination (a fully-loaded
vehicle and trailer), then recheck the tongue load whenever the conditions
change.
Driving
Page 206 of 311

Engine Oil
Synthetic Oil
You may use a synthetic motor oil if it meets the same requirements
given for conventional motor oil:
energy conserving, a service
classification of SJ, and the proper
weight as shown on the chart. When using synthetic oil, you must follow
the oil and filter change intervals
given in the maintenance schedule. Additives
Your Acura does not need any oil additives. Purchasing additives for
the engine or transmission will not
increase your car's performance or
longevity. It only increases the cost of operating your car. Changing the Oil and Filter
Always change the oil and filter according to the time and distance (miles/kilometers) recommenda-
tions in the maintenance schedule.
The oil and filter collect contami- nants that can damage your engine if
they are not removed regularly.
Changing the oil and filter requires
special tools and access from
underneath the car. The car should
be raised on a service station-type
hydraulic lift for this service. Unless
you have the knowledge and proper equipment, you should have this
maintenance done by a skilledmechanic.
1. Run the engine until it reaches normal operating temperature,
then shut it off.
CONTINUED
Maintenance