instrument panel Acura TL 2002 3.2 User Guide
[x] Cancel search | Manufacturer: ACURA, Model Year: 2002, Model line: TL, Model: Acura TL 2002Pages: 339, PDF Size: 4.71 MB
Page 72 of 339
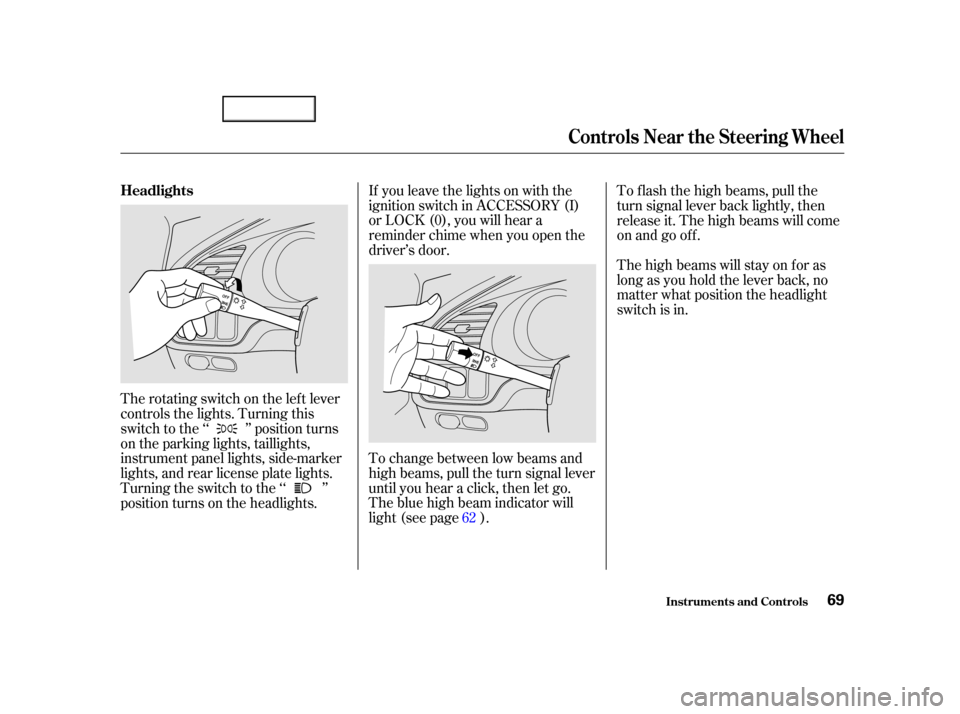
If you leave the lights on with the
ignition switch in ACCESSORY (I)
or LOCK (0), you will hear a
reminder chime when you open the
driver’s door.
To change between low beams and
high beams, pull the turn signal lever
until you hear a click, then let go.
The blue high beam indicator will
light (see page ).To f lash the high beams, pull the
turn signal lever back lightly, then
release it. The high beams will come
on and go off.
The high beams will stay on f or as
long as you hold the lever back, no
matter what position the headlight
switch is in.
The rotating switch on the lef t lever
controls the lights. Turning this
switch to the ‘‘ ’’ position turns
on the parking lights, taillights,
instrument panel lights, side-marker
lights, and rear license plate lights.
Turning the switch to the ‘‘ ’’
position turns on the headlights. 62
Headlights
Controls Near the Steering Wheel
Inst rument s and Cont rols69
00/12/25 14:05:10 31S0K630_072
Page 73 of 339
The lights will turn on again when
you unlock or open the driver’s door.
If you unlock the door, but do not
open it within 15 seconds, the lights
will go off. With the driver’s door
open, you will hear a lights-on
reminder chime.
With the headlight switch off, the
high beam headlights come on with
reduced brightness when you turn
the ignition switch to ON (II) and
release the parking brake. They
remain on until you turn the ignition
of f , even if you set the parking brake.
The headlights revert to normal
operation when you turn them on
with the switch.
The Automatic Lighting Of f f eature
turns of f the headlights, and all other
exterior lights and the instrument
panel lights within 15 seconds of
removing the key from the ignition
switch and closing the driver’s door.
This feature activates if you leave
the headlight switch in the ‘‘ ’’
or ‘‘ ’’ position, remove the key,
open, then close the driver’s door.
If you remove the key f rom the
ignition switch with the headlight
switch on, but do not open the door
and get out, the lights will turn of f
af ter ten minutes.
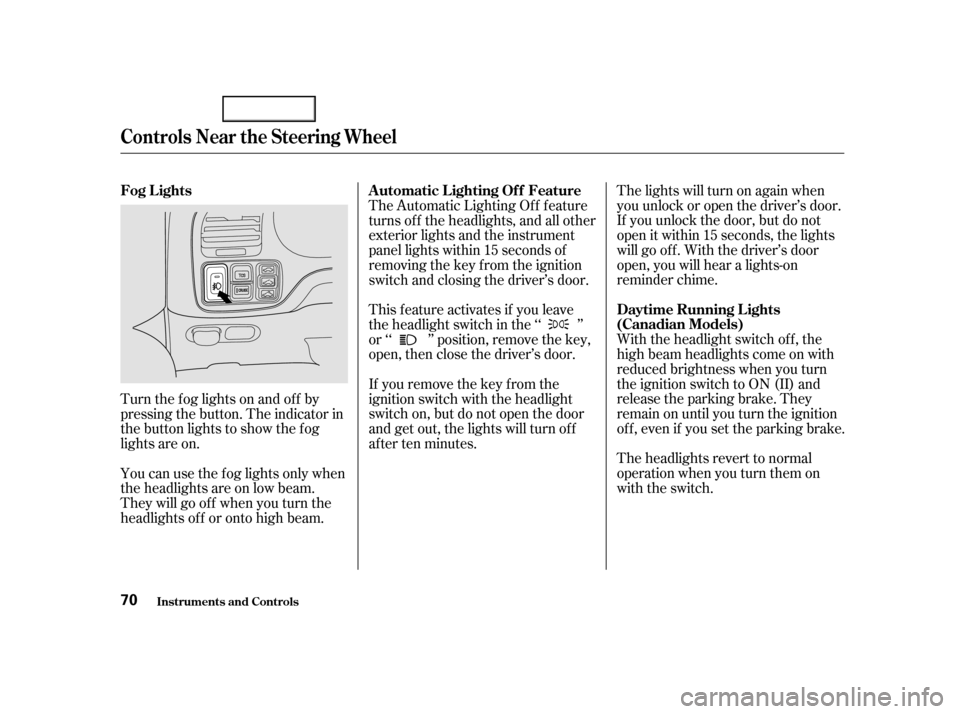
Turn the f og lights on and of f by
pressing the button. The indicator in
the button lights to show the f og
lights are on.
You can use the f og lights only when
the headlights are on low beam.
They will go of f when you turn the
headlights of f or onto high beam.
Controls Near the Steering Wheel
Inst rument s and Cont rols
Daytime Running L ights
(Canadian Models)
Automatic Lighting Of f Feature
Fog Lights
70
00/12/25 14:05:24 31S0K630_073
Page 74 of 339
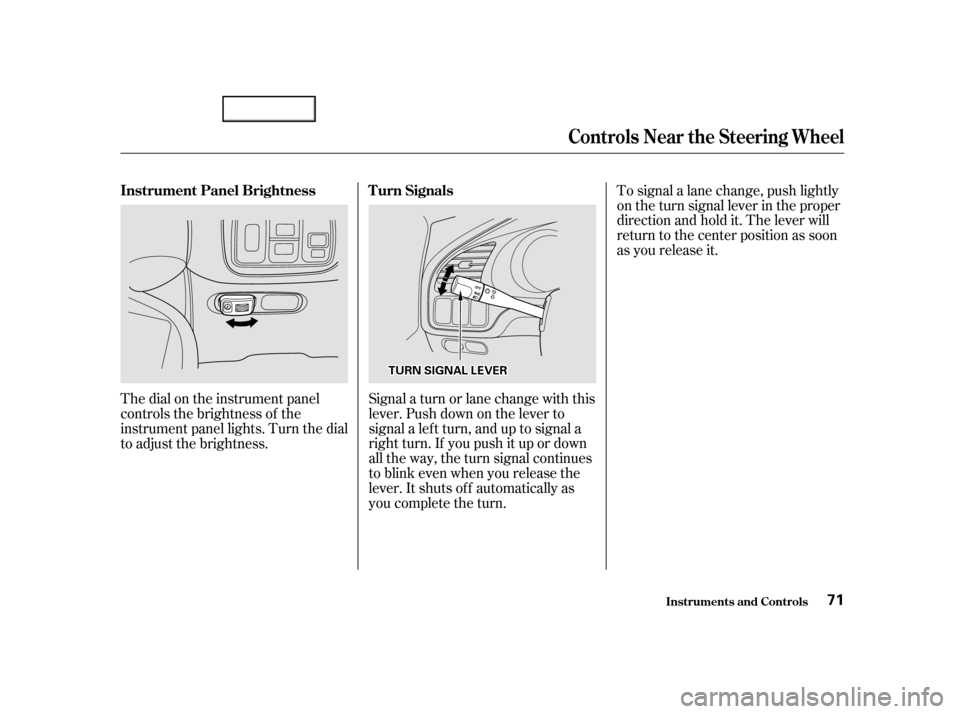
To signal a lane change, push lightly
on the turn signal lever in the proper
direction and hold it. The lever will
return to the center position as soon
as you release it.
Signal a turn or lane change with this
lever. Push down on the lever to
signal a lef t turn, and up to signal a
right turn. If you push it up or down
all the way, the turn signal continues
to blink even when you release the
lever. It shuts off automatically as
you complete the turn.
The dial on the instrument panel
controls the brightness of the
instrument panel lights. Turn the dial
to adjust the brightness.
Controls Near the Steering Wheel
Inst rument s and Cont rols
Turn Signals
Instrument Panel Brightness
71
T T U
UR RNN S
SIIGGN NAAL
L L
LEE V
V E
ER
R
00/12/25 14:05:33 31S0K630_074
Page 76 of 339
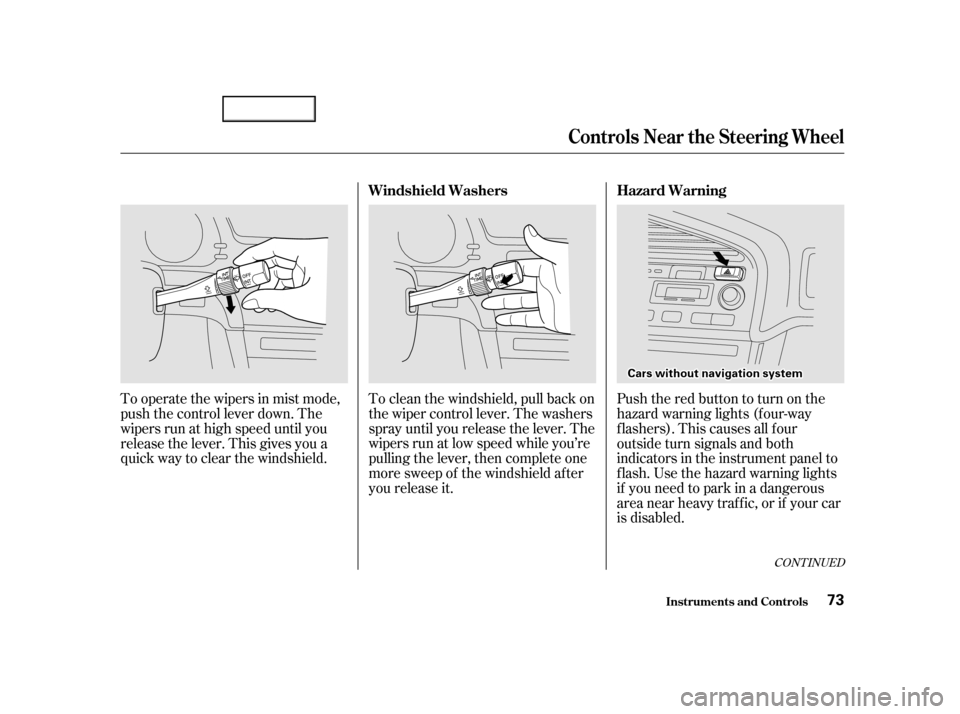
To clean the windshield, pull back on
the wiper control lever. The washers
spray until you release the lever. The
wipers run at low speed while you’re
pulling the lever, then complete one
more sweep of the windshield af ter
you release it.
To operate the wipers in mist mode,
push the control lever down. The
wipers run at high speed until you
release the lever. This gives you a
quick way to clear the windshield.
Pushtheredbuttontoturnonthe
hazard warning lights (f our-way
flashers). This causes all four
outside turn signals and both
indicators in the instrument panel to
f lash. Use the hazard warning lights
if you need to park in a dangerous
area near heavy traffic, or if your car
is disabled.
CONT INUED
Controls Near the Steering Wheel
Inst rument s and Cont rols
Hazard Warning
Windshield Washers
73
C Ca arrss w
wi itth h o
ou
ut
t n
na
avviigg a
attiioo n
n s
syys stteem m
00/12/25 14:05:51 31S0K630_076
Page 78 of 339
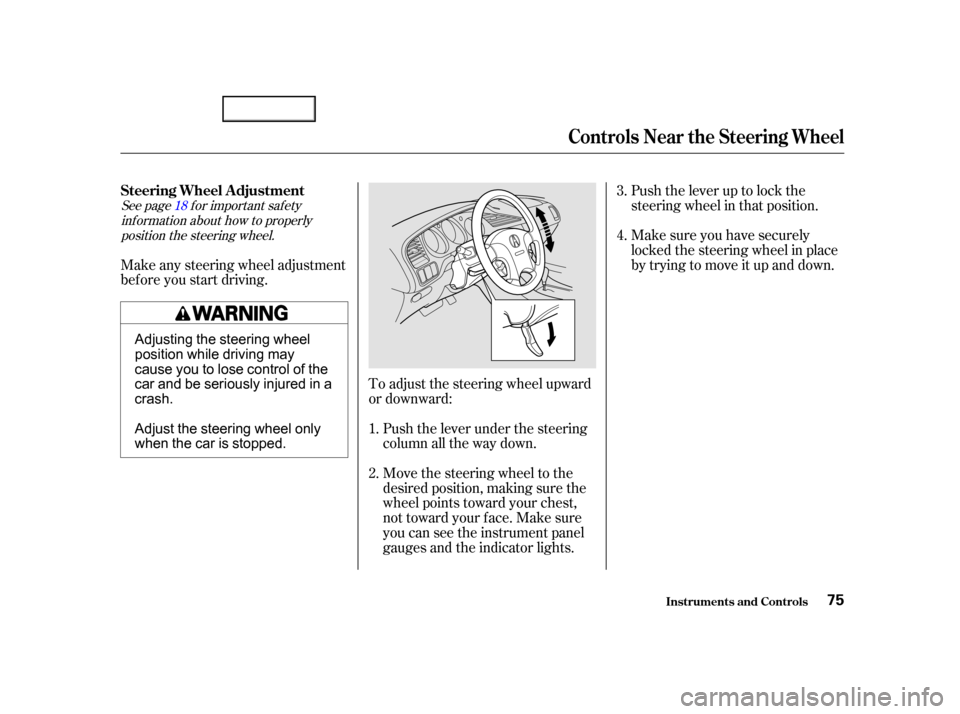
See page f or important saf etyinf ormation about how to properly position the steering wheel. 18
Make any steering wheel adjustment
bef ore you start driving.
To adjust the steering wheel upward
or downward:Push the lever under the steering
column all the way down.
Move the steering wheel to the
desired position, making sure the
wheel points toward your chest,
not toward your f ace. Make sure
you can see the instrument panel
gauges and the indicator lights. Push the lever up to lock the
steering wheel in that position.
Make sure you have securely
locked the steering wheel in place
by trying to move it up and down.
1.
2. 3.
4.
Steering Wheel A djustment
Controls Near the Steering Wheel
Inst rument s and Cont rols75
Adjusting the steering wheel
position while driving may
cause you to lose control of the
car and be seriously injured in a
crash.
Adjust the steering wheel only
when the car is stopped.
00/12/25 14:06:12 31S0K630_078
Page 90 of 339
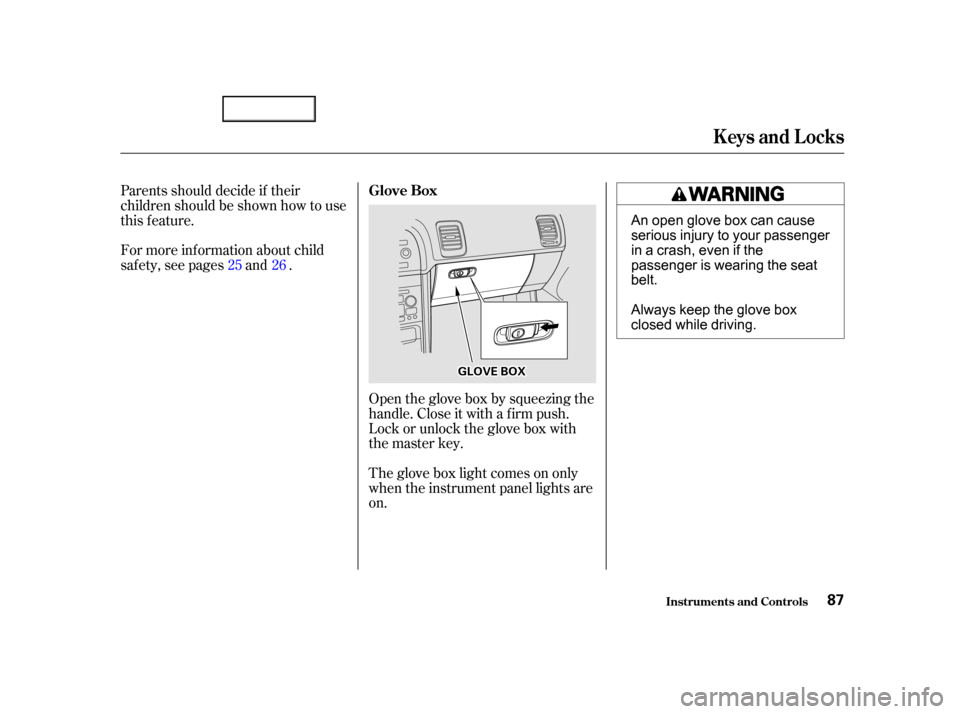
Open the glove box by squeezing the
handle. Close it with a f irm push.
Lock or unlock the glove box with
the master key.
The glove box light comes on only
when the instrument panel lights are
on.
Parents should decide if their
children should be shown how to use
this feature.
For more inf ormation about child
saf ety, see pages and .
25 26 Glove Box
Keys and Locks
Inst rument s and Cont rols87
G GL
LO
OV VE
E B
BOOX X
An open glove box can cause
serious injury to your passenger
inacrash,evenifthe
passenger is wearing the seat
belt.
Always keep the glove box
closed while driving.
00/12/25 14:08:23 31S0K630_090
Page 107 of 339
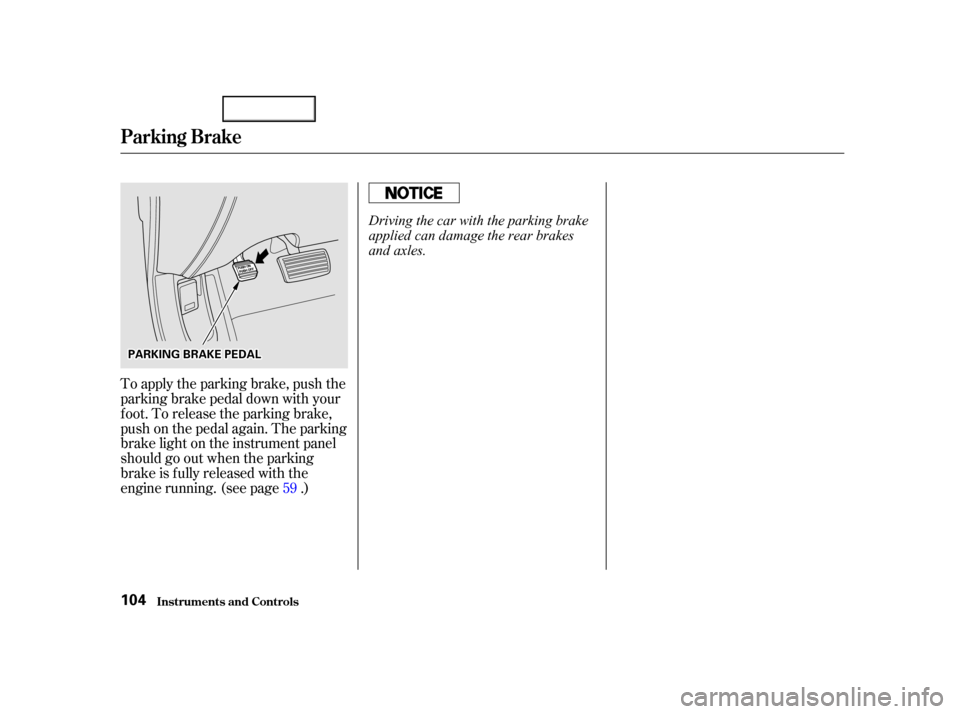
To apply the parking brake, push the
parking brake pedal down with your
f oot. To release the parking brake,
push on the pedal again. The parking
brake light on the instrument panel
should go out when the parking
brake is f ully released with the
engine running. (see page .)59
Inst rument s and Cont rols
Parking Brake
104
P PA
A R
RKKIINNG G B
BRRAA K
KEE P
PE
ED
D A
AL
L
Driving the car with the parking brake
applied can damage the rear brakes
and axles.
00/12/25 14:10:57 31S0K630_107
Page 138 of 339
CONT INUED
Your Acura’s radio can receive the
complete AM and FM bands.
Those bands cover these f requen-
cies:
AM band:
530 to 1,710 kilohertz
FM band:
87.7 to 107.9 megahertz
Radio stations on the AM band are
assigned f requencies at least ten
kilohertz apart (530, 540, 550).
Stations on the FM band are
assigned f requencies at least 0.2
megahertz apart (87.9, 88.1, 88.3).Stations must use these exact
f requencies. It is f airly common f or
stations to round-of f the f requency in
their advertising, so your radio could
display a f requency of 100.9 even
though the announcer may identif y
the station as ‘‘FM101.’’
How well your Acura’s radio receives
stations is dependent on many
f actors, such as the distance f rom
the station’s transmitter, nearby
large objects, and atmospheric
conditions.
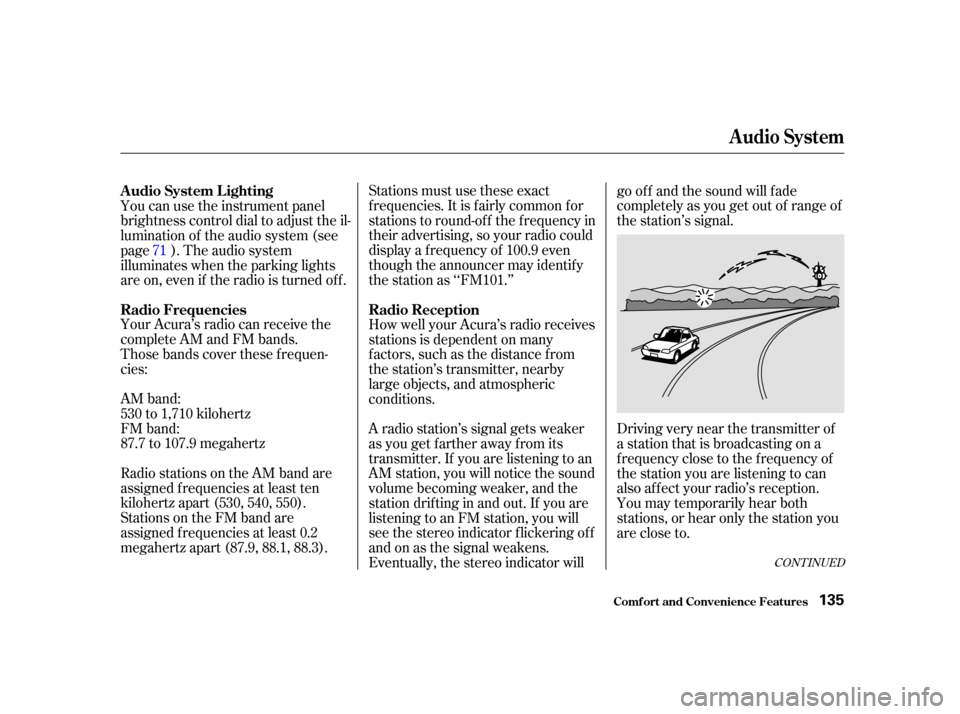
A radio station’s signal gets weaker
as you get f arther away f rom its
transmitter. If you are listening to an
AM station, you will notice the sound
volume becoming weaker, and the
stationdriftinginandout.If youare
listening to an FM station, you will
see the stereo indicator f lickering of f
and on as the signal weakens.
Eventually, the stereo indicator willgo of f and the sound will f ade
completely as you get out of range of
the station’s signal.
Driving very near the transmitter of
a station that is broadcasting on a
f requency close to the f requency of
the station you are listening to can
also af f ect your radio’s reception.
You may temporarily hear both
stations,orhearonlythestationyou
are close to.
You can use the instrument panel
brightness control dial to adjust the il-
lumination of the audio system (see
page ). The audio system
illuminates when the parking lights
are on, even if the radio is turned of f .
71
A udio System L ighting
Radio Frequencies Radio Reception
Audio System
Comf ort and Convenience Feat ures135
00/12/25 14:15:35 31S0K630_138
Page 155 of 339
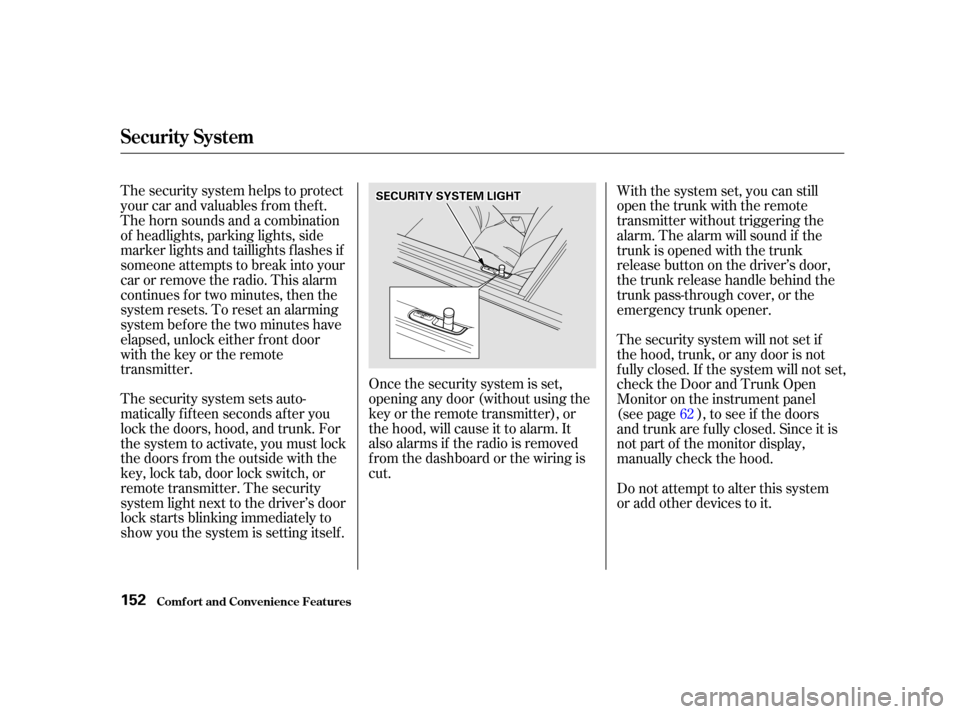
Once the security system is set,
opening any door (without using the
key or the remote transmitter), or
the hood, will cause it to alarm. It
also alarms if the radio is removed
f rom the dashboard or the wiring is
cut.
The security system sets auto-
matically fifteen seconds after you
lock the doors, hood, and trunk. For
the system to activate, you must lock
the doors f rom the outside with the
key, lock tab, door lock switch, or
remote transmitter. The security
system light next to the driver’s door
lock starts blinking immediately to
show you the system is setting itself . The security system helps to protect
your car and valuables f rom thef t.
The horn sounds and a combination
of headlights, parking lights, side
marker lights and taillights f lashes if
someone attempts to break into your
carorremovetheradio.Thisalarm
continues f or two minutes, then the
system resets. To reset an alarming
system bef ore the two minutes have
elapsed, unlock either f ront door
with the key or the remote
transmitter. With the system set, you can still
open the trunk with the remote
transmitter without triggering the
alarm. The alarm will sound if the
trunk is opened with the trunk
releasebuttononthedriver’sdoor,
the trunk release handle behind the
trunk pass-through cover, or the
emergency trunk opener.
The security system will not set if
the hood, trunk, or any door is not
f ully closed. If the system will not set,
check the Door and Trunk Open
Monitor on the instrument panel
(see page ), to see if the doors
and trunk are f ully closed. Since it is
notpartofthemonitordisplay,
manually check the hood.
Do not attempt to alter this system
or add other devices to it.
62
Security System
Comf ort and Convenience Feat ures152
S SE
EC
CU UR RIITT Y
Y S
SYYSSTTE
EM
M L
LIIGGH HT
T
00/12/25 14:18:20 31S0K630_155
Page 157 of 339
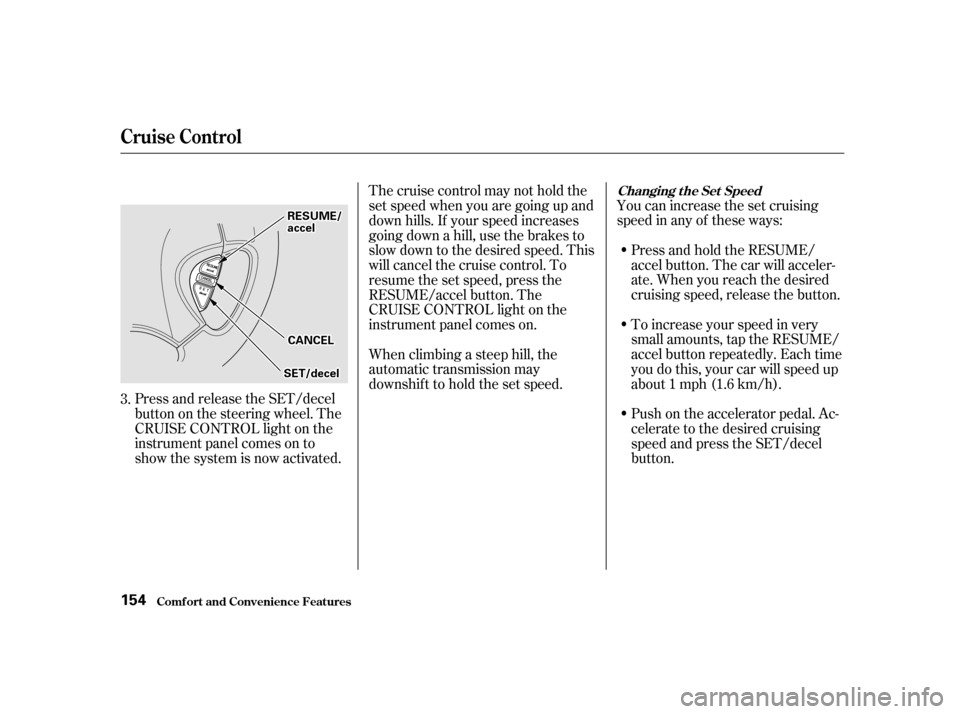
Press and release the SET/decel
buttononthesteeringwheel.The
CRUISE CONTROL light on the
instrument panel comes on to
show the system is now activated.You can increase the set cruising
speed in any of these ways:
Press and hold the RESUME/
accel button. The car will acceler-
ate. When you reach the desired
cruising speed, release the button.
To increase your speed in very
small amounts, tap the RESUME/
accel button repeatedly. Each time
you do this, your car will speed up
about 1 mph (1.6 km/h).
Push on the accelerator pedal. Ac-
celerate to the desired cruising
speed and press the SET/decel
button.
Thecruisecontrolmaynotholdthe
set speed when you are going up and
down hills. If your speed increases
going down a hill, use the brakes to
slow down to the desired speed. This
will cancel the cruise control. To
resume the set speed, press the
RESUME/accel button. The
CRUISE CONTROL light on the
instrument panel comes on.
When climbing a steep hill, the
automatic transmission may
downshif t to hold the set speed.
3.
Changing t he Set Speed
Cruise Control
Comf ort and Convenience Feat ures154
R RE ES
SU UM M E
E/
/
a
ac ccceel l
S
SE ET
T/
/d
d e
ecceel l
C
CA
A N
NC CEEL
L
00/12/25 14:18:40 31S0K630_157