lights Acura TL 2010 Navigation Manual
[x] Cancel search | Manufacturer: ACURA, Model Year: 2010, Model line: TL, Model: Acura TL 2010Pages: 174, PDF Size: 15.4 MB
Page 13 of 174

Getting Started
Navigation System13
Voice Control Basics
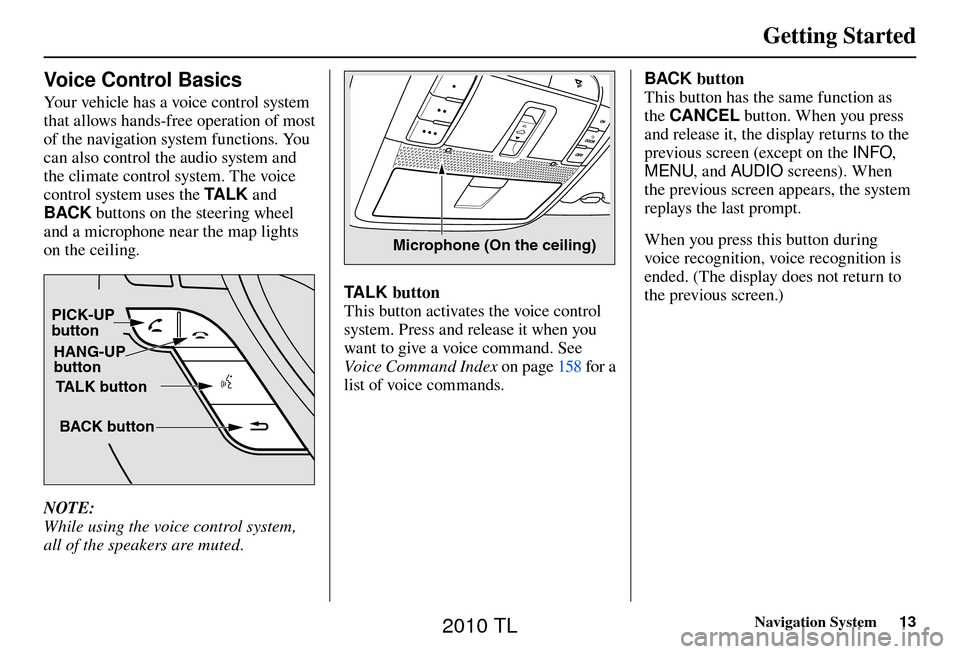
Your vehicle has a voice control system
that allows hands-free operation of most
of the navigation system functions. You
can also control the audio system and
the climate control system. The voice
control system uses the TA L K and
BACK buttons on the steering wheel
and a microphone near the map lights
on the ceiling.
TALK button
BACK button
PICK-UP
button
HANG-UP
button
NOTE:
While using the voice control system,
all of the speakers are muted.
Microphone (On the ceiling)
TALK button
This button activates the voice control
system. Press and release it when you
want to give a voice command. See
Voice Command Index on page 158 for a
list of voice commands. BACK button
This button has the same function as
the
CANCEL button. When you press
and release it, the display returns to the
previous screen (except on the INFO,
MENU , and AUDIO screens). When
the previous screen appears, the system
replays the last prompt.
When you press this button during
voice recognition, voice recognition is
ended. (The display does not return to
the previous screen.)
2010 TL
Page 102 of 174

System Setup
102 Navigation System
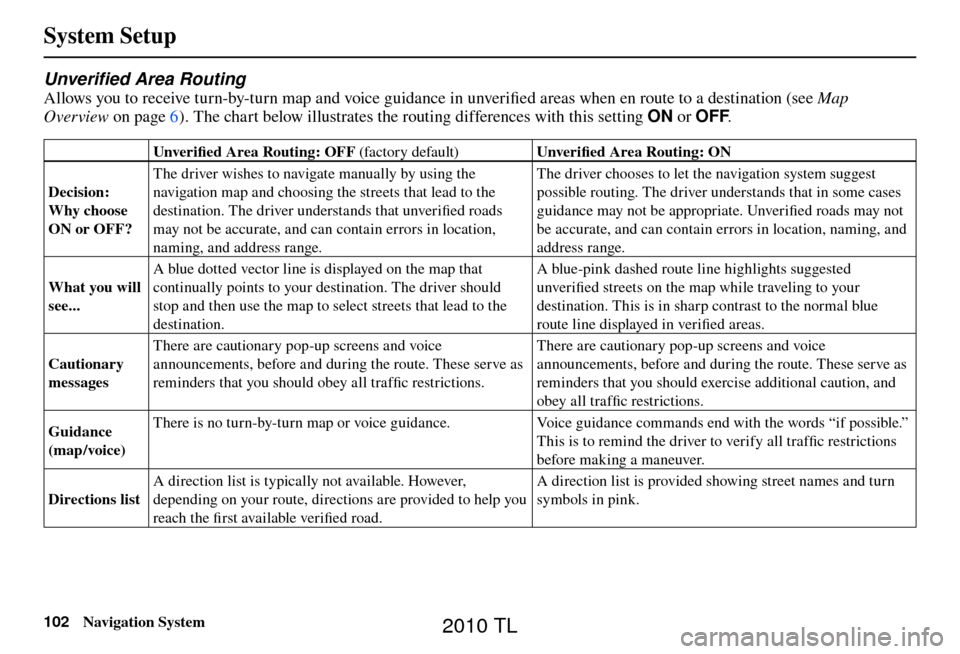
Unverifi ed Area Routing
Allows you to receive turn-by-turn map and voice guidance in unverifi ed areas when en route to a destination (see Map
Overview on page
6
). The chart below illustrates the routing differences with this setting ON or OFF.
Unverifi ed Area Routing: OFF (factor y default) Unverifi ed Area Routing: ON
Decision:
Why choose
ON or OFF? The driver wishes to navigate manually by using the
navigation map and choosing the streets that lead to the
destination. The driver understands that unverifi
ed roads
may not be accurate, and can contain errors in location,
naming, and address range. The driver chooses to let the navigation system suggest
possible routing. The driver understands that in some cases
guidance may not be appropriate. Unverifi
ed roads may not
be accurate, and can contain errors in location, naming, and
address range.
What you will
see... A blue dotted vector line is displayed on the map that
continually points to your destination. The driver should
stop and then use the map to select streets that lead to the
destination. A blue-pink dashed route line highlights suggested
unverifi
ed streets on the map while traveling to your
destination. This is in sharp contrast to the normal blue
route line displayed in verifi ed areas.
Cautionary
messages There are cautionary pop-up screens and voice
announcements, before and during the route. These serve as
reminders that you should obey all traffi
c restrictions. There are cautionary pop-up screens and voice
announcements, before and during the route. These serve as
reminders that you should exercise additional caution, and
obey all traffi
c restrictions.
Guidance
(map /voice) There is no turn-by-turn map or voice guidance.
Voice guidance commands end with the words “if possible.”
This is to remind the driver to verify all traffi c restrictions
before making a maneuver.
Directions list A direction list is typically not available. However,
depending on your route, directions are provided to help you
reach the fi
rst available verifi ed road. A direction list is provided showing street names and turn
symbols in pink.
2010 TL
Page 115 of 174

System Setup
Navigation System115
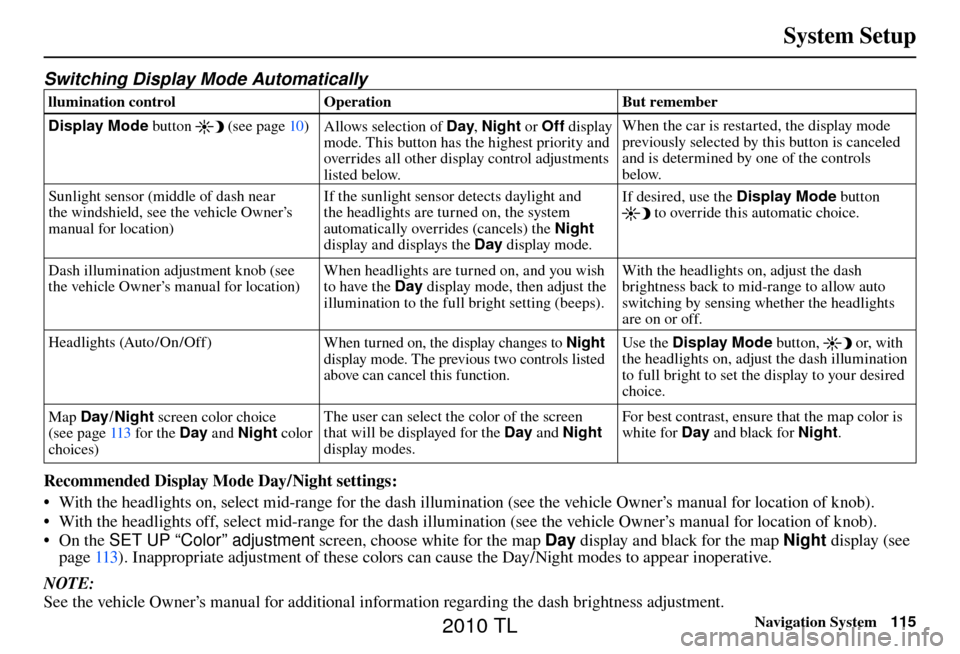
Switching Display Mode Automatically
llumination control Operation But remember
Display Mode button
(see page 10 )
Allows selection of Day , Night or Off display
mode. This button has the highest priority and
overrides all other display control adjustments
listed below. When the car is restarted, the display mode
previously selected by this button is canceled
and is determined by one of the controls
below.
Sunlight sensor (middle of dash near
the windshield, see the vehicle Owner’s
manual for location) If the sunlight sensor detects daylight and
the headlights are turned on, the system
automatically overrides (cancels) the
Night
display and displays the Day display mode. If desired, use the
Display Mode button
to override this automatic choice.
Dash illumination adjustment knob (see
the vehicle Owner’s manual for location) When headlights are turned on, and you wish
to have the Day
display mode, then adjust the
illumination to the full bright setting (beeps). With the headlights on, adjust the dash
brightness back to mid-range to allow auto
switching by sensing whether the headlights
are on or off.
Headlights (Auto /On /Off ) When turned on, the display changes to Night
display mode. The previous two controls listed
above can cancel this function. Use the Display Mode
button,
or, with
the headlights on, adjust the dash illumination
to full bright to set the display to your desired
choice.
Map Day/ Night screen color choice
(see page 113 for the Day and Night color
choices) The user can select the color of the screen
that will be displayed for the Day
and Night
display modes. For best contrast, ensure that the map color is
white for Day
and black for Night .
Recommended Display Mode Day/Night settings:
• With the headlights on, select mid-range for the dash illumination (see the vehicle Owner’s manual for location of knob).
• With the headlights off, select mid-range for the dash illumination (see the vehicle Owner’s manual for location of knob).
• On the SET UP “Color” adjustment screen, choose white for the map Day display and black for the map Night display (see
page 113 ). Inappropriate adjustment of these colors can cause the Day/Night modes to appear inoperative.
NOTE:
See the vehicle Owner’s manual for additional information regarding the dash brightness adjustment.
2010 TL
Page 156 of 174

Glossary
156 Navigation System
Initialization - This refers to the period
needed to reacquire the GPS satellite
orbital information whenever the
navigation system power has been
disconnected. This can take 10 to 45
minutes with the vehicle out in an
open area.
LCD - Liquid Crystal Display. The
navigation screen.
Map Matching - The received GPS information allows the navigation
system to position the vehicle on the
map. Map matching has occurred
if the map screen is displaying the
current street name in the bottom-
shaded area.
Mic -Abbreviation for the microphone
used for receiving voice commands.
It is located near the map lights in the
ceiling.
MW - Maneuver Window. While en
route to a destination, this window
displays information about the next
maneuver. Navi
- Abbreviation for the navigation
system.
North Pointer - The map symbol
showing the map orientation. See
page 62 .
Off road - This occurs when the user
leaves mapped roads. Off-road
tracking dots (“breadcrumbs”) are
displayed if the option is enabled in
the SETUP screen. The user can use
them to return to a mapped road. The
bottom of the navigation screen will
say, “Not on a digitized road.”
Outlying Areas - These are rural areas
that typically have only their main
roads mapped. All other roads are
shown in purple for reference only,
since they have not been verifi ed.
PIN - Personal Identifi cation Number.
A 4-digit number created by the
client to protect personal information. POI
- Point of Interest. These are the
businesses, schools, etc. found under
Place category or Place Name
on the MENU screen ( Dest. MENU
1 ). See page 55 .
Polygon - Colored areas on the map
screen denoting parks, schools, etc.
See Map Screen “features” for a list
of the assigned colors. See page 55 .
Reminder - Automatic pop-up
Calendar message. See Calendar on
page 85 .
Security Code - Code needed to activate the navigation system or
audio system. See Entering the
Security Code on page 122 .
Unverifi ed Streets - These streets have
not been verifi ed for turn restrictions,
one-way, etc. They are shown in
purple on the map. Unverifi ed streets
may be missing from the map, shown
in the wrong location, or have an
incorrect name or address range.
2010 TL