navigation system Acura TL 2012 Navigation Manual
[x] Cancel search | Manufacturer: ACURA, Model Year: 2012, Model line: TL, Model: Acura TL 2012Pages: 184, PDF Size: 20.24 MB
Page 122 of 184
System Setup
Navigation System121
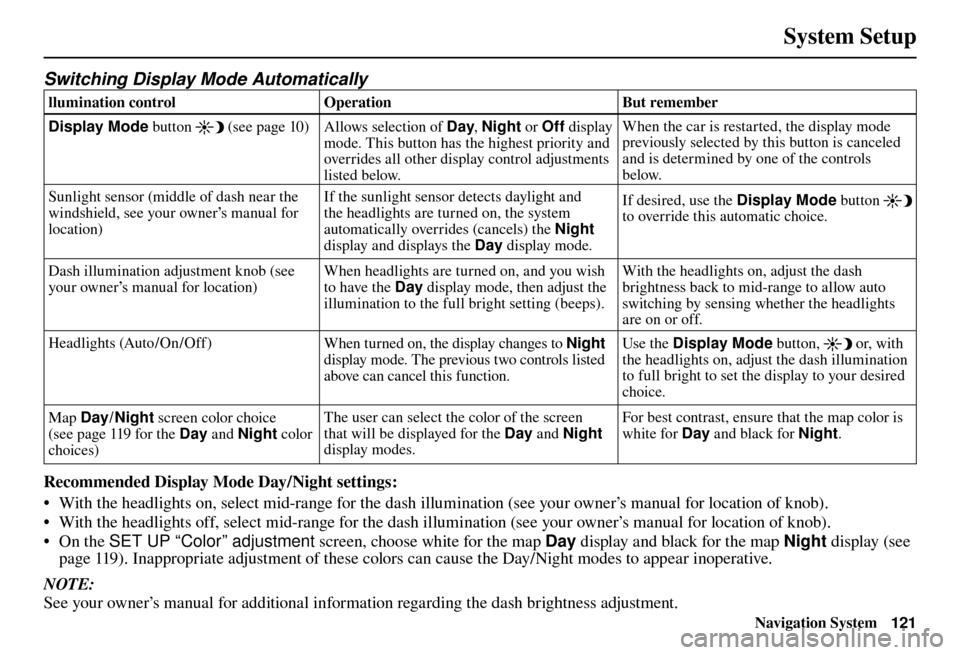
Switching Display Mode Automatically
llumination control Operation But remember
Display Mode button
(see page 10 )
Allows selection of Day , Night or Off display
mode. This button has the highest priority and
overrides all other display control adjustments
listed below. When the car is restarted, the display mode
previously selected by this button is canceled
and is determined by one of the controls
below.
Sunlight sensor (middle of dash near the
windshield, see your owner’s manual for
location) If the sunlight sensor detects daylight and
the headlights are turned on, the system
automatically overrides (cancels) the
Night
display and displays the Day display mode. If desired, use the
Display Mode button
to override this automatic choice.
Dash illumination adjustment knob (see
your owner’s manual for location) When headlights are turned on, and you wish
to have the Day
display mode, then adjust the
illumination to the full bright setting (beeps). With the headlights on, adjust the dash
brightness back to mid-range to allow auto
switching by sensing whether the headlights
are on or off.
Headlights (Auto /On /Off ) When turned on, the display changes to Night
display mode. The previous two controls listed
above can cancel this function. Use the Display Mode
button,
or, with
the headlights on, adjust the dash illumination
to full bright to set the display to your desired
choice.
Map Day/ Night screen color choice
(see page 119 for the Day and Night color
choices) The user can select the color of the screen
that will be displayed for the Day
and Night
display modes. For best contrast, ensure that the map color is
white for Day
and black for Night .
Recommended Display Mode Day/Night settings:
• With the headlights on, select mid-range for the dash illumination (see your owner’s manual for location of knob).
• With the headlights off, select mid-range for the dash illumination (see your owner’s manual for location of knob).
• On the SET UP “Color” adjustment screen, choose white for the map Day display and black for the map Night display (see
page 119 ). Inappropriate adjustment of these colors can cause the Day/Night modes to appear inoperative.
NOTE:
See your owner’s manual for additional information regarding the dash brightness adjustment.
Page 123 of 184
System Setup
122 Navigation System
Language
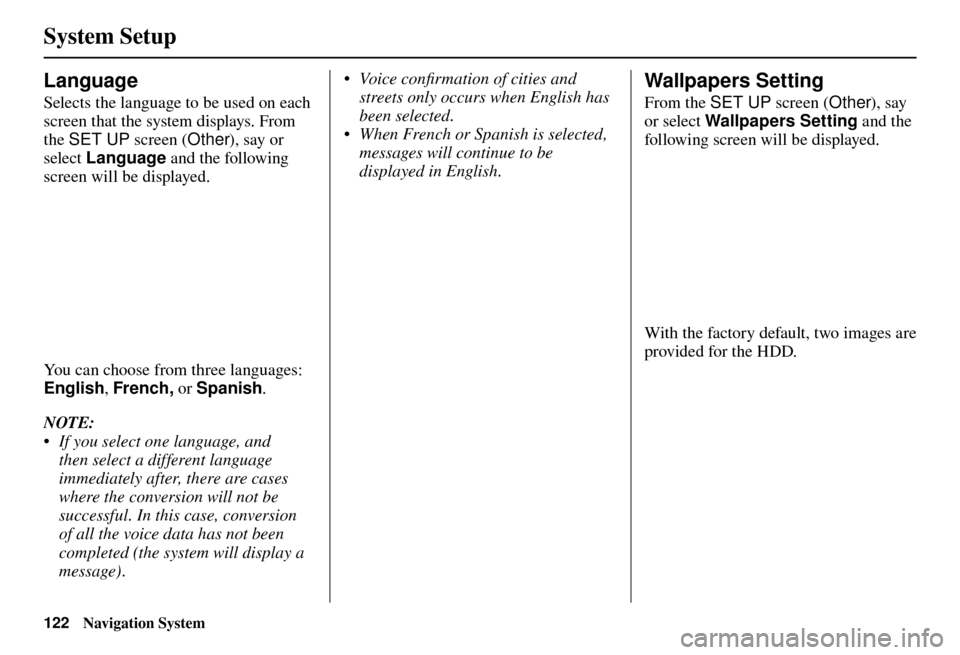
Selects the language to be used on each
screen that the system displays. From
the SET UP screen (Other), say or
select Language and the following
screen will be displayed.
You can choose from three languages:
English , French, or Spanish .
NOTE:
• If you select one language, and then select a different language
immediately after, there are cases
where the conversion will not be
successful. In this case, conversion
of all the voice data has not been
completed (the system will display a
message). • Voice confi rmation of cities and
streets only occurs when English has
been selected.
• When French or Spanish is selected, messages will continue to be
displayed in English.
Wallpapers Setting
From the SET UP screen (Other), say
or select Wallpapers Setting and the
following screen will be displayed.
With the factory default, two images are
provided for the HDD.
Page 124 of 184
System Setup
Navigation System123
Importing Pictures from USB
To use a wallpaper image other than
the factory defaults, you can import
pictures from a USB thumb drive or
similar device.
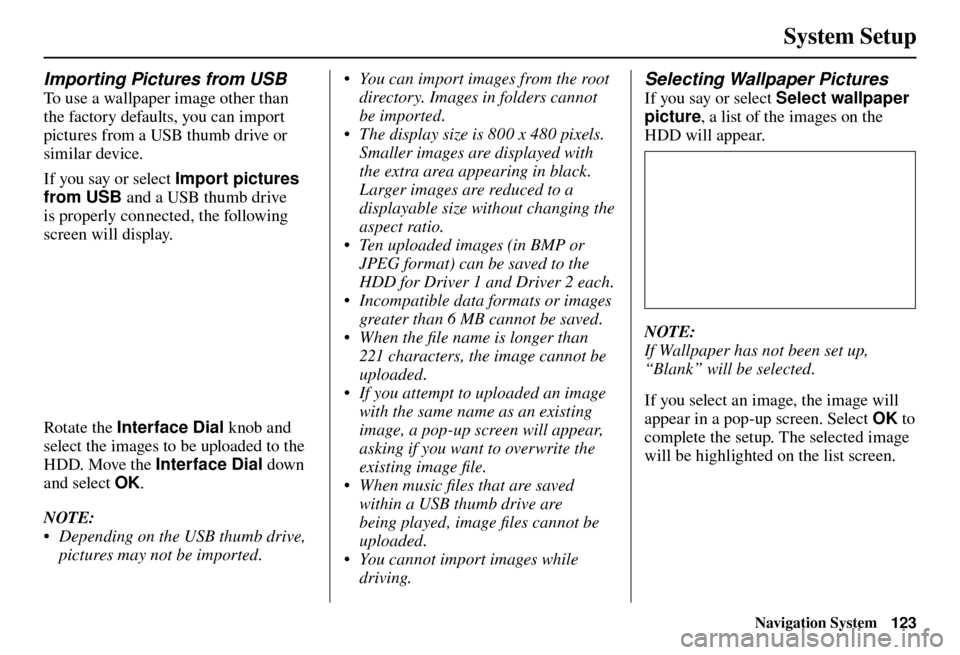
If you say or select Import pictures
from USB and a USB thumb drive
is properly connected , the following
screen will display.
Rotate the Interface Dial knob and
select the images to be uploaded to the
HDD. Move the Interface Dial down
and select OK .
NOTE:
• Depending on the USB thumb drive, pictures may not be imported. • You can import images from the root
directory. Images in folders cannot
be imported.
• The display size is 800 x 480 pixels. Smaller images are displayed with
the extra area appearing in black.
Larger images are reduced to a
displayable size without changing the
aspect ratio.
• Ten uploaded images (in BMP or JPEG format) can be saved to the
HDD for Driver 1 and Driver 2 each.
• Incompatible data formats or images greater than 6 MB cannot be saved.
• When the fi le name is longer than 221 characters, the image cannot be
uploaded.
• If you attempt to uploaded an image with the same name as an existing
image, a pop-up screen will appear,
asking if you want to overwrite the
existing image fi le.
• When music fi les that are saved within a USB thumb drive are
being played, image fi les cannot be
uploaded.
• You cannot import images while driving.
Selecting Wallpaper Pictures
If you say or select Select wallpaper
picture , a list of the images on the
HDD will appear.
NOTE:
If Wallpaper has not been set up,
“Blank” will be selected.
If you select an image, the image will
appear in a pop-up screen. Select OK to
complete the setup. The selected image
will be highlighted on the list screen.
Page 125 of 184
System Setup
124 Navigation System
Delete Pictures on HDD
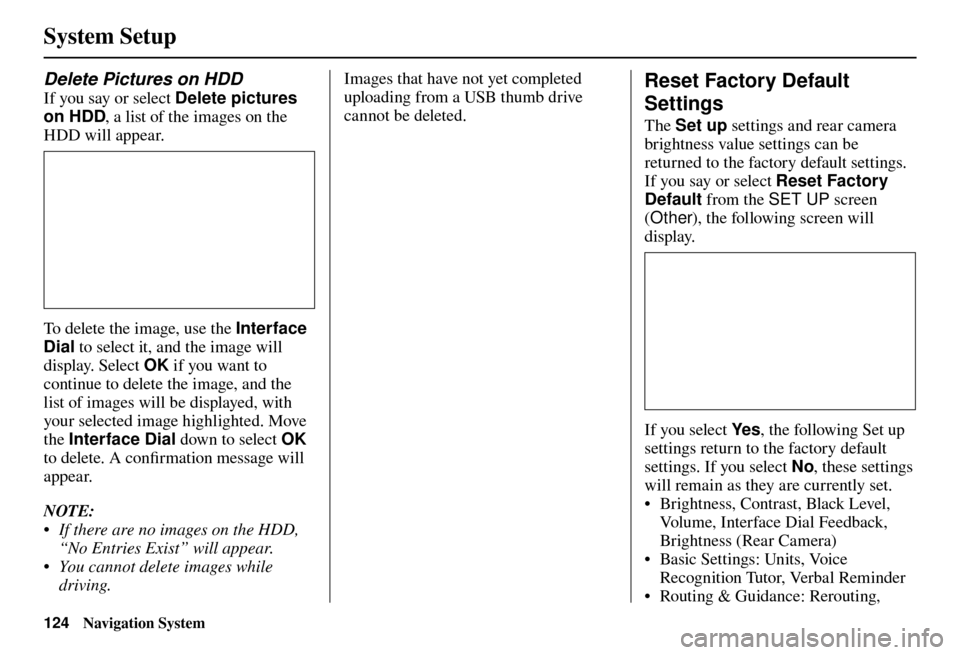
If you say or select Delete pictures
on HDD , a list of the images on the
HDD will appear.
To delete the image, use the Interface
Dial to select it, and the image will
display. Select OK if you want to
continue to delete the image, and the
list of images will be displayed, with
your selected image highlighted. Move
the Interface Dial down to select OK
to delete. A confi rmation message will
appear.
NOTE:
• If there are no images on the HDD, “No Entries Exist” will appear.
• You cannot delete images while driving. Images that have not yet completed
uploading from a USB thumb drive
cannot be deleted.
Reset Factory Default
Settings
The
Set up settings and rear camera
brightness value settings can be
returned to the factory default settings.
If you say or select Reset Factory
Default from the SET UP screen
( Other ), the following screen will
display.
If you select Ye s , the following Set up
settings return to the factory default
settings. If you select No , these settings
will remain as they are currently set.
• Brightness, Contrast, Black Level,
Volume, Interface Dial Feedback,
Brightness (Rear Camera)
• Basic Settings: Units, Voice
Recognition Tutor, Verbal Reminder
• Routing & Guidance: Rerouting,
Page 126 of 184
System Setup
Navigation System125
Unver ifi ed Area Rerouting, Traffi c
Rerouting, Edit Waypoint Search
Area, Guidance Mode, Street Name
Guidance
• Clock Adjustment: Auto Daylight,
Auto Time Zone, Time
• Vehicle: Off-road Tracking
• Color: Map Color, Menu Color
NOTE:
Messages are not deleted.
AcuraLink /Messages settings do not
return to the factory default settings.Clear Personal Data
Any uploaded data, calendar entries,
address books, stored destinations, or
other settings can be cleared or returned
to factory defaults. If you say or select
Clear Personal Data from the SET
UP screen ( Other), the Select items
to clear screen will display.
Rotate the Interface Dial knob and
select the data to be deleted.
If a PIN number is set, the screen
for entering the PIN code will be
displayed. A pop-up screen verifying
whether deletion is to be continued or
not will be displayed, and then another
deletion veri fi cation message will
appear. Select Ye s to commence the
deletion; select No to suspend it .NOTE:
• When the
Address Book is deleted,
all contents (except the Categories)
will be deleted.
• When Cellular Phone Information is deleted, Voice Tag information will
also be deleted.
• If you select Music on HDD ,
the system will automatically be
restarted after deletion.
Page 127 of 184
System Setup
126 Navigation System
AcuraLink / Messages
For complete details on setting up
your AcuraLink messaging, refer to
the AcuraLink section in your owner’s
manual, or go to www.myacura.com .
NOTE:
AcuraLink relies on a satellite signal.
It will not work in Alaska, Hawaii,
Canada, Puerto Rico, and Mexico.
Tr a f � c & Weather Status
You can confi rm the reception status of XM signal, traffi c information data, or
weather information data.
The following messages will be displayed:
Message Status
Receiving The system is receiving XM signal, traffi c data, or weather data.
No signal • The system cannot receive XM signal. • XM signal is received, but the system cannot receive traffi c data
or weather data.
Expired Activation is expired. To reactivate your traffi c or weather subscrip-
tion, call XM at (800) 852-9696, or order online at www.xmradio.com
.
The order process requires the 8-character XM radio ID (displayed on
XM channel 0) and a credit card.
Loading The system is searching for the signal or updating the data.
Check Antenna Antenna error
--- The system cannot receive traffi c data or weather data because XM
Signal Reception status is “No signal”.
Page 128 of 184
System Setup
Navigation System127
Rearview Camera
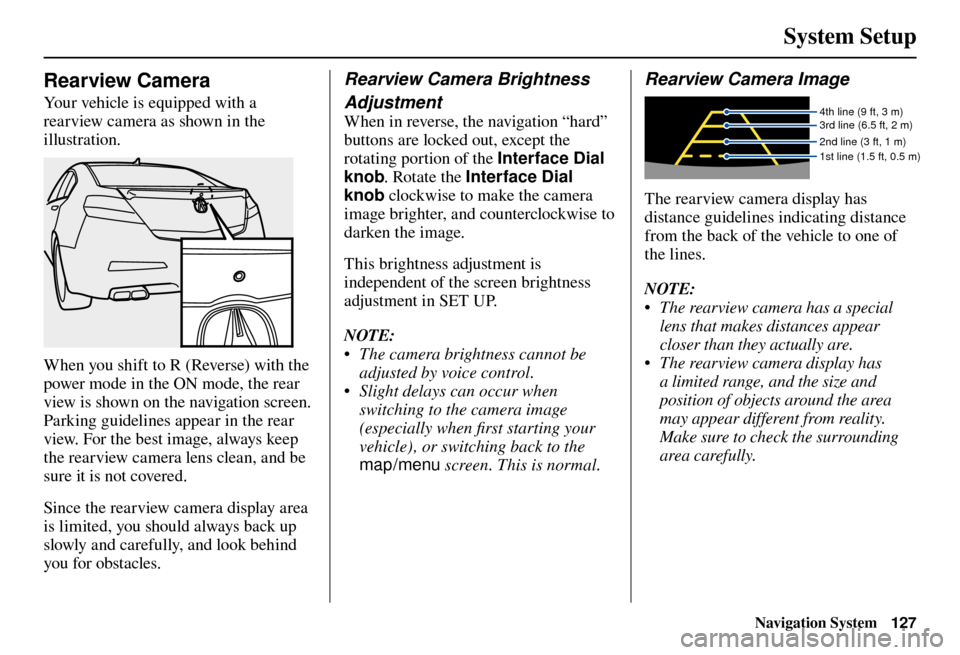
Your vehicle is equipped with a
rearview camera as shown in the
illustration.
When you shift to R (Reverse) with the
power mode in the ON mode, the rear
view is shown on the navigation screen.
Parking guidelines appear in the rear
view. For the best image, always keep
the rearview camera lens clean, and be
sure it is not covered.
Since the rearview camera display area
is limited, you should always back up
slowly and carefully, and look behind
you for obstacles.
Rearview Camera Brightness
Adjustment
When in reverse, the navigation “hard”
buttons are locked out, except the
rotating portion of the Interface Dial
knob. Rotate the Interface Dial
knob clockwise to make the camera
image brighter, and counterclockwise to
darken the image.
This brightness adjustment is
independent of the screen brightness
adjustment in SET UP.
NOTE:
• The camera brightness cannot be adjusted by voice control.
• Slight delays can occur when switching to the camera image
(especially when fi rst starting your
vehicle), or switching back to the
map/menu screen. This is normal.
Rearview Camera Image
4th line (9 ft, 3 m)
3rd line (6.5 ft, 2 m)
2nd line (3 ft, 1 m)
1st line (1.5 ft, 0.5 m)
The rearview camera display has
distance guidelines indicating distance
from the back of the vehicle to one of
the lines.
NOTE:
• The rearview camera has a special
lens that makes distances appear
closer than they actually are.
• The rearview camera display has a limited range, and the size and
position of objects around the area
may appear different from reality.
Make sure to check the surrounding
area carefully.
Page 129 of 184
System Initialization
128 Navigation System
System Initialization
If for any reason you lose power
to the vehicle (e.g., the battery is
disconnected), the navigation and audio
system will require initialization. Once
completed, your system will be ready
to use.
This initialization requires the
following:
• Entry of the 5-digit anti-theft security
code to “unlock” the navigation and
audio system.
• GPS initialization (may not be needed depending on the length of
time the system was without power).
(See GPS Initialization o n p a g e 1 2 9 . )
• Map matching to align the GPS coordinates to a place on the map
(displays current street at the bottom
of the map). (See Map Matching on
page 129 .)
Entering the Security Code
When you purchased the vehicle,
you should have received one card
containing a 5-digit anti-theft code
used to activate both the navigation and
audio system.
Enter the 5-digit security code in
accordance with the instructions in your
owner’s manual. If you do not enter the
security code, navigation, audio, and
voice recognition will not function.
If you lose the card or do not have
access to it, you can retrieve it using
one of the following methods:
1) G o t o www.myacura.com , if you
previously set up your account in
accordance with the vehicle owner’s
manual.
2) Call Acura Client Relations at (800) 382-2238.
3) Visit your dealer.
You will need your radio serial number
and vehicle VIN to retrieve the anti-
theft code. To retrieve the radio serial number,
press and hold the audio preset 1 and 6
buttons. Continue to hold the buttons,
then turn on the radio. Record the serial
number shown on the radio display.
NOTE:
The anti-theft security code is
unrelated to your optional navigation
system PIN (for Address Book or Home
Address) .
Page 130 of 184
System Initialization
Navigation System129
GPS Initialization
Depending on the length of time the
battery was disconnected, your system
may require GPS initialization. If it
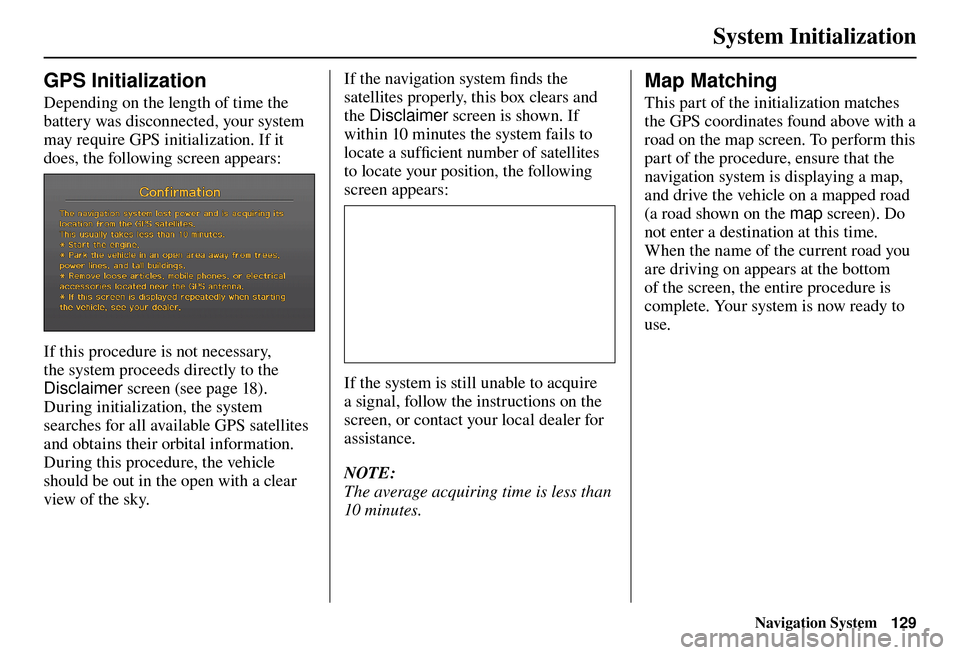
does, the following screen appears:
If this procedure is not necessary,
the system proceeds directly to the
Disclaimer screen (see page 18 ).
During initialization, the system
searches for all available GPS satellites
and obtains their orbital information.
During this procedure, the vehicle
should be out in the open with a clear
view of the sky. If the navigation system fi
nds the
satellites properly, this box clears and
the Disclaimer screen is shown. If
within 10 minutes the system fails to
locate a suffi cient number of satellites
to locate your position, the following
screen appears:
If the system is still unable to acquire
a signal, follow the instructions on the
screen, or contact your local dealer for
assistance.
NOTE:
The average acquiring time is less than
10 minutes.
Map Matching
This part of the initialization matches
the GPS coordinates found above with a
road on the map screen. To perform this
part of the procedure, ensure that the
navigation system is displaying a map,
and drive the vehicle on a mapped road
(a road shown on the map screen). Do
not enter a destination at this time.
When the name of the current road you
are driving on appears at the bottom
of the screen, the entire procedure is
complete. Your system is now ready to
use.
Page 131 of 184
System Initialization
130 Navigation System
Although your navigation system is one
of the most highly sophisticated pieces
of equipment you will fi nd in a modern
automobile, you may fi nd during its use
that it has certain limitations.
The system uses GPS signals to aid
in determining its current location.
The GPS is operated by the U.S.
Department of Defense. For security
reasons, there are certain inaccuracies
built into the GPS that the navigation
system must constantly compensate for.
This can cause occasional positioning
errors of up to several hundred feet.
For example, in urban areas where
streets are close together, this could
cause the system to show that you are
traveling on a street that parallels the
street you are actually on. The system
will, under most circumstances, correct
itself while you drive.