alarm Alfa Romeo Giulia 2017 Owner's Manual
[x] Cancel search | Manufacturer: ALFA ROMEO, Model Year: 2017, Model line: Giulia, Model: Alfa Romeo Giulia 2017Pages: 268, PDF Size: 18.64 MB
Page 15 of 268
GETTING TO KNOW YOUR VEHICLE
In this section, you will find important
information to help you become familiar
with the features needed to operate
your vehicle, and how they function.KEYS....................14
IGNITION SYSTEM ...........17
ENGINE IMMOBILIZER ........18
SECURITY ALARM SYSTEM —
IF EQUIPPED ...............19
DOORS ...................21
SEATS ...................26
HEAD RESTRAINTS ...........29
STEERING WHEEL ............31
REAR VIEW MIRRORS .........33
EXTERIOR LIGHTS ...........34
INTERIOR LIGHTS ............37 WINDSHIELD WIPERS
.........40
CLIMATE CONTROL ..........42
POWER WINDOWS ...........49
POWER SUNROOF —
IF EQUIPPED ...............50
HOOD ...................52
TRUNK ..................53
INTERNAL EQUIPMENT ........55
ENVIRONMENTAL PROTECTION
SYSTEMS .................60
ACTIVE AERODYNAMICS .......60
13
Page 16 of 268
KEYS
Key Fob
Your vehicle uses a keyless ignition
system. This system includes a key fob
and a keyless push button ignition.
The key fob with Remote Control
contains a Remote Keyless Entry key
fob. The Remote Keyless Entry system
allows you to lock or unlock the doors
and trunk or activate the Panic Alarm
from distances. The key fob does not
need to be pointed at the vehicle to
activate the system.
PANIC Function
To activate the PANIC function, push
and hold the PANIC button for at least
one second. When the panic alarm is
active, the headlights turn on, the turn
signals flash, the horn honks
intermittently, and all internal adjustablelights turn on. The panic alarm will
remain active for three minutes, and
can be deactivated:By pushing the PANIC button again.
Automatically if the vehicle speed
exceeds 5 mph (8 km/h).
In both cases, the panic alarm is
immediately deactivated.
Warning!
Before exiting a vehicle, always shift the
automatic transmission into PARK, apply
the parking brake, turn the engine OFF,
remove the key fob from the vehicle and
lock your vehicle.
Never leave children alone in a vehicle,
or with access to an unlocked vehicle.
Allowing children to be in a vehicle
unattended is dangerous for a number of
reasons. A child or others could be
seriously or fatally injured. Children should
be warned not to touch the parking brake,
brake pedal or the gear selector.
Do not leave the key fob in or near the
vehicle, or in a location accessible to
children. A child could operate power
windows, other controls, or move the
vehicle.
Do not leave children or animals inside
parked vehicles in hot weather. Interior heat
build-up may cause serious injury or death.
Operation
Door And Trunk Lid Unlock
Briefly pushing the unlock button on the
key fob will unlock the doors and trunk
lid, turn on the interior lights, and flash
the turn signals once (if activated from
the Connect system).
Push and release the unlock button on
the key fob once to unlock the driver
side front door or twice within one
second to unlock all doors and the
trunk lid.
The current unlock setting can be
changed through the Connect system
menu, so that the system unlocks:
All doors unlock on the first push of
the key fob unlock button.
Unlock the driver door on the first
push of the key fob unlock button.
Flashing of the turn signals upon
locking/unlocking the doors and
activation of the courtesy light upon
unlocking the doors can be activated or
deactivated through the Connect
system. For further information, refer to
the “Connect Owner’s Manual
Supplement.”
The doors can also be unlocked by
using the emergency key, located inside
the key fob.
Door And Trunk Lid Lock
Briefly pushing the lock button on the
key fob will lock the doors and trunk lid,
switch off the internal lights, and flash
04016S0001EMKey Fob
14
GETTING TO KNOW YOUR VEHICLE
Page 19 of 268
IGNITION SYSTEM
Operation
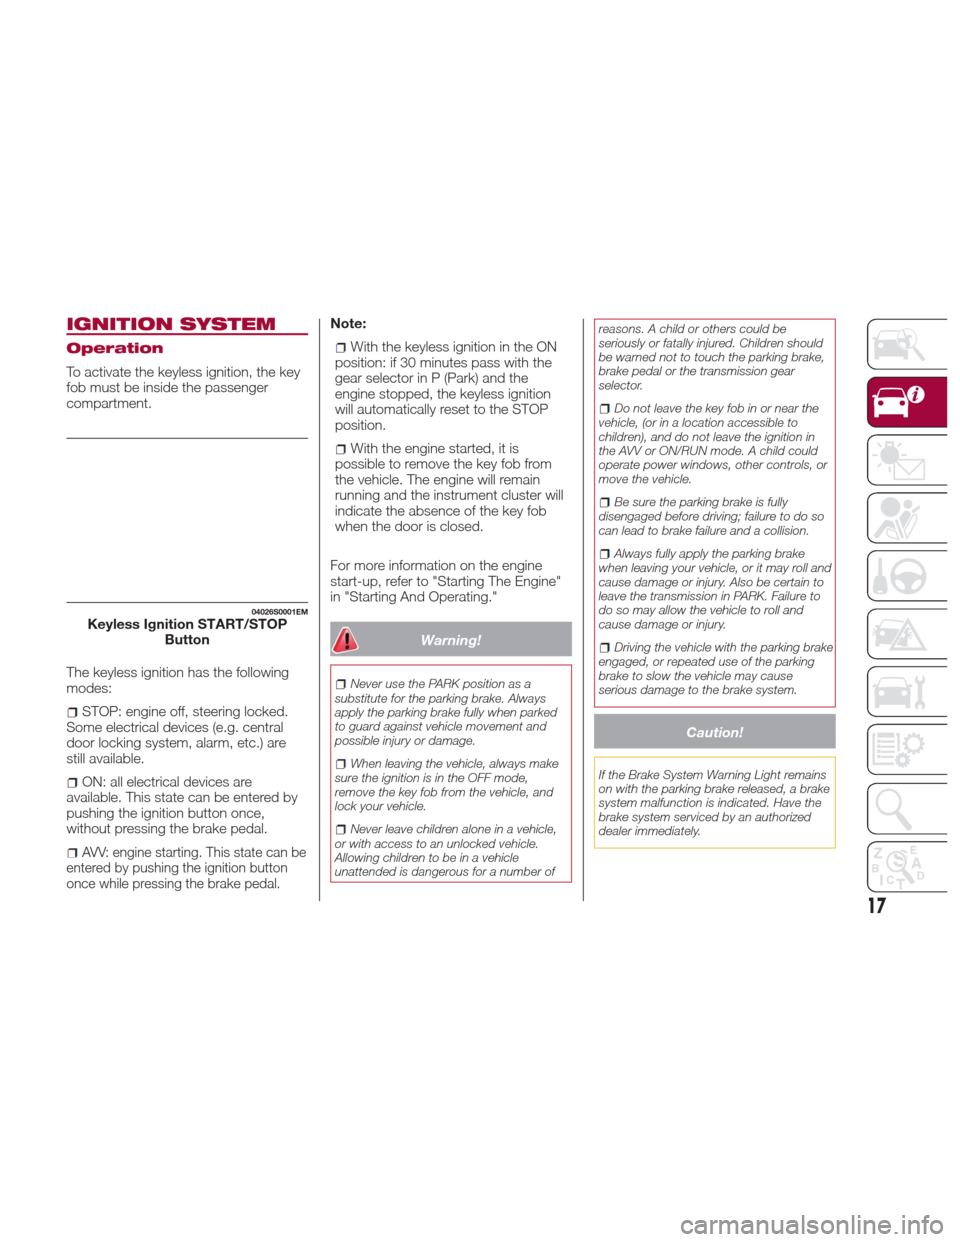
To activate the keyless ignition, the key
fob must be inside the passenger
compartment.
The keyless ignition has the following
modes:
STOP: engine off, steering locked.
Some electrical devices (e.g. central
door locking system, alarm, etc.) are
still available.
ON: all electrical devices are
available. This state can be entered by
pushing the ignition button once,
without pressing the brake pedal.
AVV: engine starting. This state can be
entered by pushing the ignition button
once while pressing the brake pedal.
Note:
With the keyless ignition in the ON
position: if 30 minutes pass with the
gear selector in P (Park) and the
engine stopped, the keyless ignition
will automatically reset to the STOP
position.
With the engine started, it is
possible to remove the key fob from
the vehicle. The engine will remain
running and the instrument cluster will
indicate the absence of the key fob
when the door is closed.
For more information on the engine
start-up, refer to "Starting The Engine"
in "Starting And Operating."
Warning!
Never use the PARK position as a
substitute for the parking brake. Always
apply the parking brake fully when parked
to guard against vehicle movement and
possible injury or damage.
When leaving the vehicle, always make
sure the ignition is in the OFF mode,
remove the key fob from the vehicle, and
lock your vehicle.
Never leave children alone in a vehicle,
or with access to an unlocked vehicle.
Allowing children to be in a vehicle
unattended is dangerous for a number of reasons. A child or others could be
seriously or fatally injured. Children should
be warned not to touch the parking brake,
brake pedal or the transmission gear
selector.
Do not leave the key fob in or near the
vehicle, (or in a location accessible to
children), and do not leave the ignition in
the AVV or ON/RUN mode. A child could
operate power windows, other controls, or
move the vehicle.
Be sure the parking brake is fully
disengaged before driving; failure to do so
can lead to brake failure and a collision.
Always fully apply the parking brake
when leaving your vehicle, or it may roll and
cause damage or injury. Also be certain to
leave the transmission in PARK. Failure to
do so may allow the vehicle to roll and
cause damage or injury.
Driving the vehicle with the parking brake
engaged, or repeated use of the parking
brake to slow the vehicle may cause
serious damage to the brake system.
Caution!
If the Brake System Warning Light remains
on with the parking brake released, a brake
system malfunction is indicated. Have the
brake system serviced by an authorized
dealer immediately.
04026S0001EMKeyless Ignition START/STOP Button
17
Page 21 of 268
still blocked, try with the other keys
provided. If it is still not possible to start
the engine, contact an authorized
dealer.
If the Engine Immobilizer
Failure/Break-in Attempt
icon is
displayed while driving, this means that
the system is running a self-diagnosis
(e.g. due to a voltage drop). If the
display persists, contact an authorized
dealer.
Important Notes
Do not tamper with the Engine
Immobilizer system. Any modifications
or alterations could cause the
protection function to be deactivated.
The Engine Immobilizer system is not
compatible with certain aftermarket
remote starting systems. The use of
these devices could cause problems
when starting, as well as the
deactivation of the protection function.
All keys provided with the vehicle
have been programmed in accordance
with the electronics on the vehicle itself.
Each key has its own code which
must be stored by the system's control
unit. Contact an authorized dealer to
have new keys (up to eight) stored with
a code.
SECURITY ALARM
SYSTEM — IF
EQUIPPED
Alarm Activation
While armed, the alarm will sound in the
following scenarios:
Opening of doors/hood/deck lid
(perimeter protection)
Operation of ignition with a key which
is not validated
Cutting of the battery cables
Movement inside the passenger
compartment (volumetric protection —
if equipped)
Unexpected lifting/tilting of the car
(anti-lift protection — if equipped)
Activation of the alarm triggers the
acoustic warning and the turn signals.
Note: The alarm system is activated by
the Engine Immobilizer system, which is
automatically activated when you get
out of the vehicle with the key fob and
lock the doors.
To Arm The Alarm
With the doors, hood, and trunk lid
closed and the keyless ignition system
placed in the STOP position, push and
release the lock button on the key fob.
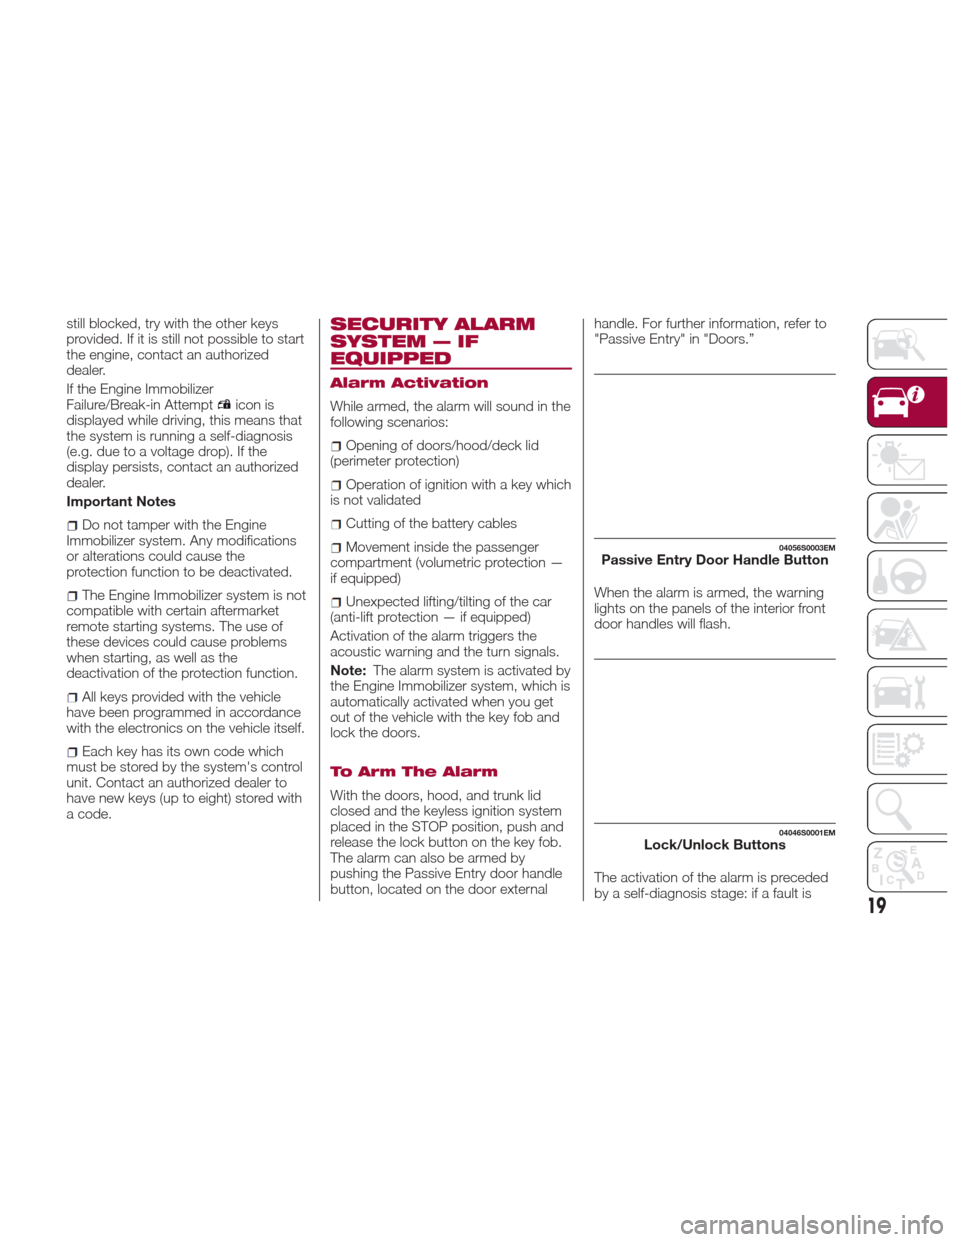
The alarm can also be armed by
pushing the Passive Entry door handle
button, located on the door external handle. For further information, refer to
"Passive Entry" in "Doors.”
When the alarm is armed, the warning
lights on the panels of the interior front
door handles will flash.
The activation of the alarm is preceded
by a self-diagnosis stage: if a fault is
04056S0003EMPassive Entry Door Handle Button
04046S0001EMLock/Unlock Buttons
19
Page 22 of 268
detected, the system emits a further
acoustic signal.
If a second acoustic signal is emitted
after the alarm is already armed, wait
about four seconds and disarm the
alarm by pushing the unlock button.
Verify that the doors, hood, and trunk
lid are closed correctly and then rearm
the system by pushing the lock button
on the key fob.
If the alarm emits an acoustic signal
even when the doors, hood, and trunk
lid are correctly closed, a fault has
occurred in system operation. In this
case, contact an authorized dealer.
To Disarm The Alarm
Push the unlock button to disarm the
alarm. While disarming, the following
operations are performed:
Two brief flashes of the turn signals
(if programmed)
Two brief acoustic signals
(if programmed)
Doors are unlocked
The alarm can also be disarmed using
the Passive Entry System, by grasping
one of the Passive Entry front door
handles with a valid key fob in hand to
unlock. For further information refer to
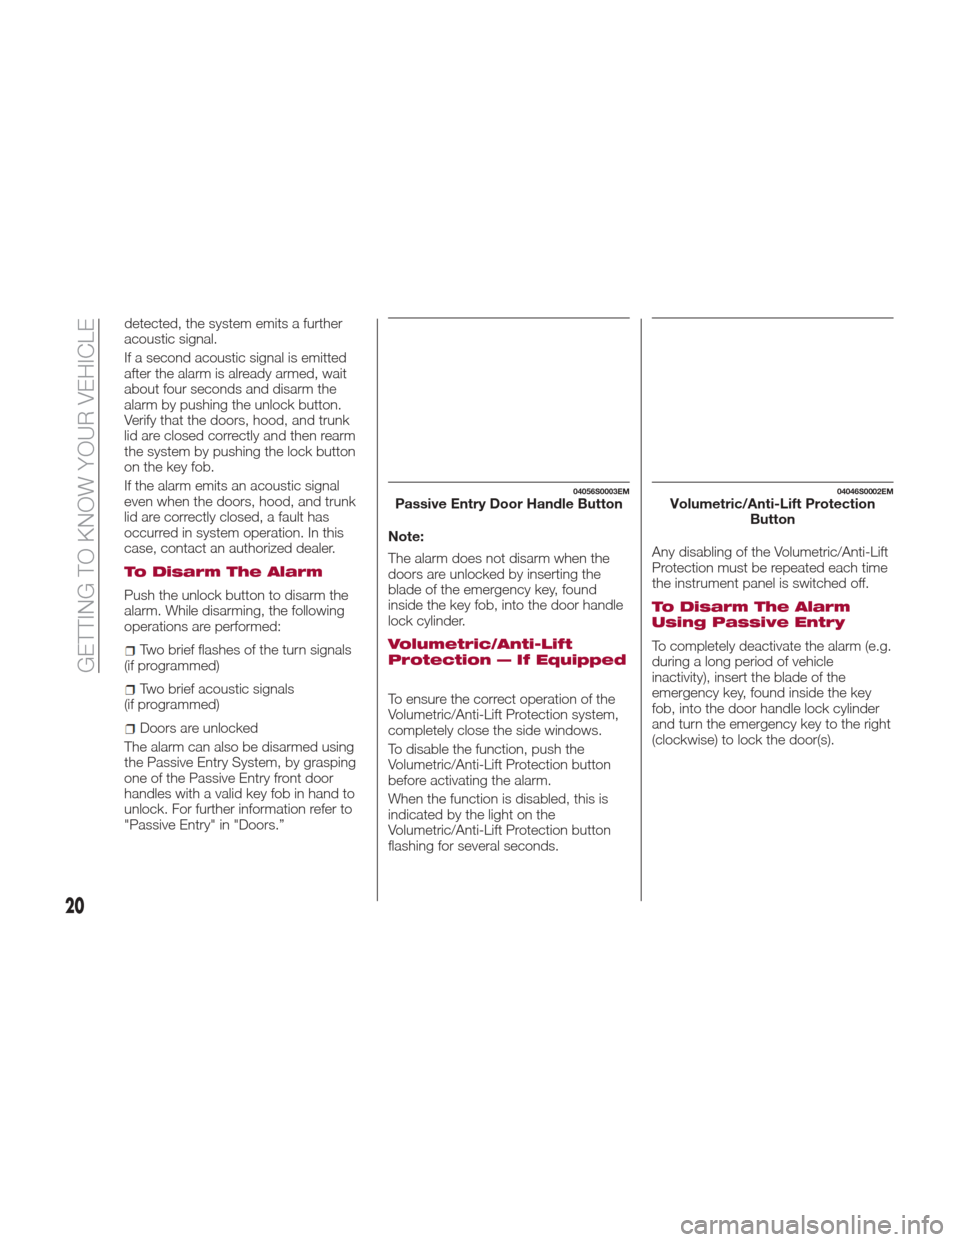
"Passive Entry" in "Doors.” Note:
The alarm does not disarm when the
doors are unlocked by inserting the
blade of the emergency key, found
inside the key fob, into the door handle
lock cylinder.
Volumetric/Anti-Lift
Protection — If Equipped
To ensure the correct operation of the
Volumetric/Anti-Lift Protection system,
completely close the side windows.
To disable the function, push the
Volumetric/Anti-Lift Protection button
before activating the alarm.
When the function is disabled, this is
indicated by the light on the
Volumetric/Anti-Lift Protection button
flashing for several seconds.Any disabling of the Volumetric/Anti-Lift
Protection must be repeated each time
the instrument panel is switched off.
To Disarm The Alarm
Using Passive Entry
To completely deactivate the alarm (e.g.
during a long period of vehicle
inactivity), insert the blade of the
emergency key, found inside the key
fob, into the door handle lock cylinder
and turn the emergency key to the right
(clockwise) to lock the door(s).
04056S0003EMPassive Entry Door Handle Button04046S0002EMVolumetric/Anti-Lift Protection
Button
20
GETTING TO KNOW YOUR VEHICLE
Page 24 of 268
Unlock — Turn the emergency key to
the left (counter clockwise)
Passive Entry — If
Equipped
The Passive Entry system can identify
the presence of a key fob near the
doors and trunk lid.
The system enables the doors and
trunk lid to be locked or unlocked
without pushing any button on the key
fob.
The key fob is detected only after the
system recognizes the presence of a
hand on one of the front door handles.
If the detected key fob is valid, the
doors and the trunk lid are unlocked
(refer to the Connect Supplement for
Passive Entry Settings).
Grasping the handle of the driver's door
unlocks the driver's side door, or all
doors depending on the mode set
using the Connect system (refer to the
Connect Supplement for Passive Entry
Settings).
Note:
If wearing gloves, or if it has rained and
the door handle is wet, the activation
sensitivity of the Passive Entry function
may be reduced, resulting in a longer
reaction time. Door Locking
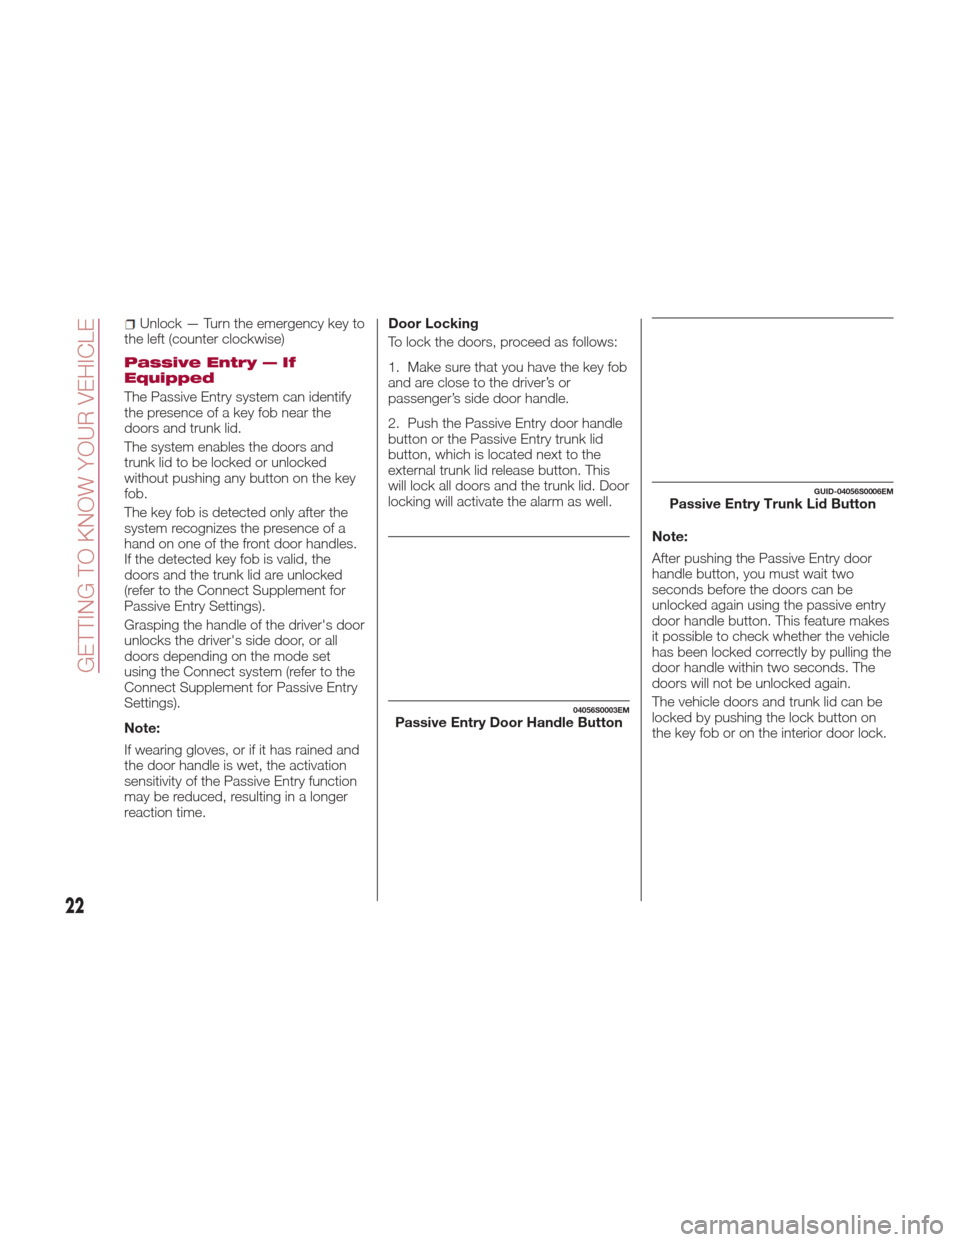
To lock the doors, proceed as follows:
1. Make sure that you have the key fob
and are close to the driver’s or
passenger’s side door handle.
2. Push the Passive Entry door handle
button or the Passive Entry trunk lid
button, which is located next to the
external trunk lid release button. This
will lock all doors and the trunk lid. Door
locking will activate the alarm as well.
Note:
After pushing the Passive Entry door
handle button, you must wait two
seconds before the doors can be
unlocked again using the passive entry
door handle button. This feature makes
it possible to check whether the vehicle
has been locked correctly by pulling the
door handle within two seconds. The
doors will not be unlocked again.
The vehicle doors and trunk lid can be
locked by pushing the lock button on
the key fob or on the interior door lock.
04056S0003EMPassive Entry Door Handle Button
GUID-04056S0006EMPassive Entry Trunk Lid Button
22
GETTING TO KNOW YOUR VEHICLE
Page 57 of 268
INTERNAL
EQUIPMENT
Glove Compartment
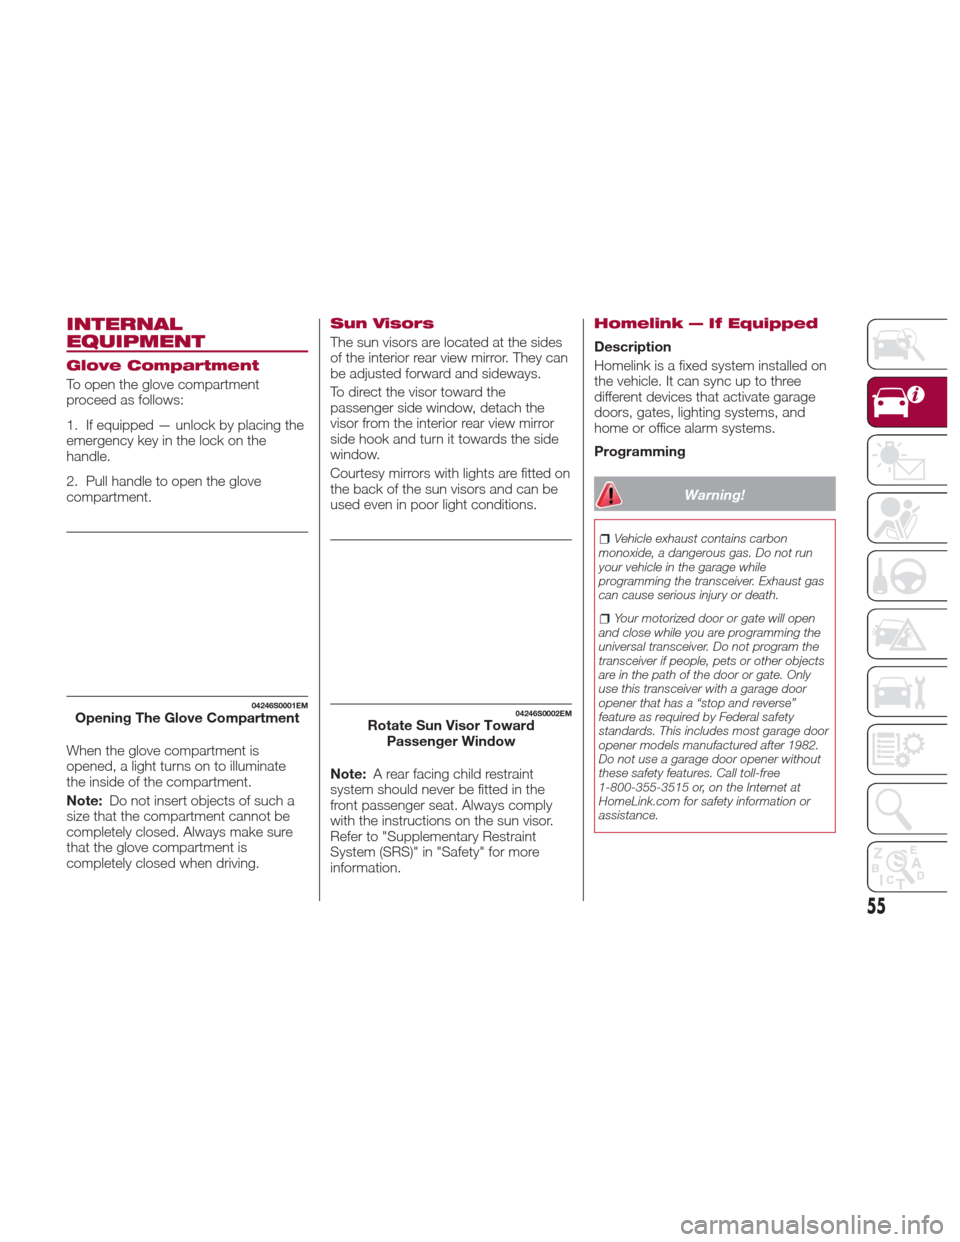
To open the glove compartment
proceed as follows:
1. If equipped — unlock by placing the
emergency key in the lock on the
handle.
2. Pull handle to open the glove
compartment.
When the glove compartment is
opened, a light turns on to illuminate
the inside of the compartment.
Note:Do not insert objects of such a
size that the compartment cannot be
completely closed. Always make sure
that the glove compartment is
completely closed when driving.
Sun Visors
The sun visors are located at the sides
of the interior rear view mirror. They can
be adjusted forward and sideways.
To direct the visor toward the
passenger side window, detach the
visor from the interior rear view mirror
sidehookandturnittowardstheside
window.
Courtesy mirrors with lights are fitted on
the back of the sun visors and can be
used even in poor light conditions.
Note: A rear facing child restraint
system should never be fitted in the
front passenger seat. Always comply
with the instructions on the sun visor.
Refer to "Supplementary Restraint
System (SRS)" in "Safety" for more
information.
Homelink — If Equipped
Description
Homelink is a fixed system installed on
the vehicle. It can sync up to three
different devices that activate garage
doors, gates, lighting systems, and
home or office alarm systems.
Programming
Warning!
Vehicle exhaust contains carbon
monoxide, a dangerous gas. Do not run
your vehicle in the garage while
programming the transceiver. Exhaust gas
can cause serious injury or death.
Your motorized door or gate will open
and close while you are programming the
universal transceiver. Do not program the
transceiver if people, pets or other objects
are in the path of the door or gate. Only
use this transceiver with a garage door
opener that has a “stop and reverse”
feature as required by Federal safety
standards. This includes most garage door
opener models manufactured after 1982.
Do not use a garage door opener without
these safety features. Call toll-free
1-800-355-3515 or, on the Internet at
HomeLink.com for safety information or
assistance.
04246S0001EMOpening The Glove Compartment04246S0002EMRotate Sun Visor Toward Passenger Window
55
Page 82 of 268
Caution!
If, turning the ignition device to ON, the warning lightdoes not turn on or if it turns on steadily or flashing when travelling (on some versions
together with the message on the display), contact an authorized dealer as soon as possible.
Warning Light What It Means What To Do
FORWARD COLLISION WARNING SYSTEM (FCW) —
IF EQUIPPED
This warning light informs the driver that the frontal
collision alarm function is not enabled.
FUEL RESERVE / LIMITED RANGE
The warning light (or the symbol in the display) switches
on when about 9 liters of fuel is left in the tank.
Warning!
If the warning light (or the icon on the display) flashes while driving, contact an authorized dealer.
80
GETTING TO KNOW YOUR INSTRUMENT PANEL
Page 88 of 268

Amber Symbols
SymbolWhat It Means What To Do
ENGINE IMMOBILIZER FAILURE / BREAK-IN ATTEMPT
Engine Immobilizer System Failure
The symbol switches on to report a failure of the Engine
Immobilizer system.Contact an authorized dealer as soon as possible.
Break-In Attempt
The symbol switches on when the ignition is moved to
ON position, to indicate a possible break-in attempt
detected by the alarm system.
Electronic Key Not Recognized
The symbol switches on when the engine is started and
the electronic key is not recognized by the system.
Alarm System Failure
This symbol switches on to report an alarm system
failure.
FUEL CUT-OFF SYSTEM OPERATION
This telltale will illuminate after an accident has
occurred, and the system has shut the fuel off. For reactivating the fuel cut-off system, refer to
"Occupant Restraint Systems" in "Safety.” If it is not
possible to restore the fuel supply, contact an
authorized dealer.
PARK SENSORS SYSTEM FAILURE
Lights up when the system has failed or is not available.
Contact an authorized dealer to have the system
checked.
POSSIBLE ICE ON ROAD
The symbol turns on when the outside temperature falls
to or below 37°F.
86
GETTING TO KNOW YOUR INSTRUMENT PANEL
Page 106 of 268

In this case, it is still possible to drive
the vehicle, but you are advised to
contact an authorized dealer as soon
as possible.
Radar Indication Not Available
If conditions are such that the radar
cannot detect obstacles correctly, the
system is deactivated and a dedicated
message appears on the display. This
generally occurs in the event of poor
visibility, such as when it is snowing or
raining heavily.
The system can also be temporarily
dimmed due to obstructions such as
mud, dirt or ice on the bumper. In such
cases, a dedicated message will be
shown on the display and the system
will be deactivated. This message can
sometimes appear in conditions of high
reflectivity (e.g. tunnels with reflective
tiles or ice or snow). When the
conditions limiting the system functions
end, this will go back to normal and
complete operation.
In certain particular cases, this
dedicated message could be displayed
when the radar is not detecting any
vehicles or objects within its view range.
If atmospheric conditions are not the
real reason behind this message, check
if the sensor is dirty. It could be
necessary to clean or remove any
obstructions in the area.
If the message appears often, even in
the absence of atmospheric conditions
such as snow, rain, mud or otherobstructions, contact an authorized
dealer for a sensor alignment check.
In the absence of visible obstructions,
manually removing the decorative cover
trim and cleaning the radar surface
could be required. Have this operation
performed at an authorized dealer.
Note:
It is recommended that you do
not install devices, accessories or
aerodynamic attachments in front of the
sensor or darken it in any way, as this
can compromise the correct functioning
of the system.
Frontal Collision Alarm With Active
Braking — If Equipped
If this function is selected, the brakes
are operated to reduce the speed of the
vehicle in the event of potential frontal
impact.
This function applies an additional
braking pressure if the braking pressure
applied by the driver does not suffice to
prevent potential frontal impact.
The function is active with speed above
4 mph (7 km/h).
Driving In Special Conditions
In certain driving conditions, such as,
for example:
Driving close to a bend.
The vehicle ahead is leaving a
roundabout.
Vehicles with small dimensions
and/or not aligned in the driving lane.
Lane change by other vehicles.
Vehicles travelling at right angles to
the vehicle.
System intervention might be
unexpected or delayed. The driver must
therefore be very careful, keeping
control of the vehicle to drive in
complete safety.
Note: In particularly complex traffic
conditions, the driver can deactivate the
system manually through the Connect
system.
Driving Close To A Bend
When entering or leaving a wide bend,
the system may detect a vehicle in front
you, but not driving on the same driving
lane. In cases such as these, the
system may intervene.
06016S0005EMDriving Around Wide Curves
104
SAFETY