sensor Alfa Romeo Giulia 2017 Owner's Manual
[x] Cancel search | Manufacturer: ALFA ROMEO, Model Year: 2017, Model line: Giulia, Model: Alfa Romeo Giulia 2017Pages: 268, PDF Size: 18.64 MB
Page 36 of 268
Automatic Dimming Mirrors — If
Equipped
Like the electrochromic mirror, an
automatic dimming feature is also
available on the outside rear view
mirrors to prevent glare. The automatic
dimming button is the same for all rear
view mirrors.
Warning!
Vehicles and other objects seen in an
outside convex mirror will look smaller and
farther away than they really are. Relying
too much on side convex mirrors could
cause you to collide with another vehicle or
other object. Use your inside mirror when
judging the size or distance of a vehicle
seen in a side convex mirror.
Heated Mirrors
Push the rear defrostbutton in the
climate controls to activate the heated
mirrors.
EXTERIOR LIGHTS
Headlight Switch
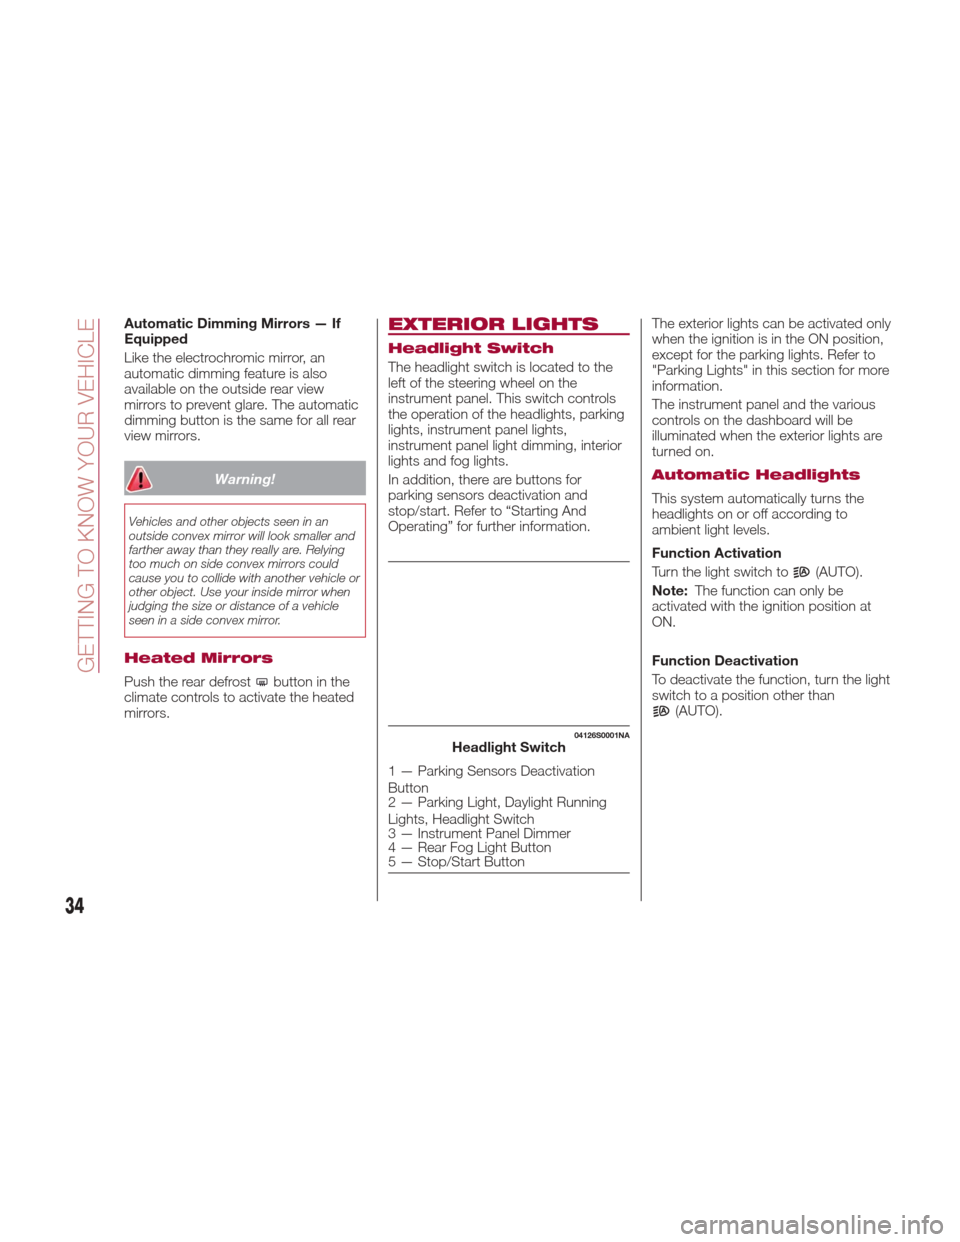
The headlight switch is located to the
left of the steering wheel on the
instrument panel. This switch controls
the operation of the headlights, parking
lights, instrument panel lights,
instrument panel light dimming, interior
lights and fog lights.
In addition, there are buttons for
parking sensors deactivation and
stop/start. Refer to “Starting And
Operating” for further information. The exterior lights can be activated only
when the ignition is in the ON position,
except for the parking lights. Refer to
"Parking Lights" in this section for more
information.
The instrument panel and the various
controls on the dashboard will be
illuminated when the exterior lights are
turned on.
Automatic Headlights
This system automatically turns the
headlights on or off according to
ambient light levels.
Function Activation
Turn the light switch to
(AUTO).
Note: The function can only be
activated with the ignition position at
ON.
Function Deactivation
To deactivate the function, turn the light
switch to a position other than
(AUTO).
04126S0001NAHeadlight Switch
1 — Parking Sensors Deactivation
Button
2 — Parking Light, Daylight Running
Lights, Headlight Switch
3 — Instrument Panel Dimmer
4 — Rear Fog Light Button
5 — Stop/Start Button
34
GETTING TO KNOW YOUR VEHICLE
Page 37 of 268
Daytime Running Lights
(DRL)
With the ignition in the ON position and
the light switch turned to the
position, if the dusk sensor detects
sufficient external light, the Daytime
Running Lights will turn on
automatically while the other lights
remain off.
If the turn signals are operated, the
brightness of the corresponding
Daytime Running Lights will be
decreased as long as the turn signals
are on.
Non-Canadian Markets
If equipped, the DRL can be
activated/deactivated from the Connect
system, by selecting the following
functions in sequence on the main
MENU: "Settings", "Lights" and
"Daytime Lights".
Rear Fog Light
The rear fog light switch is integrated
with the headlight switch.
Push the
button to turn the fog lights
on/off.
The rear fog lights turn on only when
the headlights or fog lights are turned
on. The light can be turned off by
pushing the
buttonagainorby
turning off the headlights.
When the engine is stopped with the
rear fog lights on, the rear fog lights will
be off the next time the engine is
started.
Parking Lights
Turn the headlight switch to theposition to turn parking lights on. All
of the parking lights will turn on for eight
minutes, and opening the door
activates an audible warning.
To leave only the lights on one side
(right/left) illuminated, you must move
the turn signal lever to the side that you
want to remain on. With the parking
lights on, the
warning light on the
instrument panel will come on.
Note: Turning the ignition switch to ON
turns off the parking lights, which were
on only illuminated on one side.
Headlight Off Delay
The “Headlight Off Delay” function
delays the switching off of the
headlights after the vehicle has been
stopped.
The function can be activated from the
Connect system by selecting the
following functions in sequence on the
main menu: “Settings”, “Lights” and
“Headlight Off Delay”.
The side lights and the headlights stay
on for a time that can be set between
30, 60, and 90 seconds.
Function Activation
With the headlights on, place the
ignition to the OFF position; the timer
will then start. Note:
To activate this function, the
headlights must be deactivated within
two minutes after the ignition has been
turned OFF.
Function Deactivation
This function is deactivated by
switching on the headlights, the side
lights, or by bringing the ignition device
to ON.
High Beam Headlights
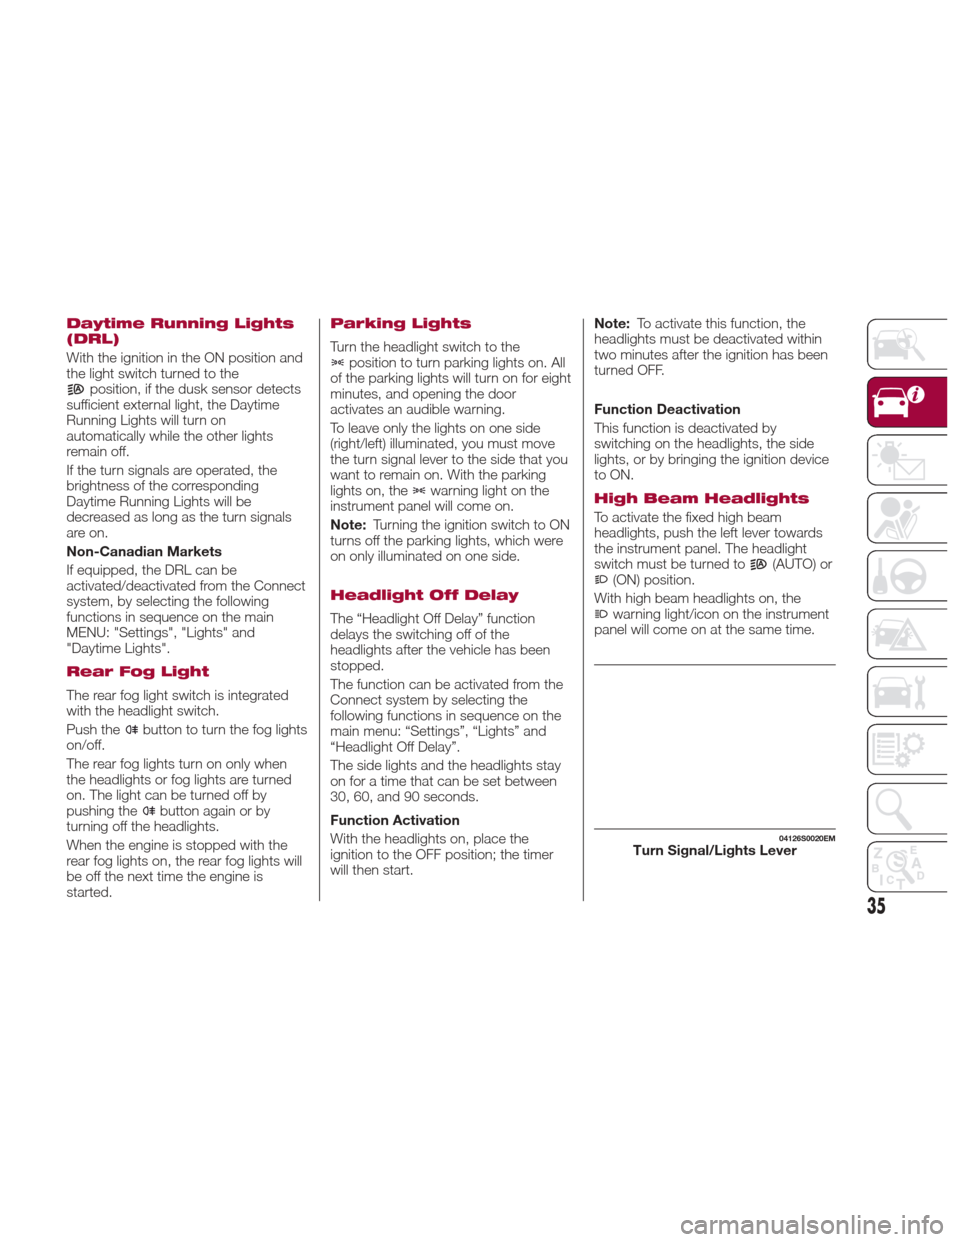
To activate the fixed high beam
headlights, push the left lever towards
the instrument panel. The headlight
switch must be turned to
(AUTO) or(ON) position.
With high beam headlights on, the
warning light/icon on the instrument
panel will come on at the same time.
04126S0020EMTurn Signal/Lights Lever
35
Page 42 of 268
WINDSHIELD
WIPERS
Windshield Wipers
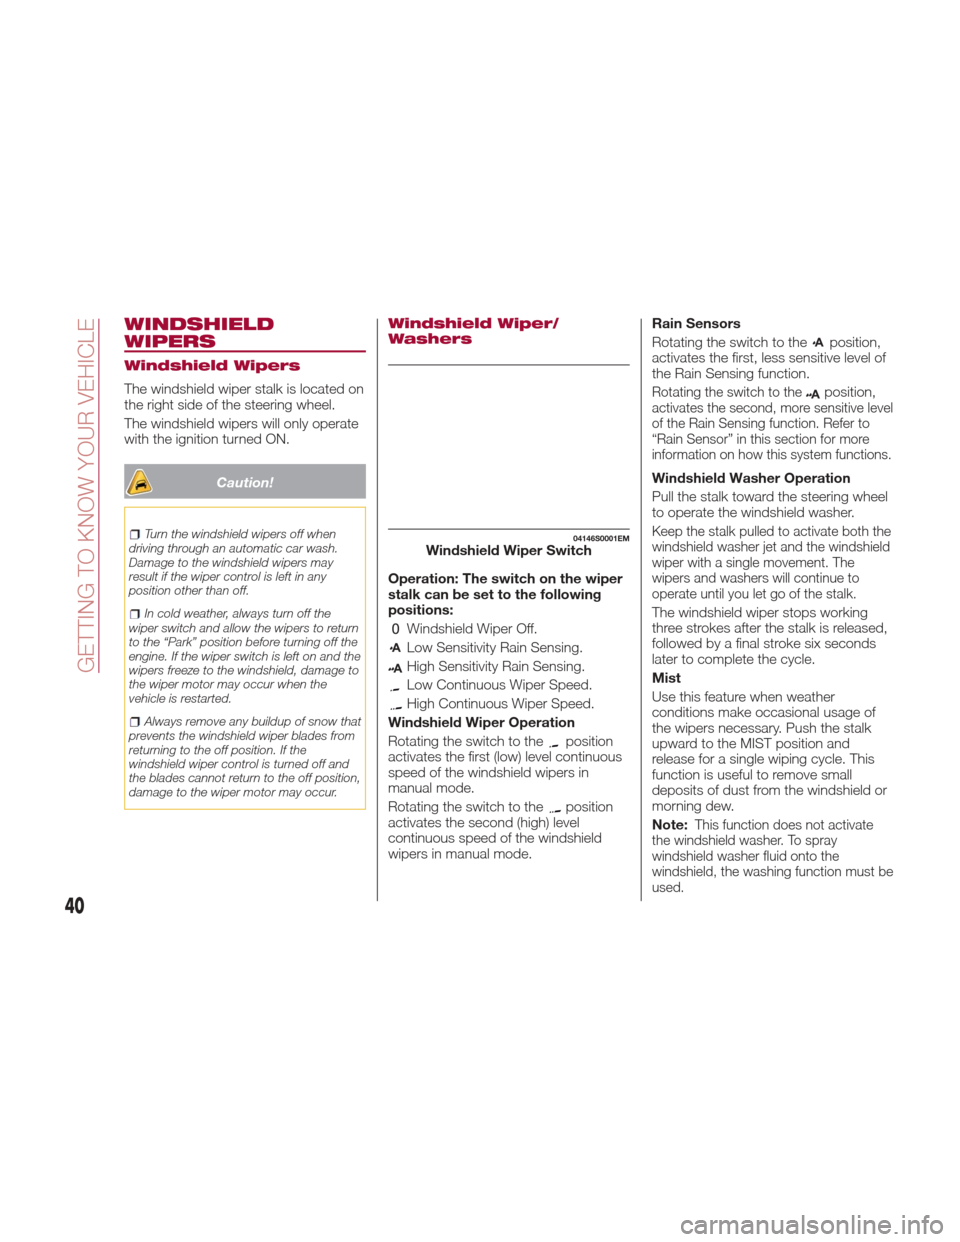
The windshield wiper stalk is located on
the right side of the steering wheel.
The windshield wipers will only operate
with the ignition turned ON.
Caution!
Turn the windshield wipers off when
driving through an automatic car wash.
Damage to the windshield wipers may
result if the wiper control is left in any
position other than off.
In cold weather, always turn off the
wiper switch and allow the wipers to return
to the “Park” position before turning off the
engine. If the wiper switch is left on and the
wipers freeze to the windshield, damage to
the wiper motor may occur when the
vehicle is restarted.
Always remove any buildup of snow that
prevents the windshield wiper blades from
returning to the off position. If the
windshield wiper control is turned off and
the blades cannot return to the off position,
damage to the wiper motor may occur.
Windshield Wiper/
Washers
Operation: The switch on the wiper
stalk can be set to the following
positions:
Windshield Wiper Off.
Low Sensitivity Rain Sensing.
High Sensitivity Rain Sensing.
Low Continuous Wiper Speed.
High Continuous Wiper Speed.
Windshield Wiper Operation
Rotating the switch to the
position
activates the first (low) level continuous
speed of the windshield wipers in
manual mode.
Rotating the switch to the
position
activates the second (high) level
continuous speed of the windshield
wipers in manual mode. Rain Sensors
Rotating the switch to the
position,
activates the first, less sensitive level of
the Rain Sensing function.
Rotating the switch to theposition,activates the second, more sensitive level
of the Rain Sensing function. Refer to
“Rain Sensor” in this section for more
information on how this system functions.
Windshield Washer Operation
Pull the stalk toward the steering wheel
to operate the windshield washer.
Keep the stalk pulled to activate both the
windshield washer jet and the windshield
wiper with a single movement. The
wipers and washers will continue to
operate until you let go of the stalk.
The windshield wiper stops working
three strokes after the stalk is released,
followed by a final stroke six seconds
later to complete the cycle.
Mist
Use this feature when weather
conditions make occasional usage of
the wipers necessary. Push the stalk
upward to the MIST position and
release for a single wiping cycle. This
function is useful to remove small
deposits of dust from the windshield or
morning dew.
Note:
This function does not activate
the windshield washer. To spray
windshield washer fluid onto the
windshield, the washing function must be
used.
04146S0001EMWindshield Wiper Switch
40
GETTING TO KNOW YOUR VEHICLE
Page 43 of 268
Warning!
Sudden loss of visibility through the
windshield could lead to a collision. You
might not see other vehicles or other
obstacles. To avoid sudden icing of the
windshield during freezing weather, warm
the windshield with the defroster before
and during windshield washer use.
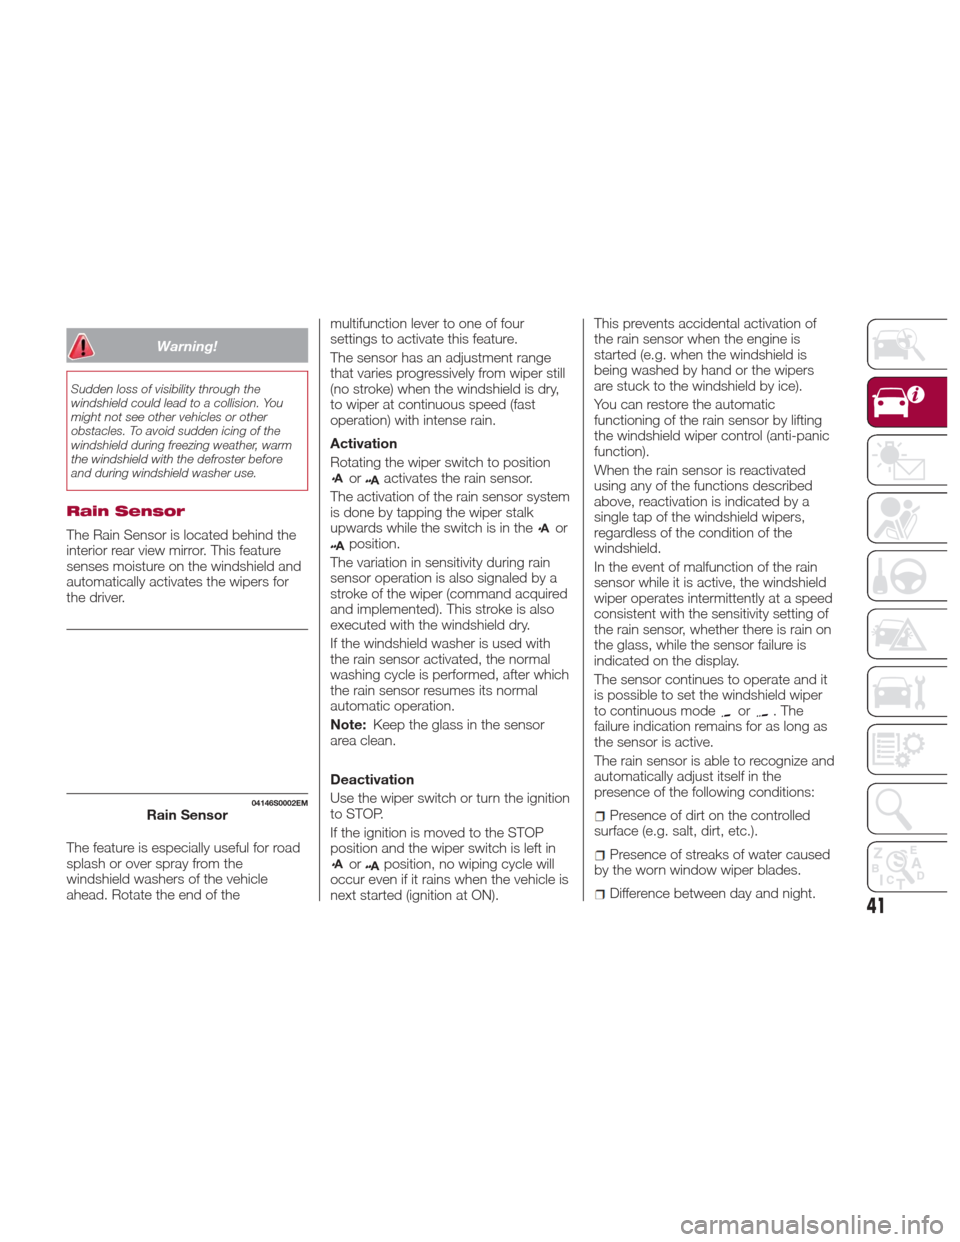
Rain Sensor
The Rain Sensor is located behind the
interior rear view mirror. This feature
senses moisture on the windshield and
automatically activates the wipers for
the driver.
The feature is especially useful for road
splash or over spray from the
windshield washers of the vehicle
ahead. Rotate the end of themultifunction lever to one of four
settings to activate this feature.
The sensor has an adjustment range
that varies progressively from wiper still
(no stroke) when the windshield is dry,
to wiper at continuous speed (fast
operation) with intense rain.
Activation
Rotating the wiper switch to position
oractivates the rain sensor.
The activation of the rain sensor system
is done by tapping the wiper stalk
upwards while the switch is in the
orposition.
The variation in sensitivity during rain
sensor operation is also signaled by a
stroke of the wiper (command acquired
and implemented). This stroke is also
executed with the windshield dry.
If the windshield washer is used with
the rain sensor activated, the normal
washing cycle is performed, after which
the rain sensor resumes its normal
automatic operation.
Note: Keep the glass in the sensor
area clean.
Deactivation
Use the wiper switch or turn the ignition
to STOP.
If the ignition is moved to the STOP
position and the wiper switch is left in
orposition, no wiping cycle will
occur even if it rains when the vehicle is
next started (ignition at ON). This prevents accidental activation of
the rain sensor when the engine is
started (e.g. when the windshield is
being washed by hand or the wipers
are stuck to the windshield by ice).
You can restore the automatic
functioning of the rain sensor by lifting
the windshield wiper control (anti-panic
function).
When the rain sensor is reactivated
using any of the functions described
above, reactivation is indicated by a
single tap of the windshield wipers,
regardless of the condition of the
windshield.
In the event of malfunction of the rain
sensor while it is active, the windshield
wiper operates intermittently at a speed
consistent with the sensitivity setting of
the rain sensor, whether there is rain on
the glass, while the sensor failure is
indicated on the display.
The sensor continues to operate and it
is possible to set the windshield wiper
to continuous mode
or.The
failure indication remains for as long as
the sensor is active.
The rain sensor is able to recognize and
automatically adjust itself in the
presence of the following conditions:
Presence of dirt on the controlled
surface (e.g. salt, dirt, etc.).
Presence of streaks of water caused
by the worn window wiper blades.
Difference between day and night.
04146S0002EMRain Sensor
41
Page 49 of 268
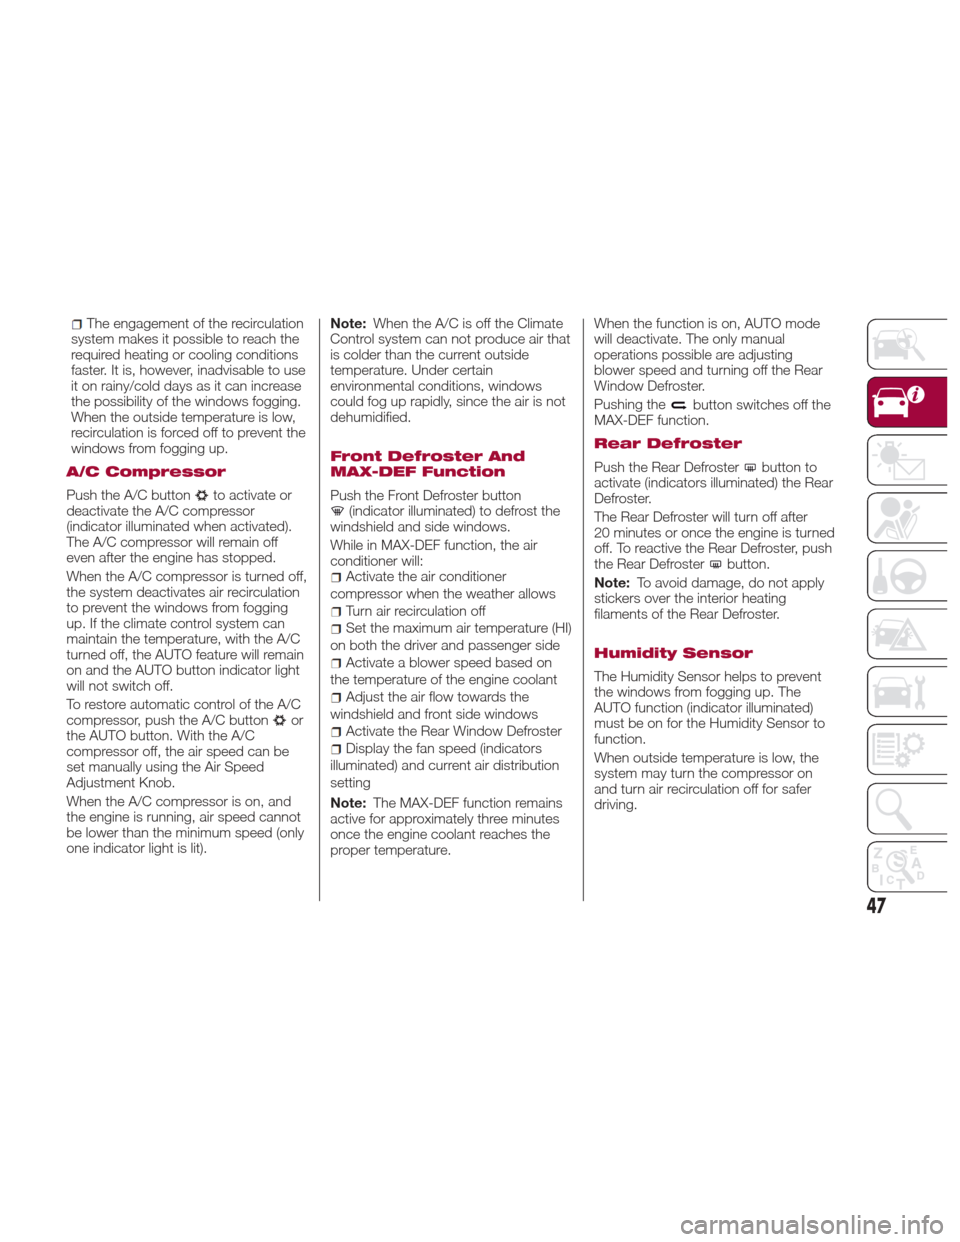
The engagement of the recirculation
system makes it possible to reach the
required heating or cooling conditions
faster. It is, however, inadvisable to use
it on rainy/cold days as it can increase
the possibility of the windows fogging.
When the outside temperature is low,
recirculation is forced off to prevent the
windows from fogging up.
A/C Compressor
Push the A/C buttonto activate or
deactivate the A/C compressor
(indicator illuminated when activated).
The A/C compressor will remain off
even after the engine has stopped.
When the A/C compressor is turned off,
the system deactivates air recirculation
to prevent the windows from fogging
up. If the climate control system can
maintain the temperature, with the A/C
turned off, the AUTO feature will remain
on and the AUTO button indicator light
will not switch off.
To restore automatic control of the A/C
compressor, push the A/C button
or
the AUTO button. With the A/C
compressor off, the air speed can be
set manually using the Air Speed
Adjustment Knob.
When the A/C compressor is on, and
the engine is running, air speed cannot
be lower than the minimum speed (only
one indicator light is lit). Note:
When the A/C is off the Climate
Control system can not produce air that
is colder than the current outside
temperature. Under certain
environmental conditions, windows
could fog up rapidly, since the air is not
dehumidified.
Front Defroster And
MAX-DEF Function
Push the Front Defroster button(indicator illuminated) to defrost the
windshield and side windows.
While in MAX-DEF function, the air
conditioner will:
Activate the air conditioner
compressor when the weather allows
Turn air recirculation off
Set the maximum air temperature (HI)
on both the driver and passenger side
Activate a blower speed based on
the temperature of the engine coolant
Adjust the air flow towards the
windshield and front side windows
Activate the Rear Window Defroster
Display the fan speed (indicators
illuminated) and current air distribution
setting
Note: The MAX-DEF function remains
active for approximately three minutes
once the engine coolant reaches the
proper temperature. When the function is on, AUTO mode
will deactivate. The only manual
operations possible are adjusting
blower speed and turning off the Rear
Window Defroster.
Pushing the
button switches off the
MAX-DEF function.
Rear Defroster
Push the Rear Defrosterbutton to
activate (indicators illuminated) the Rear
Defroster.
The Rear Defroster will turn off after
20 minutes or once the engine is turned
off. To reactive the Rear Defroster, push
the Rear Defroster
button.
Note: To avoid damage, do not apply
stickers over the interior heating
filaments of the Rear Defroster.
Humidity Sensor
The Humidity Sensor helps to prevent
the windows from fogging up. The
AUTO function (indicator illuminated)
must be on for the Humidity Sensor to
function.
When outside temperature is low, the
system may turn the compressor on
and turn air recirculation off for safer
driving.
47
Page 62 of 268
ENVIRONMENTAL
PROTECTION
SYSTEMS
The following systems are used for
reducing engine emissions:
Catalytic Converter
Oxygen Sensors
Evaporation Control System
ACTIVE
AERODYNAMICS
Front Mobile Spoiler
(Alfa Active Aero)
This is an automatic device, working at
the vehicle speed, which allows higher
reactivity at average speeds and higher
vehicle stability at high speeds,
regulating the air flow into the lower part
of the vehicle.
Note:
The system is not active in
temperatures near or below zero, or
when the “Alfa DNA Pro” selector is in
the "Normal" or "Advanced Efficiency"
positions.If there is a fault, a generic failure icon
will light up on the instrument panel
display, along with a message that will
identify the type of malfunction. See
your authorized dealer if a fault occurs.
GUID-04296S0001EMFront Facia
60
GETTING TO KNOW YOUR VEHICLE
Page 65 of 268
Tachometer
The Tachometer indicates the engine
Revolutions Per Minute (RPM).
Adjusting Instrument Panel Lighting
(Brightness Sensor)
Inside the Tachometer there is a light
sensor capable of detecting light and
adjusting the brightness of the
instrument panel and the Connect
system display.
Engine Oil Temperature
Gauge
The digital indicator monitors the
temperature of the engine oil and starts
supplying indications when the oil
temperature reaches approximately
122° F (50°C).Under normal usage, the temperature
should remain around the middle of the
digital scale according to the working
conditions.
The
warning light will turn on to
signal the excessive increase of the
engine oil temperature.
In the event of excessive engine oil
temperature, stop the engine
immediately and contact an authorized
dealer.
Fuel Level Gauge
The digital fuel gauge monitors the
amount of fuel in the tank.
When the
warning light turns on, a
message is displayed, and a chime is
sound when 2.38 Gallons (9.0 L) of fuel
are left in the tank. Note:
If the low fuel warning light turns
on, refuel the vehicle at your nearest
fuel station.
Caution!
Do not travel with the fuel tank almost
empty: any gaps in fuel supply could
damage the catalytic converter.
Speedometer
The speedometer shows the vehicle
speed in miles per hour and/or
kilometers per hour (mph/km/h).
63
Page 79 of 268
Warning LightWhat It Means What To Do
Caution!The TPMS has been optimized for the original
equipment tires and wheels. TPMS pressures and
warning have been established for the tire size
equipped on your vehicle. Undesirable system
operation or sensor damage may result when using
replacement equipment that is not of the same size,
type, and/or style. Aftermarket wheels can cause
sensor damage. Using aftermarket tire sealants may
cause the Tire Pressure Monitoring System (TPMS)
sensor to become inoperable. After using an
aftermarket tire sealant it is recommended that you
take your vehicle to an authorized dealership to have
your sensor function checked.
Do not continue driving with one or more flat tires as
handling may be compromised. Stop the vehicle,
avoiding sharp braking and steering. Immediately
restore the correct inflation pressure using the Tire
Repair Kit (refer to “Tire Repair Kit” in “In Case Of
Emergency”) and contact an authorized dealer as soon
as possible.
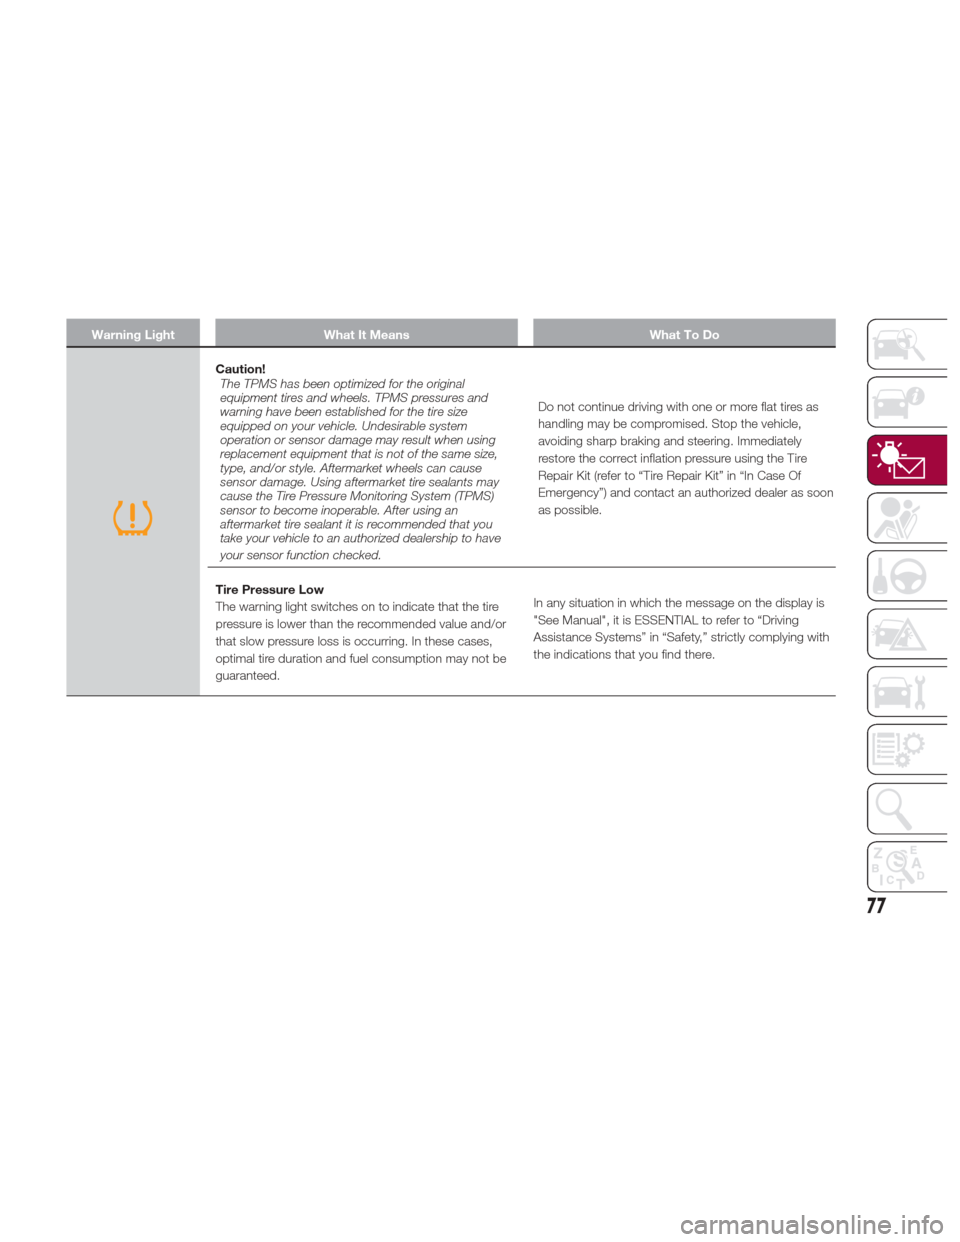
Tire Pressure Low
The warning light switches on to indicate that the tire
pressure is lower than the recommended value and/or
that slow pressure loss is occurring. In these cases,
optimal tire duration and fuel consumption may not be
guaranteed. In any situation in which the message on the display is
"See Manual", it is ESSENTIAL to refer to “Driving
Assistance Systems” in “Safety,” strictly complying with
the indications that you find there.
77
Page 88 of 268

Amber Symbols
SymbolWhat It Means What To Do
ENGINE IMMOBILIZER FAILURE / BREAK-IN ATTEMPT
Engine Immobilizer System Failure
The symbol switches on to report a failure of the Engine
Immobilizer system.Contact an authorized dealer as soon as possible.
Break-In Attempt
The symbol switches on when the ignition is moved to
ON position, to indicate a possible break-in attempt
detected by the alarm system.
Electronic Key Not Recognized
The symbol switches on when the engine is started and
the electronic key is not recognized by the system.
Alarm System Failure
This symbol switches on to report an alarm system
failure.
FUEL CUT-OFF SYSTEM OPERATION
This telltale will illuminate after an accident has
occurred, and the system has shut the fuel off. For reactivating the fuel cut-off system, refer to
"Occupant Restraint Systems" in "Safety.” If it is not
possible to restore the fuel supply, contact an
authorized dealer.
PARK SENSORS SYSTEM FAILURE
Lights up when the system has failed or is not available.
Contact an authorized dealer to have the system
checked.
POSSIBLE ICE ON ROAD
The symbol turns on when the outside temperature falls
to or below 37°F.
86
GETTING TO KNOW YOUR INSTRUMENT PANEL
Page 90 of 268

SymbolWhat It Means What To Do
ENGINE OIL PRESSURE SENSOR FAILURE
The symbol switches on in the event of engine oil
pressure sensor failure.Contact an authorized dealer as soon as possible.
ENGINE OIL LEVEL SENSOR FAILURE
The symbol switches on in the event of engine oil level
sensor failure.Contact an authorized dealer as soon as possible.
FORWARD COLLISION WARNING (FCW) SYSTEM
FAILURE
The symbol switches on in the case of failure of the
Forward Collision Warning system.Contact an authorized dealer as soon as possible.
START & STOP EVO SYSTEM FAILURE
This symbol switches on to report a Stop & Start Evo
system failure.Contact an authorized dealer as soon as possible to
have the failure eliminated.
RAIN SENSOR FAILURE
The symbol switches on in the case of failure of the
automatic windshield wiper.
Contact an authorized dealer as soon as possible.
DUSK SENSOR FAILURE
The symbol switches on in the case of failure of the
automatic low beam alignment.Contact an authorized dealer as soon as possible.
BLIND SPOT MONITORING SYSTEM FAILURE
The symbol comes on in the event of a Blind Spot
Monitoring system failure.Contact an authorized dealer as soon as possible.
FUEL LEVEL SENSOR FAILURE
The symbol switches on in the event of fuel level sensor
failure.Contact an authorized dealer as soon as possible.
88
GETTING TO KNOW YOUR INSTRUMENT PANEL