charging Alfa Romeo Giulia 2018 Owner's Manual
[x] Cancel search | Manufacturer: ALFA ROMEO, Model Year: 2018, Model line: Giulia, Model: Alfa Romeo Giulia 2018Pages: 260, PDF Size: 6 MB
Page 189 of 260
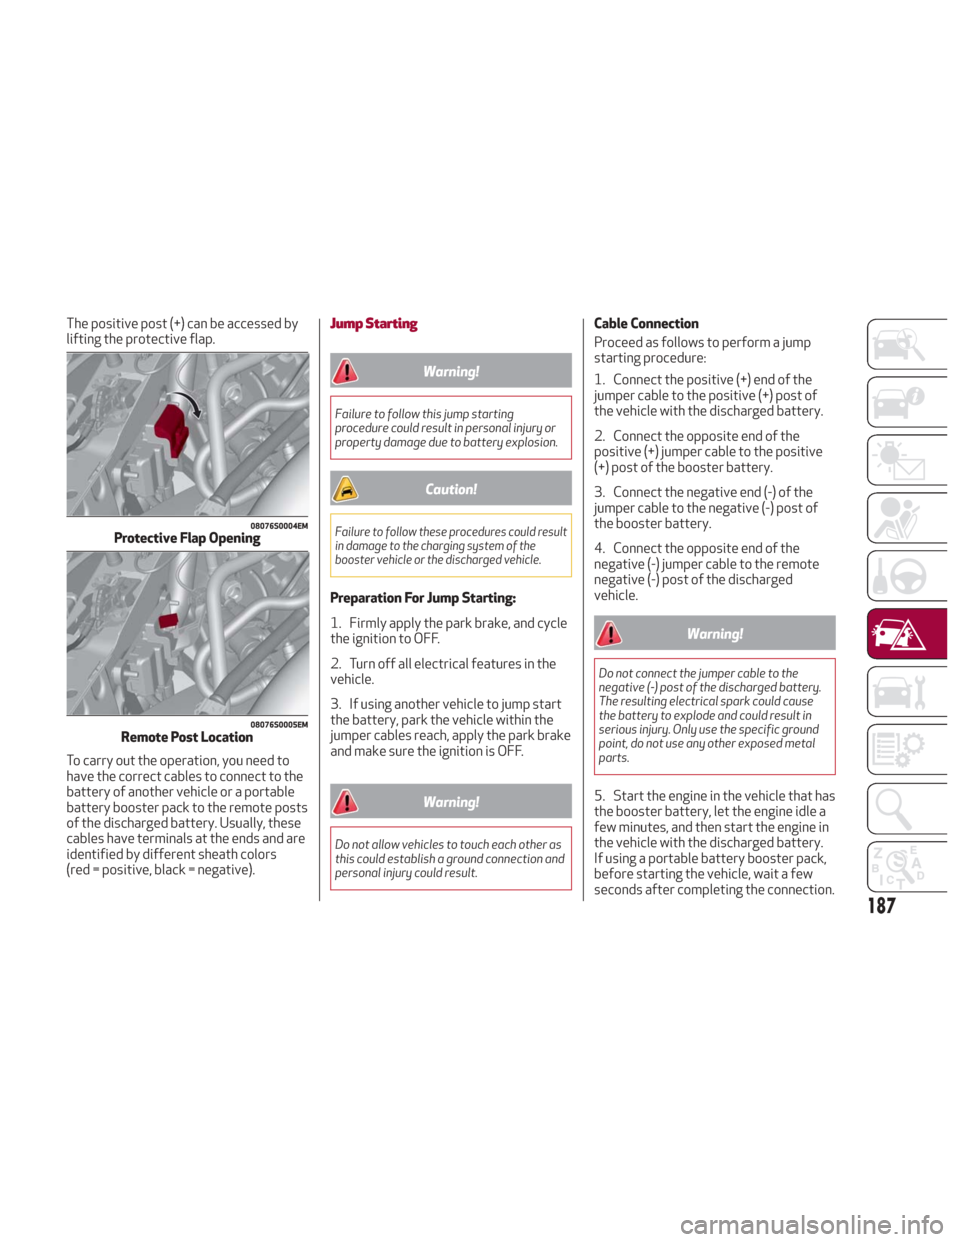
The positive post (+) can be accessed by
lifting the protective flap.
To carry out the operation, you need to
have the correct cables to connect to the
battery of another vehicle or a portable
battery booster pack to the remote posts
of the discharged battery. Usually, these
cables have terminals at the ends and are
identified by different sheath colors
(red = positive, black = negative).Jump Starting
Warning!
Failure to follow this jump starting
procedure could result in personal injury or
property damage due to battery explosion.
Caution!
Failure to follow these procedures could result
in damage to the charging system of the
booster vehicle or the discharged vehicle.
Preparation For Jump Starting:
1. Firmly apply the park brake, and cycle
the ignition to OFF.
2. Turn off all electrical features in the
vehicle.
3. If using another vehicle to jump start
the battery, park the vehicle within the
jumper cables reach, apply the park brake
and make sure the ignition is OFF.
Warning!
Do not allow vehicles to touch each other as
this could establish a ground connection and
personal injury could result.
Cable Connection
Proceed as follows to perform a jump
starting procedure:
1. Connect the positive (+) end of the
jumper cable to the positive (+) post of
the vehicle with the discharged battery.
2. Connect the opposite end of the
positive (+) jumper cable to the positive
(+) post of the booster battery.
3. Connect the negative end (-) of the
jumper cable to the negative (-) post of
the booster battery.
4. Connect the opposite end of the
negative (-) jumper cable to the remote
negative (-) post of the discharged
vehicle.
Warning!
Do not connect the jumper cable to the
negative (-) post of the discharged battery.
The resulting electrical spark could cause
the battery to explode and could result in
serious injury. Only use the specific ground
point, do not use any other exposed metal
parts.
5. Start the engine in the vehicle that has
the booster battery, let the engine idle a
few minutes, and then start the engine in
the vehicle with the discharged battery.
If using a portable battery booster pack,
before starting the vehicle, wait a few
seconds after completing the connection.
08076S0004EMProtective Flap Opening
08076S0005EMRemote Post Location
187
Page 190 of 260
Cable Disconnection
Once the engine is started, remove the
connection cables in reverse sequence,
as described below:
1. Disconnect the negative (-) jumper
cable from the remote negative (-) post
of the discharged vehicle.
2. Disconnect the negative end (-) of the
jumper cable from the negative (-) post of
the booster battery.
3. Disconnect the opposite end of the
positive (+) jumper cable from the
positive (+) post of the booster battery.
4. Disconnect the positive (+) end of the
jumper cable from the positive (+) post of
the vehicle with the discharged battery.
If frequent jump starting is required to
start your vehicle, you should have the
battery and charging system inspected at
your authorized dealer.
Caution!
Accessories plugged into the vehicle power
outlets draw power from the vehicle’s
battery, even when not in use (i.e., cellular
phones, etc.). Eventually, if plugged in long
enough without engine operation, the
vehicle’s battery will discharge sufficiently
to degrade battery life and/or prevent the
engine from starting.
Bump Starting
Never jump start the engine by pushing,
towing or coasting downhill.
Note:You cannot start a vehicle with an
automatic transmission by pushing it.
REFUELING IN EMERGENCY
Refueling in an emergency is described in
"Refueling The Vehicle" in "Starting And
Operating".
188
IN CASE OF EMERGENCY
Page 195 of 260
SERVICING AND MAINTENANCE
Correct servicing permits the
performance of the vehicle to be
maintained over time, as well as limited
running costs and safeguarding the
efficiency of the safety systems.
This chapter explains how.SCHEDULED SERVICING.......194
ENGINE COMPARTMENT .......198
BATTERY RECHARGING ........201
DEALER SERVICE ............202
RAISING THE VEHICLE .........208
TIRES .................. .208
DEPARTMENT OF TRANSPORTATION
UNIFORM TIRE QUALITY GRADES . .224
STORING THE VEHICLE........225
BODYWORK...............226
INTERIORS ............... .228
193
Page 203 of 260
Battery gas is flammable and explosive.
Keep flame or sparks away from the
battery. Do not use a booster battery or any
other booster source with an output greater
than 12 Volts. Do not allow cable clamps to
touch each other.
Battery posts, terminals, and related
accessories contain lead and lead
compounds. Wash hands after handling.
Note: It will not be possible to open the
trunk with a key or by pressing the button
in the passenger compartment when the
battery is disconnected. So, always
position the manual trunk opening strap
on the trunk lock before disconnecting
the battery. The procedure is described in
the "Storing The Vehicle" paragraph in
this chapter.
BATTERY RECHARGING
Important Notes
Warning!
Never charge or recharge a frozen
battery: it may explode because of the
nitrogen trapped inside the ice crystals.
At all times while charging or recharging
the battery, make sure that any sparks or
open flames are kept sufficiently far away
from the battery.
Note:
Before using the charging device,
always make sure that it is appropriate
for the installed battery, with constant
voltage (below 14.8 V) and low
amperage (maximum 15 A).
Recharge the battery in a well
ventilated environment.
Before using any devices to charge or
to maintain the charge of the battery,
carefully follow the instructions provided
with the device in order to properly and
safely connect it to the car battery.
You can recharge the battery without
disconnecting the wires of the vehicle's
electrical system.
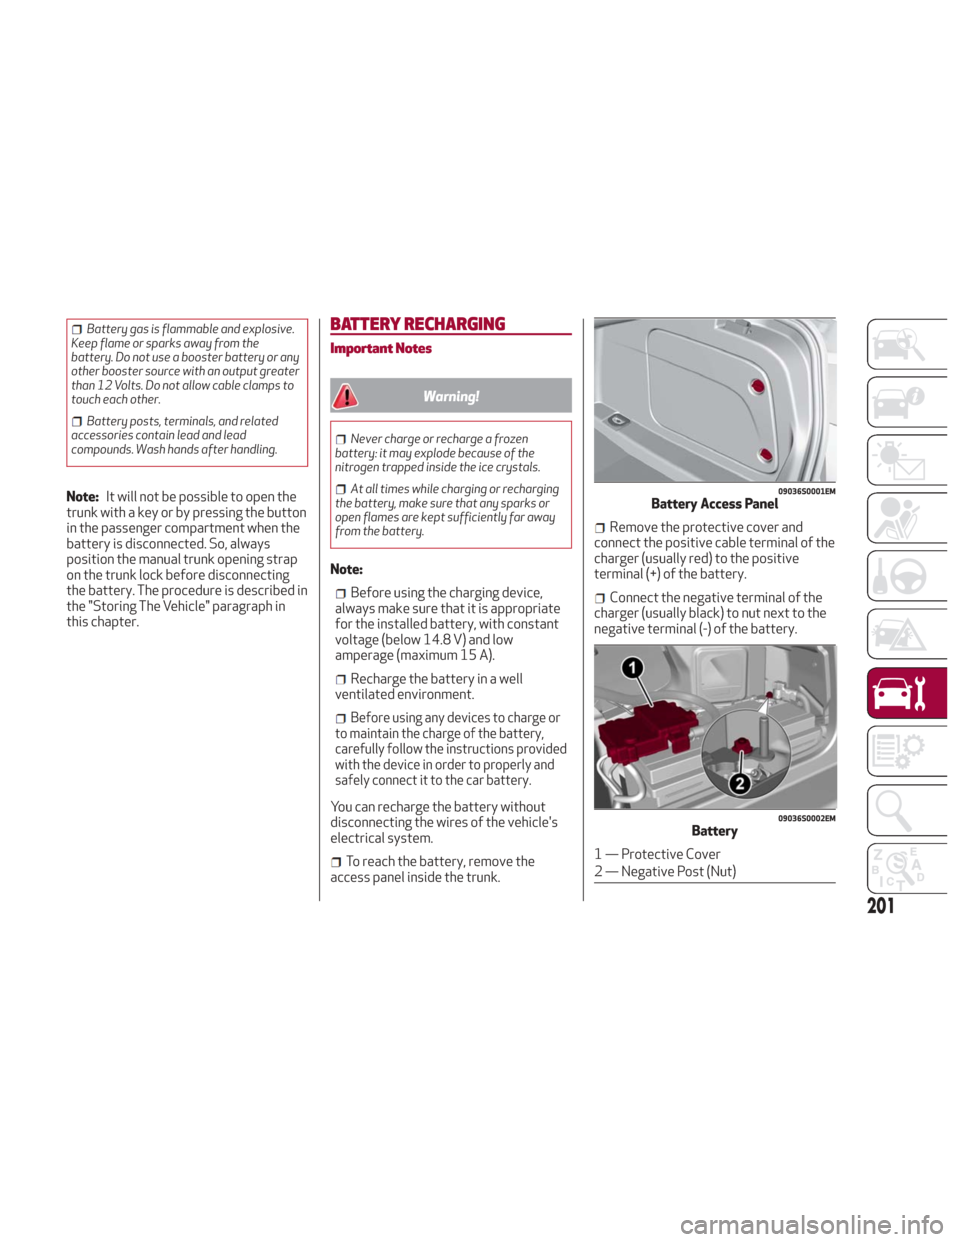
To reach the battery, remove the
access panel inside the trunk.
Remove the protective cover and
connect the positive cable terminal of the
charger (usually red) to the positive
terminal (+) of the battery.
Connect the negative terminal of the
charger (usually black) to nut next to the
negative terminal (-) of the battery.
09036S0001EMBattery Access Panel
09036S0002EMBattery
1 — Protective Cover
2 — Negative Post (Nut)
201
Page 253 of 260
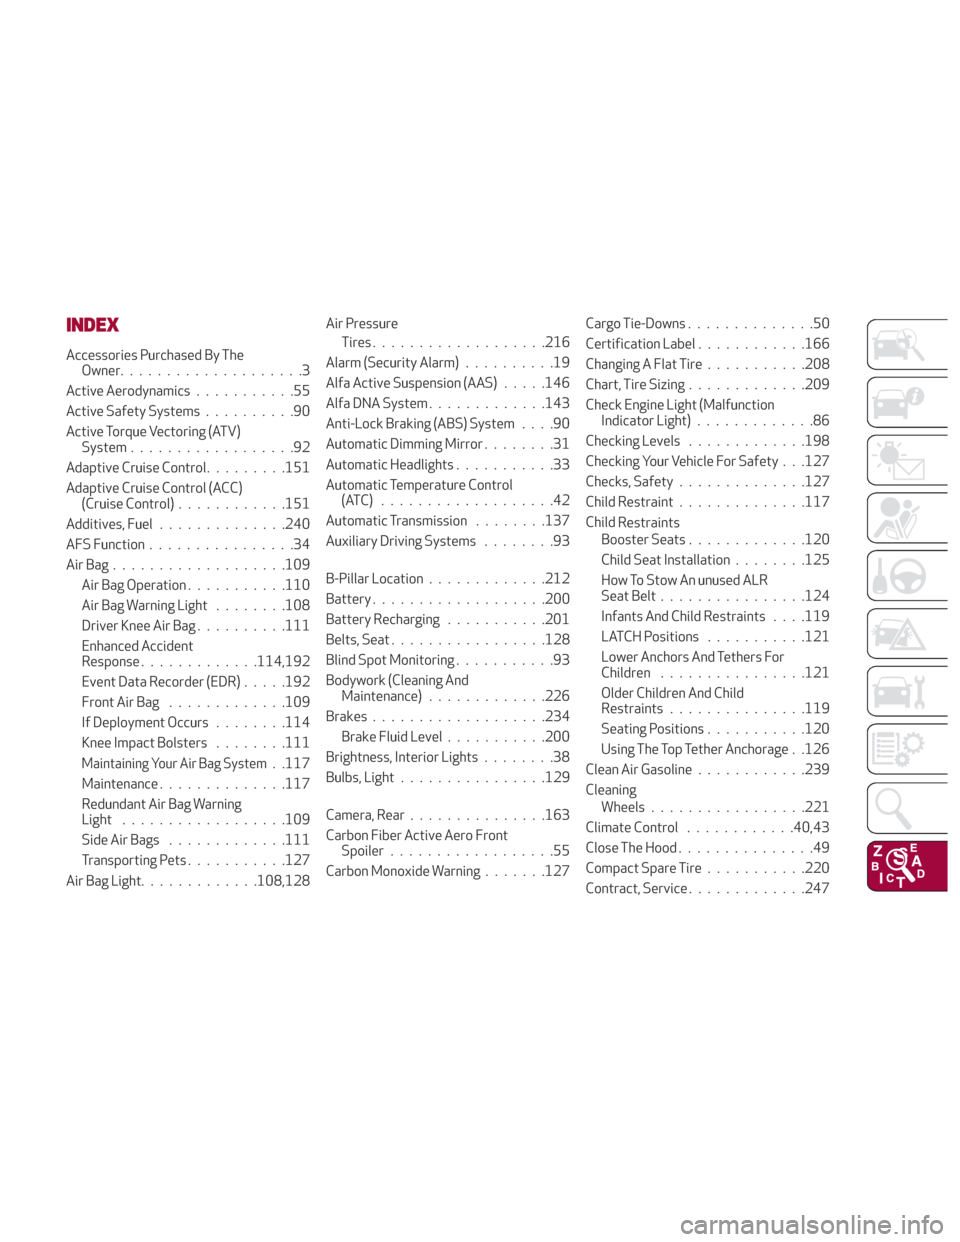
INDEX
Accessories Purchased By TheOwner....................3
Active Aerodynamics ...........55
Active Safety Systems ..........90
Active Torque Vectoring (ATV) System ..................92
Adaptive Cruise Control .........151
Adaptive Cruise Control (ACC) (Cruise Control) ............151
Additives, Fuel ............. .240
AFS Function ................34
AirBag.................. .109
Air Bag Operation ...........110
Air Bag Warning Light ........108
Driver Knee Air Bag ..........111
Enhanced Accident
Response .............114,192
Event Data Recorder (EDR) .....192
Front Air Bag .............109
If Deployment Occurs ........114
Knee Impact Bolsters ........111
Maintaining Your Air Bag System. .117
Maintenance ............. .117
Redundant Air Bag Warning
Light ................. .109
Side Air Bags .............111
Transporting Pets ...........127
Air Bag Light .............108,128 Air Pressure
Tires .................. .216
Alarm (Security Alarm) ..........19
Alfa Active Suspension (AAS) .....146
Alfa DNA System .............143
Anti-Lock Braking (ABS) System ....90
Automatic Dimming Mirror ........31
Automatic Headlights ...........33
Automatic Temperature Control (ATC) ...................42
Automatic Transmission ........137
Auxiliary Driving Systems ........93
B-Pillar Location .............212
Battery .................. .200
Battery Recharging ...........201
Belts, Seat ................ .128
Blind Spot Monitoring ...........93
Bodywork (Cleaning And Maintenance) .............226
Brakes .................. .234
Brake Fluid Level ...........200
Brightness, Interior Lights ........38
Bulbs, Light ............... .129
Camera, Rear .............. .163
Carbon Fiber Active Aero Front Spoiler ..................55
Carbon Monoxide Warning .......127Cargo Tie-Downs
..............50
Certification Label ............166
Changing A Flat Tire ...........208
Chart, Tire Sizing .............209
Check Engine Light (Malfunction Indicator Light) .............86
Checking Levels .............198
Checking Your Vehicle For Safety . . .127
Checks, Safety ..............127
Child Restraint ..............117
Child
Restraints
Booster Seats .............120
Child Seat Installation ........125
How To Stow An unused ALR
Seat Belt ............... .124
Infants And Child Restraints . . . .119
LATCH Positions ...........121
Lower Anchors And Tethers For
Children ............... .121
Older Children And Child
Restraints .............. .119
Seating Positions ...........120
Using The Top Tether Anchorage . .126
Clean Air Gasoline ............239
Cleaning Wheels ................ .221
Climate Control ............40,43
Close The Hood ...............49
Compact Spare Tire ...........220
Contract, Service .............247