fuses Alfa Romeo Giulia 2019 Owner's Manual
[x] Cancel search | Manufacturer: ALFA ROMEO, Model Year: 2019, Model line: Giulia, Model: Alfa Romeo Giulia 2019Pages: 232, PDF Size: 4.87 MB
Page 141 of 232
A punctured tyre or a burnt-out bulb?
At times, a problem may interfere with our journey.
The pages on emergencies can help you to deal with critical
situations independently and with calm.
In an emergency we recommend that you call the freephone
number found in the Warranty Booklet.
It is also possible to call the national or international universal
freephone number to search for the nearest Alfa Romeo
Dealership.
IN AN EMERGENCY
HAZARD WARNING LIGHTS.......................140
CHANGING A BULB............................140
REPLACING FUSES . ...........................146
TIRE REPAIR KIT . .............................151
RUN FLAT TYRES.............................153
EMERGENCY STARTING . . .......................154
FUEL CUT-OFF SYSTEM . ........................156
AUTOMATIC TRANSMISSION GEAR LEVER UNLOCKING.....156
BROKEN-DOWN VEHICLE TOWING..................157
TOWING THE VEHICLE..........................157
Page 142 of 232
HAZARD WARNING LIGHTS
CONTROL
58)
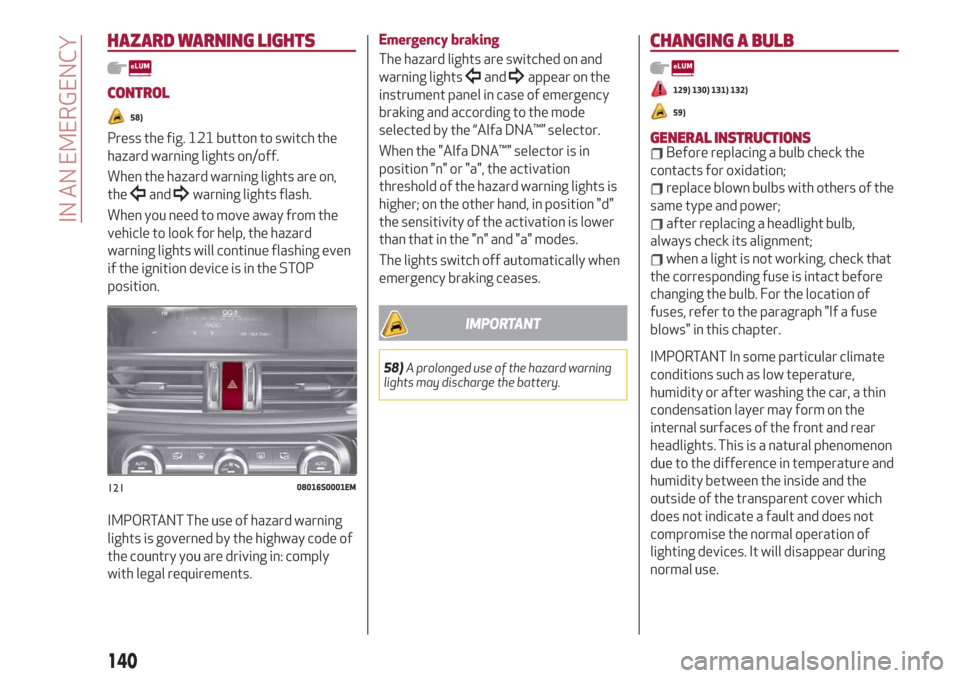
Press the fig. 121 button to switch the
hazard warning lights on/off.
When the hazard warning lights are on,
the
andwarning lights flash.
When you need to move away from the
vehicle to look for help, the hazard
warning lights will continue flashing even
if the ignition device is in the STOP
position.
IMPORTANT The use of hazard warning
lights is governed by the highway code of
the country you are driving in: comply
with legal requirements.
Emergency braking
The hazard lights are switched on and
warning lights
andappear on the
instrument panel in case of emergency
braking and according to the mode
selected by the “Alfa DNA™” selector.
When the "Alfa DNA™" selector is in
position "n" or "a", the activation
threshold of the hazard warning lights is
higher; on the other hand, in position "d"
the sensitivity of the activation is lower
than that in the "n" and "a" modes.
The lights switch off automatically when
emergency braking ceases.
IMPORTANT
58)A prolonged use of the hazard warning
lights may discharge the battery.
CHANGING A BULB
129) 130) 131) 132)
59)
GENERAL INSTRUCTIONSBefore replacing a bulb check the
contacts for oxidation;
replace blown bulbs with others of the
same type and power;
after replacing a headlight bulb,
always check its alignment;
when a light is not working, check that
the corresponding fuse is intact before
changing the bulb. For the location of
fuses, refer to the paragraph "If a fuse
blows" in this chapter.
IMPORTANT In some particular climate
conditions such as low teperature,
humidity or after washing the car, a thin
condensation layer may form on the
internal surfaces of the front and rear
headlights. This is a natural phenomenon
due to the difference in temperature and
humidity between the inside and the
outside of the transparent cover which
does not indicate a fault and does not
compromise the normal operation of
lighting devices. It will disappear during
normal use.
12108016S0001EM
140
IN AN EMERGENCY
Page 148 of 232
REPLACING FUSES
INTRODUCTION
133) 134) 135) 136) 137)
60) 61)
Fuses protect the electrical system: they
intervene (blow) in the event of a failure
or improper action on the system.
Fuse extracting pliers
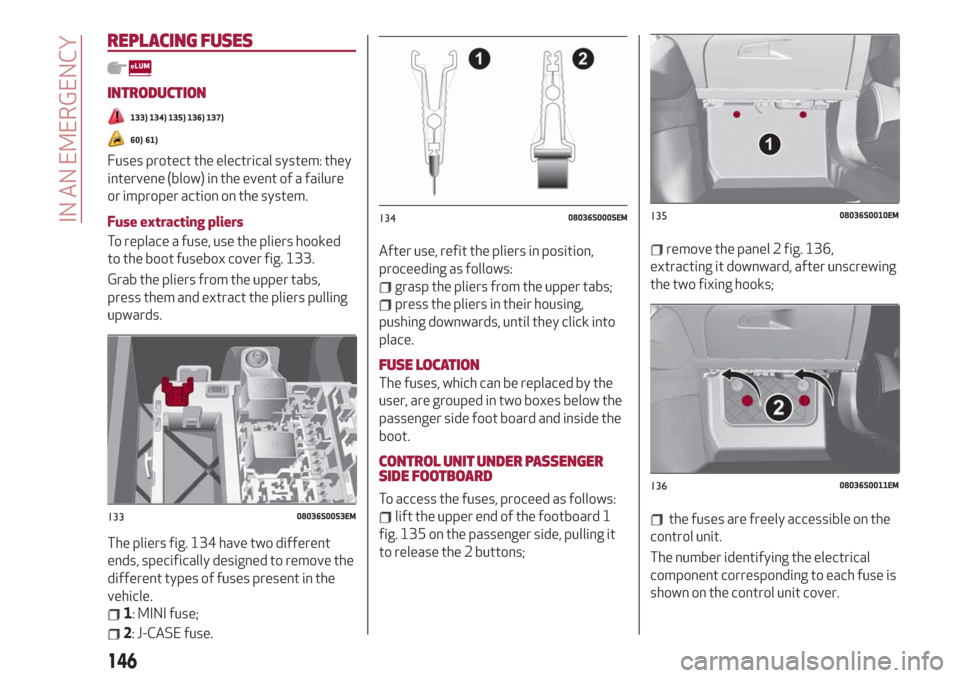
To replace a fuse, use the pliers hooked
to the boot fusebox cover fig. 133.
Grab the pliers from the upper tabs,
press them and extract the pliers pulling
upwards.
The pliers fig. 134 have two different
ends, specifically designed to remove the
different types of fuses present in the
vehicle.
1: MINI fuse;
2: J-CASE fuse.After use, refit the pliers in position,
proceeding as follows:
grasp the pliers from the upper tabs;
press the pliers in their housing,
pushing downwards, until they click into
place.
FUSE LOCATION
The fuses, which can be replaced by the
user, are grouped in two boxes below the
passenger side foot board and inside the
boot.
CONTROL UNIT UNDER PASSENGER
SIDE FOOTBOARD
To access the fuses, proceed as follows:
lift the upper end of the footboard 1
fig. 135 on the passenger side, pulling it
to release the 2 buttons;
remove the panel 2 fig. 136,
extracting it downward, after unscrewing
the two fixing hooks;
the fuses are freely accessible on the
control unit.
The number identifying the electrical
component corresponding to each fuse is
shown on the control unit cover.13308036S0053EM
13408036S0005EM13508036S0010EM
13608036S0011EM
146
IN AN EMERGENCY
Page 149 of 232
LUGGAGE COMPARTMENT FUSE BOX
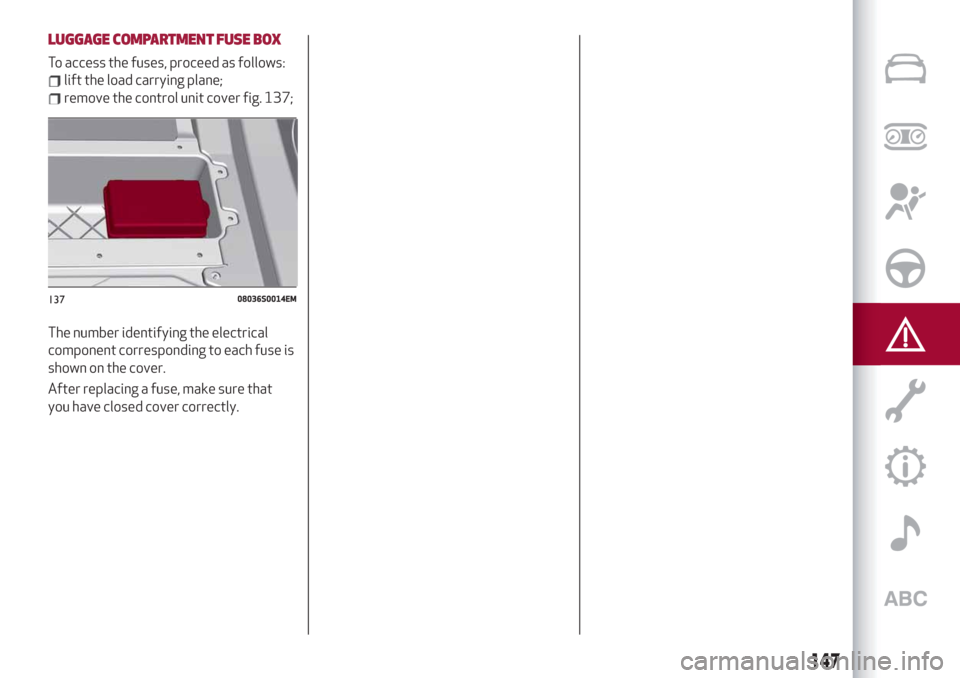
To access the fuses, proceed as follows:
lift the load carrying plane;
remove the control unit cover fig. 137;
The number identifying the electrical
component corresponding to each fuse is
shown on the cover.
After replacing a fuse, make sure that
you have closed cover correctly.
13708036S0014EM
147
Page 228 of 232
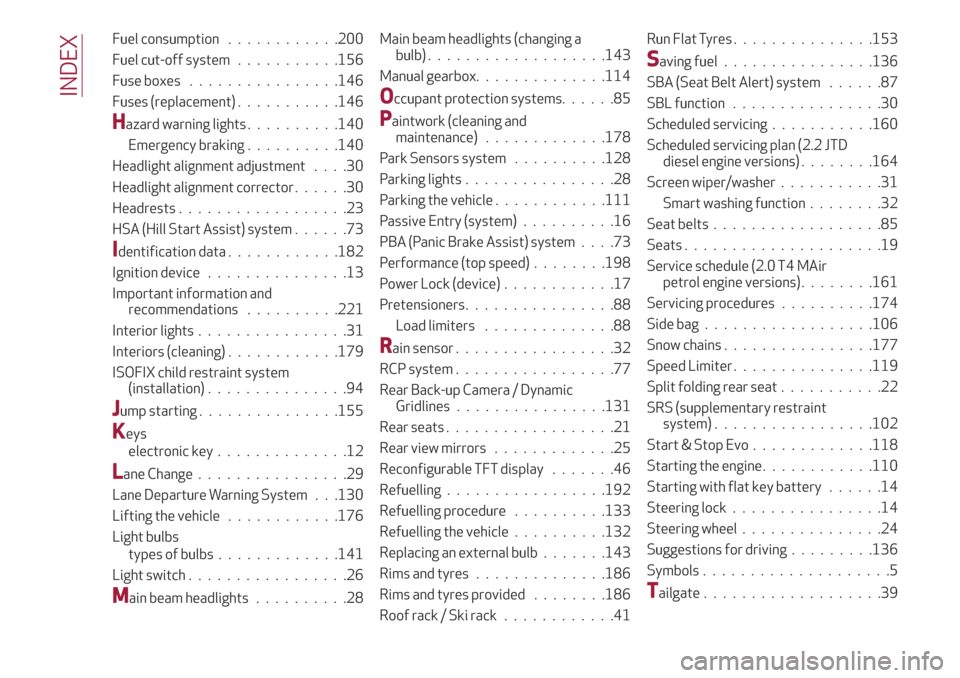
Fuel consumption............200
Fuel cut-off system...........156
Fuse boxes................146
Fuses (replacement)...........146
Hazard warning lights..........140
Emergency braking..........140
Headlight alignment adjustment....30
Headlight alignment corrector......30
Headrests..................23
HSA (Hill Start Assist) system......73
Identification data............182
Ignition device...............13
Important information and
recommendations..........221
Interior lights................31
Interiors (cleaning)............179
ISOFIX child restraint system
(installation)...............94
Jump starting...............155
Keys
electronic key..............12
Lane Change................29
Lane Departure Warning System . . .130
Lifting the vehicle............176
Light bulbs
types of bulbs.............141
Light switch.................26
Main beam headlights..........28Main beam headlights (changing a
bulb)...................143
Manual gearbox..............114
Occupant protection systems......85
Paintwork (cleaning and
maintenance).............178
Park Sensors system..........128
Parking lights................28
Parking the vehicle............111
Passive Entry (system)..........16
PBA (Panic Brake Assist) system....73
Performance (top speed)........198
Power Lock (device)............17
Pretensioners................88
Load limiters..............88
Rain sensor.................32
RCP system.................77
Rear Back-up Camera / Dynamic
Gridlines................131
Rear seats..................21
Rear view mirrors.............25
Reconfigurable TFT display.......46
Refuelling.................192
Refuelling procedure..........133
Refuelling the vehicle..........132
Replacing an external bulb.......143
Rims and tyres..............186
Rims and tyres provided........186
Roof rack / Ski rack............41Run Flat Tyres . ..............153
Saving fuel................136
SBA (Seat Belt Alert) system......87
SBL function . . ..............30
Scheduled servicing...........160
Scheduled servicing plan (2.2 JTD
diesel engine versions) . . ......164
Screen wiper/washer...........31
Smart washing function........32
Seat belts..................85
Seats.....................19
Service schedule (2.0 T4 MAir
petrol engine versions) . . ......161
Servicing procedures..........174
Side bag..................106
Snow chains................177
Speed Limiter . ..............119
Split folding rear seat...........22
SRS (supplementary restraint
system).................102
Start & Stop Evo.............118
Starting the engine............110
Starting with flat key battery......14
Steering lock . . ..............14
Steering wheel...............24
Suggestions for driving .........136
Symbols....................5
Tailgate...................39
INDEX