tow Alfa Romeo Giulia Quadrifoglio 2017 Owner's Manual
[x] Cancel search | Manufacturer: ALFA ROMEO, Model Year: 2017, Model line: Giulia Quadrifoglio, Model: Alfa Romeo Giulia Quadrifoglio 2017Pages: 268, PDF Size: 110.98 MB
Page 31 of 268
Warning!
Persons who are unable to feel pain to
the skin because of advanced age, chronic
illness, diabetes, spinal cord injury,
medication, alcohol use, exhaustion or
other physical condition must exercise care
when using the seat heater. It may cause
burns even at low temperatures, especially
if used for long periods of time
Do not place anything on the seat or
seatback that insulates against heat, such
as a blanket or cushion. This may cause
the seat heater to overheat. Sitting in a seat
that has been overheated could cause
serious burns due to the increased surface
temperature of the seat.
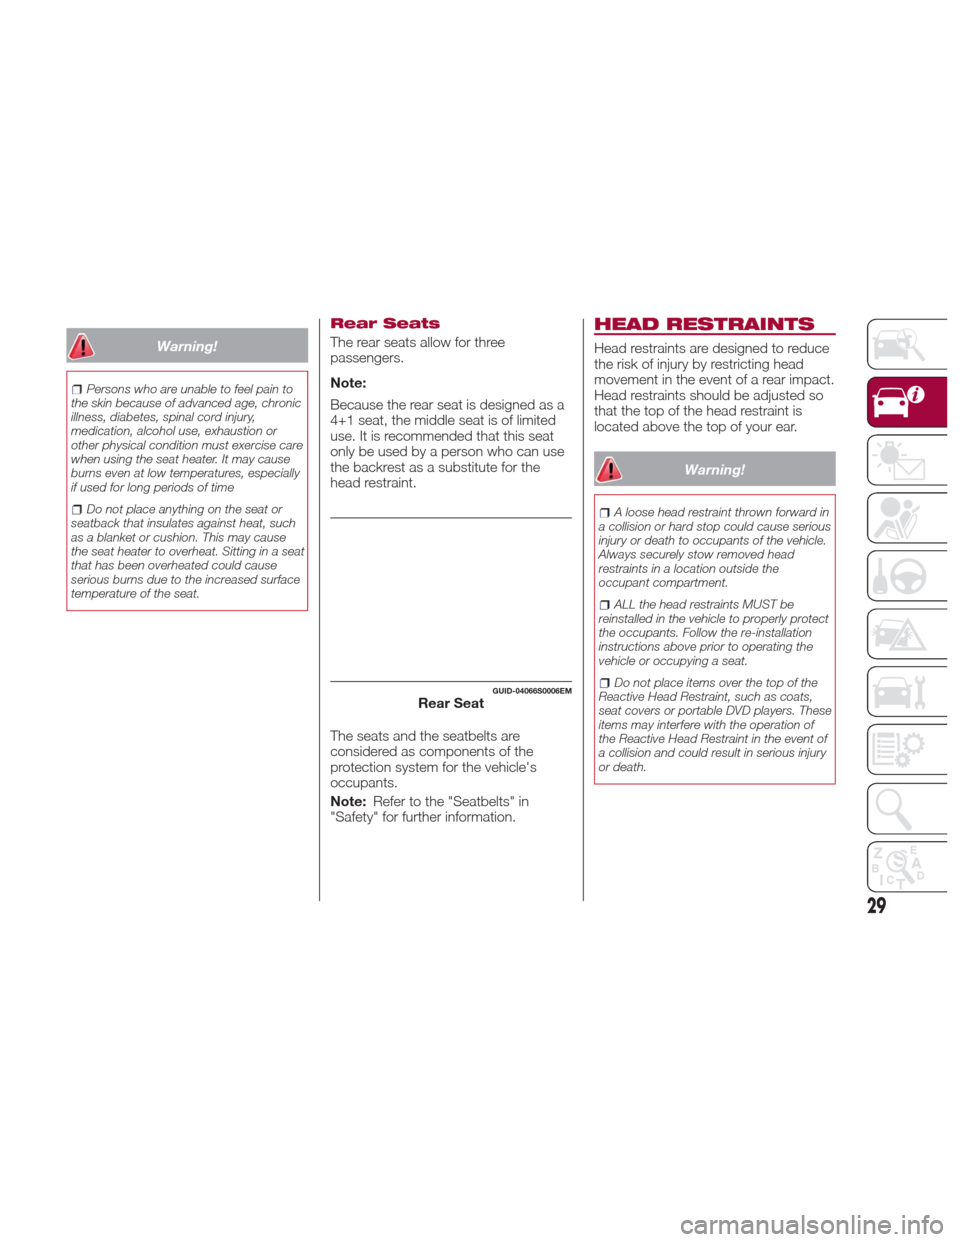
Rear Seats
The rear seats allow for three
passengers.
Note:
Because the rear seat is designed as a
4+1 seat, the middle seat is of limited
use. It is recommended that this seat
only be used by a person who can use
the backrest as a substitute for the
head restraint.
The seats and the seatbelts are
considered as components of the
protection system for the vehicle's
occupants.
Note: Refer to the "Seatbelts" in
"Safety" for further information.
HEAD RESTRAINTS
Head restraints are designed to reduce
the risk of injury by restricting head
movement in the event of a rear impact.
Head restraints should be adjusted so
that the top of the head restraint is
located above the top of your ear.
Warning!
A loose head restraint thrown forward in
a collision or hard stop could cause serious
injury or death to occupants of the vehicle.
Always securely stow removed head
restraints in a location outside the
occupant compartment.
ALL the head restraints MUST be
reinstalled in the vehicle to properly protect
the occupants. Follow the re-installation
instructions above prior to operating the
vehicle or occupying a seat.
Do not place items over the top of the
Reactive Head Restraint, such as coats,
seat covers or portable DVD players. These
items may interfere with the operation of
the Reactive Head Restraint in the event of
a collision and could result in serious injury
or death.GUID-04066S0006EMRear Seat
29
Page 33 of 268
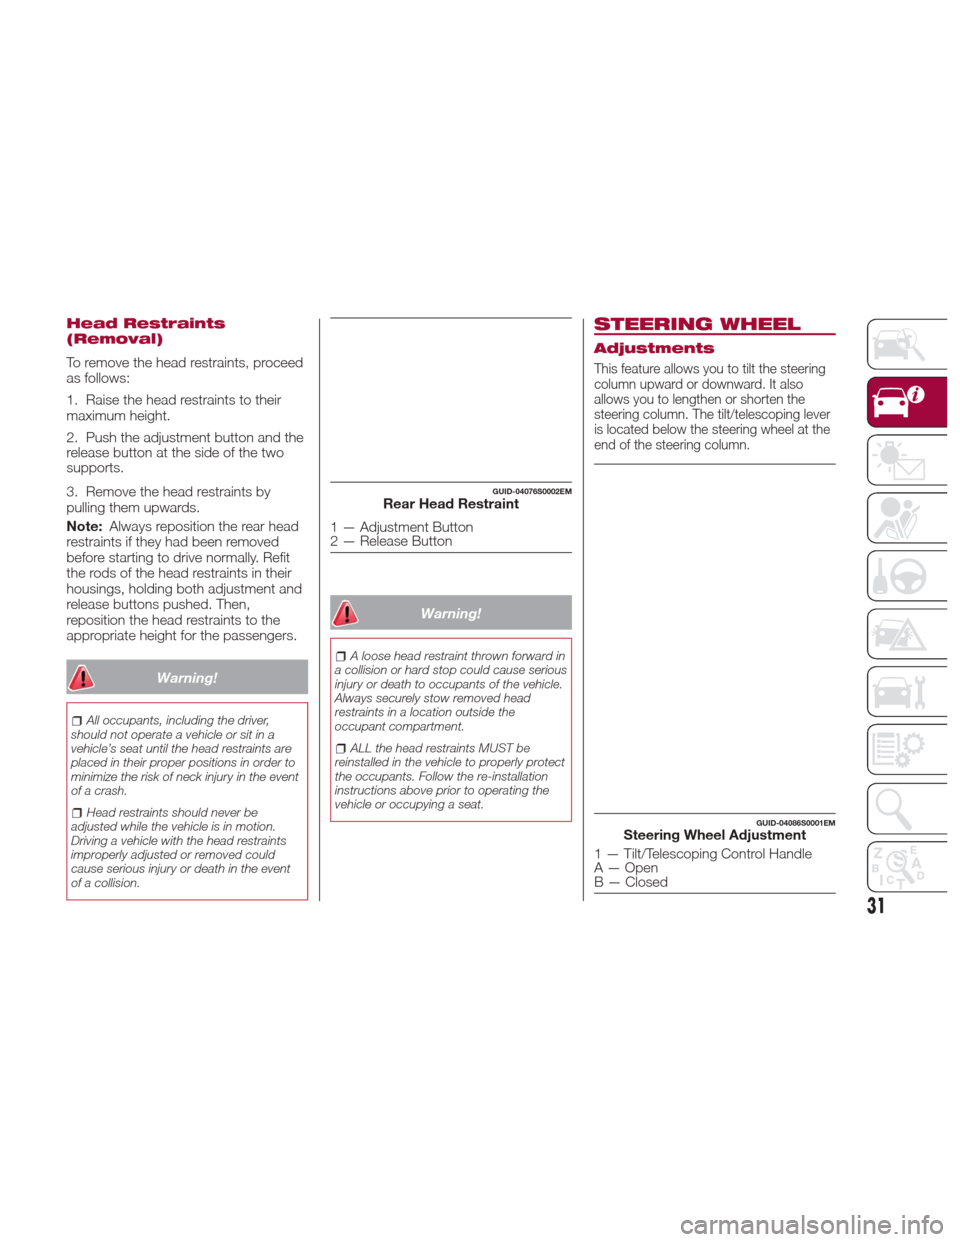
Head Restraints
(Removal)
To remove the head restraints, proceed
as follows:
1. Raise the head restraints to their
maximum height.
2. Push the adjustment button and the
release button at the side of the two
supports.
3. Remove the head restraints by
pulling them upwards.
Note:Always reposition the rear head
restraints if they had been removed
before starting to drive normally. Refit
the rods of the head restraints in their
housings, holding both adjustment and
release buttons pushed. Then,
reposition the head restraints to the
appropriate height for the passengers.
Warning!
All occupants, including the driver,
should not operate a vehicle or sit in a
vehicle’s seat until the head restraints are
placed in their proper positions in order to
minimize the risk of neck injury in the event
of a crash.
Head restraints should never be
adjusted while the vehicle is in motion.
Driving a vehicle with the head restraints
improperly adjusted or removed could
cause serious injury or death in the event
of a collision.
Warning!
A loose head restraint thrown forward in
a collision or hard stop could cause serious
injury or death to occupants of the vehicle.
Always securely stow removed head
restraints in a location outside the
occupant compartment.
ALL the head restraints MUST be
reinstalled in the vehicle to properly protect
the occupants. Follow the re-installation
instructions above prior to operating the
vehicle or occupying a seat.
STEERING WHEEL
Adjustments
This feature allows you to tilt the steering
column upward or downward. It also
allows you to lengthen or shorten the
steering column. The tilt/telescoping lever
is located below the steering wheel at the
end of the steering column.
GUID-04076S0002EMRear Head Restraint
1 — Adjustment Button
2 — Release Button
GUID-04086S0001EMSteering Wheel Adjustment
1 — Tilt/Telescoping Control Handle
A — Open
B — Closed
31
Page 37 of 268
Daytime Running Lights
(DRL)
With the ignition in the ON position and
the light switch turned to the
position, if the dusk sensor detects
sufficient external light, the Daytime
Running Lights will turn on
automatically while the other lights
remain off.
If the turn signals are operated, the
brightness of the corresponding
Daytime Running Lights will be
decreased as long as the turn signals
are on.
Non-Canadian Markets
If equipped, the DRL can be
activated/deactivated from the Connect
system, by selecting the following
functions in sequence on the main
MENU: "Settings", "Lights" and
"Daytime Lights".
Rear Fog Light
The rear fog light switch is integrated
with the headlight switch.
Push the
button to turn the fog lights
on/off.
The rear fog lights turn on only when
the headlights or fog lights are turned
on. The light can be turned off by
pushing the
buttonagainorby
turning off the headlights.
When the engine is stopped with the rear
fog lights on, the rear fog lights will be off
the next time the engine is started.
Parking Lights
Turn the headlight switch to theposition to turn parking lights on.
All of the parking lights will turn on for
eight minutes, and opening the door
activates an audible warning.
To leave only the lights on one side
(right/left) illuminated, you must move
the turn signal lever to the side that you
want to remain on. With the parking
lights on, the
warning light on the
instrument panel will come on.
Note: Turning the ignition switch to ON
turns off the parking lights, which were
on only illuminated on one side.
Headlight Off Delay
The “Headlight Off Delay” function
delays the switching off of the
headlights after the vehicle has been
stopped.
The function can be activated from the
Connect system by selecting the
following functions in sequence on the
main menu: “Settings”, “Lights” and
“Headlight Off Delay”.
The side lights and the headlights stay
on for a time that can be set between
30, 60, and 90 seconds.
Function Activation
With the headlights on, place the
ignition to the OFF position; the timer
will then start. Note:
To activate this function, the
headlights must be deactivated within
two minutes after the ignition has been
turned OFF.
Function Deactivation
This function is deactivated by
switching on the headlights, the side
lights, or by bringing the ignition device
to ON.
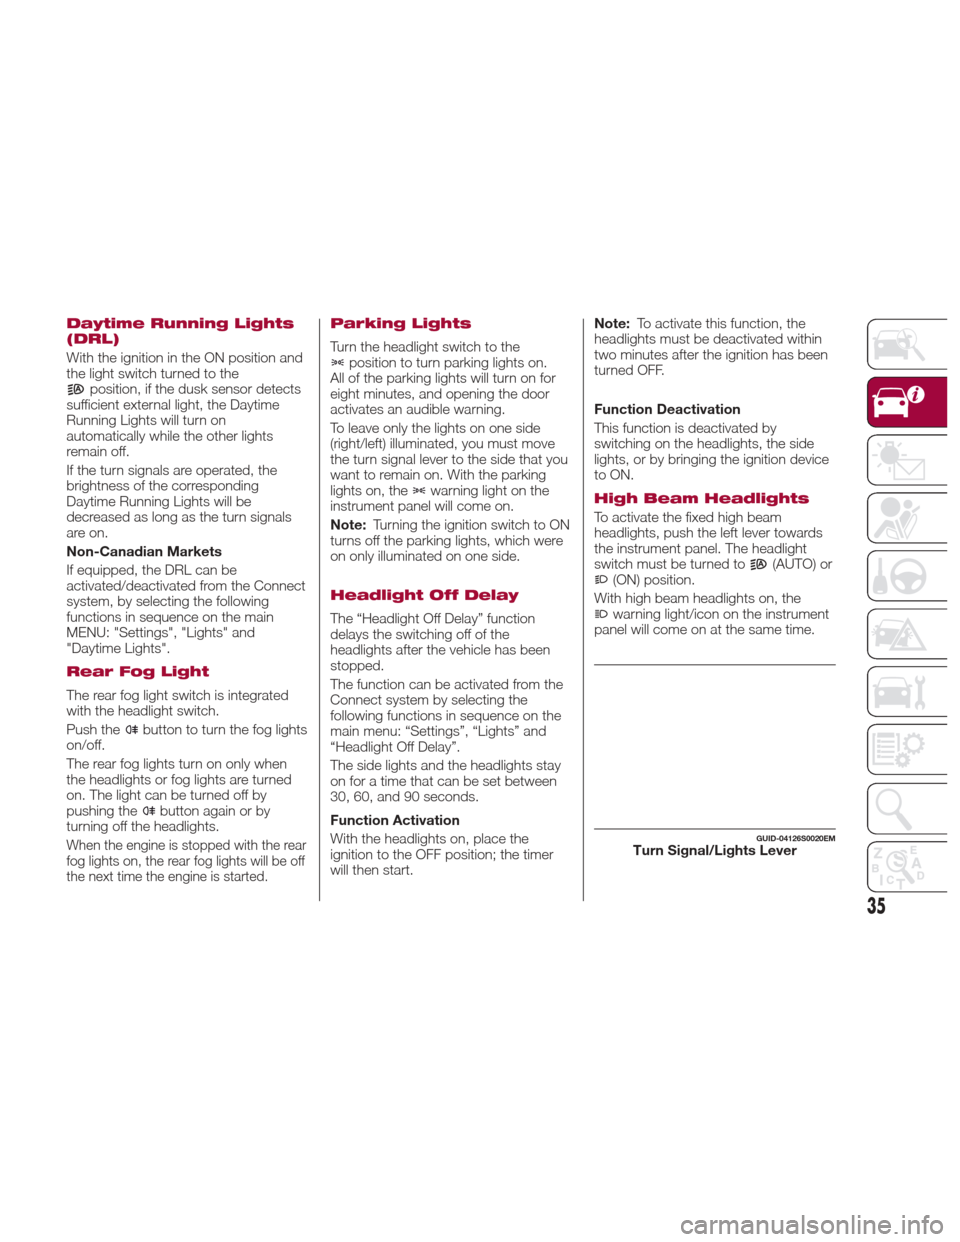
High Beam Headlights
To activate the fixed high beam
headlights, push the left lever towards
the instrument panel. The headlight
switch must be turned to
(AUTO) or(ON) position.
With high beam headlights on, the
warning light/icon on the instrument
panel will come on at the same time.
GUID-04126S0020EMTurn Signal/Lights Lever
35
Page 38 of 268
The high beam headlights are turned off
by pushing the left stalk toward the
instrument panel again. The warning
light/icon
will switch off in the
instrument panel when the headlights
are successfully turned off.
Flashing The Headlights
Pulling the left stalk toward the steering
wheel will activate the high beam
headlights manually. The lights will
remain on as long as the stalk is pulled
back; once the stalk is released, the
lights will switch off again.
Automatic High Beam Headlights —
If Equipped
The Automatic High Beam Headlights
system provides increased forward
lighting at night by automating high
beam control through the use of a
digital camera mounted on the
windshield. This camera detects vehicle
specific light and automatically switches
from high beams to low beams until the
approaching vehicle is out of view.
This function is enabled with the
Connect system, and can only be
activated with the light switch turned to
(AUTO).
If the high beam headlights are on, the
blue icon/warning light
will illuminate
in the instrument panel.
When the speed is higher than 37 mph
(60 km/h) and the function is active, the
lights will switch off if the left stalk is
pushed again. When the speed is lower than 15 mph
(25 km/h) and the function is active, the
function switches the high beam
headlights off.
If the high beam headlights are
operated quickly again (pushing the left
stalk towards the instrument panel), the
warning light/icon
will switch on in
the instrument panel and the main
beam headlights will be switched on
constantly until the speed exceeds
37 mph (60 km/h).
When the speed of 37 mph (60 km/h) is
exceeded again, the automatic
functioning is reactivated.
If the left stalk is pushed again with the
Automatic High Beam Headlights
activated, the Automatic High Beam
Headlights function deactivates.
To deactivate the automatic headlight
function, rotate the headlight switch to
the
position.
Note: If the system recognizes inner
city travel, the automatic functions
remain disabled independently of the
vehicle’s speed.
Turn Signals
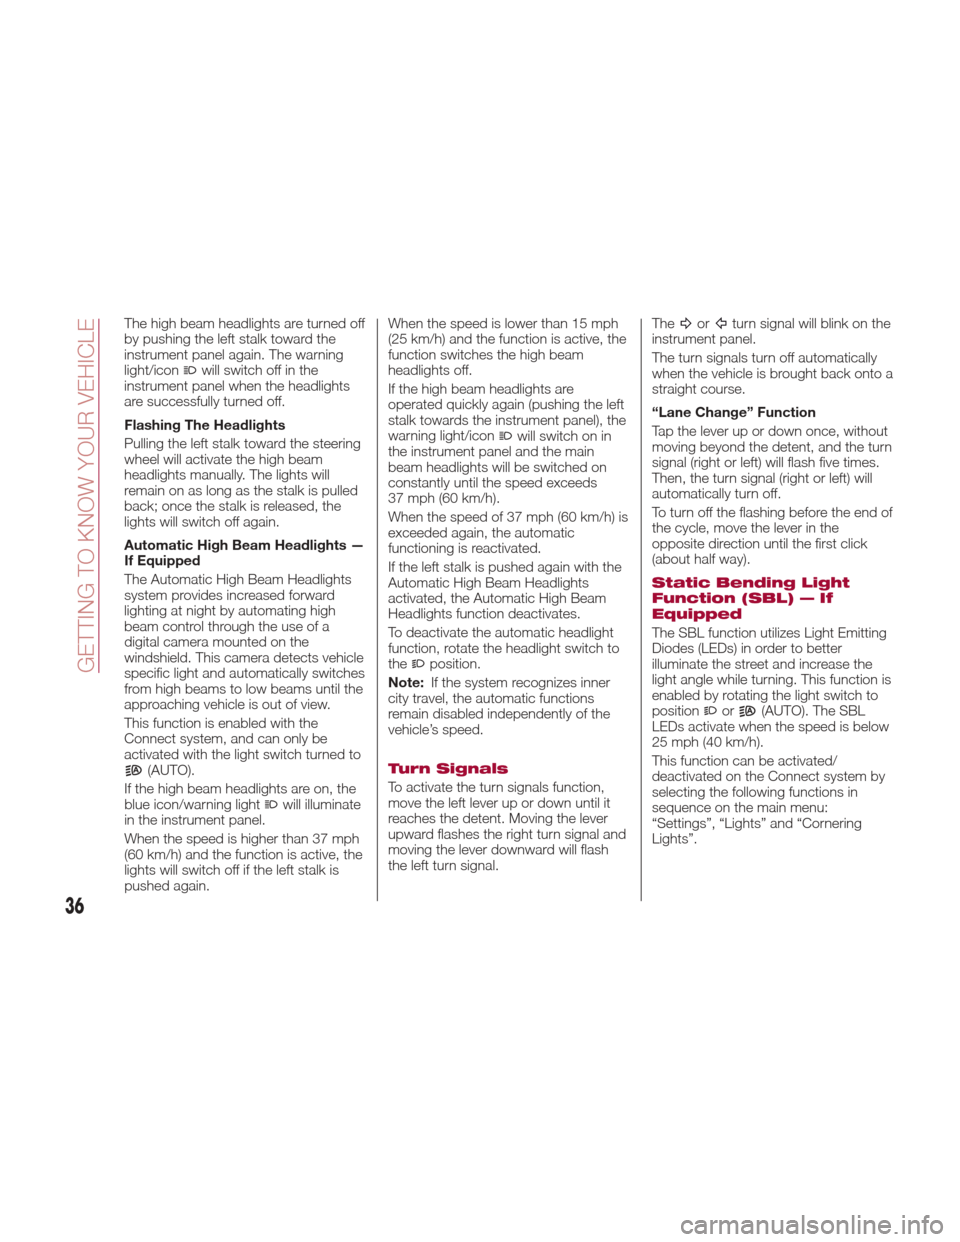
To activate the turn signals function,
move the left lever up or down until it
reaches the detent. Moving the lever
upward flashes the right turn signal and
moving the lever downward will flash
the left turn signal. The
orturn signal will blink on the
instrument panel.
The turn signals turn off automatically
when the vehicle is brought back onto a
straight course.
“Lane Change” Function
Tap the lever up or down once, without
moving beyond the detent, and the turn
signal (right or left) will flash five times.
Then, the turn signal (right or left) will
automatically turn off.
To turn off the flashing before the end of
the cycle, move the lever in the
opposite direction until the first click
(about half way).
Static Bending Light
Function (SBL) — If
Equipped
The SBL function utilizes Light Emitting
Diodes (LEDs) in order to better
illuminate the street and increase the
light angle while turning. This function is
enabled by rotating the light switch to
position
or(AUTO). The SBL
LEDs activate when the speed is below
25 mph (40 km/h).
This function can be activated/
deactivated on the Connect system by
selecting the following functions in
sequence on the main menu:
“Settings”, “Lights” and “Cornering
Lights”.
36
GETTING TO KNOW YOUR VEHICLE
Page 42 of 268
WINDSHIELD
WIPERS
Windshield Wipers
The windshield wiper stalk is located on
the right side of the steering wheel.
The windshield wipers will only operate
with the ignition turned ON.
Caution!
Turn the windshield wipers off when
driving through an automatic car wash.
Damage to the windshield wipers may
result if the wiper control is left in any
position other than off.
In cold weather, always turn off the
wiper switch and allow the wipers to return
to the “Park” position before turning off the
engine. If the wiper switch is left on and the
wipers freeze to the windshield, damage to
the wiper motor may occur when the
vehicle is restarted.
Always remove any buildup of snow that
prevents the windshield wiper blades from
returning to the off position. If the
windshield wiper control is turned off and
the blades cannot return to the off position,
damage to the wiper motor may occur.
Windshield Wiper/
Washers
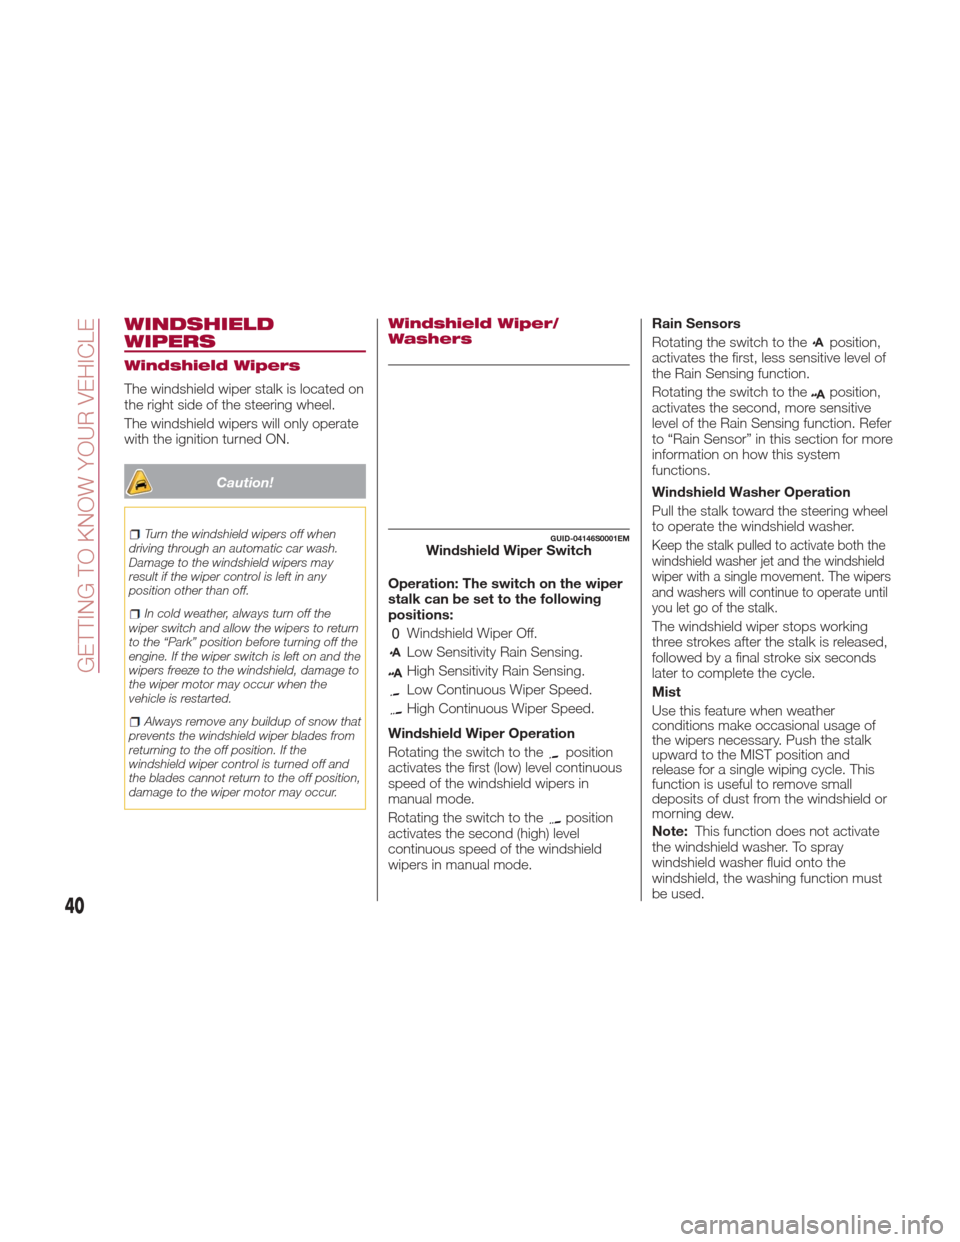
Operation: The switch on the wiper
stalk can be set to the following
positions:
Windshield Wiper Off.
Low Sensitivity Rain Sensing.
High Sensitivity Rain Sensing.
Low Continuous Wiper Speed.
High Continuous Wiper Speed.
Windshield Wiper Operation
Rotating the switch to the
position
activates the first (low) level continuous
speed of the windshield wipers in
manual mode.
Rotating the switch to the
position
activates the second (high) level
continuous speed of the windshield
wipers in manual mode. Rain Sensors
Rotating the switch to the
position,
activates the first, less sensitive level of
the Rain Sensing function.
Rotating the switch to the
position,
activates the second, more sensitive
level of the Rain Sensing function. Refer
to “Rain Sensor” in this section for more
information on how this system
functions.
Windshield Washer Operation
Pull the stalk toward the steering wheel
to operate the windshield washer.
Keep the stalk pulled to activate both the
windshield washer jet and the windshield
wiper with a single movement. The wipers
and washers will continue to operate until
you let go of the stalk.
The windshield wiper stops working
three strokes after the stalk is released,
followed by a final stroke six seconds
later to complete the cycle.
Mist
Use this feature when weather
conditions make occasional usage of
the wipers necessary. Push the stalk
upward to the MIST position and
release for a single wiping cycle. This
function is useful to remove small
deposits of dust from the windshield or
morning dew.
Note: This function does not activate
the windshield washer. To spray
windshield washer fluid onto the
windshield, the washing function must
be used.
GUID-04146S0001EMWindshield Wiper Switch
40
GETTING TO KNOW YOUR VEHICLE
Page 49 of 268
the possibility of the windows fogging.
When the outside temperature is low,
recirculation is forced off to prevent the
windows from fogging up.
A/C Compressor
Push the A/C buttonto activate or
deactivate the A/C compressor
(indicator illuminated when activated).
The A/C compressor will remain off
even after the engine has stopped.
When the A/C compressor is turned off,
the system deactivates air recirculation
to prevent the windows from fogging
up. If the climate control system can
maintain the temperature, with the A/C
turned off, the AUTO feature will remain
on and the AUTO button indicator light
will not switch off.
To restore automatic control of the A/C
compressor, push the A/C button
or
the AUTO button. With the A/C
compressor off, the air speed can be
set manually using the Air Speed
Adjustment Knob.
When the A/C compressor is on, and
the engine is running, air speed cannot
be lower than the minimum speed (only
one indicator light is lit).
Note: WhentheA/CisofftheClimate
Control system can not produce air that
is colder than the current outside
temperature. Under certain
environmental conditions, windows
could fog up rapidly, since the air is not
dehumidified.
Front Defroster And
MAX-DEF Function
Push the Front Defroster button(indicator illuminated) to defrost the
windshield and side windows.
While in MAX-DEF function, the air
conditioner will:
Activate the air conditioner
compressor when the weather allows
Turn air recirculation off
Set the maximum air temperature (HI)
on both the driver and passenger side
Activate a blower speed based on
the temperature of the engine coolant
Adjust the air flow towards the
windshield and front side windows
Activate the Rear Window Defroster
Display the fan speed (indicators
illuminated) and current air distribution
setting
Note: The MAX-DEF function remains
active for approximately three minutes
once the engine coolant reaches the
proper temperature.
When the function is on, AUTO mode
will deactivate. The only manual
operations possible are adjusting
blower speed and turning off the Rear
Window Defroster.
Pushing the
button switches off the
MAX-DEF function.
Rear Defroster
Push the Rear Defrosterbutton to
activate (indicators illuminated) the Rear
Defroster.
The Rear Defroster will turn off after
20 minutes or once the engine is turned
off. To reactive the Rear Defroster, push
the Rear Defroster
button.
Note: To avoid damage, do not apply
stickers over the interior heating
filaments of the Rear Defroster.
Humidity Sensor
The Humidity Sensor helps to prevent
the windows from fogging up. The
AUTO function (indicator illuminated)
must be on for the Humidity Sensor to
function.
When outside temperature is low, the
system may turn the compressor on
and turn air recirculation off for safer
driving.
47
Page 52 of 268
Warning!
Never leave children unattended in a
vehicle, and do not let children play with
power windows. Do not leave the key fob
in or near the vehicle, or in a location
accessible to children. Occupants,
particularly unattended children, can
become entrapped by the windows while
operating the power window switches.
Such entrapment may result in serious
injury or death.
POWER SUNROOF —
IF EQUIPPED
Power Sunroof
The power sunroof consists of two
glass panels (the front one is mobile
and the rear one fixed) and is fitted with
two power operated sun shades.
Operation of the sunroof is only
possible with the ignition at AVV. Refer
to “Ignition” in this chapter for further
information.
Warning!
Never leave children unattended in a
vehicle, or with access to an unlocked
vehicle. Never leave the key fob in or near
the vehicle, or in a location accessible to
children. Do not leave the ignition of a
vehicle equipped with keyless ignition in the
AVV or ON mode. Occupants, particularly
unattended children, can become
entrapped by the power sunroof while
operating the power sunroof switch. Such
entrapment may result in serious injury or
death.
In a collision, there is a greater risk of
being thrown from a vehicle with an open
sunroof. You could also be seriously injured
or killed. Always fasten your seat belt
properly and make sure all passengers are
also properly secured.
Do not allow small children to operate
the sunroof. Never allow your fingers, other
body parts, or any object, to project
through the sunroof opening. Injury may
result.
Opening
To open the sunroof, push the
open/close button toward the rear of
the vehicle to open the roof completely.
The automatic motion can be
interrupted in any position by pushing
the open/close button again.
GUID-04186S0001EMSunroof And Power Shade Buttons
1 — Open/Close Button
2 — Vent Open/Close
3 — Power Shade Open/Close
50
GETTING TO KNOW YOUR VEHICLE
Page 53 of 268
Caution!
Do not open the sun roof if a roof rack or
crossbars are fitted. Do not open the sun
roof if there is snow or ice on it: you may
damage it.
Closing
From the complete open position, push
the open/close button toward the front
of the vehicle. The roof will close
completely.
The automatic motion can be
interrupted in any position by pushing
the open/close button again.
Vent Opening
To bring the roof into vent position,
push and release the vent button.
This type of vent opening can be
activated regardless of the position of
the sunroof. When starting with the roof
in closed position, pushing the button
automatically causes its vent-opening.
If the roof is already open, the button
must be held until the roof reaches the
vent-opening position.
Pushing vent button again during
automatic movement of the roof will
stop it.
Sun Shade Movement
The sun shades are power operated.
Push the Power Shade open/close
button toward the rear of the vehicle to
open the sun shade.
Push the Power Shade open/close
button toward the front of the vehicle to
close the sun shades.
The automatic motion can be
interrupted in any position by pushing
the Power Shade on/off button again.
Pinch Protect Feature
The sunroof has an anti-pinch safety
system capable of detecting the
presence of an obstacle during the
closing movement. If an obstacle is
detected, the system intervenes and
the movement of the sunroof is
immediately reversed into opening.
Initialization Procedure
Automatic operation of the sunroof
must be initialized again in case of faulty
sunroof operation.
Proceed as follows:
1. Push the open/close button to bring
the roof into the completely closed
position.2. Turn the ignition to the STOP
position and wait at least ten seconds.
3. Turn the ignition to the AVV position.
Refer to “Ignition” in this chapter for
further information.
4. Hold the open/close button down
for at least ten seconds. You should
then hear the mechanical stop of the
roof motor.
5. Within five seconds, hold the
open/close button down. The roof will
perform a complete automatic opening
and closing cycle (to indicate that the
initialization procedure has been
successful). If this does not occur, the
procedure must be restarted from the
beginning.
51
Page 57 of 268
INTERNAL
EQUIPMENT
Glove Compartment
To open the glove compartment
proceed as follows:
1. If equipped with a lock, unlock the
glove compartment by placing the
emergency key in the lock on the
handle.
2. Pull handle to open the glove
compartment.
When the glove compartment is
opened, a light turns on to illuminate
the inside of the compartment.
Note:Do not insert objects of such a
size that the compartment cannot be
completely closed. Always make sure
that the glove compartment is
completely closed when driving.
Sun Visors
The sun visors are located at the sides
of the interior rear view mirror. They can
be adjusted forward and sideways.
To direct the visor toward the
passenger side window, detach the
visor from the interior rear view mirror
sidehookandturnittowardstheside
window.
Courtesy mirrors with lights are fitted on
the back of the sun visors and can be
used even in poor light conditions.
Note: A rear facing child restraint
system should never be fitted in the
front passenger seat. Always comply
with the instructions on the sun visor.
Refer to "Supplementary Restraint
System (SRS)" in "Safety" for more
information.
Homelink — If Equipped
Description
Homelink is a fixed system installed on
the vehicle. It can sync up to three
different devices that activate garage
doors, gates, lighting systems, and
home or office alarm systems.
Programming
Warning!
Vehicle exhaust contains carbon
monoxide, a dangerous gas. Do not run
your vehicle in the garage while
programming the transceiver. Exhaust gas
can cause serious injury or death.
Your motorized door or gate will open
and close while you are programming the
universal transceiver. Do not program the
transceiver if people, pets or other objects
are in the path of the door or gate. Only
use this transceiver with a garage door
opener that has a “stop and reverse”
feature as required by Federal safety
standards. This includes most garage door
opener models manufactured after 1982.
Do not use a garage door opener without
these safety features. Call toll-free
1-800-355-3515 or, on the Internet at
HomeLink.com for safety information or
assistance.
GUID-04246S0001EMOpening The Glove Compartment
GUID-04246S0002EMRotate Sun Visor Toward Passenger Window
55
Page 84 of 268
Blue Telltale Indicator Light
Warning LightWhat It Means What To Do
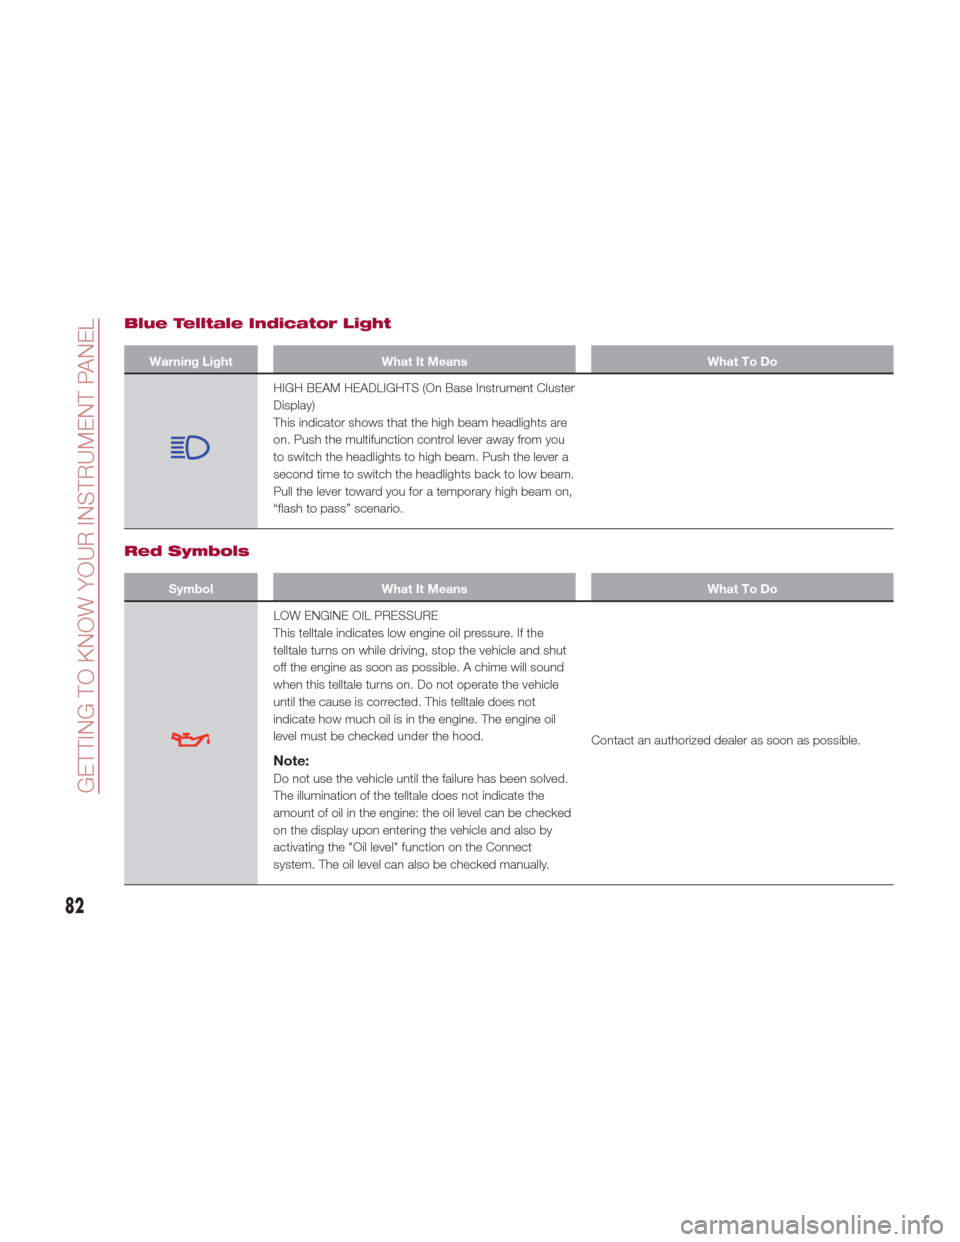
HIGH BEAM HEADLIGHTS (On Base Instrument Cluster
Display)
This indicator shows that the high beam headlights are
on. Push the multifunction control lever away from you
to switch the headlights to high beam. Push the lever a
second time to switch the headlights back to low beam.
Pull the lever toward you for a temporary high beam on,
“flash to pass” scenario.
Red Symbols
SymbolWhat It Means What To Do
LOW ENGINE OIL PRESSURE
This telltale indicates low engine oil pressure. If the
telltale turns on while driving, stop the vehicle and shut
off the engine as soon as possible. A chime will sound
when this telltale turns on. Do not operate the vehicle
until the cause is corrected. This telltale does not
indicate how much oil is in the engine. The engine oil
level must be checked under the hood.
Note:
Do not use the vehicle until the failure has been solved.
The illumination of the telltale does not indicate the
amount of oil in the engine: the oil level can be checked
on the display upon entering the vehicle and also by
activating the "Oil level" function on the Connect
system. The oil level can also be checked manually.Contact an authorized dealer as soon as possible.
82
GETTING TO KNOW YOUR INSTRUMENT PANEL