service reset Alfa Romeo Stelvio 2018 Owner's Manual
[x] Cancel search | Manufacturer: ALFA ROMEO, Model Year: 2018, Model line: Stelvio, Model: Alfa Romeo Stelvio 2018Pages: 276, PDF Size: 5.79 MB
Page 21 of 276

IGNITIONSYSTEM
Operation
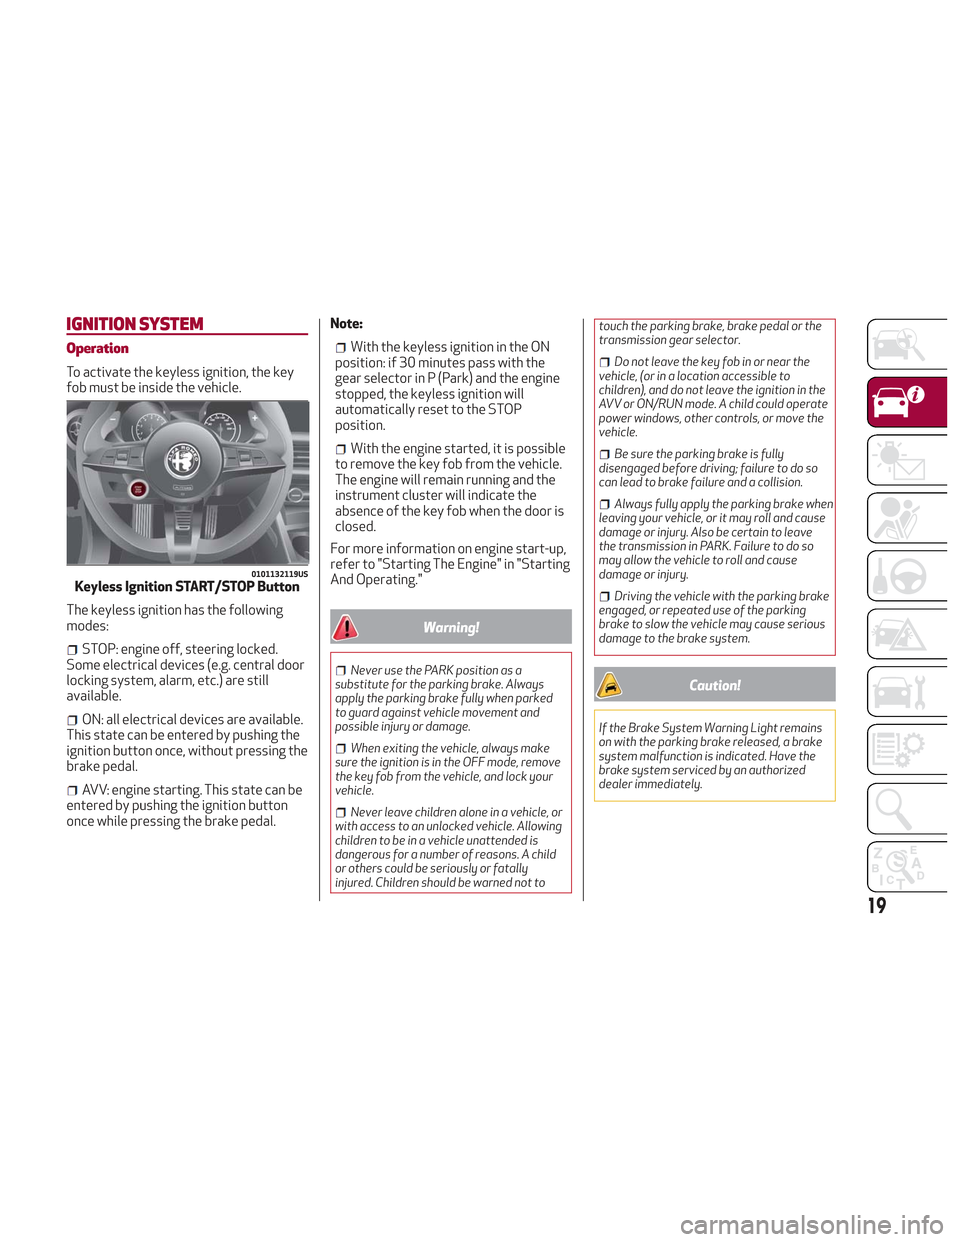
To activate the keyless ignition, the key
fob must be inside the vehicle.
The keyless ignition has the following
modes:
STOP: engine off, steering locked.
Some electrical devices (e.g. central door
locking system, alarm, etc.) are still
available.
ON: all electrical devices are available.
This state can be entered by pushing the
ignition button once, without pressing the
brake pedal.
AVV: engine starting. This state can be
entered by pushing the ignition button
once while pressing the brake pedal. Note:
With the keyless ignition in the ON
position: if 30 minutes pass with the
gear selector in P (Park) and the engine
stopped, the keyless ignition will
automatically reset to the STOP
position.
With the engine started, it is possible
to remove the key fob from the vehicle.
The engine will remain running and the
instrument cluster will indicate the
absence of the key fob when the door is
closed.
For more information on engine start-up,
refer to "Starting The Engine" in "Starting
And Operating."
Warning!
Never use the PARK position as a
substitute for the parking brake. Always
apply the parking brake fully when parked
to guard against vehicle movement and
possible injury or damage.
When exiting the vehicle, always make
sure the ignition is in the OFF mode, remove
the key fob from the vehicle, and lock your
vehicle.
Never leave children alone in a vehicle, or
with access to an unlocked vehicle. Allowing
children to be in a vehicle unattended is
dangerous for a number of reasons. A child
or others could be seriously or fatally
injured. Children should be warned not to touch the parking brake, brake pedal or the
transmission gear selector.
Do not leave the key fob in or near the
vehicle, (or in a location accessible to
children), and do not leave the ignition in the
AVV or ON/RUN mode. A child could operate
power windows, other controls, or move the
vehicle.
Be sure the parking brake is fully
disengaged before driving; failure to do so
can lead to brake failure and a collision.
Always fully apply the parking brake when
leaving your vehicle, or it may roll and cause
damage or injury. Also be certain to leave
the transmission in PARK. Failure to do so
may allow the vehicle to roll and cause
damage or injury.
Driving the vehicle with the parking brake
engaged, or repeated use of the parking
brake to slow the vehicle may cause serious
damage to the brake system.
Caution!
If the Brake System Warning Light remains
on with the parking brake released, a brake
system malfunction is indicated. Have the
brake system serviced by an authorized
dealer immediately.
0101132119USKeyless Ignition START/STOP Button
19
Page 78 of 276

in the door jamb stating what the mileage
was before the repair or service. It is a
good idea for you to make a record of the
odometer reading before the
repair/service, so that you can be sure
that it is properly reset, or that the door
jamb sticker is accurate if the odometer
must be reset at zero.
Customer Programmable Settings
Multiple settings can be programmed by
the user using the Information and
Entertainment System. This section
describes only the basic settings:
Units & Language
Time & Date
Cluster
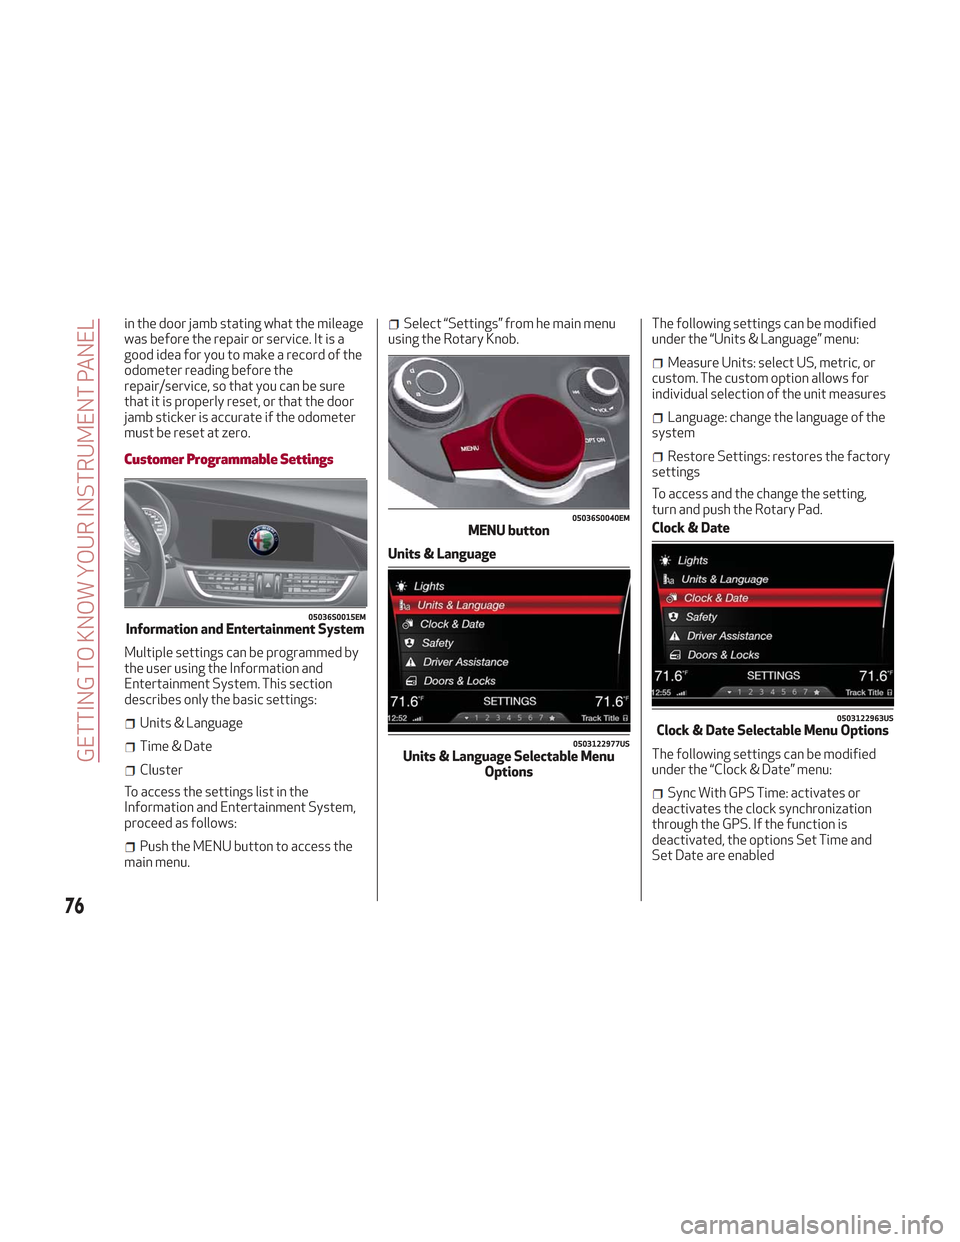
To access the settings list in the
Information and Entertainment System,
proceed as follows:
Push the MENU button to access the
main menu.
Select “Settings” from he main menu
using the Rotary Knob.
Units & Language The following settings can be modified
under the “Units & Language” menu:
Measure Units: select US, metric, or
custom. The custom option allows for
individual selection of the unit measures
Language: change the language of the
system
Restore Settings: restores the factory
settings
To access and the change the setting,
turn and push the Rotary Pad.
Clock & Date
The following settings can be modified
under the “Clock & Date” menu:
Sync With GPS Time: activates or
deactivates the clock synchronization
through the GPS. If the function is
deactivated, the options Set Time and
Set Date are enabled
05036S0015EMInformation and Entertainment System
05036S0040EMMENU button
0503122977USUnits & Language Selectable Menu Options
0503122963USClock & Date Selectable Menu Options
76
GETTING TO KNOW YOUR INSTRUMENT PANEL
Page 131 of 276

Warning!
Deployed air bags and seat belt
pretensioners cannot protect you in another
collision. Have the air bags, seat belt
pretensioners, and the seat belt retractor
assemblies replaced by an authorized dealer
immediately. Also, have the Occupant
Restraint Controller System serviced as
well.
Note:
Air bag covers may not be obvious in
the interior trim, but they will open
during air bag deployment.
After any collision, the vehicle should
be taken to an authorized dealer
immediately.
Enhanced Accident Response
System
In the event of an impact, if the
communication network remains intact,
and the power remains intact, depending
on the nature of the event, the ORC will
determine whether to have the Enhanced
Accident Response System perform the
following functions:
Cut off fuel to the engine (If Equipped)
Cut off battery power to the electric
motor (If Equipped)
Flash hazard lights as long as the
battery has power
Turn on the interior lights, which
remain on as long as the battery has
power or for 15 minutes from the
intervention of the Enhanced Accident
Response System.
Unlock the power door locks.
Your vehicle may also be designed to
perform any of these other functions in
response to the Enhanced Accident
Response System:
Turn off the Fuel Filter Heater, Turn off
the HVAC Blower Motor, Close the HVAC
Circulation Door
Cut off battery power to the:
– Engine
– Electric Motor (if equipped)
– Electric power steering
– Brake booster
– Electric park brake
– Automatic transmission gear selector
– Horn
– Front wiper
– Headlamp washer pump
Note: After an accident, remember to
cycle the ignition to the STOP
(OFF/LOCK) position and remove the key from the ignition switch to avoid draining
the battery. Carefully check the vehicle
for fuel leaks in the engine compartment
and on the ground near the engine
compartment and fuel tank before
resetting the system and starting the
engine. If there are no fuel leaks or
damage to the vehicle electrical devices
(e.g. headlights) after an accident, reset
the system by following the procedure
described below.
Enhanced Accident Response
System Reset Procedure
After the event occurs, when the system
is active, a message regarding fuel cutoff
is displayed. Turn the ignition switch from
ignition AVV/START or MAR/ACC/ON/
RUN to ignition STOP/OFF/LOCK.
Carefully check the vehicle for fuel leaks
in the engine compartment and on the
ground near the engine compartment and
fuel tank before resetting the system and
starting the engine.
Depending on the nature of the event the
left and right turn signal lights, located in
the instrument panel, may both be
blinking and will continue to blink. In order
to move your vehicle to the side of the
road, you must follow the system reset
procedure.
129
Page 158 of 276

Deactivation
To deactivate the sequential driving
mode, bring the gear selector back in
position DRIVE (D) ("automatic" driving
mode).
Warning!
Do not downshift for additional engine
braking on a slippery surface. The drive
wheels could lose their grip and the vehicle
could skid, causing a collision or personal
injury.
Note:
To select the correct gear for
maximum deceleration (engine brake),
just keep the gear paddle pulled (–): the
transmission goes to an operating mode
in which the vehicle can slow down
easily.
The vehicle will keep the gear
selected by the driver until the safety
conditions allow it.
This means, for example, that the
system will try to prevent the engine
from switching off, automatically
downshifting if the engine speed is too
low.
Automatic Transmission Limp Home
Mode
Transmission function is monitored
electronically for abnormal conditions. If
a condition is detected that could result
in transmission damage, Transmission
Limp Home Mode is activated.
In this condition, the transmission stays
in fourth gear, regardless of the selected
gear. Positions PARK (P), REVERSE (R)
and NEUTRAL (N) still work.
The
symbol might light up in the
instrument cluster.
Temporary failure
In the event of a momentary problem, the
transmission can be reset to regain all
forward gears by performing the
following steps:
1. Stop the vehicle.
2. Shift the transmission into PARK (P),
if possible. If not, shift the transmission
to NEUTRAL (N).
3. Push and hold the ignition until the
engine turns OFF.
4. Wait for about 10 seconds, then
restart the engine.
5. Shift into the desired gear range. If
the problem is no longer detected, the
transmission will return to normal
operation.
Note: Even if the transmission can be
reset, we recommend that you visit your authorized dealer at your earliest
possible convenience. Your authorized
dealer has diagnostic equipment to
determine if the problem could reoccur. If
the transmission cannot be reset, service
is required at your authorized dealer.
Brake/Transmission Shift Interlock
System
This vehicle is equipped with a Brake
Transmission Shift Interlock system
(BTSI) that holds the gear selector in
PARK (P) unless the brakes are applied.
This system prevents you from moving
the gear selector from position PARK (P)
unless the brakes are applied.
To shift the transmission out of PARK (P),
the ignition must be cycled to the ON
position (engine running or not) and the
brake pedal must be pressed.
Brake/Transmission Shift Interlock
Disabling
Only if strictly necessary (e.g. pushing the
vehicle, conveyor vehicle washing
systems), inhibit the automatic activation
of PARK (P) mode when stopping the
engine. To do so, follow the directions
below:
1. Bring the vehicle to a standstill.
2. Place the transmission in the
NEUTRAL (N) position.
3. Push the ignition button for at least
three seconds.
156
STARTING AND OPERATING