language Alfa Romeo Stelvio 2019 Owner's Manual
[x] Cancel search | Manufacturer: ALFA ROMEO, Model Year: 2019, Model line: Stelvio, Model: Alfa Romeo Stelvio 2019Pages: 244, PDF Size: 4.95 MB
Page 50 of 244
To reset the values, press and hold down
the button on the right stalk fig. 52.
Performance
The displayed parameters are different
in function from the active mode, and the
modes can be selected through the “Alfa
DNA™” system and are as follows:
Normal: The screen graphically
reproduces some parameters closely
linked to the efficiency of the driving
style, with a view to limiting consumption;
Advanced Efficiency: The three central
icons on the screen indicate the
effectiveness of the driving style, linked
to the following parameters:
acceleration, deceleration and gear
shifts, with a view to limiting
consumption. The bar below the icons
shows current consumption and the
green line represents the optimal area.
The globe (7" TFT Display) lights up
gradually according to lower
consumption.
Dynamic / Dynamic + (where
provided): The displayed parameters are
related to car stability, the graphs
illustrate the trend of the
longitudinal/lateral accelerations
(G-meter information), considering
gravity acceleration as a reference unit.
Lateral acceleration peaks are also
indicated.5 Compass
Views the position indicating the cardinal
point.
6 Milometer
Indicates the total kilometres (or miles)
travelled.
7 Failure warning lights
Area dedicated to displaying failures, the
following symbols could be displayed on
rotation:
Low criticality symbols (yellow amber).
High criticality symbols (red).
8 Car range (7" TFT Display only)
Indicates the kilometres (or miles) left
before the fuel tank is empty.
9 Light icons (7” TFT Display only)
Displays the icon related to the active
mode among the following:
dipped beam headlights;
main beam headlights;
Auto low beam headlights;
Auto main beam headlights.PARAMETERS SET BY USER
A series of user-programmable functions
can be set using the Connect system.
The basic settings only are described:
Units & Language
Time & Date
Control panel
To access the list with the
aforementioned items, proceed as
follows: from the main menu, activated
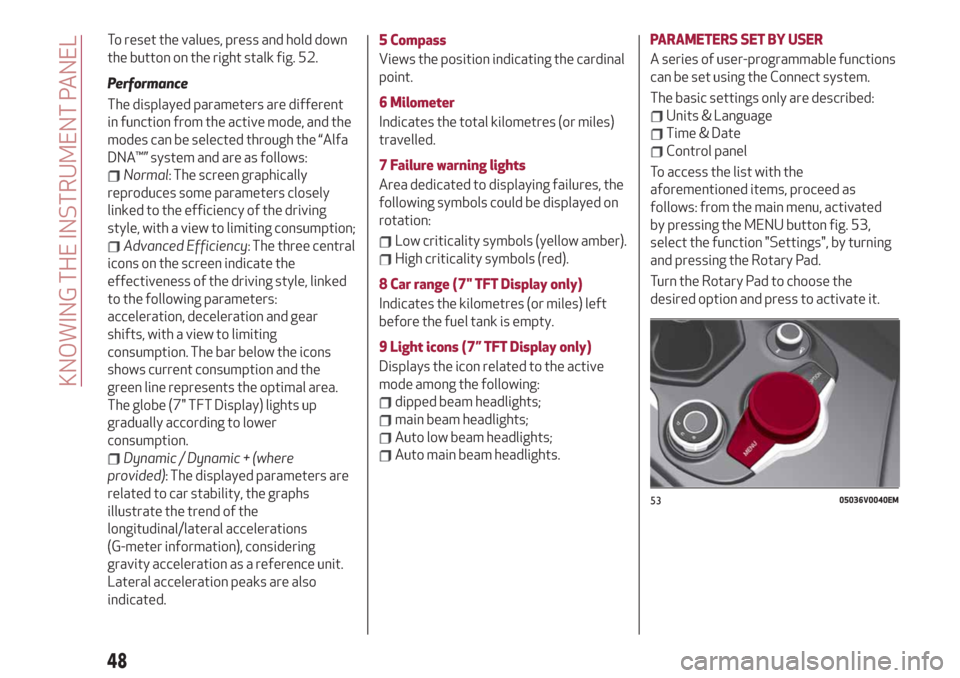
by pressing the MENU button fig. 53,
select the function "Settings", by turning
and pressing the Rotary Pad.
Turn the Rotary Pad to choose the
desired option and press to activate it.
5305036V0040EM
48
KNOWING THE INSTRUMENT PANEL
Page 51 of 244
Units & Language
The following settings can be modified
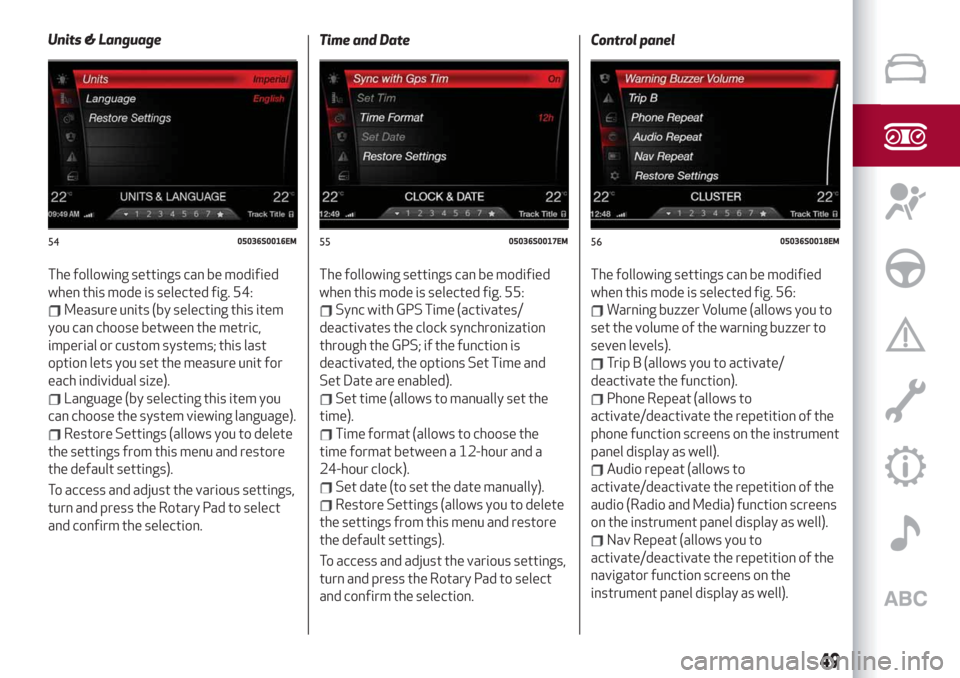
when this mode is selected fig. 54:
Measure units (by selecting this item
you can choose between the metric,
imperial or custom systems; this last
option lets you set the measure unit for
each individual size).
Language (by selecting this item you
can choose the system viewing language).
Restore Settings (allows you to delete
the settings from this menu and restore
the default settings).
To access and adjust the various settings,
turn and press the Rotary Pad to select
and confirm the selection.Time and Date
The following settings can be modified
when this mode is selected fig. 55:
Sync with GPS Time (activates/
deactivates the clock synchronization
through the GPS; if the function is
deactivated, the options Set Time and
Set Date are enabled).
Set time (allows to manually set the
time).
Time format (allows to choose the
time format between a 12-hour and a
24-hour clock).
Set date (to set the date manually).
Restore Settings (allows you to delete
the settings from this menu and restore
the default settings).
To access and adjust the various settings,
turn and press the Rotary Pad to select
and confirm the selection.Control panel
The following settings can be modified
when this mode is selected fig. 56:
Warning buzzer Volume (allows you to
set the volume of the warning buzzer to
seven levels).
Trip B (allows you to activate/
deactivate the function).
Phone Repeat (allows to
activate/deactivate the repetition of the
phone function screens on the instrument
panel display as well).
Audio repeat (allows to
activate/deactivate the repetition of the
audio (Radio and Media) function screens
on the instrument panel display as well).
Nav Repeat (allows you to
activate/deactivate the repetition of the
navigator function screens on the
instrument panel display as well).
5405036S0016EM5505036S0017EM5605036S0018EM
49
Page 162 of 244
141)Alert other drivers that the car is
stationary in compliance with local
regulations: hazard warning lights, warning
triangle, etc. Any passengers on board
should leave the car, especially if it is heavily
laden. Passengers should stay away from
on-coming traffic while the wheel is being
changed. On hills or uneven roads, use
chocks or appropriate objects to block the
wheels of the vehicle.
142)If left in the passenger compartment,
the punctured wheel and jack constitute a
serious risk to the safety of occupants in the
event of accidents or sharp braking.
Therefore, always place both the jack and
punctured wheel in the dedicated housing in
the boot.
143)It is extremely dangerous to attempt
to change a wheel on the side of the vehicle
next to the driving lane: make sure that the
vehicle is at a sufficient distance from the
road, to avoid being run over.
144)Alert other drivers that the car is
stationary in compliance with local
regulations: hazard warning lights, warning
triangle, etc. Any passengers on board
should leave the car, especially if it is heavily
laden. Passengers should stay away from
on-coming traffic while the wheel is being
changed.
145)Never tamper with the inflation valve.
Never introduce tools of any kind between
the rim and the tyre. Check tyre and
space-saver wheel pressures regularly,
complying with the values given in the
"Technical specifications" chapter.146)The spare wheel must only be used in
an emergency. Never use it for more than
strictly necessary and never exceed
80 km/h. On the wheel there is an orange
sticker, summarising the main warnings
regarding wheel usage restrictions. Never
remove or cover the label. The label contains
the following indications in four languages:
"Warning! For temporary use only! 80 km/h
max! Replace with standard wheel as soon
as possible. Never cover this indication."
Never apply a wheel cap on the wheel. The
driving characteristics of the car will be
modified with the wheel fitted. Avoid violent
acceleration and braking, abrupt steering
and fast cornering. Have the wheel repaired
and refitted as soon as possible. Using two
or more spare wheels at the same time is
forbidden. Do not apply grease to the bolt
threads before fitting: they could come
unscrewed.
IMPORTANT
58)When turning the jack handle make sure
that it can turn freely without scraping your
hand against the ground. The moving
components of the jack ("worm screw" and
joints) can also cause injuries: avoid touching
them. If you come into contact with
lubricating grease, clean yourself
thoroughly.
59)Contact an Alfa Romeo Dealership as
soon as possible to have the correct
tightening of the wheel bolts checked.
TIRE REPAIR KIT
DESCRIPTION
147) 148) 149) 150) 151) 152) 153) 154) 155) 156)
60)
3)
The Tire Repair Kit is located in the
luggage compartment, inside a dedicated
container marked with the Alfa Romeo
logo.
To access the Tire Repair Kit, open the
boot, lift the load platform.
The Tire Repair Kit includes also:
a cannister 1 fig. 162 containing the
sealant, equipped with filling hose 2;
a compressor 4 complete with
pressure gauge, fittings and an adhesive
label 3 with the words Max. 80 km/h”, to
be attached in a position easily visible to
the driver (eg. on the dashboard) after
repairing the tyre;
some adaptors, for inflating different
elements.
160
IN AN EMERGENCY
Page 226 of 244
SETTINGS
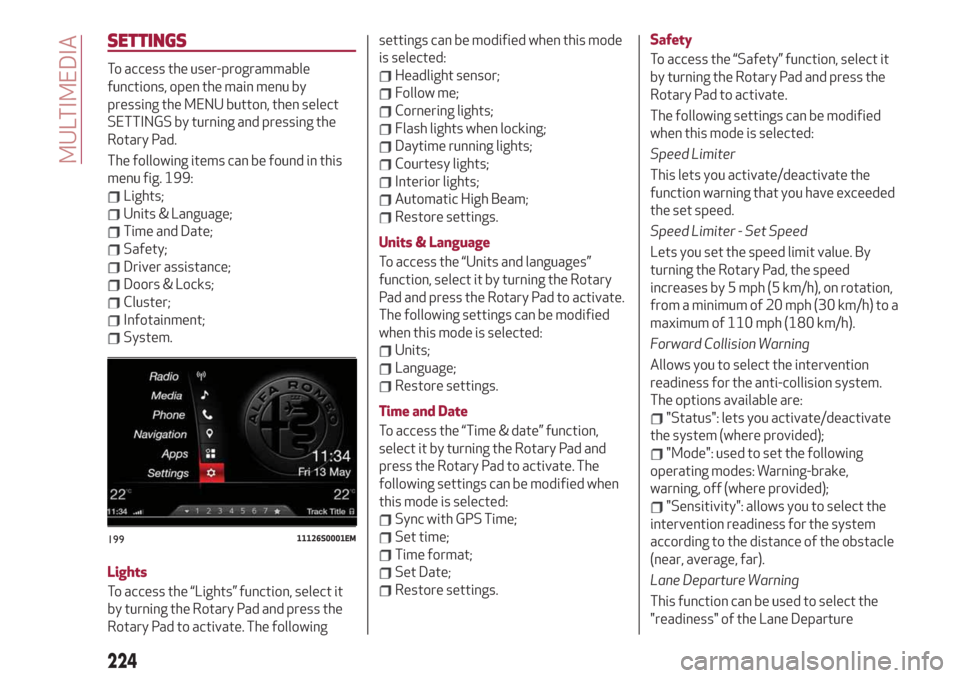
To access the user-programmable
functions, open the main menu by
pressing the MENU button, then select
SETTINGS by turning and pressing the
Rotary Pad.
The following items can be found in this
menu fig. 199:
Lights;
Units & Language;
Time and Date;
Safety;
Driver assistance;
Doors & Locks;
Cluster;
Infotainment;
System.
Lights
To access the “Lights” function, select it
by turning the Rotary Pad and press the
Rotary Pad to activate. The followingsettings can be modified when this mode
is selected:
Headlight sensor;
Follow me;
Cornering lights;
Flash lights when locking;
Daytime running lights;
Courtesy lights;
Interior lights;
Automatic High Beam;
Restore settings.
Units & Language
To access the “Units and languages”
function, select it by turning the Rotary
Pad and press the Rotary Pad to activate.
The following settings can be modified
when this mode is selected:
Units;
Language;
Restore settings.
Time and Date
To access the “Time & date” function,
select it by turning the Rotary Pad and
press the Rotary Pad to activate. The
following settings can be modified when
this mode is selected:
Sync with GPS Time;
Set time;
Time format;
Set Date;
Restore settings.Safety
To access the “Safety” function, select it
by turning the Rotary Pad and press the
Rotary Pad to activate.
The following settings can be modified
when this mode is selected:
Speed Limiter
This lets you activate/deactivate the
function warning that you have exceeded
the set speed.
Speed Limiter - Set Speed
Lets you set the speed limit value. By
turning the Rotary Pad, the speed
increases by 5 mph (5 km/h), on rotation,
from a minimum of 20 mph (30 km/h) to a
maximum of 110 mph (180 km/h).
Forward Collision Warning
Allows you to select the intervention
readiness for the anti-collision system.
The options available are:
"Status": lets you activate/deactivate
the system (where provided);
"Mode": used to set the following
operating modes: Warning-brake,
warning, off (where provided);
"Sensitivity": allows you to select the
intervention readiness for the system
according to the distance of the obstacle
(near, average, far).
Lane Departure Warning
This function can be used to select the
"readiness" of the Lane Departure
19911126S0001EM
224
MULTIMEDIA
Page 229 of 244
VOICE COMMANDS
IMPORTANT For languages not
supported by the system, voice
commands are not available.
To use the voice commands, press the
button on the steering wheel controls
and say the function you want to activate
aloud.
The following lists give the main word for
each command.
Radio functions
The
button lets you activate the
following functions:
Tune into the station
Tune to the frequency
Add to favourites
Show Available Stations
Show Favourite Stations
FM
AM
DAB (where provided)
SiriusXM (where provided)
Media function
The
button lets you activate the
following functions:
Display Album
Play Album
Display Artist
Play Artist
Display Composer
Play Composer
Display Genre
Play Genre
Display Playlist
Play Playlist
Play song
Play All
Display all the albums
Display all the artists
Display all the composers
Display all the genres
Display all the playlists
View all songs
Activate shuffle
Deactivate shuffle
Change Source to Aux
Change Source to USB 1
Change Source to USB 2
Change Source to Bluetooth
NOTE These controls are valid on devices
connected to the system via USB ports
and not through the
Bluetooth®
system.
Telephone function
The
button lets you activate the
following functions:
Dial
Call
Redial
Show contacts
Show all calls
Show missed calls
SearchNavigation functions
(where provided)
The
button lets you activate the
following functions:
Navigate to
Favourites
Set 2D map
Set detailed 3D map
Set overhead view
Route preview
Start navigation
Stop navigation
Repeat instructions
Show map
Find the nearest
227