display AUDI A3 2011 Owner´s Manual
[x] Cancel search | Manufacturer: AUDI, Model Year: 2011, Model line: A3, Model: AUDI A3 2011Pages: 320, PDF Size: 75.79 MB
Page 36 of 320
Driver information display
Fuel supply too low I
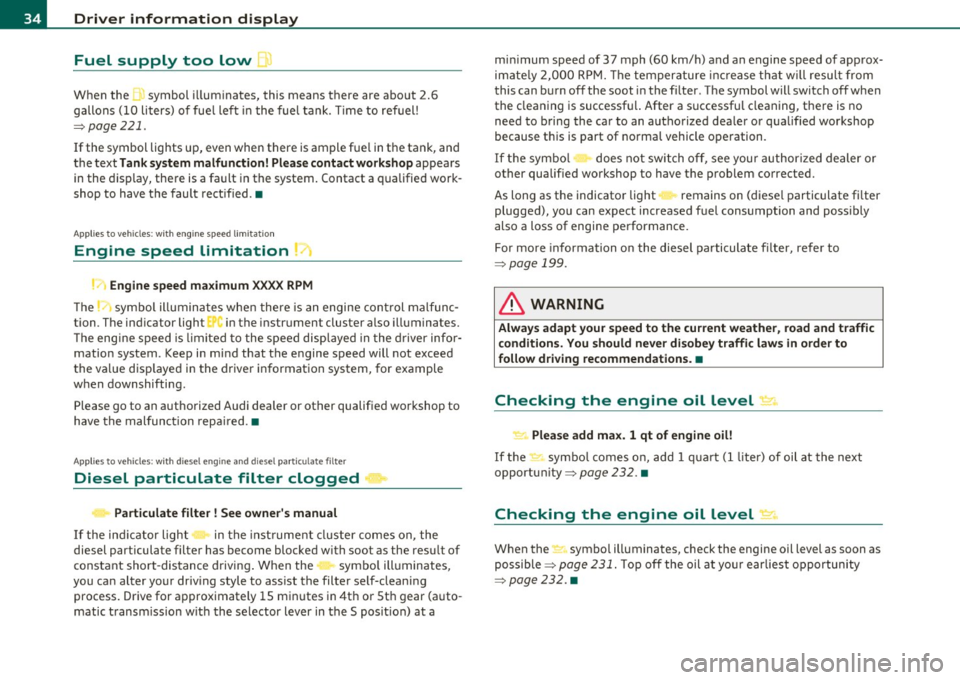
When the symbol illuminates, this means there are about 2.6
gallons (10 liters) of fuel left in the fuel tank. Time to refuel!
=;, page 221.
If the symbol lights up, even when there is ample fue l in the tank, and
the text
Tank system malfunction! Please contact workshop appears
in the display, there is a fault in the system. Contact a qualified work
shop to have the fault rectified .•
App lies to veh icles: w ith eng ine speed limitat ion
Engine speed limitation ~
Engine speed maximum XXXX RPM
The symbol illuminates when there is an engine control malfunc
tion. The indicator light
C in the instrument cluster also illuminates.
Th e eng ine speed is limited to the speed displayed in the driver infor
mation system. Keep in mind that the engine speed will not exceed
the value disp layed in the driver information system, for example
when downshifting .
Please go to an authorized Audi dealer or other qualified workshop to
have the malfunction repai red. •
App lies to vehicles: with diesel eng ine and diesel particulate filter
Diesel particulate filter clogged
Particulate filter ! See owner's manual
If the indicato r light in the instrum ent cluster comes on, the
diesel particulate filter has become blocked with soot as the result of
constant short -distance driving. When the symbol illuminates,
you can alter your driving style to assist the filter self-cleaning
process. Drive for approximately 15 minutes in 4th or 5th gear (auto
matic transm ission w ith the selector lever in the 5 posit ion) at a min
imum speed of 37 mph (60 km/h) and an engine speed of approx
imate ly 2,000 RPM. The temperature increase that will result from
this can burn off the soot in the f ilter. The symbol will switch off when
the cleaning is successful. After a successfu l cleaning, there is no
need to bring the car to an authorized dealer or qualified workshop
because this is part of normal vehicle operation.
If the symbol does not switch off, see your authorized dealer or
other qualified workshop to have the problem corrected.
As long as the indicator light remains on (diese l particulate filter
plugged), you can expect increased fuel consumption and poss ibly
also a loss of engine performance.
For more information on the diesel particulate filter, refer to
=;, page 199.
& WARNING
Always adapt your speed to the current weather, road and traffic
conditions . You should never disobey traffic laws in order to
follow driving recommendations. •
Checking the engine oil level ~-
'LF. Please add max. 1 qt of engine oil!
If the ..:,; symbo l comes on, add 1 quart (1 liter) of oil at the next
opportun ity=-;,
page 232. •
Checking the engine oil level~
When the _ symbol illuminates, check the engine oil level as soon as
possible ~
page 231. Top off the oil at your earliest opportunity
=;, page 232. •
Page 37 of 320
Engine oil sensor defective,:., 1ioo
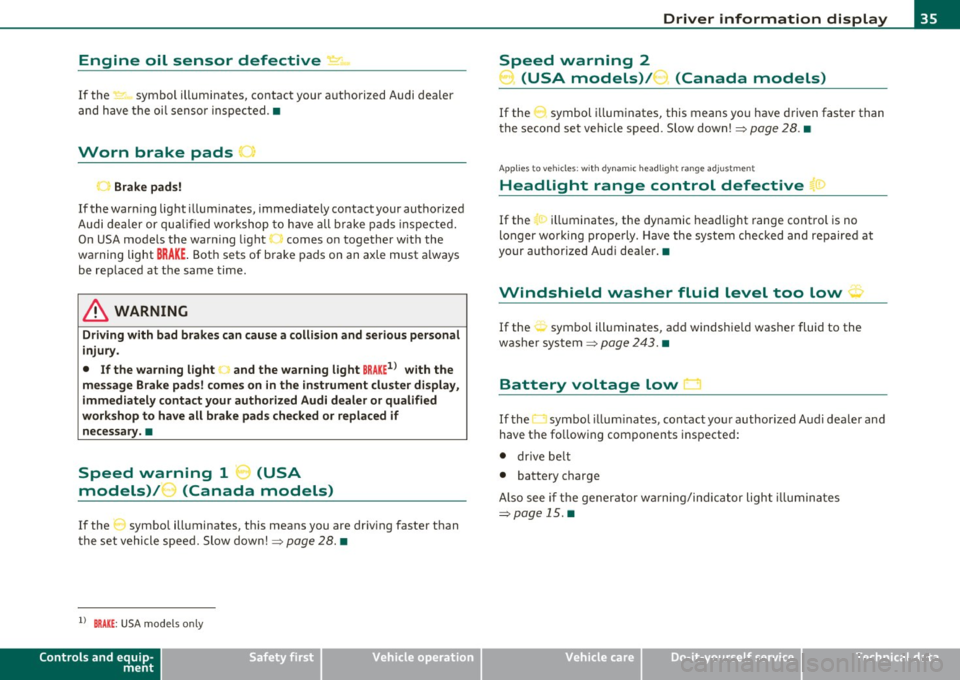
If the ~ symbol illuminates, contact your authorized Audi dealer
and have the oi l senso r inspected. •
Worn brake pads ,
Brake pads!
If the warn ing lig ht i llum inates, immediately contact your authorized
Audi dea ler or qu alified wor kshop to have all b rake pads insp ected.
On USA mode ls the warn ing light ,,, comes on together w it h the
warning light
BRAKE . Both sets of brake pads on an axle must a lways
be rep laced at the same time .
& WARNING
Driving with bad brakes can c ause a collision and serious personal
injury .
• If the warning light land the warning light
BRAKE1> with the
me ssage Brake pads! comes on in the in strument cluster di splay,
immediately contact your author ized Aud i dealer or qualified
workshop to have all brake pad s checked or replaced if
necessary. •
....
Speed warning 1 _, (USA
models)/ ...... (Canada models)
If the :J symbo l ill uminates, this means you are driving faster than
t he set vehicle speed. Slow down!~
page 28. •
ll BRAKE : USA mode ls on ly
Controls and equip
ment Safety first
Driver information display
Speed warning 2
) (USA models)/ (Canada models)
If the symbol i llum inates, this means you have d riven faster than
t he second set ve hicle speed . S low dow n!~
page 28. •
App lies to vehicles : wit h dyn am ic head ligh t ra ng e ad justmen t
Headlight range control defective r!>
If the > illuminates, the dynamic headlight range cont rol is no
longer work ing prope rly. Have the system checked and repaired at
your authorized Aud i dea ler. •
Windshield washer fluid level too low ~
If the -., symbo l ill uminates, add windshie ld washer fluid to the
was he r system ~
page 24 3. •
Battery voltage low
If the O symbol illum ina tes, contact yo ur authorized A udi dea ler and
have the fo llowing components inspected:
• drive be lt
• battery charge
Also see i f th e gener ator w arning/ind ic a tor ligh t illumina te s
~page 15 .•
Vehicle care Technical data
Page 38 of 320
Driver information display
Defective light bulb warning
The defective light bulb warning tells you when a vehicle
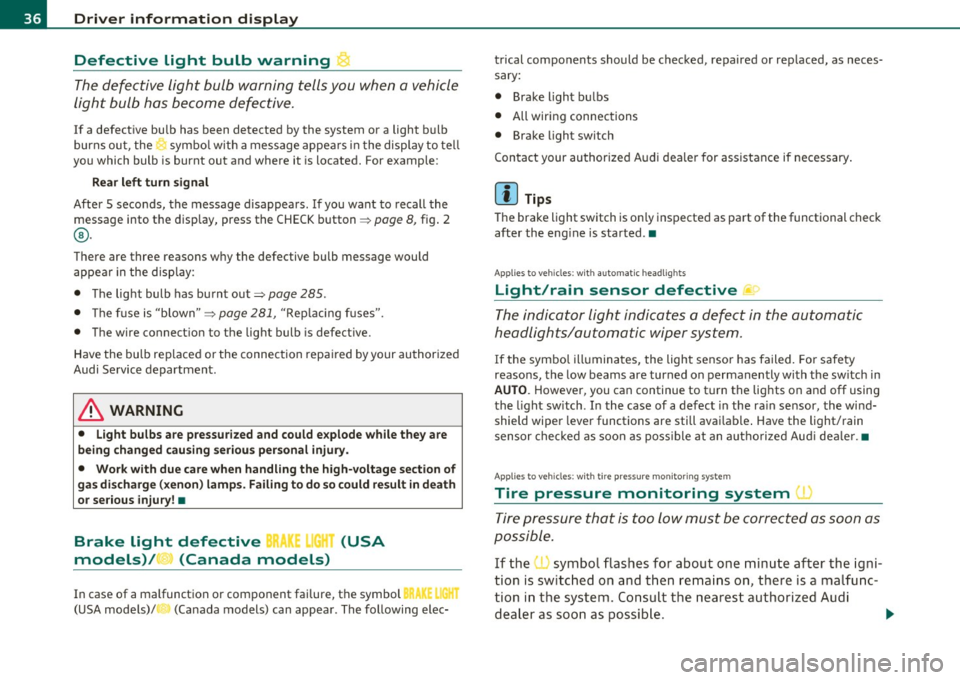
light bul b has become defective .
If a defective bu lb has been detected by the system or a light bulb
burns ou t, the symbo l w ith a message appea rs in the display to te ll
you which bulb is burnt out and where it is located. For example:
Rear left turn signal
After 5 seconds, the message d isappears . If you want to recall the
message into t he disp lay, press the CHECK button ::::,
page 8, fig. 2
® ·
There are three reasons w hy the defective bulb message would
appea r in the d ispl ay :
• The light bulb has burnt out::::,
page 285 .
• Th e fuse is "b lown" ::::, page 281, "R ep laci ng fuses".
• The wire connect io n to the light bulb is defective.
Have the bu lb rep lace d or the connec tion repa ired by your au thor ize d
Audi Service department.
& WARNING
• Light bulbs are pressurized and could e xplode while they are
being changed cau sing seriou s personal injur y.
• Work with due care when handling the high-voltage section of
ga s di scharge (xenon ) lamp s. Failing to do so could re sult in death
or se rious injury !•
Brake light defective B • urn (USA
models)/ (Canada models)
In case of a malfunct ion or component fai lure, the symbol
(USA models)/ (Ca nada models) can appea r. The following elec· trical components should be checked
, repaired or rep laced, as neces
sary:
• Brake ligh t bul bs
• All wiri ng connec tions
• Brake light switch
C on tact your au thorized A udi deale r for assistance if necessary .
(I) Tips
The brake light switch is on ly inspected as part of the functional check
after the engine is sta rted .•
A pplies to veh icles: w ith au toma tic head ligh ts
Light/rain sensor defective
The indicator light indicates a defec t in the automatic
headlights/automatic wi per system.
If the symbo l ill umina tes, the ligh t se nso r has failed. Fo r safety
reasons, the low beams are turned on permanen tly with the sw itch in
AUTO . However, you can continue to t urn the lights on and off using
the light sw itch . In the case of a defec t in the ra in se nsor, the wi nd
shield wiper lever functions are still avai lab le . Have the light/rain
s ensor che cked as soon a s poss ible at an a uth oriz e d Au di dea le r.•
A pp lies t o veh icles : wit h tire p ressure mon itoring system
Tire pressure monitoring system )
Tire press ure that is too lo w m ust be correc ted as soon a s
possible.
If the symbo l flashes for about one min ute after the igni
tion is sw itc hed on and then re m ain s on, t here is a malfu nc
tion i n the syste m. Co nsu lt the neares t au thori zed Aud i
d ealer a s so on as possib le.
~
Page 39 of 320
Additional information about the tire pressure monitoring system
can be foun d:::::, page 264. •
Controls and equip
ment Safety first
Driver information display
Vehicle care
Technical data
Page 40 of 320
Opening and closing
Opening and closing
Keys
Key set
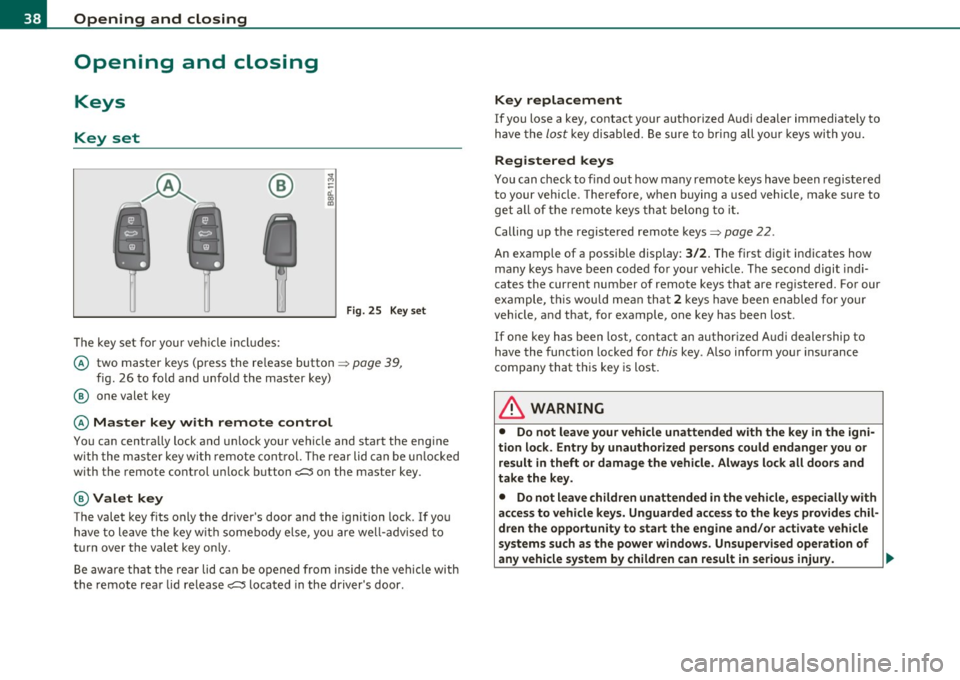
®
The key set for your ve hicle in cl ude s:
F ig. 2 5 Key set
© two master keys (press the re lease button => page 39,
fig. 26 to fo ld and unfold the master key)
@ one valet key
© Master key with remote control
You can centra lly lock and u nlock your vehicle and start the eng ine
w ith the mas ter key wi th remote cont rol. T he re a r lid can be u nlocked
w ith the remote control un lock button
c:::::5 on the master key .
@Valet key
The valet key f its only the driver's door and the ignition lock. I f yo u
have to leave the key w it h some bod y e lse, y ou are we ll-adv ise d t o
turn over the valet key on ly.
Be awa re t hat th e rear lid can be o pened from inside the veh icle with
the remote rear lid release
c:::::5 l ocated in the driver's door .
Key replacement
If you lose a key, contact your authorized Aud i dealer immediately to
h ave the
lo st key di sable d . B e sure to bri ng all you r keys wi th y ou.
Registered keys
You can check to find out how many remote keys have been regis tered
to your vehicle. Therefore, when buying a used veh icle, make sure to
get all of the remote keys th at belo ng t o it.
Calling up the registered remote keys=>
page 22.
An example of a possible display:
3/2. The first digit in dicates how
ma ny keys have been coded fo r you r vehicle . T he second digit indi
cates the current number of remote keys that are registered. Fo r our
example , thi s w ould m ean t hat
2 key s have been en abled for your
vehicle , and that, for example, one key has been lost .
If on e key h as been lost, con tact an a uthor ized A udi d eale rship to
hav e the func tion locked for this key . Also inform yo ur insurance
compa ny that t his key is lost .
& WARNING
• Do not leave your vehicle unattended with the key in the igni
tion lock. Entry by unauthorized persons could endanger you or
result in theft or damage the vehicle. Alway s lock all doors and
take the key.
• Do not leave children unattended in the vehicle, especially with
access to vehicle keys. Unguarded access to the keys provides chil
dren the opportunity to start the engine and/or a ctivate vehicle
systems such as the power windows. Unsupervised operation of
any vehicle system by children can result in se rious injury . ._
Page 59 of 320
brightness increases again, the low beams are turned off again auto
matically =>& .
In the
AUTO position the low beams are switched off automatically
when the ignition is turned off.
Light Sensor Malfunction*
In the event of a light sensor ma lfunct ion, the driver is notified in the
instrument cluster display:
Automatic headlights/automatic wipers defective
For safety reasons the low beams are turned on permanently with t he
switch in
AUTO*. H owever, you can continue to turn the lights on and
off using the light switch. Have the light sensor checked as soon as
possible at a dealership.
Coming home/leaving home function*
The function is sw itched on when the sw itch is in the AUTO* position
and the function is shown as active in the driver information system.
The
coming home funct ion illuminates the area around the vehicle
when the ign it ion is switched
off and the driver's door is opened. The
length of time the lights rema in on can be set in the menu display
( Illumination > Exterior lights > coming home ).
The leaving home function illuminates the area around the vehicl e
when u nlocking it .
& WARNING
• Never use daytime running lights to see where you are going.
They are not bright enough and will not let you see far enough
ahead for safety, especially at dusk or when it is dark. Always
switch on the low beams at dusk or when it is dark.
• Automatic headlights are only intended to assist the driver .
They do not relieve the driver of his respon sibility to check the
headlights and to turn them on manually according to the current
light and visibility conditions. For example, fog and rain cannot be
Controls and equip
ment Safety first
Clear vision
& WARNING
(continued )
detected by the light sensors. So always switch on the headlights
under these weather conditions and when driving
in the dark io.
• Crashes can happen when you cannot see the road ahead and
when you cannot be seen by other motorists.
- Always turn on the headlights so that you can see ahead and
so that others can see your car from the back.
(I) Tips
• With the switch in AUTO front fog lights cannot be turned on in
addition.
• Th e light senso r for headlight control is located in the rear view
mirror mount . Do not apply any stickers to the windshield in this area
to prevent malfunctions or fail ures .
• Some exterior lighting functions can be adjusted in the driver
information system => page 22 ,
• If you remove the ignition from t he ignition lock whi le the head
lights are still on, a buzzer will sound as long as the driver's door is
open to remind you to turn off the lights .
• Always observe the specific local regulat ions for your area as to
when to use your lights.
• With automatic headlights, the high-beam funct ion is also avail
able, but with one restr iction:
If you have not switched the high
beams back to low beams during automatic headlig ht operation (for
example, after driving through a tunnel), only the low beams come
on the next time automatic headlights are switched on . To use the
high beams, you first have to pull the high beam lever back and then
push the lever forwa rd again .
• In cool or damp weather, the inside of the headlights, turn signa ls
and ta il lights can fog over due to the temperature difference
between the inside and outside. They will clear shortly after switching
them on. This does not affect the serv ice life of the light ing . _,,
Vehicle care Technical data
Page 60 of 320

Clear vision
• Frequent use of the coming home/leaving home function for
approaching and departing a vehicle parked in the dark will strain the
battery. This applies particularly if only short distances are drive n
between stops. Occasionally drive longer distances to make sure the
battery is recharged sufficiently .•
Front fog Lights }0
Use the light switch to turn on the front fog lights.
@
Fig . 51 Fog light acti
vation: light switch
position on vehicles
WITHOUT sensor light
Switching on the front fog lights }D
- Do not turn the light switch·'!'!-· ~ fig. 51 toward the fog
light symbol ".
- Turn the light switch to
~oo~ or to ;D.
- Pull the light switch to the first stop (D.
When the front fog lights are on, the symbol }O next to the light
switch will illuminate. •
Instrument panel illumination
The illumination of the instruments, displays and the
center console can be adjusted.
Fig. 52 Instrument
panel illuminat ion
You regulate the brightness of the instruments with the left
thumbwheel
er ~ fig . 52.
Ignition ON, light switch at@.
With the ignition switched ON, the glow of instrument needles can
be adjusted to appear brighter or dimmer.
Ignition ON, light switch at ;oo; or iD .
With the lights switched on, the brightness of instrument cluster (i.e.
needles, gauges and displays) and center console illumination can be
adjusted.
0 Note
Th e instrument cluster and center console illumination (gauges and
needles) comes on when you sw itch on the ignition and the
vehicle
headlights are off.
Be aware of the following difference between
models built to US or Canadian specifications:
• USA models : illumination of the instrument cluster (gauges and
needles), dash and center console around the gearshift lever is
controlled
by a light sensor located in the instrument panel. The _,,,
Page 73 of 320
& WARNIN G (con tin ue d)
• For s afety rea son s, the wind shi eld wiper blade s should b e
replac ed once or t wice a year .•
Digital compass
Ap plies to veh icle s: wit h dig ital c ompa ss
Activating or deactivating the compass
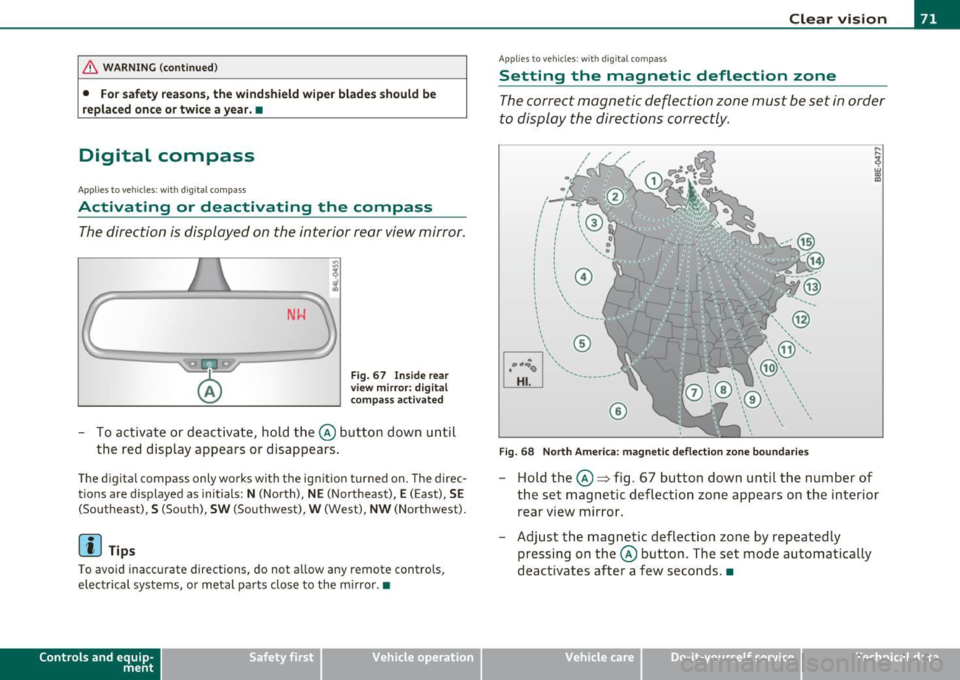
The direction is displayed on the interior rear view mirror .
Fig. 67 I nside re ar
vie w m irro r: d ig ital
compa ss activa ted
To activate or deactivate, hold the @button down until
the red display appears or disappears .
The digital compass only works with the ignition turned on . The direc
tions are d isplayed as initials :
N (North), NE (Northeast), E (E ast), S E
(So utheast), S (So uth), SW (Southwest), W (West), NW (Northwest).
[ i J Tips
T o avoid inaccurate directions , do not a llow any remote controls,
electrical system s, or metal parts close to the m irro r.•
Con tro ls a nd e quip
m en t Vehicle
OP-eration
Clear vision
App lies to veh icles : w ith dig ita l compass
Setting the magnetic deflection zone
The correct magnetic deflection zone must be set in order
to display the directions correctly .
,_ ,_..;,r .. _ I I
I I
I I
I ' I I
I I
1 ! ©
l 4
l
l
I ' I ,,
l ----
'
'
'
®
\, ,, ...... ,.,. -------
©
@
Fig . 68 North America : ma gnetic d efle ct io n zo ne boun dari es
-Hold the@=> fig . 67 button down until the number of
the set magnetic deflection zone appears on the interior
. . rear view mirro r.
- Adjust the magnetic deflection zone by repeatedly pressing on the@ button . T he set mode automatically
deactivates after a few seconds. •
Vehicle care Do-it-yourselt service iTechnical data
Page 74 of 320
Clear vision
Applies to veh icles : w ith d ig ita l compass
Calibrating the compass
The compass has to be recalibrated if the display is wrong
or inaccurate .
-Hold the@ button down until the letter C is displayed on
the interior rear view mirror .
- Drive in a circle at a speed of about 5 mph (10 km/h) until
a direction is shown on the interior rear view mirror.
& WARNING
The digital compass is to be used as a directional aid only. Even
though you may want to look at it while you are driving, you must
still pay attention to traffic, road and weather conditions as well
as other possible hazards. •
Page 100 of 320

Warm and cold
Please keep in mind that with the air conditioner switched off, the
interior temperature cannot be lower than the outside temperature.
There is no cooling and the air is not dehumidified (danger of the
windows becoming fogged).
[I] Tips
If there is a defect in the air conditioner, the air conditioner cannot be
switched on. In this case, the diode in the button does not light after
being switched on. In the event of a system fault, please contact an
Audi or specialist garage. •
Automatic mode [AUTO]
The automatic mode is the standard setting for all
seasons.
Switching on AUTO
- Select temperature between 64 °F (+18 °() and 84 °F
(+28 °().
- Press!AUTO]=>page97,fig.101.
AUTO only works when you set the inside temperature between 64 °F
(18 °C) and 84 °F (28 °C). If you select a temperature below 64 °F
(18 °(), LO will appear in the display. If you select a temperature
above 84 °F (28 °C),
HI will appear in the display.
The system automatically compensates for changes in outside
temperature and for the intensity of the sunlight.
[I] Tips
By keeping the
(AUTO] button on the driver's side pressed for several
seconds, the temperature of the passenger's side can be set to the
temperature of the driver's side or vice versa. The new temperature
setting will be shown in the display. •
Setting the temperature !
Separate temperatures can be selected for the driver's
and front passenger's side.
- Turn the rotary switch @ on the driver's side and the
rotary switch @on the passenger's side left(-) or right(+)
to control the temperature=>
page 97, fig. 101.
There is a time delay before the selected temperature is reached.
[I] Tips
Th e temperature setting for the driver's side can be transferred to the
passenger's side=>
page 98. •
Defrosting/defogging the windshield~
The windshield and side windows are quickly defrosted or
defogged
-Press(@]=> page 97, fig. 101.
- Press!@] again or press [AUTO] to switch off the
defroster.
Th e temperature is automatically controlled. Maximum airflow is
primarily blown in through outlets©, @ and ®=>
page 101.
Outlets @can be opened and closed with the controls behind them.
Outlets @and ® must be opened so the windows can be defrosted
as quickly as possible.
By pressing(@) and air recirculation are switched off.•