17-1
Lubrication system
components, removing and
installing
WARNING!
Do not re-use any fasteners that are worn or
deformed in normal use.
Some fasteners are designed to be used only
once, and are unreliable and may fail if used
again. This includes, but is not limited to,
nuts, bolts, washers, circlips and cotter pins.
Always follow the recommendations in this
manual-replace these fasteners with new
parts where indicated, and any other time it
is deemed necessary by inspection.
CAUTION!
If large quantities of metal particles or other
deposits (caused, i.e. by partial seizure of the
crankshaft or connecting rod bearings) are
found in engine oil, thoroughly clean oil
passages and replace oil cooler to prevent
damage from re-occuring.
Do not overfill with oil past the MAX mark on
the oil dipstick. Damage to the Three Way
Catalytic Converter (TWC) could result.
Pa
ge 1 of 34 Lubrication s
ystem com
ponents, removin
g and installin
g
11/21/2002 htt
p://127.0.0.1:8080/audi/servlet/Dis
play?action=Goto&t
yp
e=re
pair&id=AUDI.B5.GE03.17.1
17-16
Installing
Installation is the reverse of removal, noting the
following:
- Clean sealing surfaces so they are completely
free of any oil or grease.
WARNING!
Wear protective glasses.
Note:
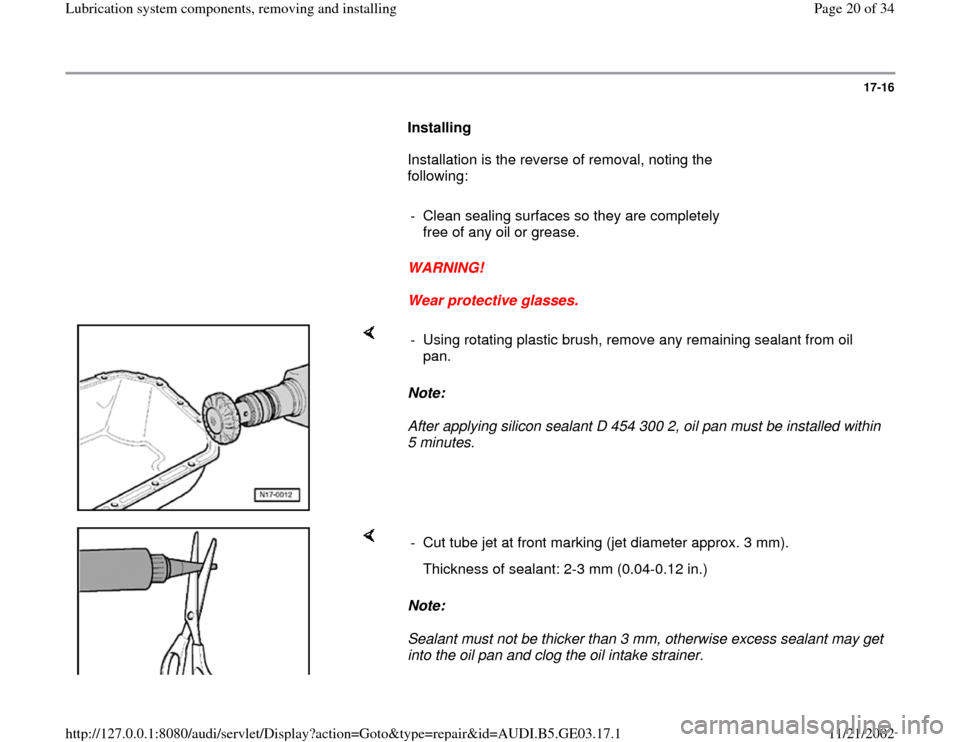
After applying silicon sealant D 454 300 2, oil pan must be installed within
5 minutes. - Using rotating plastic brush, remove any remaining sealant from oil
pan.
Note:
Sealant must not be thicker than 3 mm, otherwise excess sealant may get
into the oil pan and clog the oil intake strainer. - Cut tube jet at front marking (jet diameter approx. 3 mm).
Thickness of sealant: 2-3 mm (0.04-0.12 in.)
Pa
ge 20 of 34 Lubrication s
ystem com
ponents, removin
g and installin
g
11/21/2002 htt
p://127.0.0.1:8080/audi/servlet/Dis
play?action=Goto&t
yp
e=re
pair&id=AUDI.B5.GE03.17.1
17-29
Oil pump chain sprocket on crankshaft,
removing and installing
Removing
Front sealing flange and oil pump chain,
removing and installing page 17
-26
.
Installing
WARNING!
Wear protective gloves.
Note:
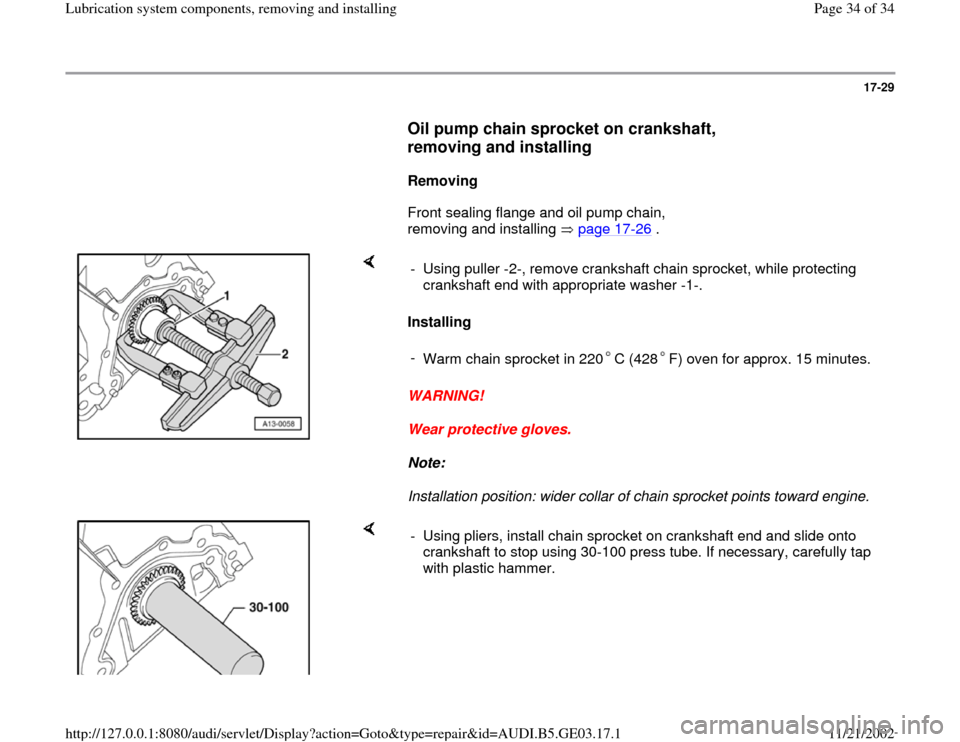
Installation position: wider collar of chain sprocket points toward engine. - Using puller -2-, remove crankshaft chain sprocket, while protecting
crankshaft end with appropriate washer -1-.
-
Warm chain sprocket in 220 C (428 F) oven for approx. 15 minutes.
- Using pliers, install chain sprocket on crankshaft end and slide onto
crankshaft to stop using 30-100 press tube. If necessary, carefully tap
with plastic hammer.
Pa
ge 34 of 34 Lubrication s
ystem com
ponents, removin
g and installin
g
11/21/2002 htt
p://127.0.0.1:8080/audi/servlet/Dis
play?action=Goto&t
yp
e=re
pair&id=AUDI.B5.GE03.17.1


