sensor AUDI A4 1998 B5 / 1.G Interior Monitor User Guide
[x] Cancel search | Manufacturer: AUDI, Model Year: 1998, Model line: A4, Model: AUDI A4 1998 B5 / 1.GPages: 44, PDF Size: 0.12 MB
Page 24 of 44

An anti-theft warning system alarmWiring for voltage supply to the ultra-sound sensorsWiring for pulse signal to the ultra-sound sensors
Pa
ge 24 of 44 Ultrasonic interior monitorin
g On Board Dia
gnostic
(OBD
)
11/20/2002 htt
p://127.0.0.1:8080/audi/servlet/Dis
play?action=Goto&t
yp
e=re
pair&id=AUDI.B5.BD04.01.4
Page 30 of 44
01-129
- Shut off alarm by unlocking vehicle.
- End Output Diagnostic Test Mode (DTM).
- Initiate On Board Diagnostic (OBD) for anti-theft
system.
- Erase DTC memory page 01
-137
.
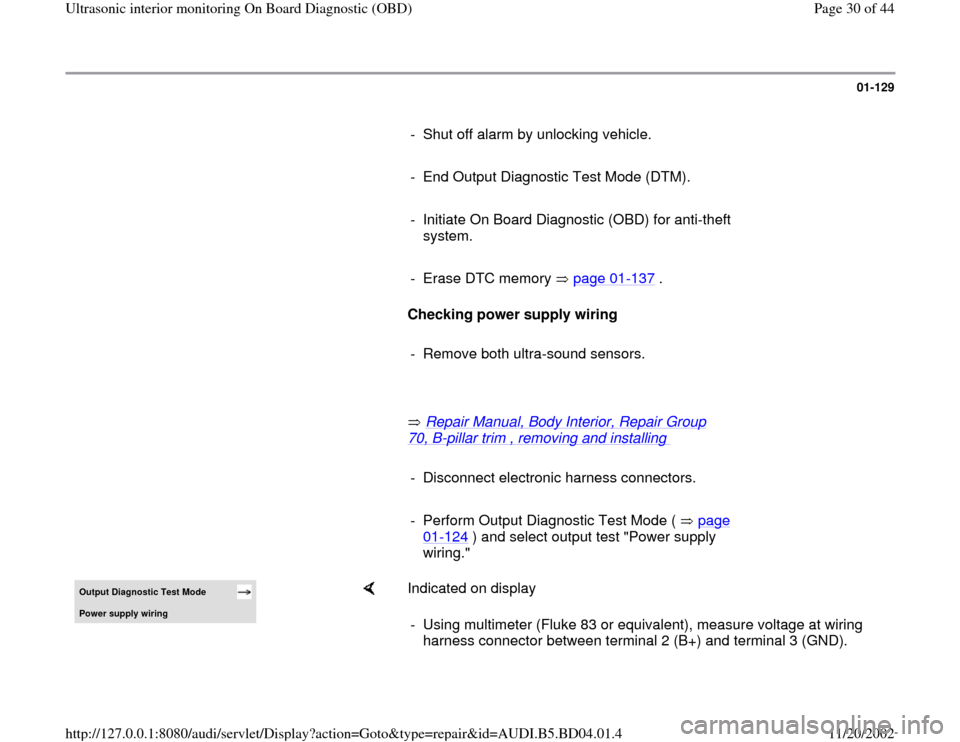
Checking power supply wiring
- Remove both ultra-sound sensors.
Repair Manual, Body Interior, Repair Group
70, B
-pillar trim , removing and installing
- Disconnect electronic harness connectors.
- Perform Output Diagnostic Test Mode ( page
01
-124
) and select output test "Power supply
wiring."
Output Diagnostic Test Mode Power suppl
y wirin
g
Indicated on display
- Using multimeter (Fluke 83 or equivalent), measure voltage at wiring
harness connector between terminal 2 (B+) and terminal 3 (GND).
Pa
ge 30 of 44 Ultrasonic interior monitorin
g On Board Dia
gnostic
(OBD
)
11/20/2002 htt
p://127.0.0.1:8080/audi/servlet/Dis
play?action=Goto&t
yp
e=re
pair&id=AUDI.B5.BD04.01.4
Page 31 of 44
Specification: 8 V
- End output Diagnostic Test Mode (DTM).
- Install ultra-sound sensors again
- Erase DTC memory (function 05) page 01
-137
.
- End output (function 06) page 01
-139
.
Pa
ge 31 of 44 Ultrasonic interior monitorin
g On Board Dia
gnostic
(OBD
)
11/20/2002 htt
p://127.0.0.1:8080/audi/servlet/Dis
play?action=Goto&t
yp
e=re
pair&id=AUDI.B5.BD04.01.4
Page 32 of 44
01-130
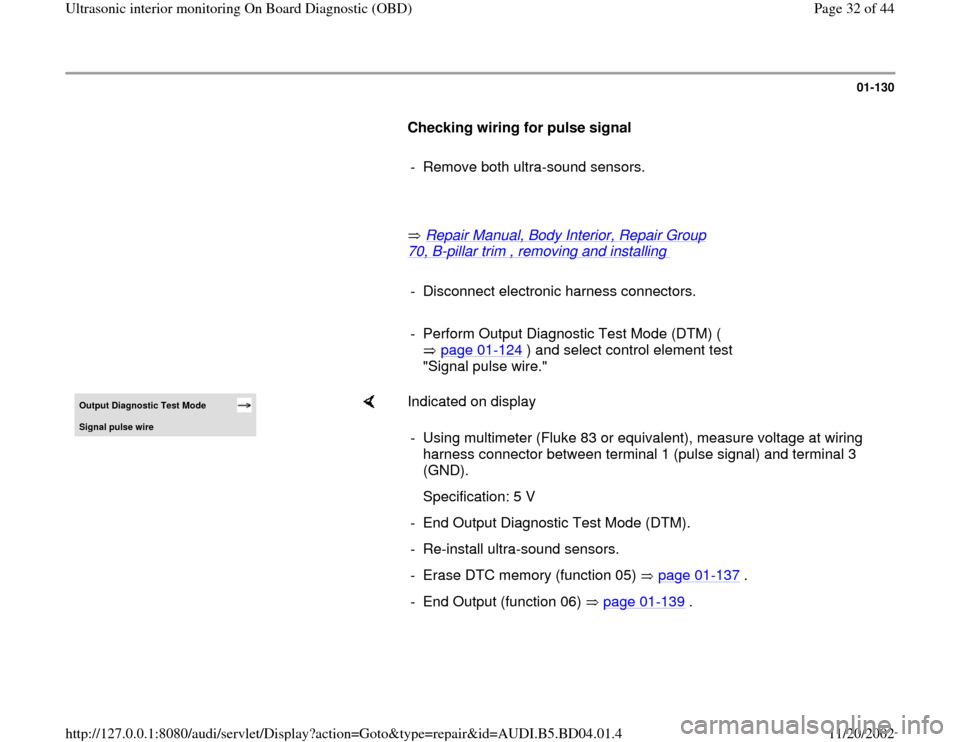
Checking wiring for pulse signal
- Remove both ultra-sound sensors.
Repair Manual, Body Interior, Repair Group
70, B
-pillar trim , removing and installing
- Disconnect electronic harness connectors.
- Perform Output Diagnostic Test Mode (DTM) (
page 01
-124
) and select control element test
"Signal pulse wire."
Output Diagnostic Test Mode Signal pulse wire
Indicated on display
- Using multimeter (Fluke 83 or equivalent), measure voltage at wiring
harness connector between terminal 1 (pulse signal) and terminal 3
(GND).
Specification: 5 V
- End Output Diagnostic Test Mode (DTM).
- Re-install ultra-sound sensors.
- Erase DTC memory (function 05) page 01
-137
.
- End Output (function 06) page 01
-139
.
Pa
ge 32 of 44 Ultrasonic interior monitorin
g On Board Dia
gnostic
(OBD
)
11/20/2002 htt
p://127.0.0.1:8080/audi/servlet/Dis
play?action=Goto&t
yp
e=re
pair&id=AUDI.B5.BD04.01.4
Page 33 of 44
01-131
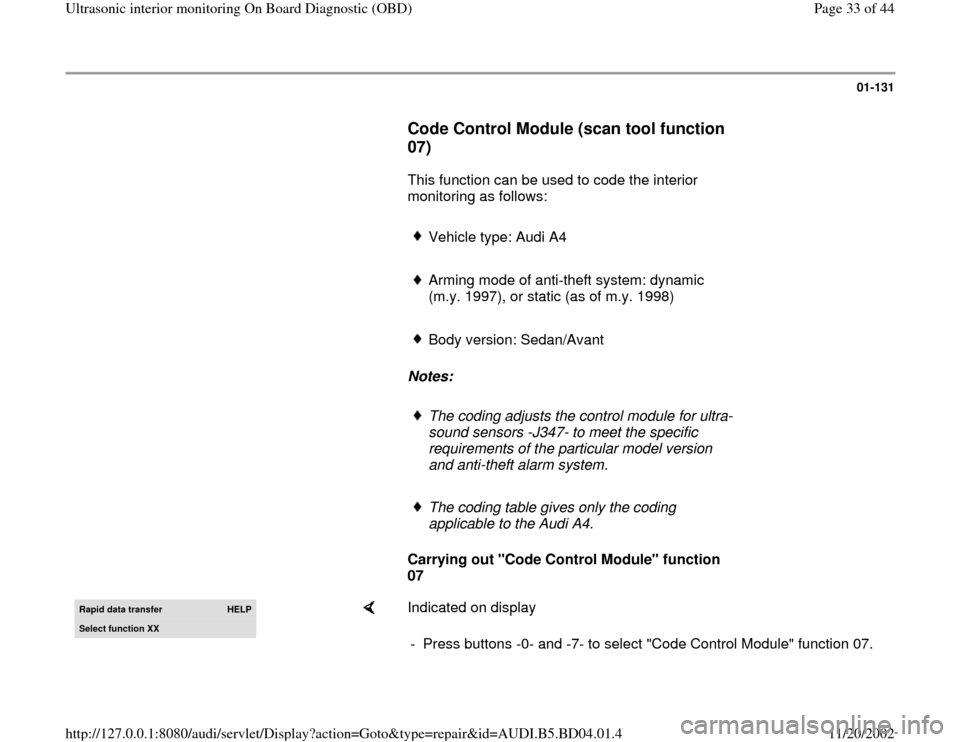
Code Control Module (scan tool function
07)
This function can be used to code the interior
monitoring as follows:
Vehicle type: Audi A4
Arming mode of anti-theft system: dynamic
(m.y. 1997), or static (as of m.y. 1998)
Body version: Sedan/Avant
Notes:
The coding adjusts the control module for ultra-
sound sensors -J347- to meet the specific
requirements of the particular model version
and anti-theft alarm system.
The coding table gives only the coding
applicable to the Audi A4.
Carrying out "Code Control Module" function
07
Rapid data transfer
HELP
Select function XX
Indicated on display
- Press buttons -0- and -7- to select "Code Control Module" function 07.
Pa
ge 33 of 44 Ultrasonic interior monitorin
g On Board Dia
gnostic
(OBD
)
11/20/2002 htt
p://127.0.0.1:8080/audi/servlet/Dis
play?action=Goto&t
yp
e=re
pair&id=AUDI.B5.BD04.01.4
Page 37 of 44
01-134
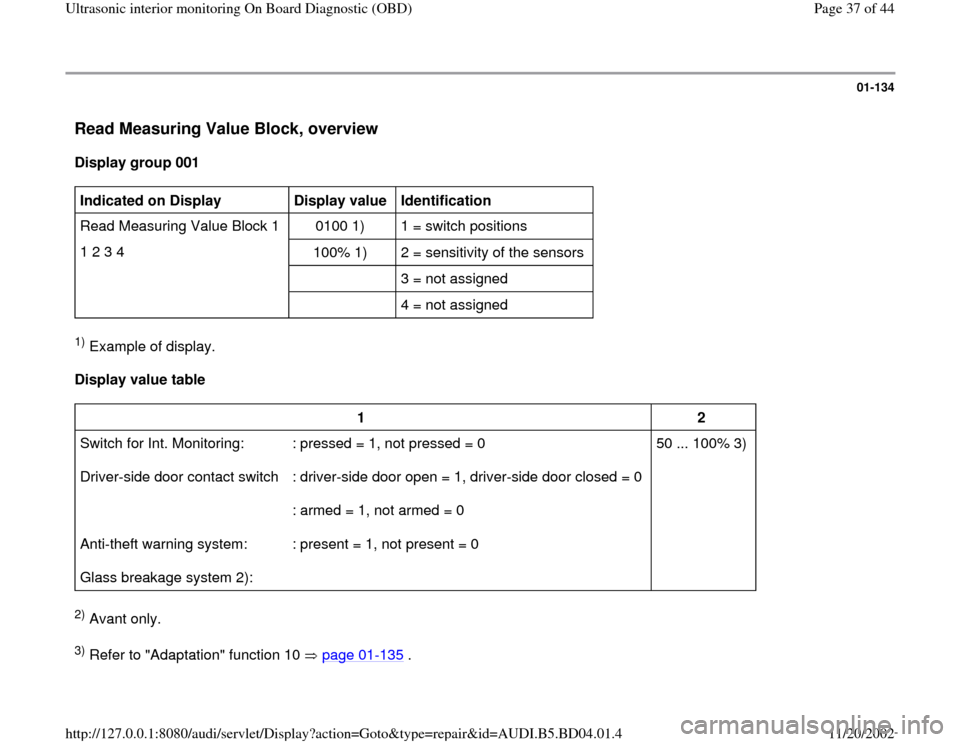
Read Measuring Value Block, overview
Display group 001
Indicated on Display
Display value
Identification
Read Measuring Value Block 1 0100 1) 1 = switch positions
1 2 3 4
100% 1) 2 = sensitivity of the sensors
3 = not assigned
4 = not assigned 1) Example of display.
Display value table
1
2
Switch for Int. Monitoring:
Driver-side door contact switch
Anti-theft warning system:
Glass breakage system 2): : pressed = 1, not pressed = 0
: driver-side door open = 1, driver-side door closed = 0
: armed = 1, not armed = 0
: present = 1, not present = 0 50 ... 100% 3)
2) Avant only. 3) Refer to "Adaptation" function 10 page 01
-135
.
Pa
ge 37 of 44 Ultrasonic interior monitorin
g On Board Dia
gnostic
(OBD
)
11/20/2002 htt
p://127.0.0.1:8080/audi/servlet/Dis
play?action=Goto&t
yp
e=re
pair&id=AUDI.B5.BD04.01.4
Page 38 of 44
01-135
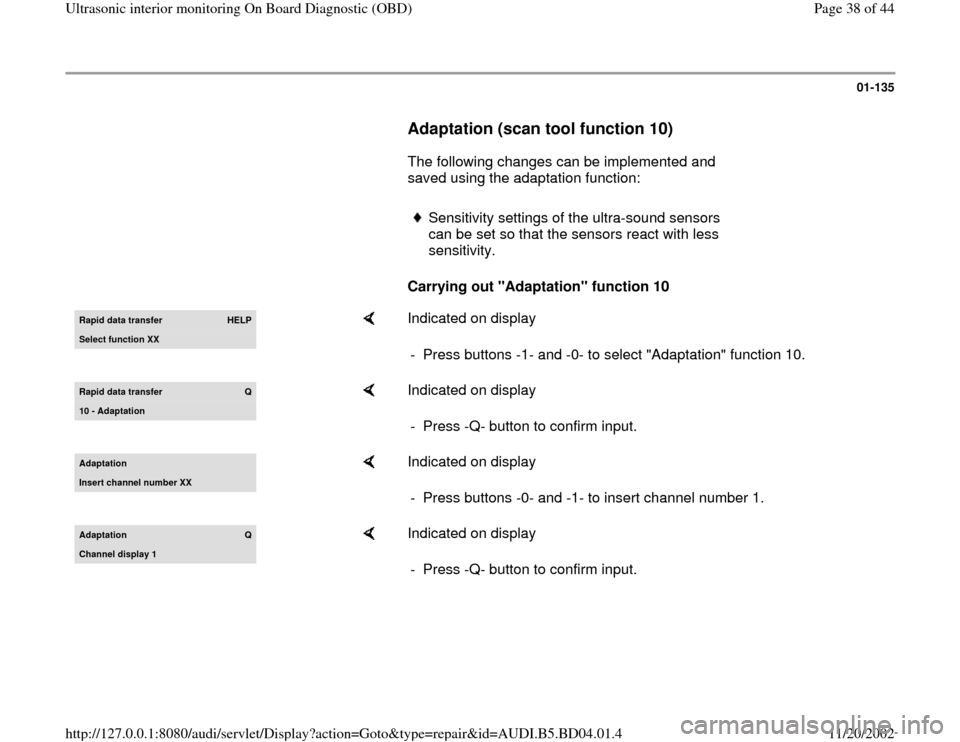
Adaptation (scan tool function 10)
The following changes can be implemented and
saved using the adaptation function:
Sensitivity settings of the ultra-sound sensors
can be set so that the sensors react with less
sensitivity.
Carrying out "Adaptation" function 10
Rapid data transfer
HELP
Select function XX
Indicated on display
- Press buttons -1- and -0- to select "Adaptation" function 10.
Rapid data transfer
Q
10 - Adaptation
Indicated on display
- Press -Q- button to confirm input.
AdaptationInsert channel number XX
Indicated on display
- Press buttons -0- and -1- to insert channel number 1.
Adaptation
Q
Channel displa
y 1
Indicated on display
- Press -Q- button to confirm input.
Pa
ge 38 of 44 Ultrasonic interior monitorin
g On Board Dia
gnostic
(OBD
)
11/20/2002 htt
p://127.0.0.1:8080/audi/servlet/Dis
play?action=Goto&t
yp
e=re
pair&id=AUDI.B5.BD04.01.4
Page 39 of 44
01-136
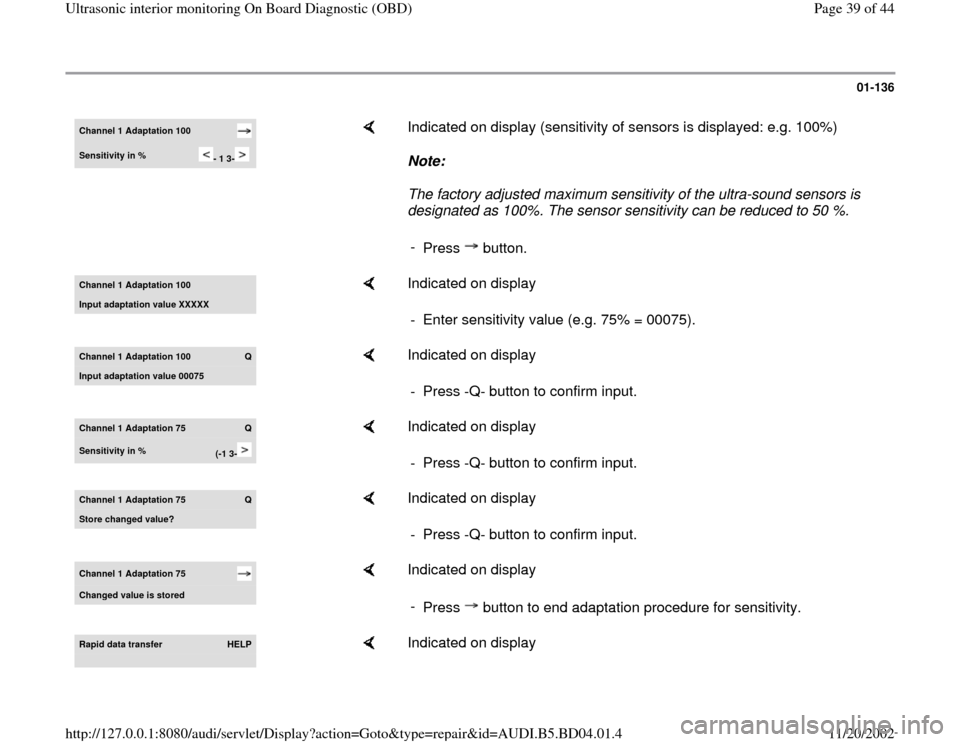
Channel 1 Adaptation 100 Sensitivity in %
- 1 3-
Indicated on display (sensitivity of sensors is displayed: e.g. 100%)
Note:
The factory adjusted maximum sensitivity of the ultra-sound sensors is
designated as 100%. The sensor sensitivity can be reduced to 50 %.
-
Press button.
Channel 1 Adaptation 100 Input adaptation value XXXXX
Indicated on display
- Enter sensitivity value (e.g. 75% = 00075).
Channel 1 Adaptation 100
Q
Input adaptation value 00075
Indicated on display
- Press -Q- button to confirm input.
Channel 1 Adaptation 75
Q
Sensitivity in %
(-1 3-
Indicated on display
- Press -Q- button to confirm input.
Channel 1 Adaptation 75
Q
Store changed value?
Indicated on display
- Press -Q- button to confirm input.
Channel 1 Adaptation 75 Chan
ged value is stored
Indicated on display
-
Press button to end adaptation procedure for sensitivity.
Rapid data transfer
HELP
Indicated on display
Pa
ge 39 of 44 Ultrasonic interior monitorin
g On Board Dia
gnostic
(OBD
)
11/20/2002 htt
p://127.0.0.1:8080/audi/servlet/Dis
play?action=Goto&t
yp
e=re
pair&id=AUDI.B5.BD04.01.4