warning light AUDI A5 COUPE 2011 Owners Manual
[x] Cancel search | Manufacturer: AUDI, Model Year: 2011, Model line: A5 COUPE, Model: AUDI A5 COUPE 2011Pages: 362, PDF Size: 84.88 MB
Page 284 of 362
___ C_h_ e_c _k _i_n -=g :a,__ a_n_ d_ f_ i_ l _li _n _,g;._ __________________________________________ _
0 Note
• Before w inter sets in, have the coolant checked to see if the
coolant additive in your vehicle is sufficient to meet the climate
conditions. This is especially important if yo u live in a region where
the winter is extremely cold.
If necessary, increase the proportion of
coolant additive to 60% .
• When adding coolant additive to your cooling system, remember :
- We recommend using only coolant additive G12++ (check the
label) for your vehicle. This coolant additive is available at autho
r iz ed Audi dealers. Other types of antifreeze can s ignificantly
reduce corrosion protection. The resulting corrosion can cause a
loss of coolant and serious engine damage.
• Do not add any type of radiator leak sealant to your vehicle 's
engine coolant. Adding radiator repair flu id may adversely affect the
function and performance of your cooling system and cou ld result in
damage not covered by your New Vehicle Limited Warranty .•
Checking the engine coolant Level
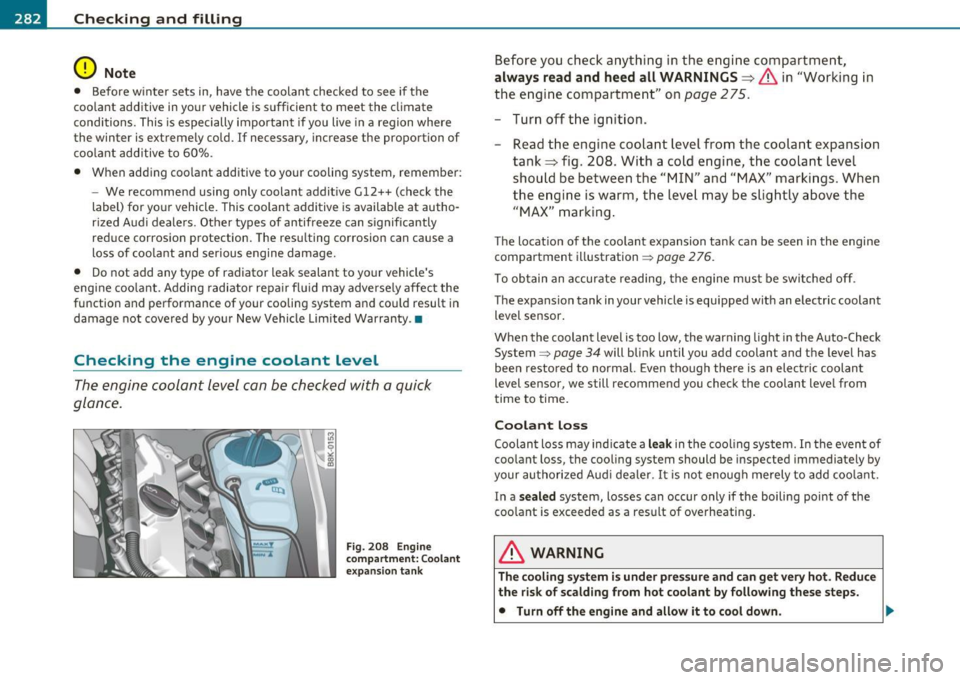
The engine coolant level can be checked with a quick
glance.
Fig. 208 Engine
co mpartment : Coolant
expansion tank
Before you check anything in the engine compartment,
always read and heed all WARNINGS~ & in "Working in
the engine compartment" on
page 275.
-Turn off the ignition.
- Read the engine coolant level from the coolant expansion
tank~ fig. 208 . With a cold engine, the coolant level
should be between the "MIN" and "MAX" markings. When
the engine is warm, the level may be slightly above the
"MAX" marking.
The locat io n of the coolant expansion tank can be seen in the engine
compartment illustration~
page 276.
To obtain an accurate reading, the engine must be switched off.
The expansion tank in your vehicle is equipped with an electric coolant level sensor.
When the coolant level is too low, the warning light in the Auto-Check
System =>
page 34 will blink until you add coolant and the level has
been resto red to normal. Even though there is an electric coolant
level sensor, we still recommend you check the coolant level from
time to time.
Coolant loss
Coolant loss may indicate a leak in the coo ling system. In the event of
coolant loss, the cooling system should be inspected immediately by
your authorized Audi dealer. It is not enough merely to add coolant.
In a
sealed system, losses can occur only if the boiling point of the
coo lant is exceeded as a result of overheating .
& WARNING
The cooling system is under pressure and can get very hot. Reduce
the risk of scalding from hot coolant by following these steps.
• Turn off the engine and allow it to cool down.
Page 285 of 362
___________________________________________ C_ h_e _c _k_ i_n ~g_ a_n_ d_ f_ i_ll _i_n _g __ _
& WARNING (co ntinued )
• Prote ct your face , hands and arms from escaping fluid and
st eam by covering the cap with a large, thick rag.
• Turn the cap slowl y and very carefully in a counter-clockwise
d irection while applying light, downward pressure on the top of
the cap.
• To avoid being burned, do not spill ant ifreeze or coolant on the
exhaust system or hot engine part s. Under certain conditions , the
e thylene glycol in engine coolant can catch fire .
0 Note
Do not add any type of radia tor leak sealant to your vehicle 's eng ine
coo la nt. Adding radiator repair fluid may adverse ly affect the func
t ion and pe rforma nce o f yo ur cooling system and could result in
damage not covered by yo ur New Vehicle Limited Warranty. •
Adding coolant
Be very careful when adding engine co olant.
Before you c heck anythi ng in the eng ine co mpart men t,
always read and heed all WARNINGS~ & in "W ork ing in
the e ngine compartm ent" on
page 2 75.
- Turn o ff t he engine.
- Let t he engine cool dow n.
- Place a thi ck rag over the coolan t expans io n tank
~ page 282 , fig . 2 08 a nd carefully turn the ca p cou nter
clockw ise
~ & .
- Ad d cool ant .
- Twist t he ca p on again
tightly.
Safety first
Replaceme nt eng ine coolant must conform to exact spec ifications
=> page 281, "Cool an t". Even in an emerge ncy, i f coolan t additive
Gl2 ++, Gl2+ or Gl2 is not available, do not use a different add itive .
U se plain water instead until you can get the correct additive and ca n
restore the correct ratio . This should be done as soon as possible .
If you have lost a considerable amount of coolant, then you shou ld
add co ld antifree ze and co ld wate r only w hen t he e ng ine is co ld .
Always use
new engine coo la nt w hen refi lling.
Do not fill coolant a bove the "M AX" mark . Excess coolant will be
forced ou t thr ough t he pr ess ure relief va lve in t he cap when the
engine becomes hot.
& WARNING
• The cooling system i s under pressure and can get very hot.
Reduce the risk of scalding from hot coolant by following these
steps.
-Turn off the engine and allow it to cool down .
- Protect your face , hands and arms from escaping fluid and
steam by covering the cap with a large, thick rag.
- Turn the cap slowly and very carefully in a counter-clockwise
direction while applying light, downward pre ssure on the top
of the cap .
- To avoid be ing burned, do not spill antifreeze or coolant on
the exhaust system or hot engine parts. Under certain condi
tions, the ethylene glycol in engine coolant can catch fire.
• Antifreeze i s poisonous . Always store antifreeze in its original
c ontainer and well out of the reach of children .
• If you drain the coolant, it must be caught and safely stored in
a proper container clearly marked "poison ". ..
Vehicle care Technical data
Page 286 of 362
•--=C:.:.h.:.. e=. c=.:..:: k .:.:in ..:. g ~ a::..:..: n~d .:...:.. f:....:il ..:.li :.:.n.;.: g~ ------------------------------------------
0 Note
• Coolant pollutes the environment and could cause an engine fire.
Excess coolant will be forced out through the pressure relief valve in
the cap when the engine becomes hot .
• If, in an emergency, only water can be added, the correct ratio
between water a nd antifreeze ::::>
page 281 must be restored as soon
as possible.
ci> For the sake of the environment
Drained coolant should not be reused. Always dispose of used coolant
wh ile observ ing all environmental regulations.•
Radiator fan
The radiator fan switches on automatically by itself.
The radiator fan is driven by the engine v ia the V-belt. The viscous
clutch regulates the speed of the fan according to the temperature of
t he coo lant.
An auxiliary electr ic radiator fan* sw itches on and off depending on
coolant temperature and other vehicle operating conditions.
After you switch the engine off, the auxiliary fan can cont inue running
for up to 10 minutes- even with the ignition off. It can even switch on
again later by itse lf::::>
/1 , if
• the temperature of the engine coolant rises due to the heat build
up from the engine in the engine compartment, or
• the engine compartment heats up because the veh icle is parked in
intense sunlight.
& WARNING
• To reduce the risk of personal injury never touch the radiator
fan.
/1 WARNING (continued)
• The auxiliary electric fan is temperature controlled and can
switch on suddenly even when the engine is not running.
• The auxiliary radiator fan switches on automatically when the
engine coolant reaches a certain temperature and will continue to
run until the coolant temperature drops .•
Brake fluid
Checking brake fluid level
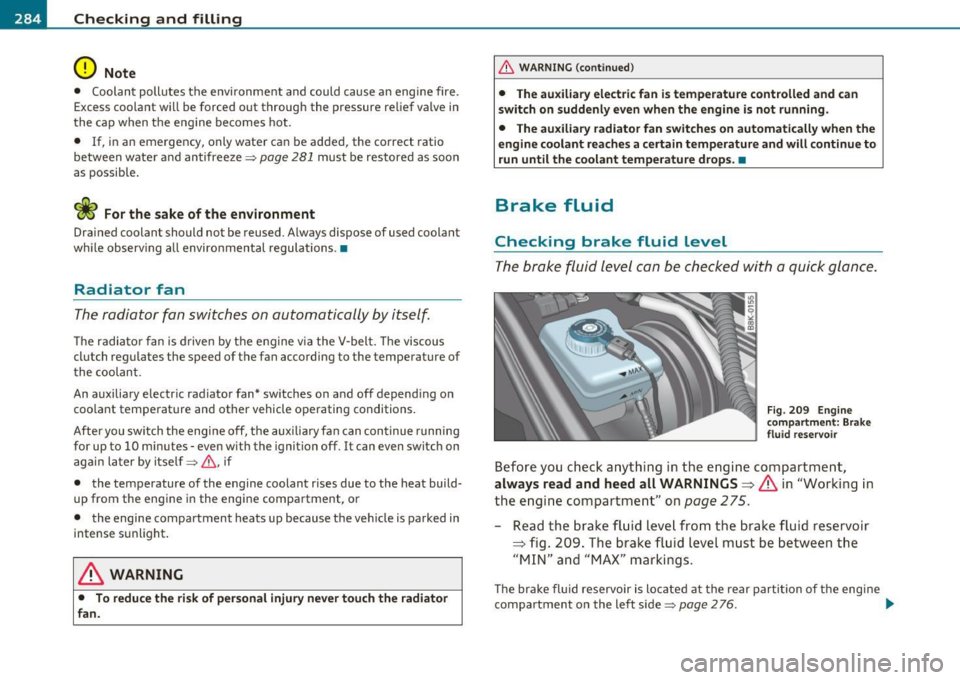
The brake fluid level can be checked with a quick glance.
Fig . 209 Engine
co mpartm ent : Brake
fluid reservoir
Before you check anything in the engine compartment,
always read and heed all WARNINGS=> & in "Working in
the engine compartment" on
page 275.
-Read the brake fluid level from the brake fluid reservoir
=> fig. 209. The brake fluid level must be between the
"MIN" and "MAX" markings.
The brake fluid reservoir is located at the rear partition of the engine
compartment on the left side=>
page 276. .,
Page 287 of 362
___________________________________________ C_ h_e _c _k_ i_n ~g_ a_n_ d_ f_ i_ll _i_n _g __ _
The fluid level may drop slightly after some time due to the auto
matic adjustment of the brake pads. This is not cause for alarm.
If the brake flu id level falls considerably below the "MIN " mark, the
brake warning/indicator light (U.S. models:
BRAKE , Canadian mode ls:
{(j)) ) will come on=> page 18 and=> page 33. Do not continue to
ope rate the vehicle. The complete brake system should be thorough ly
checked by an authorized Audi dealer or qualified workshop and the
cause corrected. If the brake fluid level is too low, the brake
wa rning/ind icator light will illuminate. Contact an authorized Aud i
dealer
immediately .
[I] Tips
The brake fluid reservoir is located undernea th the cover. •
Changing brake fluid
Hove the broke fluid changed by on experienced techni
Clon.
Brake fluid absorbs moisture from the air. If the water content in the
brake fl uid is too high, corrosion in the brake system may result after
a period of time. The boiling point of the brake fluid will also decrease
considerably and decrease braking performance.
Therefore, the brake flu id must be changed
every two years. Always
use new brake fluid which conforms to Federal Motor Vehicle Stan
dard "FMVSS 116 DOT 4".
The brake fluid reservoir can be difficult to reach, therefore, we
recommend that you have the brake fluid changed by your authorized
Audi dealer. Your dealer has the correct tools, the right brake fluid
and the know-how to do this for you .
& WARNING
• Brake fluid is poi sonous. It must be stored only in the closed
original container out of the reach of children!
Safety first
& WARNING (continued )
• Brake failure can result from old or inappropriate brake fluid.
Observe these precautions:
-Use only brake fluid that meets SAE specification
J 1703 and
conforms to Federal Motor Vehicle Standard 116. Always check
with your authorized Audi dealer to make sure you are using
the correct brake fluid . The correct type of brake fluid is also
indicated on the brake fluid reservoir.
- The brake fluid must be new. Heavy use of the brakes can
cause a vapor lock if the brake fluid is left in the system too
long. This can seriously affect the efficiency of the brakes as
well as your safety. This could result in an accident .
0 Note
Brake fluid will damage the paint of your vehicle.
ffi For the sake of the environment
Because of the prob lem of proper disposal of brake fluid as well as
th e special tools required and the necessary expertise, we recom
mend that you have the brake fluid changed by your author ized Audi
dealer. •
Battery
General information
Under normal operating conditions, the battery in your Audi does not
need any maintenance . With high outside temperatures or long daily
drives we recommend that you have the electro lyte level checked by
an authorized Audi dealer or qualified workshop . The electrolyte leve l
should also be checked each t ime the battery is charged=> page 288.
~
Vehicle care Technical data
Page 288 of 362
___ C_ h_ e_c _k _i _ n _g ~ a_n _d_ f_il _l_in _ g _________________________________________ _
Have the battery checked when you take your vehicle in for service.
You are well advised to replace a battery that is older than 5 years.
With certain types of a irbag deployment, the battery is disconnected
from the vehicle e lectrical system for safety reasons=>
& in "Repair,
care and disposal of the airbags" on
page 204.
Disconnecting the battery terminals
Some vehicle functions (power window regulators, for example) are
lost if the battery terminals are disconnected. These functions have
to be relearned after the battery terminals are connected aga in . To
prevent this, the battery should only be disconnected from the
vehicle electrical system when absolutely necessary for repairs.
Vehicles not driven for long periods
If you do not dr ive your vehicle over a period of several days or weeks,
electrical components are gradually cut back or switched off. This
reduces energy consumption and maintains starting capability over a
longer period=>
page 243.
Take into consideration that when you unlock you r vehicle, some
convenience functions, such as the master key remote function or
power seat adjustment, may not be available. The convenience func
tions will be available again when you turn on the ign ition and start
the engine.
W inter operation
During the w inte r months, battery capacity tends to decrease as
temperatures drop. This is because more power is also consumed
wh ile starting, and the headlights, rear window defogger, etc., are
used more often.
Avoid unnecessary power consumption, particularly in city traffic or
when traveling only short distances. Let your authorized Audi dealer
check the capacity of the vehicle battery before winter sets in
=> page 288. A well charged battery will not only prevent starting
problems when the weather is cold, but will also last longer.
W Tips
If your vehicle is left standing for several weeks at extremely low
temperatures, the vehicle battery should be removed and stored
where it will not freeze. This will prevent it from being damaged and
having to be replaced .•
Working on the battery
Be especially careful when working on or near the
battery.
The battery is located in the luggage compartment under the
floor. Before you check anyth ing in the lu~gage compart
ment,
read and heed all WARNINGS:=>& .
Always heed the safety warnings, when working on the vehicle
battery or the vehicle electrical system to prevent injury .
The following WARNINGS are very important when
working on the battery:
Always heed the following WARNING SYMBOLS and safety pre
cautions when working on the battery.
Always wear eye protection.
Battery acid contains sulfuric acid. Always wear
gloves and eye protection . .,,_
Page 289 of 362
Checking and filling "" ------------------~::....::..:..._~---=---
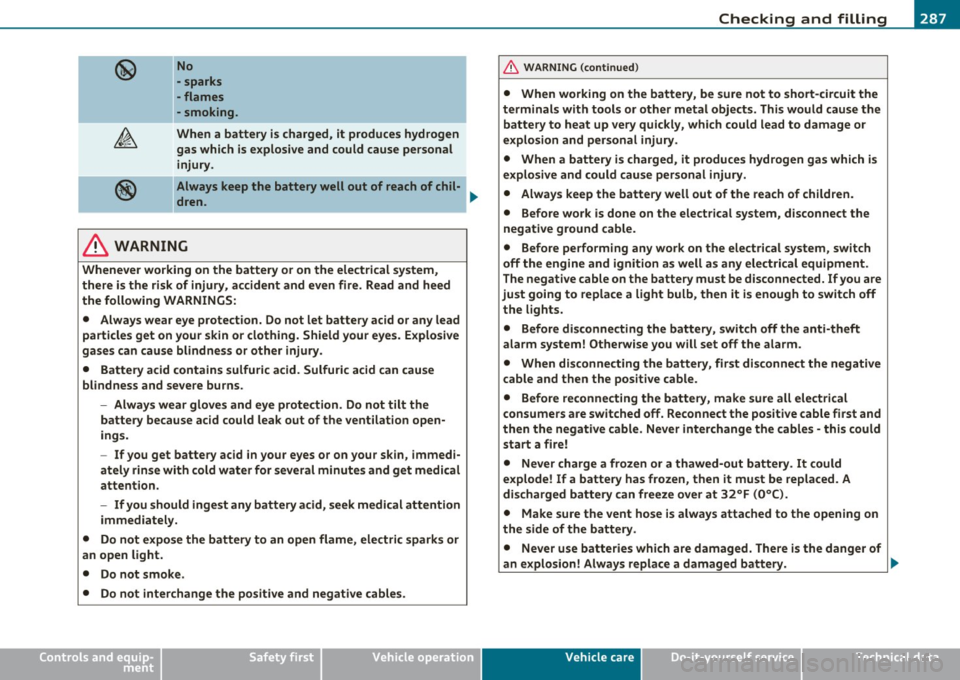
No
- sparks
-flames
- smoking .
When a battery is charged, it produces hydrogen
gas which is explosive and could cause personal
injury.
Always keep the battery well out of rea ch of chil- .,,_
dren .
_& WARNING
Whenever working on the battery or on the electrical system,
there is the risk of injury, accident and even fire. Read and heed
the following WARNINGS:
• Always wear eye protection. Do not let battery acid or any l~ad
particles get on your skin or clothing. Shield your eyes. Explosive
gases can cause blindness or other injury.
• Battery acid contains sulfuric acid. Sulfuric acid can cause
blindness and severe burns.
-Always wear gloves and eye protection. Do not tilt the
battery because acid could leak out of the ventilation open
ings.
- If you get battery acid in your eyes or on your skin, imm~di
ately rinse with cold water for several minutes and get medical
attention.
- If you should ingest any battery acid, seek medical attention
immediately.
• Do not expose the battery to an open flame, electric sparks or
an open light.
• Do not smoke.
• Do not interchange the positive and negative cables.
Safety first
& WARNING (continued)
• When working on the battery, be sure not to short-circuit the
terminals with tools or other metal objects. This would cause the battery to heat up very quickly, which could lead to damage or
explosion and personal injury.
• When a battery is charged, it produces hydrogen gas which is
explosive and could cause personal injury.
• Always keep the battery well out of the reach of children.
• Before work is done on the electrical system, disconnect the
negative ground cable.
• Before performing any work on the electrical system, switch
off the engine and ignition as well as any electrical equipment.
The negative cable on the battery must be disconnected. I! you are
just going to replace a light bulb, then it is enough to switch off
the lights.
• Before disconnecting the battery, switch off the anti-theft
alarm system! Otherwise you will set
off the alarm.
• When disconnecting the battery, first disconnect the negative
cable and then the positive cable.
• Before reconnecting the battery, make sure all electrical
consumers are switched off. Reconnect the positive cable first and
then the negative cable. Never interchange the cables -this could
start a fire!
• Never charge a frozen or a thawed-out battery. It could
explode! If a battery has frozen, then it must be replaced. A
discharged battery can freeze over at 32°F (0°C).
• Make sure the vent hose is always attached to the opening on
the side of the battery.
• Never use batteries which are damaged. There is the danger of
an explosion! Always replace a damaged battery. .,,_
Vehicle care Technical data
Page 292 of 362
___ C_h_ e_c _k _i_n -=g :a,__ a_n_ d_ f_ i_ l _li _n _,g;._ __________________________________________ _
Windshield/headlight* washer
container
Fig. 211 E ngine
compartment: Wind
shie ld and headlight*
washer fluid container
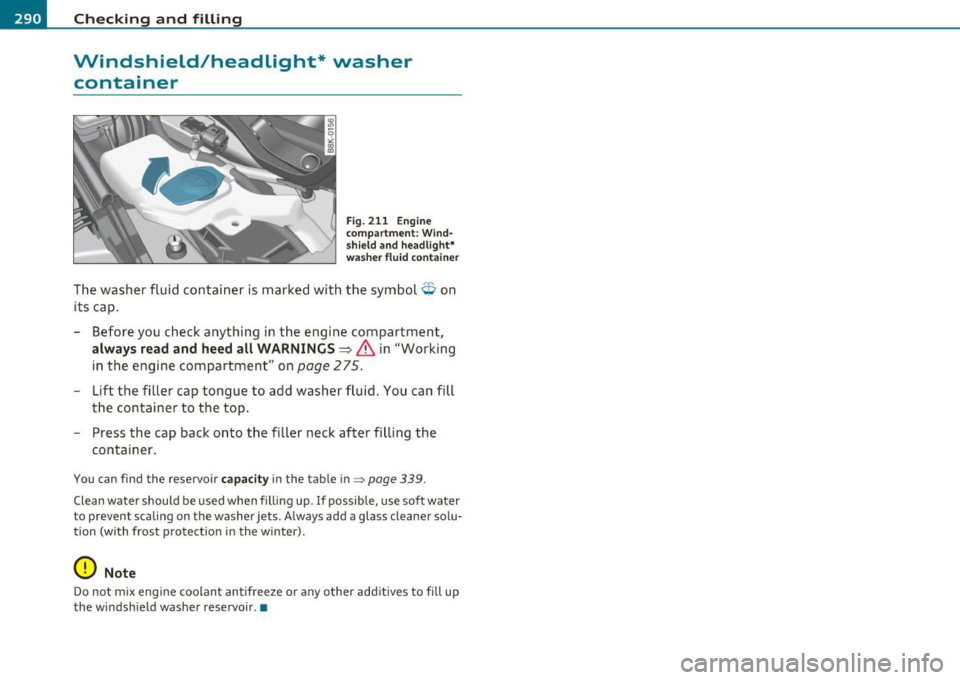
The washer fluid container is mark ed with the symbol¢ on
its cap.
- Before you check anything in the engine compartment,
always read and heed all WARNINGS => & in "Working
in the engine compartment" on
page 275.
- Lift the filler cap tongue to add washer fluid. You can fill
the container to the top.
- Press the cap back onto the filler neck after filling the
container .
You can find the reservoir capacity in the table in:::::::, page 339.
Clean water should be used when filling up. If possible, use soft water
to prevent scaling on the washer jets. Always add a glass cleaner solu tion (with frost protection in the winter) .
0 Note
Do not mix engine coolant antifreeze or any other additives to fill up
the windsh ield washer reservoir .•
Page 300 of 362

-~_T_ ir_e_ s_ a_ n_ d_ w_ h_e_ e_ ls _______________________________________________ _
pressure for a trip -even one that you would not consider to be
" long. " See =>
page 299, "Tires and vehicle load limits" for more
important information.
Always use an accurate tire pressure gauge when checking and
adjusting inflation pressures. Check all of the tires and be sure not to
forget the spare tire. If the pressure in any tire is too high when the
tire is "cold ," let air out of the tire slowly with the edge of the tire
gauge and keep checking the pressure until you reach the pressure
that is correct for the load (passengers and luggage) and kind of
driving you plan to do .
If the pressure in any tire is too low, note the difference between the
pressure in the cold tire and the pressure you need and add the air
that you need to reach the correct pressure for the vehicle load
(passengers and luggage) for the tires on your vehicle as listed on the
on your vehicle and in this manual and the kind of driving you plan to
do.
Never exceed the maximum inflation pressure listed on the tire
sidewall for any reason.
Remember that the vehicle manufacturer, not the tir e manufacturer,
determines the correct tire pressure for the t ires on your veh icle.
It is important to check the tire pressure when the tires are cold.
• Read the required tire pressure from the tir e pressure label. On
USA vehicles, the tire pressure label is located on the driver's side 8-
pillar. On Canada vehicles, the tire pressure label is located either on
the driver 's side 8 -pillar or inside the fuel filler flap. The tire pressure
label lists the recommended cold t ire inflation pressures for the
vehicle at its maximum capac ity weight and the tires that were on
your vehicle at the time it was manufactured. For recommended tire
p ressures for normal load cond it ions, please see chapter
==> page 295.
• Turn the valve stem cap counter-clockw ise to remove it from the
tire valve.
• Place the air pressure gauge on the valve. •
The tire pressures should only be checked and adjusted when the
ti res are cold . Th e slightly raised pressures of warm tires must not be
reduced .
• Adjust the tire pressure to the load you are carrying .
• Reinstall the valve stem cap on the valve .
When should I check the tire pressure?
The correct tire pressure is especially important at high speeds . The
pressure shou ld therefore be checked at least once a month and
always before starting a journey . Do not forget to check the tire pres
sure for the spare wheel.
When should I adjust the tire pressures?
Adjust the t ire pressure to the load you are carrying . After chang ing a
wheel
or replacing whee ls you have to adjust the tire pressures on all
wheels. In addition, you must then initialize the new tire pressures in
the tire pressure monitoring system*=>
page 310.
& WARNING
Incorrect tire pressures and/or underinflation can lead sudden tire
failure, loss of control, collision, serious personal injury or even
death.
• When the warning symbol appears in the instrument
cluster, stop and inspect the tires .
• Incorrect tire pressure and/or underinflation can cause
increased tire wear and can affect the handling of the vehicle and
stopping ability .
• Incorrect tire pressures and/or underinflation can also lead to
sudden tire failure, including a blowout and sudden deflation,
causing loss of vehicle control.
• The driver is responsible for the correct tire pressures for all
tires on the vehicle. The applicable pressure values are located on
a sticker on the driver's side B-pillar or on the inside of the fuel
filler flap. .,_
Page 313 of 362
Tires and wheels -_____________________ ,,...
Applie s to vehicl es: wi th t ir e pr essure mon itor ing syste m
Tire pressure indicator appears
The tire pressure indicator in the instrument cluster
informs you if the tire pressure is too low or if there is a
system malfunction.
F ig . 217 Displ ay:
un derinfl ation
wa rn ing
Fi g. 218 Disp la y:
S yst em m alf unction
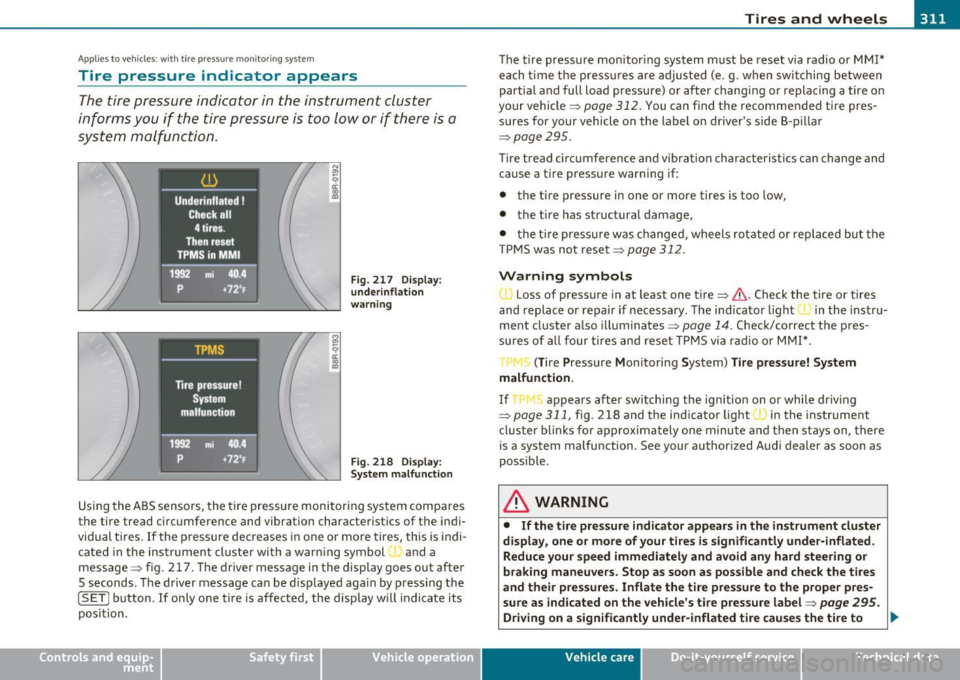
Us ing the A BS sensors, the tire pressure monitor ing system com pa res
the tire tread circumference and vibrat ion characterist ics of the ind i
vidual tires .
If the pressure decreases in one or more tires, this is indi-
cated in the instrument cluster with a warn ing symbol and a
message => fig . 217 . T he driver message in the display goes out after
5 seconds. T he driver message can be d isp layed again by p ressing the
[SETj button. If on ly one tire is affected, the display will indicate its
posi tion.
Vehicle OP-eration T
he tire pressure mon itor ing system must be reset via radio or MMI*
e ach t ime the press ures a re adjus ted (e.g . when switching between
partia l a nd full load pressure) or after chang ing or replacing a tire on
your vehicle =>
page 312. You ca n find the recommended tire pres
sures for your vehicle on the label on dr iver's side B-p illar
=> page 295.
Tir e tread ci rcumference and vibrat ion ch aracterist ics ca n change and
cause a tire pressure warn ing if:
• the tire pressure in one o r more tires is too low,
• the t ire has structura l damage,
• t he ti re pressure w as changed, wheels rotated or replaced bu t the
TP MS was not reset=>
page 312.
Warning symbols
• Loss of pressure in at least one tire => & . Check the tire or tires
and replace or repa ir if necessary . The ind icator light
I in the instru
ment cl uster a lso illuminates =>
page 14. Check/correct the pres
s u res of a ll four tires and reset TPMS via r adio or MM I*.
il (T ire Pressure Monitoring System) Tire pressure! System
malfunction.
If appears after sw itching the ignition on o r while dr iv ing
=> page 311 , fig. 218 and the ind icator light (1 in the instrument
cl uster blinks for a pprox imately one minu te and then s tays on, there
is a system malfunction. See your author ized Audi dealer as soon as
poss ible.
& WARNING
• If the tire pressure indi cator appears in the instrument cluster
display, one or more of your tires is significantly under -inflated.
Reduce your speed immediately and avoid any hard steering or
braking maneuvers . Stop as soon as possible and check the tires
and their pre ssure s. Inflate the tire pre ssure to the proper pre s
sur e as ind icated on the vehicle's tire pres sure label =>
page 295.
Driving on a significantly under-inflated tire causes the tire to _,,.
Vehicle care Do-it-yourselt service iTechnical data
Page 316 of 362
-L~W~h~a~t~d~o~I~d~o~n~o~w~? :_ _________________________________________ _
What do I do now?
Vehicle tool kit
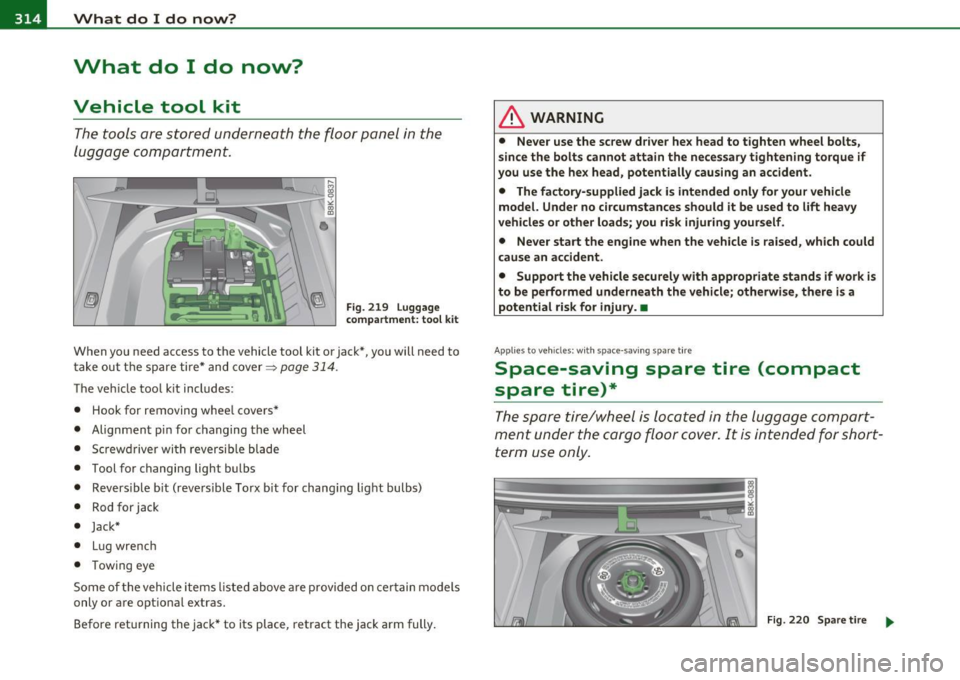
The too ls are stored underneath the floor panel in the
luggage c ompartment.
Fi g. 2 19 Lu ggag e
c om partm ent : too l k it
When you need access to the vehicle tool kit or jack* , you will need to
t ake out t he spare ti re* and cover~
page 314.
The ve hicle too l kit includes:
• Hook for removing whee l covers *
• Alignmen t pin fo r changing the wheel
• Screwdriver wi th reversib le blade
• Tool for changing light bulbs
• Revers ib le b it (reve rs ible To rx bit for chang ing lig ht bulbs)
• Rod for jack
• Jack*
• Lu g wre nc h
• Towing eye
Some of the veh icle items listed above a re p rovided o n cert ain mo dels
only or are opt ional extras.
Before ret urning the jack* to its place, retract the jack arm fully.
& WARNING
• Never u se the screw dri ver he x head to tighten wheel bolts,
s in ce the bolts cannot attain th e neces sa ry tightening torque if
you use the he x head , potent ially caus ing an accident.
• The fa ctory-supplied jack i s intended only for your vehicle
model. Unde r no circumstances should it be used to lift heavy
vehicles or other loads ; you risk injuring you rself .
• Never start the engine whe n the vehicle is raised , which could
caus e an acci dent .
• Support the vehicle securely with appropriate stands if work is
to be performed underneath the vehicle; otherwise , there is a
potential risk for injury. •
App lies to vehicles : w ith space -saving spa re t ire
Space-saving spare tire (compact
spare tire)*
The spare tire/wheel is located in the lugg age comport
ment under the cargo floor cover . It is intended for short
te rm use only.
Fi g. 2 20 S pare t ir e _.,,