load capacity AUDI A6 2016 Owners Manual
[x] Cancel search | Manufacturer: AUDI, Model Year: 2016, Model line: A6, Model: AUDI A6 2016Pages: 294, PDF Size: 73.88 MB
Page 13 of 294
-Never open the engine hood if you see or
hear steam, or if you see engine coolant
dripping from the engine compartment. You
could burn yourself. Let the engine cool off
first until you can no longer see or hear steam or coolant escap ing .
Q) Note
-Mounting additional lights or accessories in
front of the air inlets reduces the cooling ef
fect of the radiator. At h igh outside temper
atures or h igh engine load, the engine cou ld
ove rheat.
- The front spoiler has been designed to prop
erly distribute the cooling air when the veh i
cle is moving.
If the spoiler is damaged, this
could red uce the cooling effect and the en
gine could then overheat . Ask your author
ized Audi dealer for assistance.
Tachometer
The tachometer displays the engine speed in rev
olutions per minute (RPM).
You shou ld shift to the next lowest gear when
the speed is below 1500 RPM. The beginning of
the red zone in the tachometer indicates the maximum permissib le engine speed for all gears
once the engine has been broken in and when it is
warmed up to operating temperature. Before reaching the red zone, you should shift into the
next h igher gear, choose the Dor S selector lever
position, or remove your foot from the accelera
tor pedal.
CD Note
The tachometer needle© c::> page 10, fig. 3
should only be in the red zone br iefly: other
w ise, this increases the risk of e ngine dam-
age. The location where the red zo ne begins
varies depend ing on the eng ine.
@, For the sake of the environment
Upshifting early helps you to save fuel and re
duce operating noise.
In strum ents an d ind ic a to r ligh ts
Fuel level
The fue l gauge only works when the ignition is
on.
If t h e fue l level drops below 2.6 gallons (10
lite rs), the bottom LED turns red and the indica
tor light
t]J turns on c::> page 21. The bottom
LED blinks red when the fue l level is very low.
T he possible range based on the c urrent fue l lev
el is shown in tab@c::>
page 23, fig . 4 .
Fo r the tank capacity in your veh icle, refer to the
T echn ica l Data c::>
page 2 71.
CD Note
Never drive until the tank is completely emp
ty. The irregu la r supply of fuel that resu lts
from that can cause t he engine to m isfire. Un
combusted f uel w ill then en ter the exha ust
system . This can cause ove rheating and dam
age to the catalytic converter.
Indicator lights
Description
T he ind icator lights in the instrument cluster
blink or turn on. They i ndicate functions o r mal
funct ions c::>
.&,.
Messages may appear with some ind icator lights.
A war ning s ignal will sound at the same time.
T he ind icator lights and messages in the ce nte r
of the disp lays may be replaced by other displays.
T o s how them again, select the tab for indicator
li gh ts and messages using the m ultifunction
steering wheel c::>
page 23. If there are several
malfunctions, you can display them one at a time
us ing the thumbwheel.
Some indicators lights in the display can t urn on
in several colors.
A WARNING
- Fai lure to heed wa rning lights and other im
portant vehicle information may result in
serious personal injury or vehicle damage.
- Whenever stalled or stopped for repair,
move the vehicle a safe d istance off the
road, stop the engine, and turn on the
emergency flasher c::>
page 47.
11
Page 65 of 294
-Objects fal ling from the roof of a vehicle can
cause a crash and personal injury.
- Only mount the roof rack on the designated
locations on the roof
c:> fig. 67.
-The roof rack system must be installed ex
act ly according to the instructions provided .
- When driving with a roo f rack system,
changes to the center of gravity and wind
resistance can change the vehicle handling
and lead to a collision. Always adapt your
dr iv ing and your speed to the current condi
t ions.
- Your vehicle warranty does not cover any
damages to the vehicle caused by using roof
racks or mounting structures not approved
by Audi for your vehicle . The same applies to
damage result ing from incorrect roof rack
i nstallation.
-Always check the roof rack mount ings and
hardware before each t rip and dur ing a tr ip
to make sure everyt hing is securely tight
ened.
If necessary, ret igh ten the mo unt ings
and c hec k the en tire system from time to
time.
- After mounting a roof rack system, or when
you transport objects on the roof of your ve
hicle, the height of the vehicle is naturally
increased . Be careful when driving under
l ow bridges or in parking garages for exam
ple. This could cause damage to the load
and even the vehicle itself.
- Make s ure the open rear lid and the sun
roof* do not come into contact with the roof
rack.
Loading the roof rack
Always distribute loads evenly. Make sure any
thing on the roof rack is securely tied down.
~ Always distribute the loads on the roof rack
evenly .
~ Always attach items to the roof rack securely
before you drive off.
The maximum perm iss ible roof weight is
220 lb
( 100 kg ).
The roof weight is the total of the
Seat s and sto rage
weight o f the roof rack, the attachments and the
cargo you are carrying. You must a lso not exceed
the max imum load weight for the roof rack you
are using.
When using a roo f rack system which has a lower
load carrying capacity, you must not use up the
total max imum permissible load carry ing capac i
ty specified above. Instead, you should load the
roof rack system only to the maximum capacity
specified by the manufacturer of the roof rack
system .
A WARNING
= -Weak, damaged or imprope r straps used to
secure items to the roof rac k can fail d uring
hard brak ing o r in a co llision and cause seri
ous persona l injury.
- Make sure the roof r ack is installed exactly
as specified above
c:> page 62.
- Always use suitable mounting straps fo r se
cur ing items to the roof rac k to he lp prevent
items from shifting o r flying forward .
- Items on the roof rack mus t always be se
curely mounted.
- The use of a roof rack can negative ly affect
the w ay a vehicle hand les. Cargo tha t is
large, heavy, b ulk y, long or flat wi ll have a
grea ter negat ive infl uence on the vehicle's
aerodynamics, center of gravity and overa ll
handling. Always drive slowly, avoid sudden
braking and maneuvers when transporting
cargo on the roof of your vehicle.
- Never exceed the max imum permissib le
load carrying capacity of the roof of your ve
h icle, the permiss ible axle weights and the
perm iss ible total we ight of your vehicle
c:> page 2 70, Weights .
@ For the sake of the environment
As a result of the increased wind res istance
created by a roof rack, your vehicle is using
fuel unnecessarily . So remove the roof rack
after using it .
63
Page 66 of 294
Sea ts and stor age
Luggage compartment
Loading luggage compartment
Luggage items must be stowed securely.
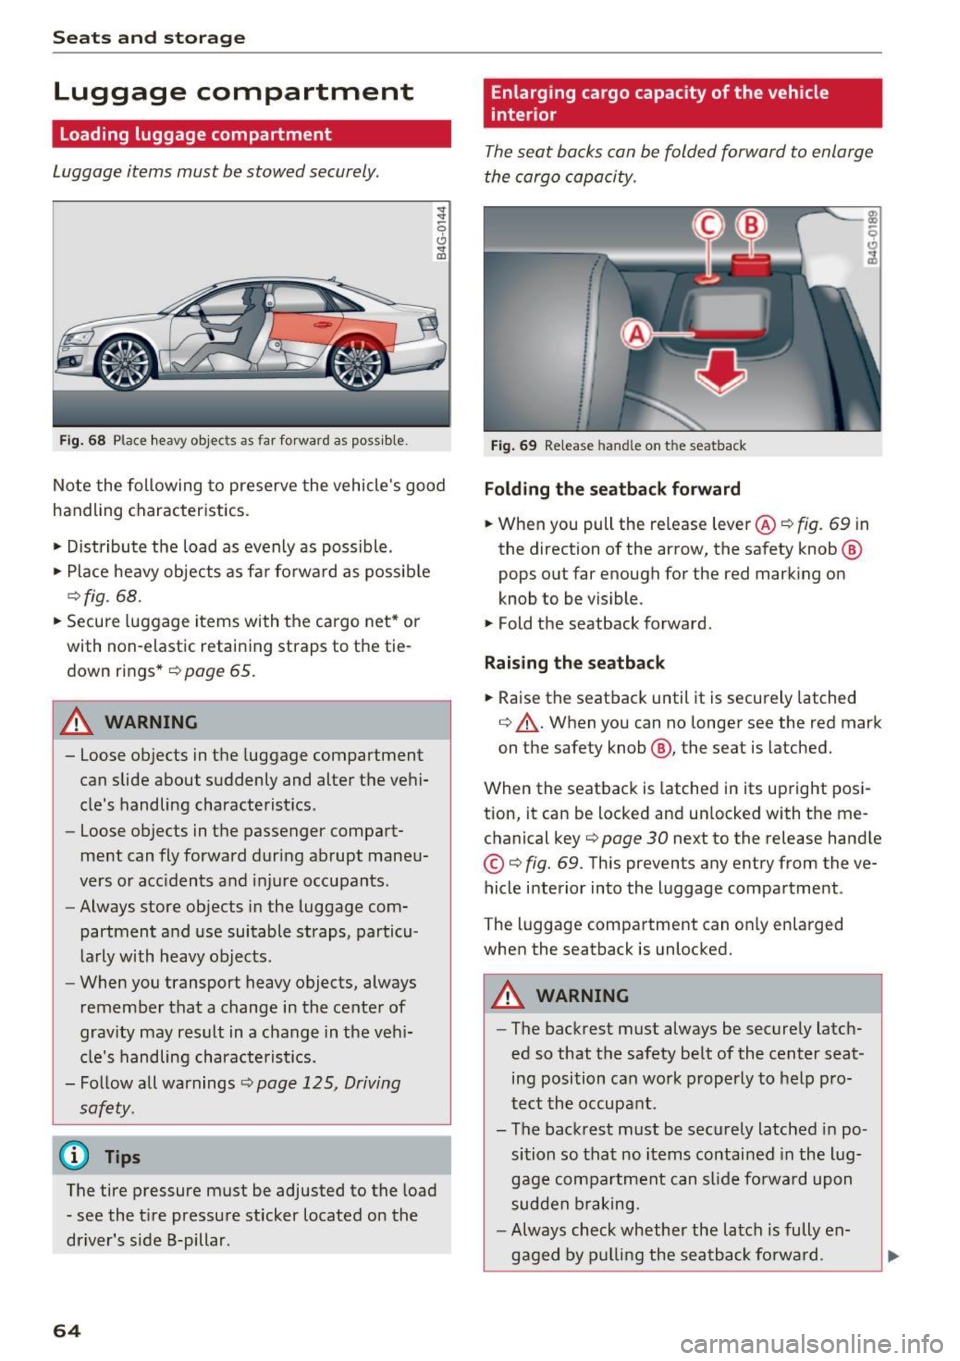
Fig . 68 Place heavy objec ts as far forward as poss ib le .
~
-0
0 ... co
No te the following to preserve the vehicle 's good
handling characteristics .
• Distribute the load as evenly as possible.
• Place heavy objects as fa r fo rward as possib le
~ fig . 68.
• Secure luggage items with the cargo net * or
with non-elastic retaining straps to the tie
down rings *
<=> page 65.
A WARNING
- Loose objects in the luggage compartment
can slide about suddenly and alter the vehi
cle's handling characte ristics.
- Loose objects in the passenger compart
ment can fly forward during abrupt maneu
vers or acc idents and injure occupants.
- Always store objects in the luggage com
partment and use suitable straps, particu
larly with heavy objects .
- When you transport heavy objects, always
remember that a change in the center of
grav ity may result in a change in the veh i
cle's handling characte ris tics.
- Follow all warnings<=>
page 125, Driving
safety.
@ Tips
The tire pressure must be adjusted to the load - see the t ire pressure sticker located on the
driver's side B-pillar.
64
Enlarg ing cargo capacity of the vehicle
interior
The seat backs can be folded forward to enlarge
the cargo capacity.
Fig . 69 Re lease hand le on t he seatback
Fold ing th e seatback forward
• When you pull the re lease lever@<=> fig. 69 in
the direction of the arrow, the safety knob @
pops out far enough for the red marking on
knob to be visible.
• Fold the seatback forward.
Rai sing th e seatback
• Raise the seatback until it is securely latched
<=> .&,. . When you can no longer see the red mark
on the safety knob @, the seat is latched.
When the seatback is latched in its up right posi
tion, it can be locked and un locked with the me
chanical key~
page 30 next to the release hand le
© <=>fig. 69. This prevents any entry from the ve
hicle interior into the luggage compartment .
The luggage compartment can on ly enlarged
when the seatback is unlocked.
A WARNING
- The backrest must always be securely latch
ed so that the safety belt of the center seat
ing position can wo rk properly to help pro
tect the occupant.
- The backrest must be securely latched in po sition so that no items contained in the lug
gage compartment can s lide fo rwa rd upon
sudden b raking.
- Always check whether the latch is fully en-
gaged by p ulling the seatback fo rwa rd.
~
Page 134 of 294
Driving sa fe ty
-Never lea ve yo ur vehicle unattended espe
c ially w ith the rear lid left open. A child
could crawl into the vehicle through the lug
gage compartment and close the rear lid be
coming trapped and unable to get out . Be
ing t rapped in a vehicle can lead to se rious
persona l injury.
- Never let children play in or aro und the veh i
cle.
- Never let passe ngers ride i n the luggage
compartmen t. Veh icle occupants m ust al
ways be prope rly restrained in one of t he ve
hicle's seating posi tions.
- A ir c irculat ion hel ps to reduce window fog
ging . Stale air escapes to the outside
th ro ugh vents i n the t rim panel. Be su re to
k eep these sl ots free and open.
- T he t ire pressu re mus t cor respond to the
l oad. The tire p ressure is shown on the tire
pressure l abe l. T he tire p ressure label is lo
cated on the driver 's s ide B-pi llar . The tire
pressure labe l lists the recommended cold
tire inflation p ressures for the vehicle at its
maximum capacity weight and the t ires that
were on your vehicle at the t ime it was man
ufactured. For recommended tire pressures
for normal load cond itions, please see chap
ter ¢
page 242 .
Tie-downs
The luggage compartment is equipped with four
tie-downs to secure luggage and other items .
Use the tie-downs to secure your cargo properly
¢ page 131, Loading the luggage compartment .
In a collision, the laws of p hysics mean that even
sma ller items that are loose in the vehicle will
become heavy missiles that can cause ser ious in
jury . Items in t he ve hicle possess energy wh ich
vary with vehicle speed and t he weight of the
item . Veh icle speed is the most s ignifica nt facto r.
For examp le, in a frontal collision at a speed of
30 mph (48 km/h) , the forces act ing o n a 10-lb
(4 . 5 kg) object are abo ut 20 times the normal
weight of the item . T his means that the weight
132
of the item would s udden ly be about
200 lbs . (90 kg) . You can imagine the inj uries
that a 200 lbs . (90 kg) item flying freely through
the passenger compartment could cause in a col
li sion like th is.
A WARNING
Weak, damaged or improper straps used to
secure items to tie-downs can fail dur ing hard
b raking or in a collision and cause ser ious per
sonal injury.
- Always use suitable mo unt ing straps and
pro perl y secure i tems to the tie-downs in
t he l uggage comp artmen t to help preven t
items from shi fting o r flying forwa rd as dan
ge rous miss iles .
- W hen the rear sea t bac krest is folded down,
a lways use suitable mo unti ng straps and
pro per ly secure items to the tie -downs in
the l uggage compa rtment to help prevent
items from flying forward as dangerous
m iss iles into the passenger compartment.
- Never attach a child safety seat tether strap
to a tie-down.
-
Reporting Safety Defects
Applicable to U.S.A.
If you belie ve that your vehicle
has a defect which could cause a
crash or could cause injury or
death, you should immedi ately in
form the National Highway Traffic Safet y Administration (NHTSA) in
a ddition to notifyin g Audi of
Ame rica, Inc.
If NHTSA re ceives s imilar com
plaints, it m ay open an in vestiga
tion , and if it finds that a safety
defe cts exist s in a group of
v e hicles, it m ay order a re call and ..,.
Page 234 of 294
Wheels
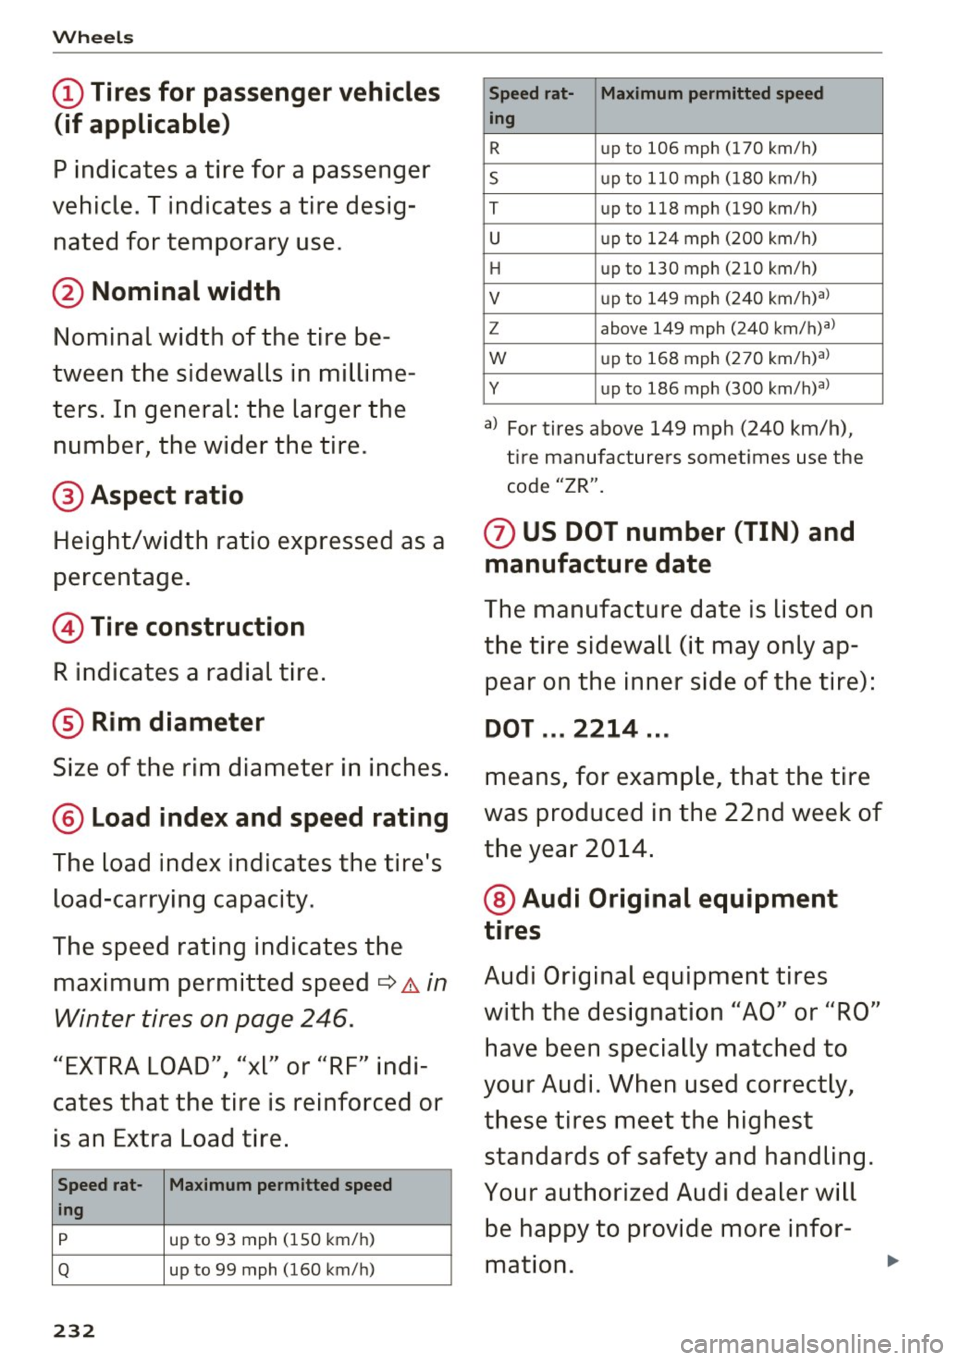
(D Tires for passenger vehicles
(if applicable)
P indicates a tire for a passenger
vehicle. T indicates a tire desig
nated for temporary use.
@ Nominal width
Nominal width of the tire be
tween the sidewalls in millime
ters. In general: the larger the
number, the wider the tire.
@ Aspect ratio
Height/width ratio expressed as a
percentage.
@ Tire construction
R indicates a radial tire.
® Rim diameter
Size of the rim diameter in inches.
@ Load index and speed rating
The load index indicates the tire's
load-carrying capacity.
The speed rating indicates the maximum permitted speed
¢ & in
Winter tires on page 246.
"EXTRA LOAD", "xl" or "RF" indi
cates that the tire is reinforced or
is an Extra Load tire.
Speed rat- Maximum permitted speed
ing
p
up to 93 mph (150 km/h)
Q up to 99 mph (160 km/h)
232
Speed rat- Maximum permitted speed
Ing
R
up t o 106 mph (170 km/h)
s up to 110 mph (180 km/h)
T up to 1 18 mph (190 km/h)
u up to 124 mph (200 km/h)
H up to 130 mph (210 km/h)
V up to 149 mph (240 km/h)al
z above 149 mph (240 km/h)al
w up to 168 mph (270 km/h)al
y up to 186 mph (300 km/h)al
a) For tires above 149 mph (240 km/h),
tire manufacturers sometimes use the
code "ZR".
(j) US DOT number (TIN) and
manufacture date
The manufacture date is listed on
the tire sidewall (it may only ap
pear on the inner side of the tire):
DOT ... 2214 ...
means, for example, that the tire
was produced in the 22nd week of
the year 2014.
@ Audi Original equipment
tires
Audi Original equipment tires
with the designation "AO" or "RO"
have been specially matched to
your Audi. When used correctly,
these tires meet the highest standards of safety and handling.
Your authorized Audi dealer will
be happy to provide more infor
mation.
Page 236 of 294
Wheels
Bead
means the part of the tire that is
made of steel wires, wrapped or
reinforced by ply cords and that is
shaped to fit the rim .
Bead separation
means a breakdown of the bond
between components in the bead.
Cord
means the strands forming the
plies in the tire.
Cold tire inflation pressure
means the tire pressure recom
mended by the vehic le manufac
turer for a tire of a des ignated
size that has not been driven for more than a couple of miles (kilo
meters) at low speeds in the
three hour period before the tire pressure is measured or adj usted.
Curb weight
means the weight of a motor ve
hicle w ith standard equipment in
cluding the maximum capacity of
fuel, oil, and coolant, air condi
tioning and additiona l weight of
op tional equipment.
E x tra load tire
means a tire des igned to operate
at higher loads and at h igher in -
234
flation pressures than t he corre
spond ing standa rd tire. Extra load
tires may be identified as "XL",
"xl" , "EXTRA LOAD" , or "RF" on
the sidewall.
Gross A xle Weight Rating
("GAWR ")
means the load-carrying capacity
of a single axle system , measured
at the ti re-gro und interfaces.
Gross Vehicle Weight Rating
("GVWR")
means the max imum total loaded
weight of the vehicle .
Groove
means the space between two ad
jacent tread ribs .
Load rating (code)
means the maximum load tha t a
tire is rated to carry for a given in
flation pressure. You may not find
this informat ion on all ti res be
cause it is not required by law .
Maximum load rating
means the load rating for a tire at
the maximum permissible infla
tion p ressure for that ti re .
Maximum loaded vehicle
weight
means the sum of: ...
Page 237 of 294
(a) Curb weight
(b) Accessory weight
(c) Vehicle capacity weight, and
(d) Production options we ight
Ma ximum (permissible)
inflation pressure
means the maximum cold infla
tion pressure to which a t ire may
be inflated. Also called "maxi
mum inflation pressure."
Normal occupant weight
means 150 lbs. (68 kilograms)
times the number of occupants
seated in the veh icle up to the to
tal seating capacity of your vehi c le.
Occupant distribution
means distribution of occupants
in a vehicle.
Outer diameter
means the overall diameter of an
inflated new tire.
Overall width
means the linear distance be
tween the exteriors of the side
walls of an inflated tire, including elevations due to labeling, deco
rations, or protective bands or
ribs .
Wheels
Ply
means a layer of rubber-coated
parallel cords .
Production options weight
means the combined weight of
those installed regular production
options weighing over 5 lbs. (2.3 kg) in excess of those standard
items which they replace, not pre
viously considered in curb weight
or accessory weight, including heavy duty brakes , ride levelers,
roof rack, heavy duty battery, and
special trim .
Radial ply tire
means a pneumatic tire in which
the ply cords that extend to the beads are laid at substantially 90
degrees to the centerline of the
tread.
Recommended inflation
pressure
see ~ page 234, Cold tire infla
tion pressure .
Reinforced tire
means a tire designed to operate
at higher loads and at higher in
flation pressures than the corre sponding standard tire. Rein
forced tires may be identified as
235
Page 239 of 294
Uniform Tire Quality Grading
is a tire information system devel
oped by the United States Nation
al Highway Traffic Safety Admin
istration (NHTSA) that is designed
to help buyers make relat ive com
parisons among tires . The UTQG
is not a safety rating and not a
guarantee that a tire will last for
a prescribed number of mi les
(kilometers) or perform in acer
tain way. It simply gives t ire buy
e rs add itional informa tion to
combine with other considera
tions, such as p rice, brand loya lty
and dealer recommendations . Un
der UTQG, tires are graded by t he
tire manufacturers in th ree areas:
treadwear, traction, and tempera
ture res istance. The UTQG infor
mation on the tires, molded into
the s idewalls .
U.S. DOT Tire Identification
Number (TIN)
This is the tire's "serial number".
It beg ins with the le tters "DO T"
and indicates that the tire meets
all federal standards . T he nex t
two numbers or letters indicate
the plant where it was manufac
tured , and the last fo ur numbers
represent the week and yea r of
manufacture. For examp le,
Wheels
DOT ... 2214 ...
means that the tire was produced
in the 22nd week o f 201 4. The
other numbers are marketing co des that may or may not be used
by the t ire manufact urer. This in
formation is used to contact con sumers if a tire defec t req uires a
reca ll.
Vehicle capacity weight
means the rated cargo and lug
gage load plus lS0 lbs . (68 k ilo
grams) t imes the vehicle's desig
na ted seating capacity.
Vehicle maximum load on the
tire
means that load on an ind iv idual
tire tha t is determined by dist rib
ut ing to eac h ax le its share of the
maximum loaded vehic le weight
and dividing by two.
Vehicle normal load on the tire
means that load on a n individual
tire that is determined by dist rib
uting to each ax le its share of the
curb weight , accessory weight ,
and normal occupant weigh t (dis
tributed in accordance wit h
c:::> ta
ble on page 243) and dividing by
two.
23 7
..
Page 247 of 294
-Tires on a vehicle that has
been overloaded can fail sud
denly, including a blowout and
sudden deflation, causing loss
of control and a crash.
-Always make sure that the to tal load being transported -
including the weight of a trail
er hitch and the tongue
weight of a loaded trailer - does not make the vehicle
heavier than the vehicle's
Gross Vehicle Weight Rating.
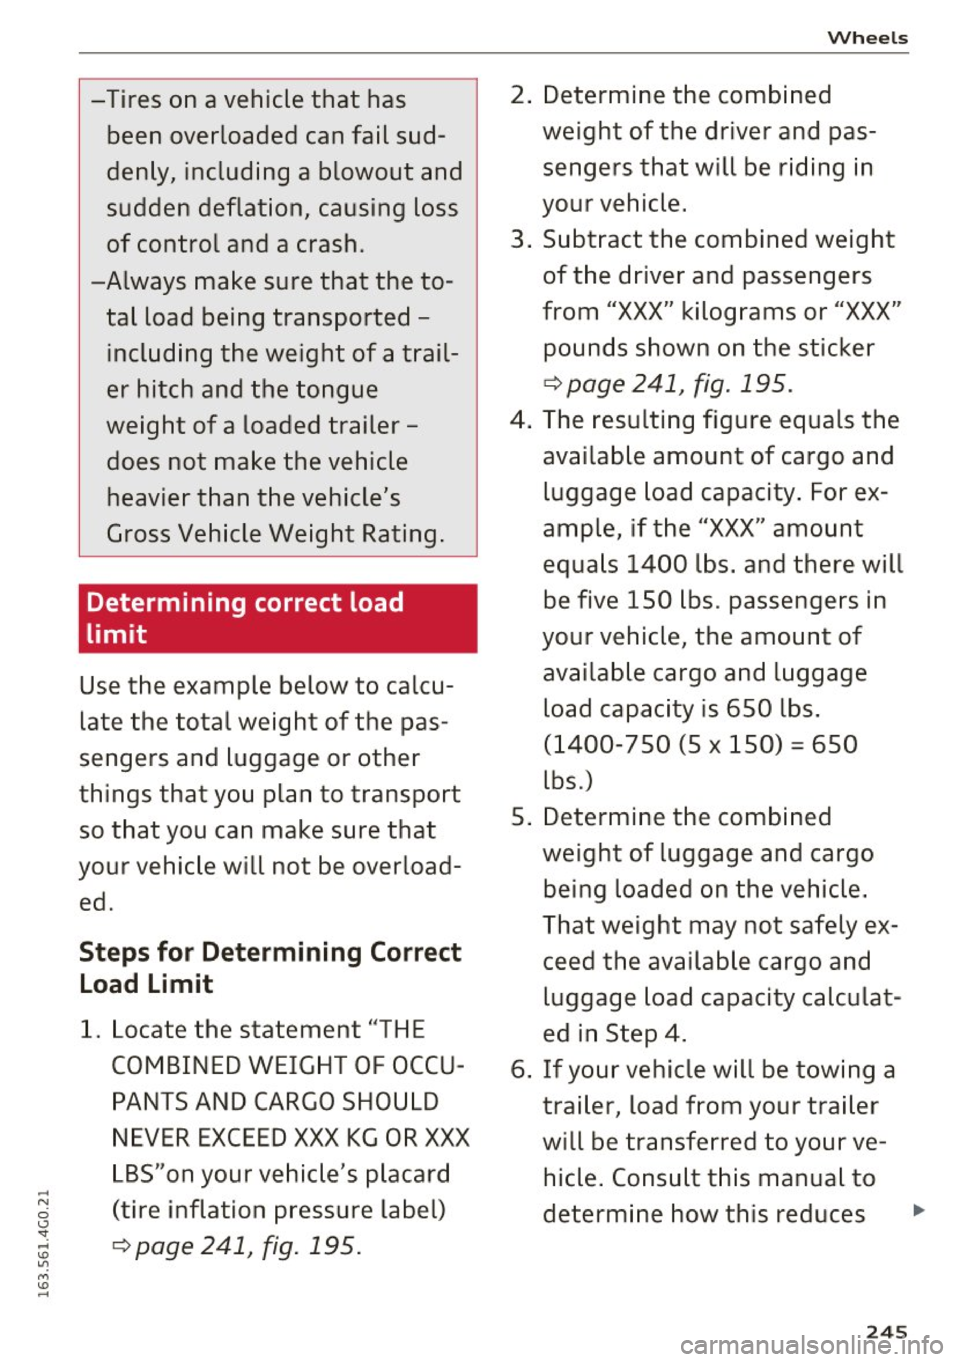
Determining correct load
limit
Use the example below to calcu
late the total weight of the pas
sengers and luggage or other
things that you plan to transport so that you can make sure that
your vehicle will not be overload
ed.
Steps for Determining Correct Load Limit
1. Locate the statement "THE
COMBINED WEIGHT OF OCCU
PANTS AND CARGO SHOULD
NEVER EXCEED XXX KG OR XXX
LBS "on your vehicle's placard
(tire inflation pressure label)
¢ page 241, fig. 195.
Wheels
2. Determine the combined
weight of the driver and pas sengers that will be riding in
your vehicle.
3. Subtract the combined weight of the driver and passengers
from "XXX" kilograms or "XXX"
pounds shown on the sticker
¢ page 241, fig . 195 .
4. The resulting figure equals the
available amount of cargo and
luggage load capacity. For ex
ample, if the "XXX " amount
equals
1400 lbs. and there will
be five
150 lbs . passengers in
your vehicle, the amount of
available cargo and luggage
load capacity is 650 lbs.
(1400-750 (5 X 150) = 650
lbs .)
5. Determine the combined
weight of luggage and cargo
being loaded on the vehicle.
That weight may not safely ex ceed the available cargo and
luggage load capacity calculat
ed in Step 4.
6. If your vehicle will be towing a trailer, load from your trailer
will be transferred to your ve
hicle. Consult this manual to
determine how this reduces ..,
245
Page 273 of 294
Gross Axle Weight Rating
The G ross Axle We igh t Rating is the max imum
l oad that can be applied at each axle of the vehi
cle ~.& .
Vehicle capacity weight
The vehicle capac ity we ight (max. load) is listed
e ithe r o n the dr iver's side B-pillar o r inside the
f u el fi ller flap.
& WARNING
- The actual Gross Ax le Weight Rating at the
front and rear axles sho uld not exceed the
permissible weights, and their comb inat ion
must not exceed the Gross Vehicle We ight
Rat ing.
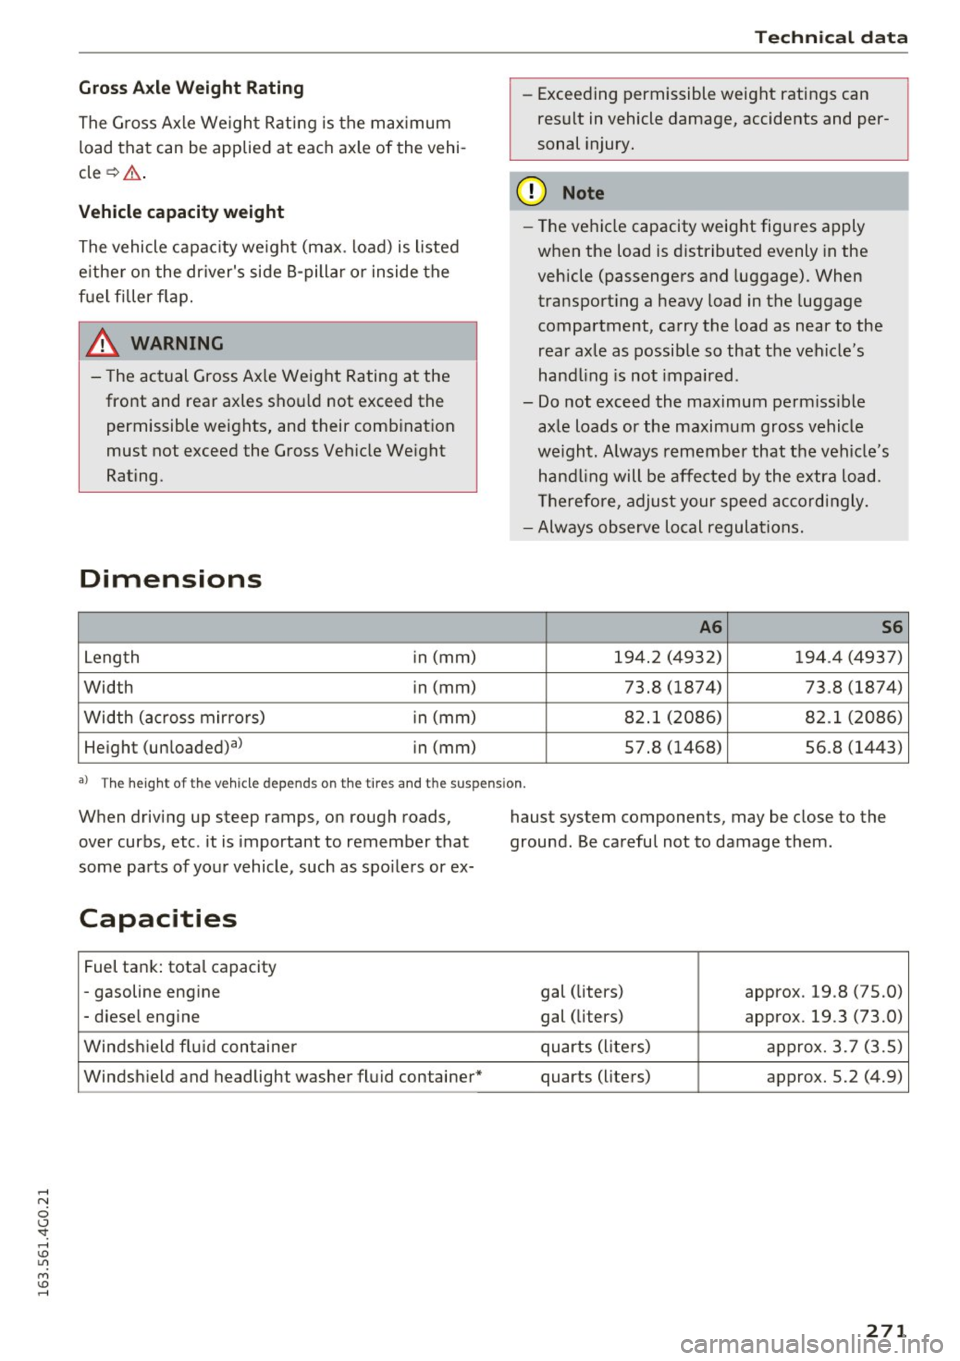
Dimensions
Leng th i
n (mm)
Width in (mm)
Width (a cross mirro rs) in (mm)
He ight (un loaded)al in (mm)
Techn ical data
- Exceeding permissible weight ratings can
res ult in vehicle damage, accidents and per
sonal injury.
(D Note
- The vehi cle capacity weig ht figu res apply
when the load is d istributed evenly in the
vehicle (passengers and luggage) . When
transport ing a heavy load in the luggage
compartment, ca rry the load as near to the
rear axle as possib le so that t he veh icle's
hand ling is no t impaired .
- Do not exceed the maximum perm iss ible
ax le loads or the maximum gross vehicle
we igh t. Always remember that the veh icle's
han dling will be affe cted by the extra load.
Th erefore, adjust your spee d accordingly.
- Always observe local regulations.
A6 S6
194.2 (4 932) 194 .4 (493 7)
73.8 (1874) 73 .8 (1874)
8 2.1 ( 2086) 8 2.1 (2 086)
57.8 (1468) 56 .8 (1443)
a ) T he heig h t of t he ve hicl e de pe nds on th e tir es and the suspens io n .
When driving up steep ramps, on rough roads,
over curbs, etc . it is important to remember that
some pa rts of your vehicle, such as spo ile rs or ex-
Capacities
Fuel tank: tota l capacity
- gasoline eng ine
- d iese l eng ine
Winds hield fl uid container
Winds hield and headlight washer fluid container* haust system components, may be close to the
ground. Be carefu
l not to damage them.
gal (liters) approx. 19.8 (75.0)
gal (liters) approx. 19.3 (73.0)
qu arts (l ite rs) approx. 3. 7 (3.5)
quarts (liters) approx. 5. 2 (4. 9)
271