set clock AUDI A8 2014 Owners Manual
[x] Cancel search | Manufacturer: AUDI, Model Year: 2014, Model line: A8, Model: AUDI A8 2014Pages: 314, PDF Size: 78.47 MB
Page 29 of 314

Instrument s and warning /indicator lights 2 7
-The fuel economy messages are not dis
played in every instance, but rathe r in in
terva ls
over a period o f time.
Cylinder on demand System
App lies to vehicles: w ith 4 .0 TFS ! engi ne
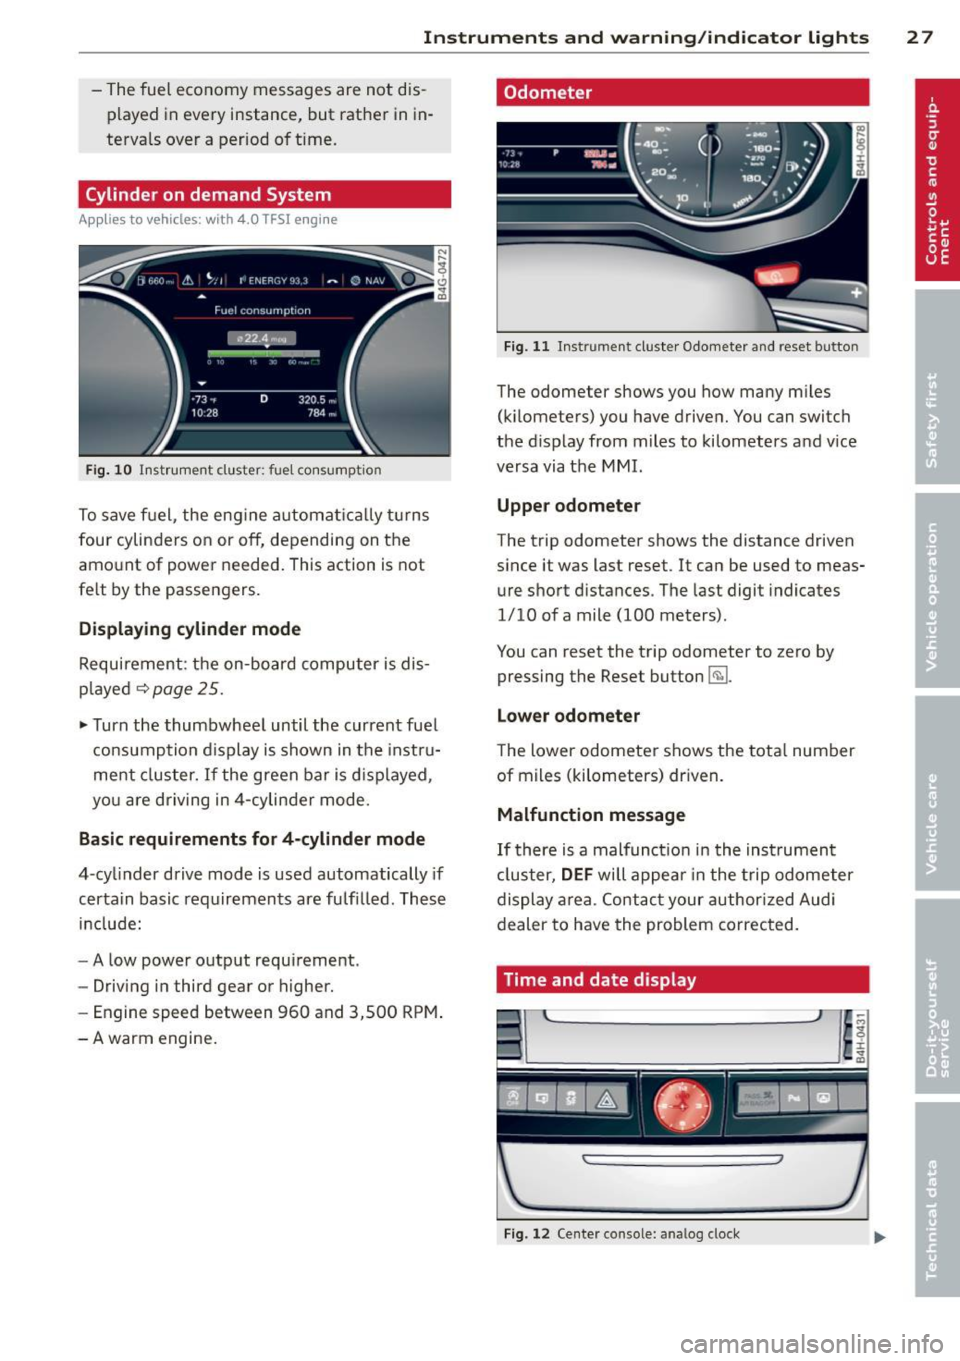
F ig. 10 Inst rume nt cluster: fuel consumption
To save fu el, the eng ine automat ic all y t urns
four cylinders o n or
off, de pending on the
amo unt of power needed. This action is not
fe lt by the passengers.
Displaying cylinder mode
Requirement: t he on-bo ard computer is di s
pl ayed~
page 25.
~ Turn the thumbwhee l until the current fue l
c o nsu mption display is shown in the inst ru
me nt cl uster.
If the green ba r is d ispl ayed,
yo u a re driving in 4-cylin der m ode.
Basic requirements for 4 -cylinder mode
4-cy linder drive mode is used automatically if
certain basic requir emen ts are fulfi lled. These
in clude:
- A low powe r output requi reme nt.
- Driving in third gear or higher.
- Engine speed between 960 and 3,500 RP M.
-A warm engine .
Odometer
Fig. 11 Instrument cluste r Odo meter a nd reset button
The odometer shows you how many m iles
(k ilometers) you have driven. You can switch
the d isplay from miles to kilomete rs and v ice
versa via t he MMI.
Upper odometer
The trip odometer shows the distance driven
since it was last reset.
It can be used to meas
ure s ho rt d istances . The last digit indicates
1/10 of a mile (100 meters) .
You can reset the trip odometer to zero by
pressing the Reset button~-
Lower odometer
The lower odomete r shows the tota l num ber
of m iles (kilometers) dr iven.
Malfunction message
I f th ere is a malfunc tion i n the in strumen t
cl us ter,
DEF will ap pear i n the trip odometer
display a rea. Conta ct your author ized Audi
dealer to have the problem corrected.
Time and date display
Fig . 1 2 Ce nter console: ana log clock
Page 30 of 314

28 Instruments and warning/indicator lights
The date and time are shown in the instru
ment cluster d isplay
c:;, page 24, fig. 4. There
is also an ana log clock in the center console
c:;, fig. 12.
When you open the driver's door, the date and
time appear in the instrument cluster display
for 30 seconds . When the ign ition is switched
on, the time is always displayed in the status
line © regardless of the current display.
You can set the time on both clocks and the date display in the MMI. Refer to the MMI
owner's manual for instructions.
Service interval display
The service interval display reminds you when
your next service is due.
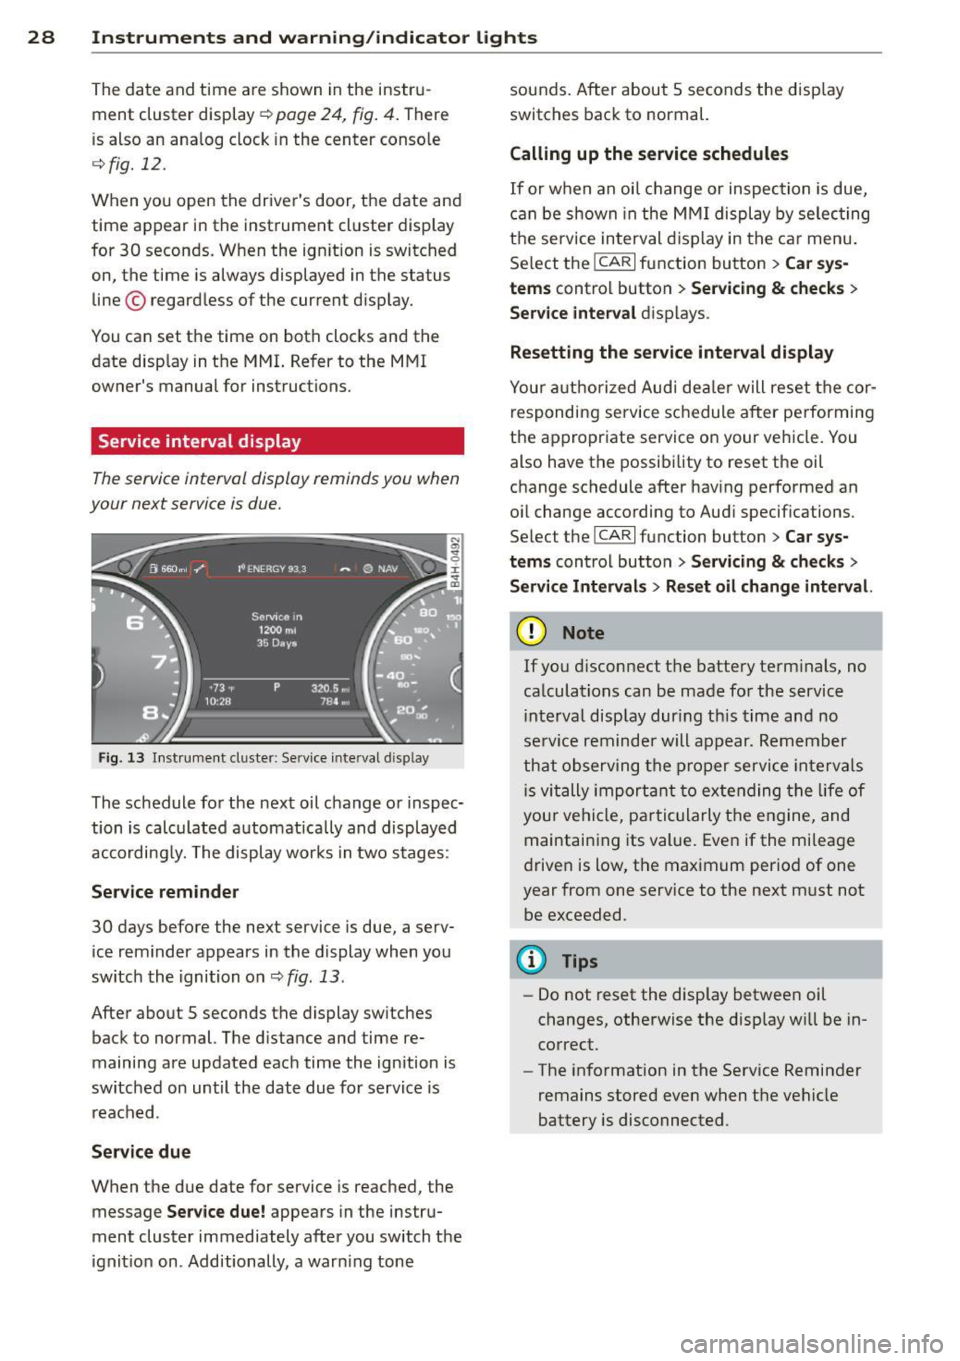
Fig. 13 Inst rume nt cluster: Serv ice inte rval d isp lay
The schedule for the next oil change or inspec
tion is calculated automatically and displayed
accordingly. The display works in two stages :
Service reminder
30 days before the next service is due, a serv
ice reminder appears in the display when you
switch the ignition on
c:;, fig. 13 .
After about S seconds the display switches back to normal. The distance and time re
maining are updated each time the ignition is
switched on until the date due for service is
reached .
Service due
When the due date for service is reached, the
message
Service due! appears in the instru
ment cluster immediately after you switch the
ignition on . Additionally, a warn ing tone sounds. After about 5 seconds the disp
lay
switches back to normal.
Calling up the service schedules
If or when an oil change or inspection is due,
can be shown in the MMI display by selecting
the service interval display in the car menu.
Select the
ICARI function button > Car sys
tems
control button > Servicing & checks >
Service interval displays.
Resetting the service interval display
Your authorized Audi dealer will reset the cor
responding service schedule after performing
the appropr iate service on your vehicle. You
also have the possibility to reset the oil
change schedule after hav ing performed an
o il change according to Aud i specif ications.
Select the
I CAR I function button > Car sys
tems
control button > Servicing & checks >
Service Intervals > Reset oil change interval.
(D Note
If you disconnect the battery term inals, no
calculations can be made for the service
i nterval disp lay during th is time and no
serv ice reminder will appear. Remember
that observing the proper service intervals
i s vitally important to extending the life of
your vehicle, pa rticularly the engine, and
maintaining its value. Even if the mileage
driven is low, the maximum period of one
year from one service to the next must not
be exceeded.
(I} Tips
-Do not reset the display between oil
changes, otherwise the disp lay w ill be in
correct.
- The information in the Service Reminder
remains stored
even when the vehicle
battery is disconnected .
Page 85 of 314

On the road
Steering
Adjusting steering wheel position
The steering wheel position can be adjusted
for height and reach .
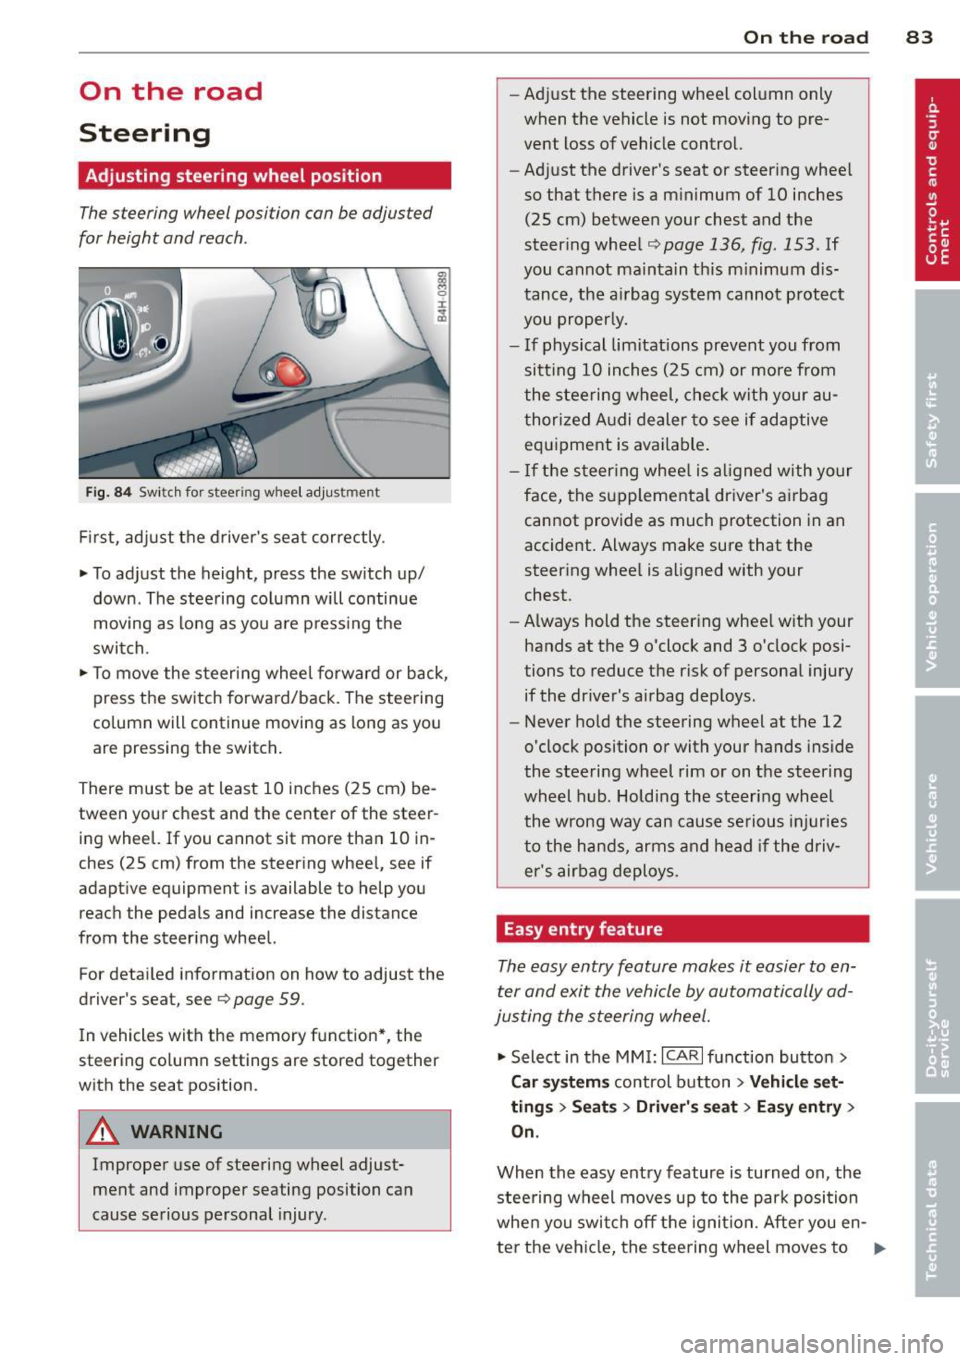
Fig. 84 Switch for steer ing w heel adjustment
First, adjust the driver's seat correctly.
• To adjust the height, press the switch up/
down . The steering column will continue
moving as long as you are pressing the
switch.
• To move the steering wheel forward or back,
press the switch forward/back . The steering
column will continue moving as long as you
are pressing the switch.
There must be at least 10 inches (25 cm) be tween your chest and the center of the steer
ing wheel. If you cannot sit more than 10 in
ches (25 cm) from the steering wheel, see if
adaptive equipment is available to help you
reach the pedals and increase the distance
from the steering wheel.
For detailed information on how to adjust the
driver's sea t, see
Q page 59 .
In vehicles with the memory function*, the
steering column settings are stored together
with the seat position .
A WARNING
Improper use of steering wheel adjust
ment and improper seating position can
cause serious personal injury.
-
On the road 83
-Adjust the steering wheel column only
when the vehicle is not moving to pre
vent loss of vehicle control.
- Adjust the driver 's seat or steering wheel
so that there is a minimum of 10 inches (25 cm) between your chest and the
steering wheel
~ page 136, fig . 153 . If
you cannot maintain th is m inimum dis
tance, the airbag system cannot protect
you properly.
- If physical limitations prevent you from
sitt ing 10 inches (25 cm) or more from
the steering wheel, check with your au
thorized Audi dealer to see if adaptive
equipment is available .
- If the steering wheel is al igned with yo ur
face, the supplementa l driver's airbag
cannot provide as much protection in an
accident. Always make sure that the
steering whee l is aligned with your
chest.
- Always hold the steering whee l with your
hands at the 9 o'clock and 3 o'clock posi
tions to reduce the risk of personal injury
if the driver's airbag deploys.
- Never hold the steering wheel at the 12
o'clock position or with your hands inside
the steering wheel rim or on the steering
wheel hub. Holding the steering wheel
the wrong way can cause serious injuries
to the hands, arms and head if the driv
er's airbag deploys.
Easy entry feature
The easy entry feature makes it easier to en
ter and exit the vehicle by automatically ad
justing the steering wheel.
• Select in the MMI: ICARI function button >
Car systems control button > Vehicle set
tings > Seats > Driver' s seat > Easy entry>
On.
When the easy entry feature is turned on , the
stee ring wheel moves up to the park position
when you swit ch off the ignition. After you en -
ter the vehicle, the steering wheel moves to ..,..
Page 274 of 314

272 What do I do now ?
Spare wheel
App lies to vehicles: with spare wheel
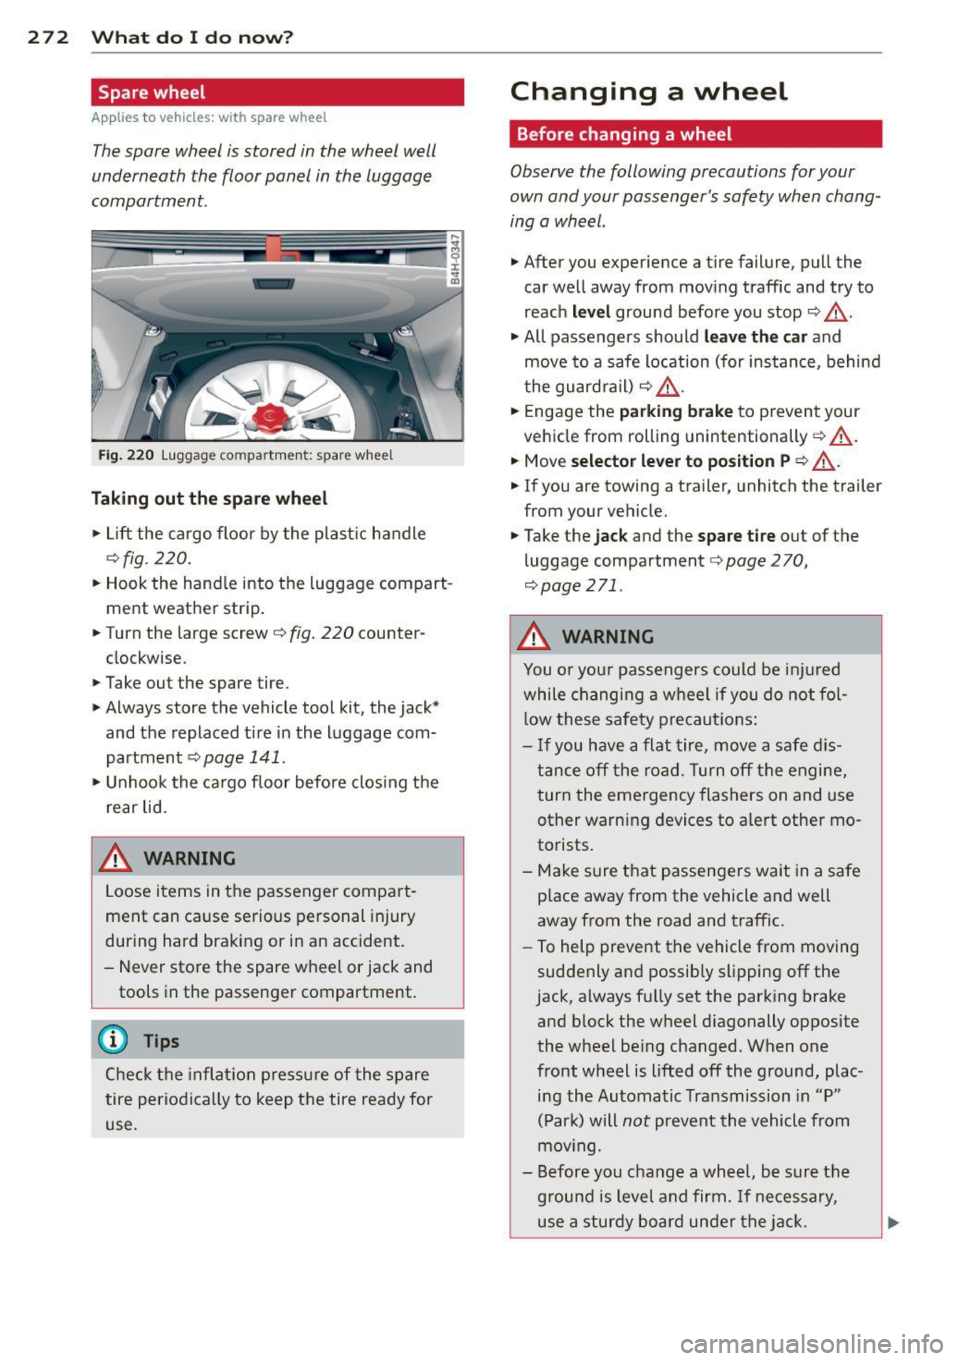
The spare wheel is stored in the wheel well
underneath the floor panel in the luggage
compartment.
Fig. 220 L uggage compartment: spare wheel
Taking out the spare wheel
.,. Lift the cargo floor by the plastic handle
¢fig. 220.
.. Hook the hand le into the luggage compart
ment weather strip .
.. Turn the large screw¢
fig. 220 counter
clockwise.
.. Take out the spare tire.
.. Always store the vehicle tool kit, the jack*
and the replaced tire in the luggage com
partment ¢
page 141.
.,. Unhook the cargo floor before closing the
rear lid.
&_ WARNING
-
Loose items in the passenger compart
ment can cause serious personal injury
during hard braking or in an accident.
- Never store the spare wheel or jack and
tools in the passenger compartment.
(D Tips
Check the inflat ion pressure of the spare
tire periodically to keep the tire ready for
use.
Changing a wheel
Before changing a wheel
Observe the following precautions for your
own and your passenger's safety when chang
ing a wheel.
.. After you experience a tire failure, pull the
car well away from moving traffic and try to
reach
level ground before you stop ¢ .&_ .
.. All passengers should leave the car and
move to a safe location (for instance, behind
the guardra il)¢ .&_ .
.. Engage the
parking brake to prevent your
vehicle from rolling unintentionally¢ .&_.
.. Move
selector lever to position P ¢ A .
.. If you are towing a trailer, unhitch the trailer
from your vehicle .
.,. Take the
jack and the spare tire out of the
luggage compartment¢
page 270,
¢page 271.
&_ WARNING
You or you r passengers could be injured
while changing a wheel if you do not fol
l ow these safety precautions:
-If you have a flat tire, move a safe dis
tance off the road. Turn off the engine,
turn the emergency flashers on and use
other warning devices to alert other mo
torists .
- Make sure that passengers wait in a safe
p lace away from the vehicle and well
away from the road and traffic.
- To help prevent the vehicle from moving
suddenly and possib ly slipping off the
jack, always fully set the parking brake
and block the wheel d iagonally opposite
the wheel be ing changed. When one
front wheel is lifted off the ground, plac ing the Automatic Transmission in "P"
(Par k) will
not prevent the vehicle from
mov ing.
- Before you change a wheel, be sure the
g rou nd is level and firm. If necessary,
use a sturdy board under the jack.
-