wipers AUDI Q5 2013 Owners Manual
[x] Cancel search | Manufacturer: AUDI, Model Year: 2013, Model line: Q5, Model: AUDI Q5 2013Pages: 316, PDF Size: 78.89 MB
Page 37 of 316
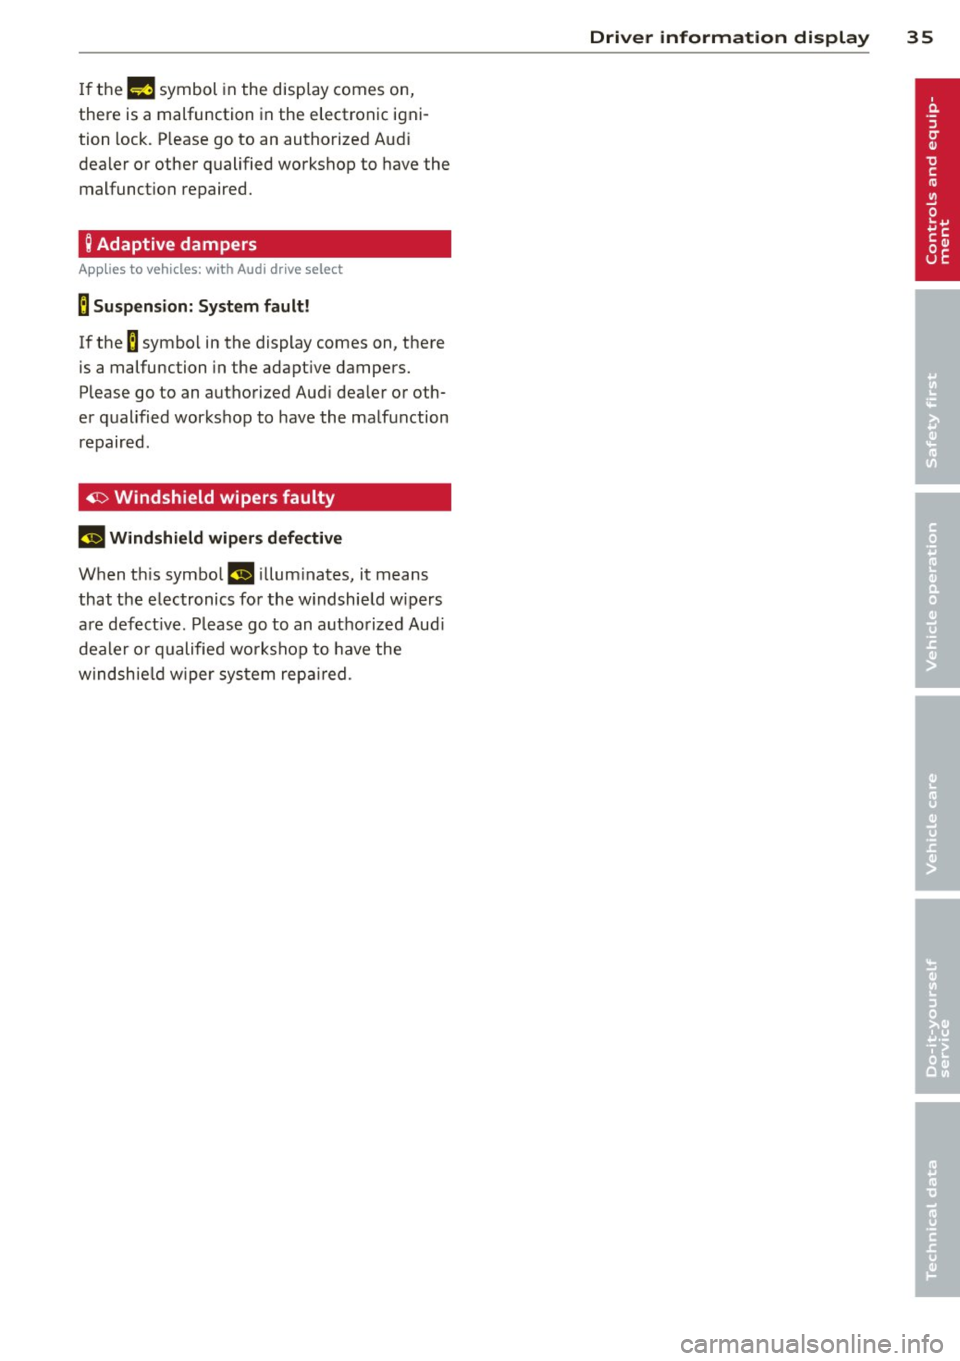
If them symbol in the disp lay comes on,
there is a malfunction in the electronic igni
tion lock. P lease go to an authorized Audi
dealer or other qualified workshop to have the
malfunction repaired.
; Adaptive dampers
App lies to vehicles: with Audi drive select
B Suspension: System fault!
If the B symbol in the display comes on, there
is a malfunction in the adapt ive dampers.
Please go to an authorized Aud i dealer or oth
er qualified workshop to have the malfunction
repaired .
~ Windshield wipers faulty
£-.$ vVindshield wipers defective
When th is symbo l£-.$ nluminates, it means
that the electronics for the w indshield w ipers
are defect ive. Please go to an authorized Aud i
dea ler o r qualified workshop to have the
windshie ld wiper system repaired .
Driver information display 35
Page 51 of 316
Clear vision Lights
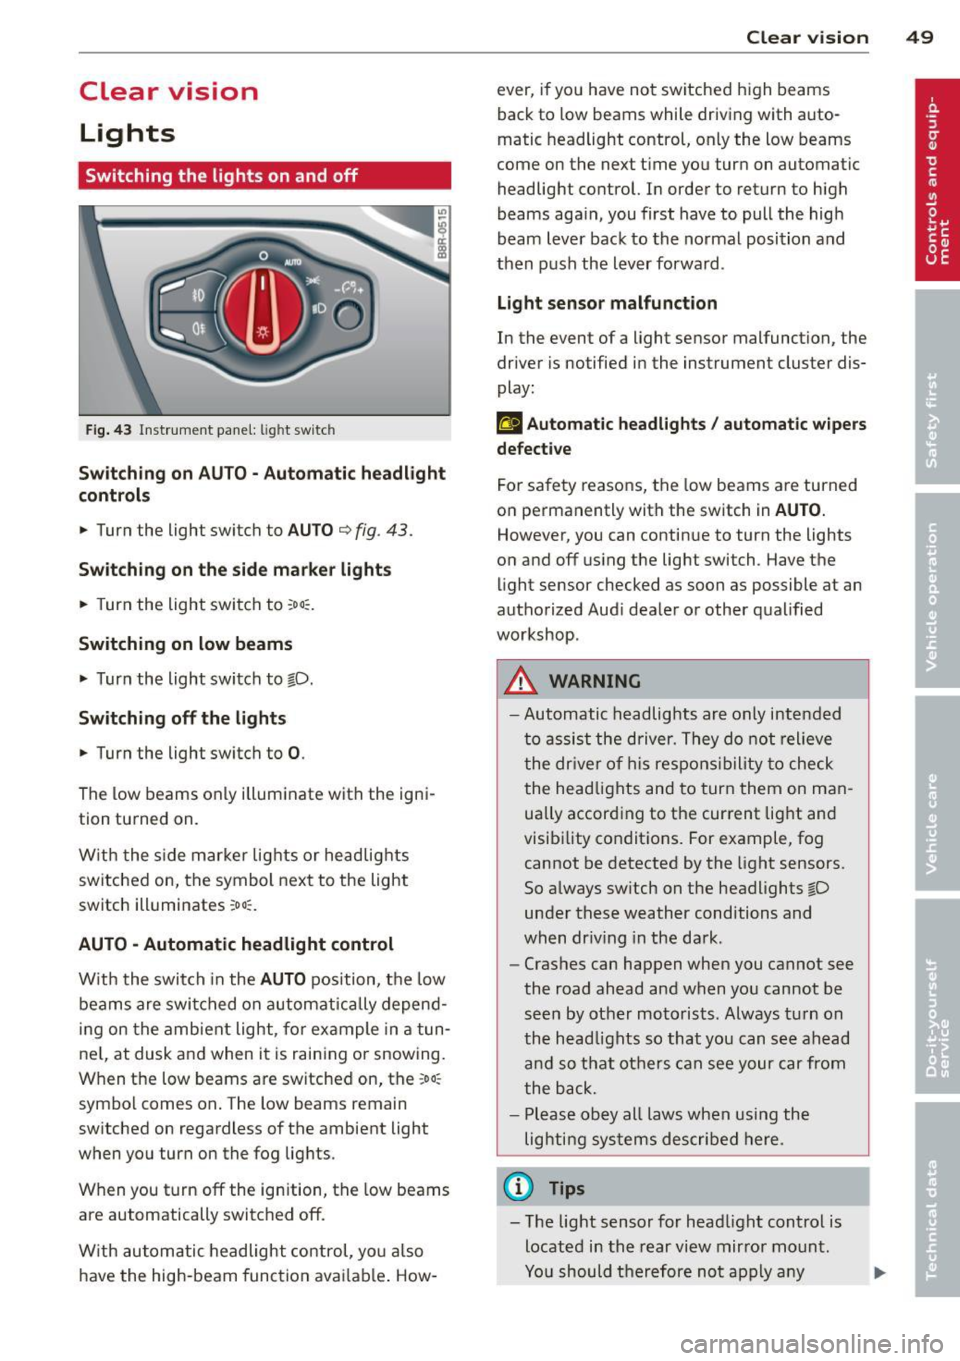
Switching the lights on and off
F ig . 43 Instrument pane l: light sw itch
Sw itching on AUTO - Automatic headlight
contr ols
• Turn the light switch to AUTO ¢ fig. 43.
S w itchin g on the side m arker light s
• Turn the light switch to :oo~.
Switching on low beams
• Turn the light switch to @-0.
Swi tchin g off the light s
• Turn the light switch to 0.
The low beams only i lluminate with the igni
tion turned on.
With the s ide marker lights or headlights
switched on, the symbol next to the light
switch illuminates
:oo:.
AUTO -Automatic headlight control
With the switch in the AUTO position, the low
beams are swi tched on a utomatica lly depend
ing on the ambient light, for example in a tun
ne l, at dusk and when it is raining or snowing.
When the low beams are switched on, the
:oo:
symbol comes on. The low beams remain
switched on regardless of the ambient light
when you turn on the fog lights.
When you turn
off the ign ition, the low beams
are automatically switched
off.
W ith automatic headlight control, you also
have the high-beam function avai lab le . How -
Clear vi sion 49
ever, if you have not switched h igh beams
back to low beams while driving with auto
matic headlight control, only the low beams
come on the next time you turn on automatic
headlight control. In order to return to high
beams aga in, you first have to pull the high
beam lever back to the normal position and
then push the lever forward .
Light sen so r malfunct ion
In the event of a light sensor malfunction, the
driver is notified in the instrument cluster dis
play :
fal Automat ic headlight s/ automati c wipers
defec tive
For safety reasons, the low beams are turned
on permanently with the switch in
AUTO .
However, you can continue to turn the lights
on and
off using the light switch . Have the
light sensor checked as soon as possible at an
authorized Audi dealer or other qualified
workshop.
A WARNING
- Automatic headlights are only intended
to assist the driver. They do not relieve
the dr iver of his respons ibility to check
the head lights and to turn them on man
ually accord ing to the current lig ht and
visibility conditions. For example, fog cannot be detected by the light sensors.
So always sw itch on the headlights @-0
under these weather conditions and
when dr iving in the da rk .
- Crashes can happen when you cannot see
the road ahead and when you cannot be
seen by other moto rists. Always turn on
the head lights so that you can see ahead
and so that others can see your car from
the back.
- Please obey all laws when using the
lighting systems described here.
(l'} Tips
-The light sensor for head light control is
located in the rear
view mirror mount.
Yo u should therefore no t apply any
Page 56 of 316
54 Clear vision
Vision
Sun visors
Using the sun visors makes driving safer.
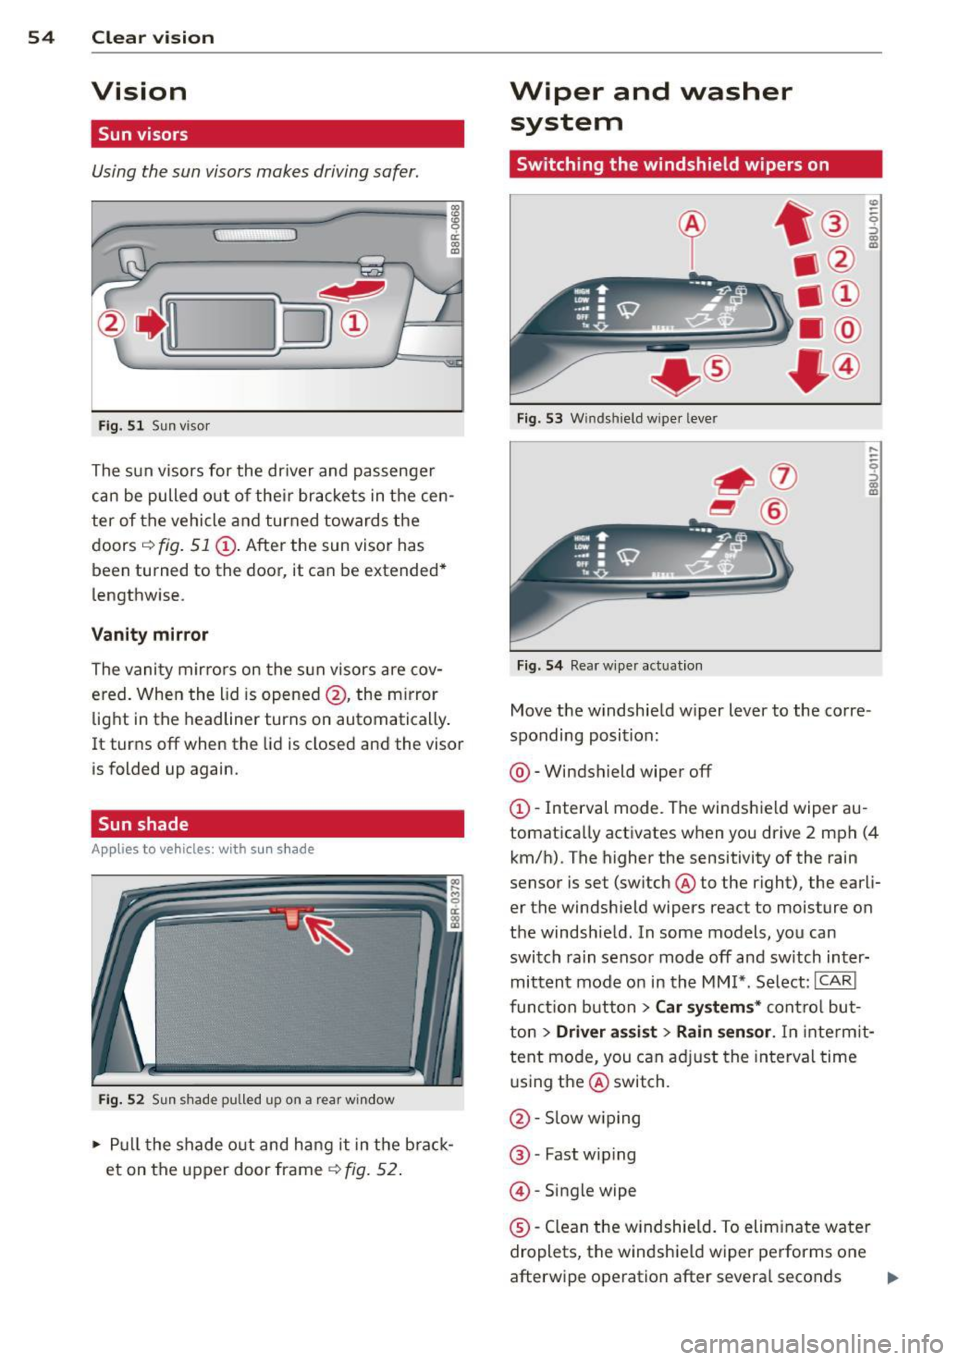
Fig. 51 Sun visor
The sun visors for the driver and passenger
can be pulled out of their brackets in the cen
ter of the vehicle and turned towards the
doors
i::> fig. 51 (D. After the sun visor has
been turned to the door, it can be extended*
lengthwise.
Vanity mirror
The vanity mirrors on the sun visors are cov
ered. When the lid is opened @, the m irror
light in the headliner turns on automatically .
It turns off when the lid is closed and the visor
is folded up again.
Sun shade
App lies to vehicles: with s un shade
Fig. 52 Sun shade pulled up on
a rear window
.. Pull the shade out and hang it in the brack
et on the upper door frame
~fig. 52.
Wiper and washer
system
Switching the windshield wipers on
+ ®
Fig . 53 Windshield w iper lever
Fig.
54 Rear w iper actuat io n
Move the windshield w iper lever to the corre
sponding position:
@ -Windshield wiper off
(D-Interval mode. The windshield wiper au
tomatically activates when you drive 2 mph (4
km/h). The higher the sensitivity of the rain
sensor is set (sw itch @to the right), the ear li
er the windsh ield wipers react to moisture on
the windshield . In some models, you can
switch rain sensor mode
off and sw itch inter
mittent mode on in the MMI*. Select:
ICAR!
function button > Car systems* control but
ton
> Driver assist > Rain sensor. In interm it
tent mode, you can adjust the interval time
using the@switch.
@ -Slow wipin g
@-Fast wip ing
@ -Single wipe
®-Clean the win dshie ld. To eliminate water
droplets, the windsh ield wiper performs one
afterwipe operation after severa l seconds
ll>-
Page 57 of 316
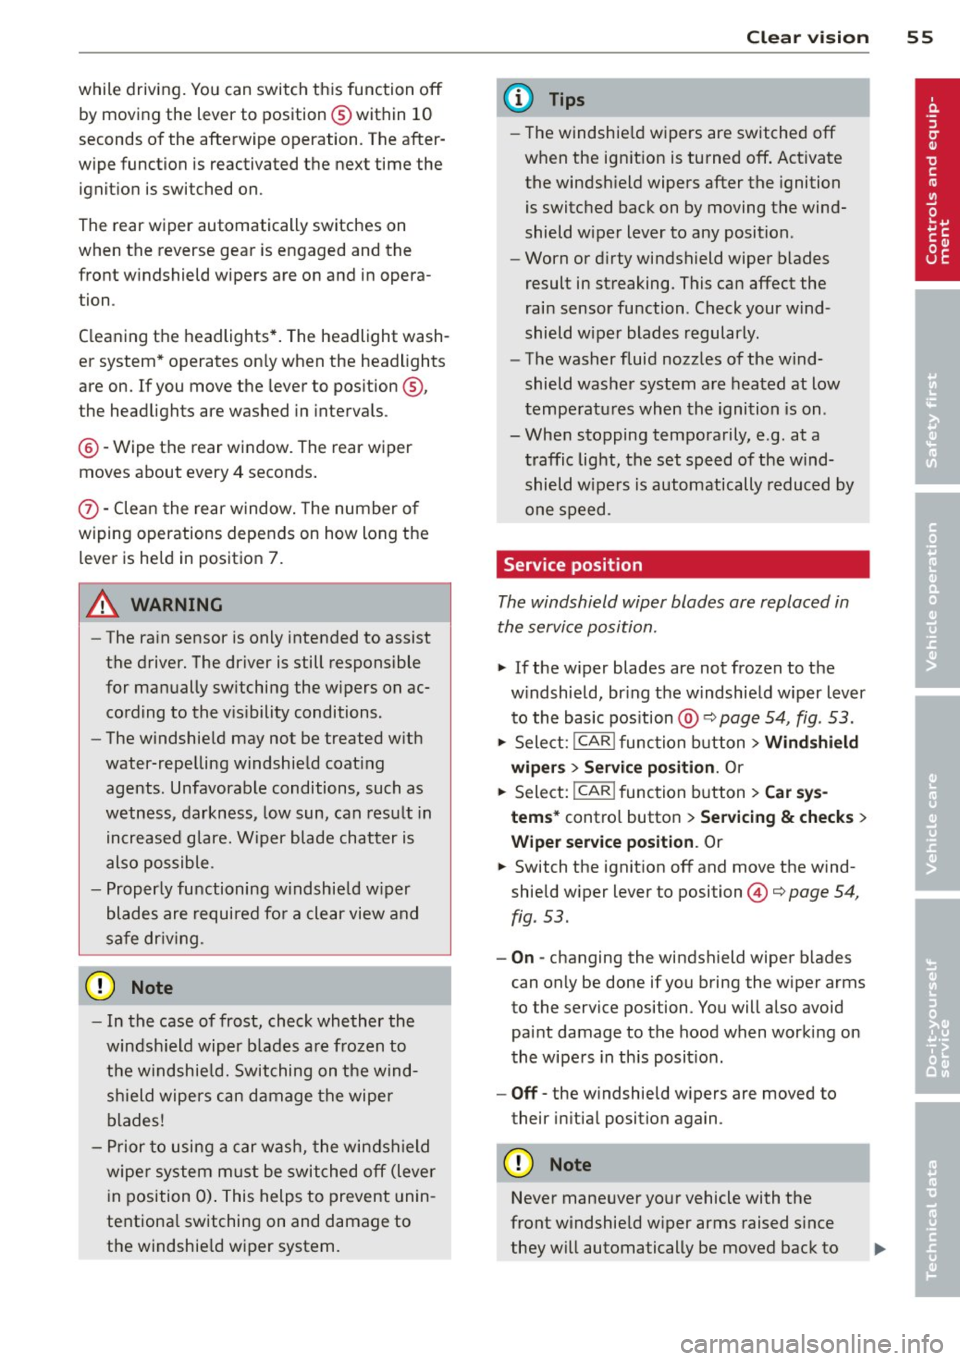
while driving. You can switch this function off by moving the lever to position ® within 10
seconds of the afterwipe operation. The after
wipe function is reactivated the next time the ignit ion is switched on.
The rear wiper automatically switches on
when the reverse gear is engaged and the
front w indshield wipers are on and in opera
tion .
C lea ning the headlights *. The headlight wash
er system * operates on ly when the headlights
are on. If you move the lever to pos ition ®,
the headlights are washed in interva ls .
® -Wipe the rear window. The rear wiper
moves about every 4 seconds .
0-Clean the rear window. The number of
wiping operations depends on how long the l ever is held in positio n 7.
A WARNING
-The ra in sensor is only intended to assist
the driver. The driver is still responsible
for man ually sw itching the w ipers on ac
cording to the v is ibility conditions.
- The windshie ld may not be treated w ith
water-repe lling windshie ld coat ing
agents. Unfavorable conditions, such as
wetness, darkness, low sun, can res ult in
increased glare. W iper b lade chatter is
also possible .
- Proper ly functioning w indshie ld w iper
blade s are required fo r a clear view and
sa fe dr iv ing .
(D Note
-In the case of frost, check whether the
windsh ield wiper b lades a re fro zen to
t h e windshie ld. Swit ching on the wind
s h ield wipers can d amage t he wipe r
blades!
- Prior to using a car w ash, the windshield
wipe r system m ust be swit ched off (lever
i n position 0) . This helps to prevent unin
tentiona l switching on and damage to
the windshie ld w iper system.
Clear v is ion 5 5
(D Tips
- The windshie ld w ipers are switched off
when the ign it ion is tu rned off . Act ivate
the windsh ield wipers after the ignition
is switc hed back on by moving t he wind
shield wipe r lever to any position .
- Worn or d irty windshield wiper blades
result in streaking. This ca n affect the
rai n sensor function. Check your wind
shield w iper blades regularly.
- The washer fluid nozz les of the wind
shield washe r system a re heated at low
tempe rat ures whe n the ignition is on .
- When stopping temporarily, e .g. at a
t raffic light, the set spe ed of the wind
shield wiper s is automatically reduced by
one speed.
Service position
The windshield wiper blades ore replaced in
the service position.
"' If the w iper blades are no t frozen to t he
w indshield, br ing the w indshie ld w iper lever
to the basic position @¢
page 54, fig . 53 .
"' Sele ct: !CAR !func tion butt on> Windshield
wipers
> Service position . Or
"' Sele ct: I CAR I func tion b utton > Car sy s
tem s*
contro l butto n > Servicing & checks >
Wiper service position . Or
"' Switch the ignit ion off and move the wind
shield w iper lever to position ©¢
page 54,
fig . 53.
- On -changing the windshield wiper b lades
can only be done if you b ring the wiper arms
to the service position . You will also avoid
pai nt damage to the hood when working on
the wipe rs in th is posit ion .
-Off -the w indshield w ipers are moved to
their in itia l position again .
(D Note
Neve r mane uver yo ur vehicle with t he
front windshie ld w iper arms raised s ince
they wi ll automatically be moved back to
Page 58 of 316
56 Clear vis ion
their basic position above a speed of 3
mph (6 km/h) and can scratch the hood .
(D Tips
-You can also use the service pos ition, for
example , if you want to protect the
windsh ield from icing by using a cover .
- The service position automatically
switches to
Off when you operate the
winds hield wiper lever , or speed exceeds
3 mph (6 km/h).
Replacing windshield wiper blades
Wiper blades in good condit ion help keep the
windshield cl ear .
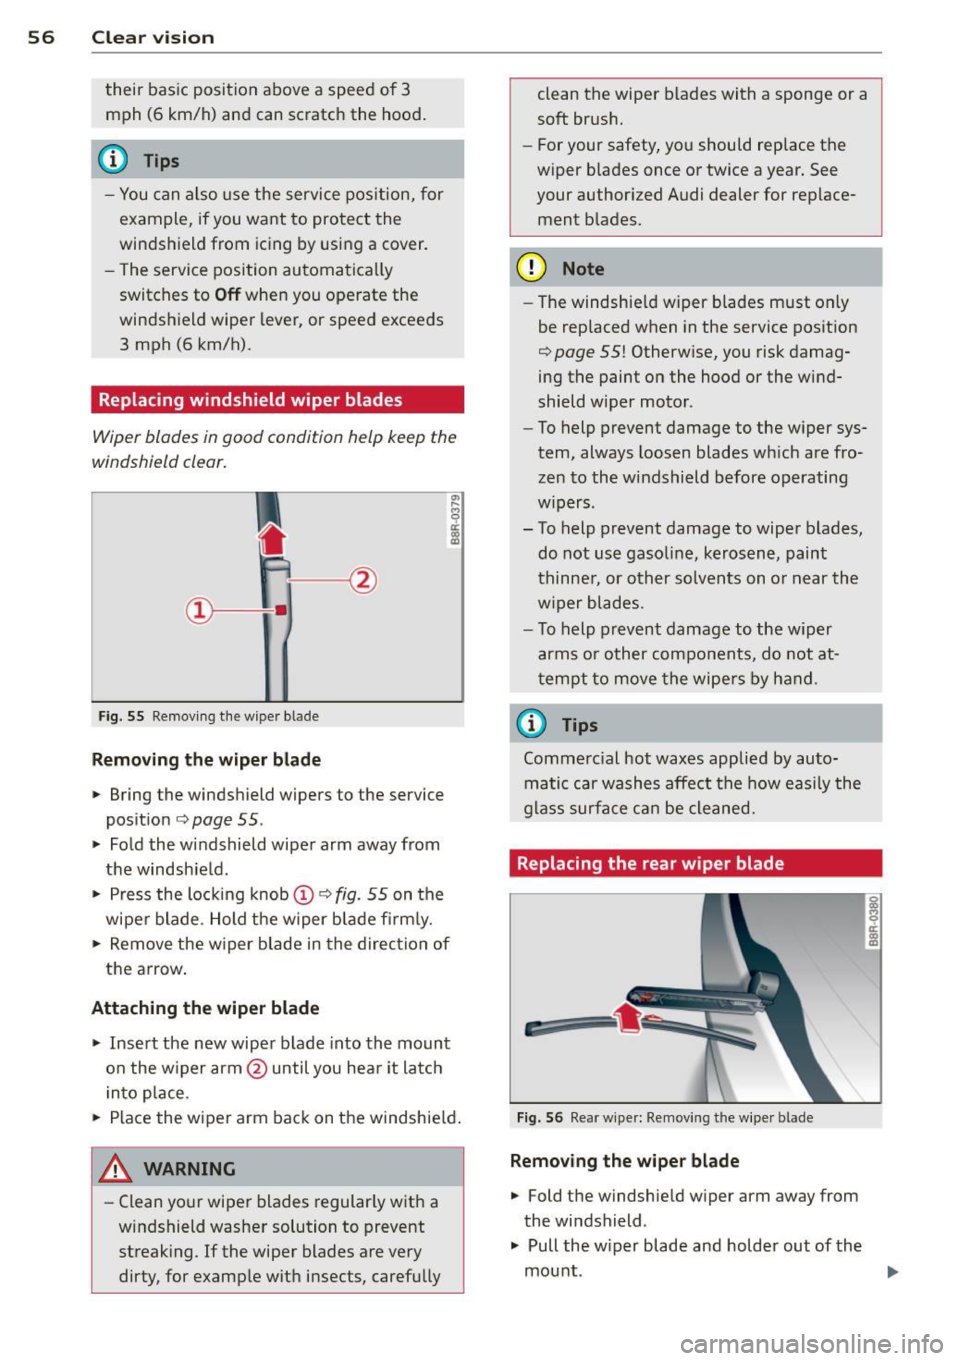
Fig. 55 Remov ing t he w iper blade
Removing the wiper blade
""' Bring the wind shield wipers to the service
pos it ion
¢ page 55.
""' Fo ld the windshield wiper arm away from
the windshie ld .
""' Press the lo cking knob @¢
fig. 55 on the
wiper blade . Hold t he w iper blade fi rm ly.
""' Remove the w iper blade in the direc tion of
the arrow .
Attaching th e wiper blade
""' Insert the new wipe r blade into the mount
on the w iper arm @until you hear it latch
i n to place .
""' Place the wiper arm back on the windshie ld .
A WARNING
- Clean yo ur wipe r blades regular ly wit h a
w indshield washer solution to prevent
streaking . If the wiper blades are very
dirty, for example with insects, carefu lly clean the wiper blades with a sponge or a
soft brush.
- For your safety, yo u should replace the
wiper blades once or twice a year. See
your authori zed Audi dealer for replace
ment b lades.
(D Note
- The windshie ld wi per blades must only
be replaced when in the service pos ition
¢
page 55! Otherwise, you risk damag
ing the paint on the hood or the wind
shield wipe r moto r.
- To help prevent damage to the w iper sys
tem, always loosen blades wh ich are fro
zen to the windshield before operating
w ipers .
- To help prevent damage to wiper blades,
do not use gasoline, kerosene, paint
thinner, or other solvents on o r near the
w iper blades.
- To help prevent damage to the w ip er
arms o r other compo nents, do not at
t empt to move the wipe rs by hand .
(D Tips
Comme rc ial hot waxes applied by auto
matic car washes affect t he how easily the
glass surfa ce ca n be cleaned.
Replacing the rear wiper blade
Fig . 56 Rea r w ipe r: Re mov ing t he w ipe r bl ade
Removing the wiper blade
""' Fold the windshie ld w iper arm away from
the wi ndshield .
""' Pull the w iper blade and holder out of the
g
q er a, II)
mou nt. .,.
Page 202 of 316
200 Intelligent technology
job if the incline is icy or if the incline ground
is loose ¢&. .
The system does not work at speeds between
19 and 37 mph (30 and 60 km/h) . Th e system
is then in the ready-mode. The diode in the
button will come on. The system automatical
l y switched off when you drive faster than 3 7
mph (60 km/h). The diode will go out in this
case.
Active control at a specific speed up to approx
imately 19 mph (30 km/h) w ill appear in the
instrument cluster disp lay ¢
fig. 189. Two
dashes" •• " will appear in the ready mode.
Hill descent assist is automatica lly activated
under the fo llow ing cond itions:
- the diode in the button illuminates,
- vehicle speed is be low approximately
19 mph (30 km/h)
- the inclin e is 10%.
.&_ WARNING
-Always adapt your speed to the weather,
road and traffic conditions. Do not let
the increased safety provided tempt you
into taking risks.
- T he hill descent assist system cannot
overcome the laws of physics. Your driv
ing sty le m ust always be adapted to the
c u rrent road and traffic conditions.
- The hill descent assist may not be able to
hold your vehicle at a constant speed un
der all cond it ions wh ile driving on an in
cl ine (for example if ground under the
vehicle is loose) .
Brake system
Operating conditions and driving habits
The brakes on today's automobi les are sti ll
subject to wear, depending largely on operat
ing conditions and dr iv ing habits ¢&. . On
vehicles that are e ither driven mostly in stop
and -go city traffic or are driven hard, the
brake pads should be checked by your author
ized Audi dealer more often than specified in
the
Warranty & Maintenance booklet . Failure to have you
r brake pads inspected can result
in reduced brake performance.
On steep slopes , you should use the braking
effect of the engine . This way, you prevent un
necessary wear on the b rake system . If you
must use your brakes, do not hold the brakes
down cont inuous ly. Pump the brakes at inter
vals.
Noises may occur when braking depending on
the speed, braking force and outside condi
t ions such as temperature and humidity .
Moisture or road salt
Under certain conditions, for example, when
driv ing through water or very heavy rain, or
even after washing your vehicle, the braking
effect can be reduced due to moisture (or in
freezing conditions ice) on the brake pads. A
few careful brake applications should dry off
the brake pads or remove any ice coatings.
When you are driving at higher speeds with
the windshie ld wipers on, the brake pads will
briefly touch the brake discs in regu lar inter
vals so as to improve reaction time when brak
ing on wet surfaces . You, the driver, will not
notice anything .
The effectiveness of the brakes can be reduced
when the vehicle is driven on a salt-covered road and the brakes are not used . Here too,
you should clean off accumulated salt coating from brake discs and pads w ith a few careful
applications of the brake ¢.& .
Corrosion
There may be a tendency for dirt to build up
on the brake pads and corros ion to form on
the discs if the car is not driven regularly or
o n Ly for short trips with little use of the
brakes.
If the brakes are not used frequently, or if cor
r os ion has formed on the d iscs, it is adv isable
to clean off the pads and discs by braking
firmly a few times from a moderately high
speed¢ ,&. .,..
Page 235 of 316
Checking and filling Engine hood
Releasing the engine hood
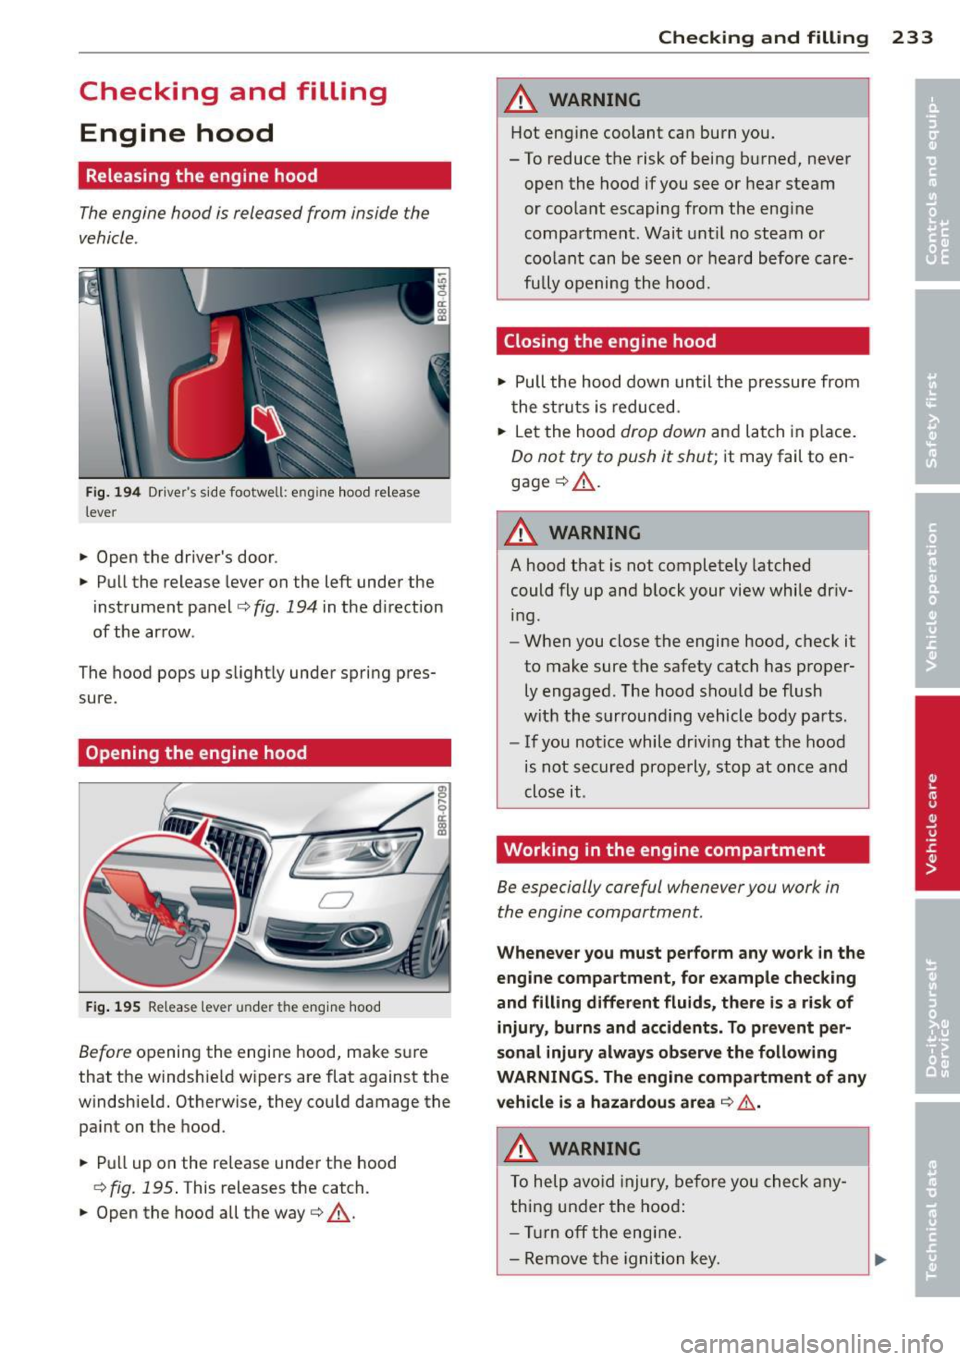
The engine hood is released from inside the
vehicle .
Fig. 19 4 Driver's s ide footwell: engine hood release
lever
"' Open the driver's door .
"' Pull the release lever on the left under the
instrument panel
i=:> fig. 194 in the d irection
of the arrow.
The hood pops up slightly under spring pres
sure.
Opening the engine hood
F ig . 195 Re lease lever under the engine hood
Before opening the engine hood, make sure
that the windshield wipers are flat against the
windshie ld. Otherwise, they could damage the
paint on the hood.
"' Pull up on the release under the hood
c;, fig. 195 . This releases the catch.
"' Open the hood all the way
c::> &,.
Checkin g and fillin g 233
A WARNING
Hot engine coolant can burn you.
- To reduce the risk of being burned, never
open the hood if you see or hear steam
or coolant escaping from the eng ine
compartment. Wait unt il no steam or
coolant can be seen or heard before care
fu lly opening the hood.
Closing the engine hood
"' Pull the hood down un til the pressure from
the struts is reduced.
"' Let the hood
drop down and latch in p lace.
Do not try to push it shut; it may fail to en
gage
c;, &, .
A WARNING
--
A hood that is not completely latched
could fly up and block your view while dr iv
ing.
- When you close the engine hood, check it
to make sure the safety catch has proper
ly engaged. The hood should be flush
with the surround ing vehicle body parts.
- If you notice while driv ing that the hood
is not secured properly, stop at once and
close it .
Working in the engine compartment
Be especially careful whenever you work in
the engine compartment.
Whenever yo u must pe rform any w ork in the
e n g ine com pa rt ment, for e xample ch e cki ng
and filling differ ent fluids, th ere is a risk of
injury , burn s and accid ent s. T o pr eve nt per
so nal injury alwa ys obs erve the foll owing
WARNINGS . Th e en gine co mpa rtm ent of an y
v e hicl e is a hazardou s ar ea
c;, Lh, .
A WARNING ~
To help avoid injury, be fo re you check any
thing under the hood:
- Turn off the engine.
- Remove the ignition key.
Page 312 of 316
310 Index
Selector lever ..... ..... ... .. .. .... . 123
Emergency release . . . . . . . . . . . . . . . . . 128
Service and disposal
Safety belt p retens ioner . .. .. .. .. .. .
156
Service interval d isp lay ....... ... .. .. .. 22
Service pos ition for windshield wipers .. . 55
SET button . . . . . . . . . . . . . . . . . . . . . . . . . 1 1
Shift buttons .............. .. .. .... . 127
Ship transport ...................... 106
Side airbags
Descr ipt ion . .............. ... .. ...
172
H owtheywork .................... 174
Side assist
Ac tiva ting and deactivating . .. .. .. .. .
118
Adjusting the brightness ............ 118
C leaning sensors .............. .... 2 19
D escr ipt ion ... ........... .. .. .... . 116
Sensor range . . . . . . . . . . . . . . . . . . . . . 117
Side curta in airbags ........ .. .. .. .. . 175
Descr ipt ion . .............. ... .. ... 175
H owtheywo rk .................... 176
Safety instructions ......... ... .. .. . 177
Side marker lights ................... 49
Snow chains .... ... .... ... .. .. .... . 264
Socket .. ... ................... ... .. 75
Sound system display
Driver information display . . . . . . . . . . . .
20
Sources o f informat io n about c hild re-
straints and their use .. ... .. .. .. .... .
19 6
Speedometer ... .... ...... .. .. .. .. .. 13
Speed rating letter code ..... .. .. .. .. . 260
Speed warn ing system ................ 93
Start-Stop-System . . . . . . . . . . . . . . . . . . . 91
Eng ine does not switched off ... ...... 92
E ng ine starts automatically .......... 92
Ind icator lights . . . . . . . . . . . . . . . . . . . . 92
M essages . . . . . . . . . . . . . . . . . . . . . . . . . 93
S tarting/stopping the eng ine . .. .... .. 92
Sw itching off/on . ..... ... .. .. .... .. 93
START ENGINE STOP button (Conven ience
key) . . . . . . . . . . . . . . . . . . . . . . . . . . .
86, 87
Starting from rest .......... .. .. .... .. 90
Starting off with a tra ile r .. .. .. .. .. .. . . 90
Starting the eng ine . . . . . . . . . . . . . . 83, 86
Start ing (engine) . . . . . . . . . . . . . . . . . . . . 98
Stee ring
E lectromechanical power assist . . .
201, 0
Indicator light ... ... .. ..... ... .. .. 201
Locking the steering ............... . 83
Malfunction . . . . . . . . . . . . . . . . . . . . . . . 31
Manually adjusting the steering wheel . . 83
also refer to Electromechanical power as-
s ist ......... ....................
201
Steering wheel column
Adjusting manually .............. .. .
83
Steps for determin ing correct load limit . 257
Stopping the eng ine . . . . . . . . . . . . . . 85, 87
Stopping (engine) ... .............. .. . 98
Storage ............................ 76
Cu pholder door pockets . . . . . . . . . . . . . . 7 4
G love compartment . . . . . . . . . . . . . . . . .
76
Sun shade ........ .. .............. .. 54
Sun visors .. .. .. .. .. ........... .... . 54
Supplementa ry (climate contro l) ... .... . 82
Switches
Emergency flashe rs . . . . . . . . . . . . . . . . .
52
Symbols
Red ..............................
28
Yellow .... .... .. ............. .... . 31
T
Tachometer ..... .. ............. .... . 11
Technical modifications .......... .... 298
Tether anchors .. .................. . 194
Tether strap . ..... ... .. ..... ... .. .. 194
T he first 1,000 miles (1,500 km) and after -
wa rds .............................
205
Tie-down rings . . . . . . . . . . . . . . . . . 68, 146
tiptronic ... .... .. .. ... ..... ... .. .. 123
Automatic Shift Lock (ASL) ... .... . .. 124
Driving . .. .. .. .. ............. .. .. 125
Emergency mode .... .......... .. .. 128
Hill descent control .............. .. 126
K ick -down ........................ 127
Manual shift prog ram .. ....... ... .. 127
Se lector lever .. .. ............. .. .. 123
Tire Mobility System . . . . . . . . . . . . 104, 272
T ire pressure . ... .. .. .... .... ... .. .. 254
T ire pressure mon itoring system ....... 266
Loss of ai r pressure . . . . . . . . . . . . 16, 267
Page 314 of 316
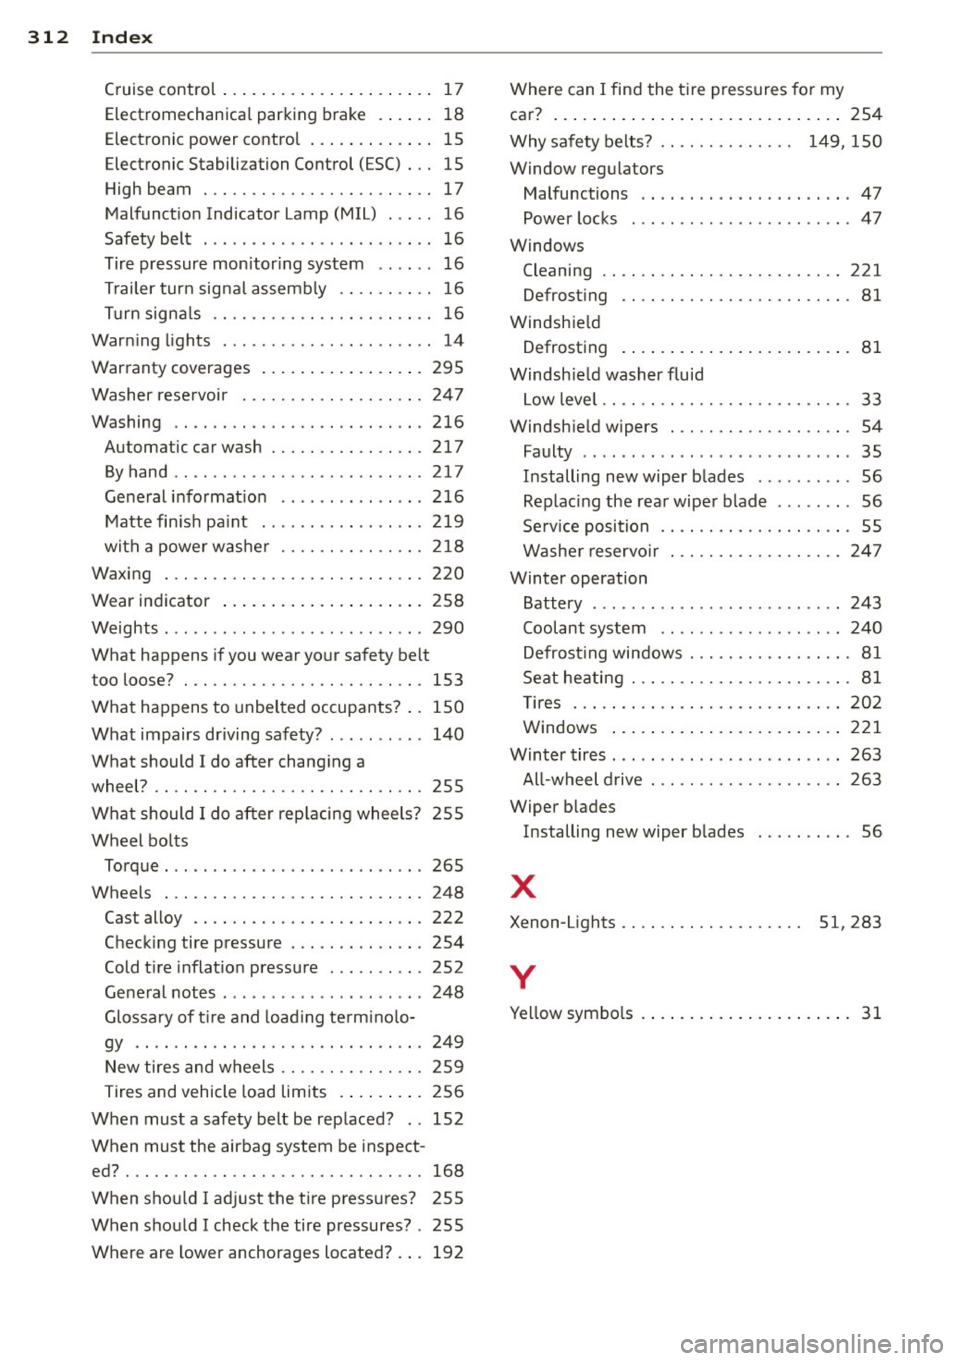
312 Index
Cruise control . . . . . . . . . . . . . . . . . . . . . . 17
Electromechanica l parking brake .. .. .. 18
Electronic power control ..... .. .... .. 15
Electronic Stabili zation Control (ESC) ... 15
High beam ................ .. .... .. 17
Malfunction Indicator Lamp (MIL) . .... 16
Safety belt .... .... ...... .. .. .. .. .. 16
Tire pressure monitoring system .. .. .. 16
Trailer turn signal assembly .... .. .... 16
Turn signals ............. .. .. .... .. 16
Warning lights ............. ... .. .. .. 14
Warranty coverages ............ .... . 295
Washer reservoir .......... .. .. .... . 247
Washing ...... ........... .. .. .... . 216
Automatic car wash ....... .. .. .. .. . 217
By hand .. .. ................ ... ... 217
General information ....... ..... .. . 216
Matte finish paint . ....... .. .. .. .. . 219
with a power washer ...... .. .. .... . 218
Waxing . .. .... ........... ........ . 220
Wear indicator .. ........ .. .. .. .... . 258
Weights ... .. ................ ... ... 290
What happens if you wear your safety belt
too loo se? ... ............. .. .. .. ... 153
What happens to unbelted occupants? .. 150
What impairs driving safety? ... .. .. .. . 140
What should I do after changing a
wheel? .. .. .. .. . .......... .. .. .... .
255
What should I do after replacing wheels? 255
Wheel bolts
Torque . .. .. ................ ... .. .
265
Wheels ... .. ..................... . 248
Cast alloy ............... .. .. .... . 222
Check ing tire pressure . .... .. .. .. .. . 254
Cold t ire inflation pressure ..... .. ... 252
General notes ... ...... .... ... .. .. . 248
Glossary of tire and load ing te rmin olo-
gy .. .. .. .... ........... .. .. .. .. .
249
New tires and wheels ...... .. .. .. .. . 259
Tires and vehicle load limits . ....... . 256
When must a safety belt be rep laced? .. 152
When must the airbag system be inspect-
ed? ... .. .. .. .. . .......... .. .. .... .
168
When should I adjust the tire pressures? 255
When should I check the tire pressures? . 255
Where are lower anchorages located? . .. 192 Where
can I find the tire pressures for my
car? ..... .. .... .. .. ... ........ .. ..
254
Why safety belts? . . . . . . . . . . . . . . 149, 150
Window regulators
Malfunctions .. .. .. .. ...... ... .. .. .
47
Power locks . . . . . . . . . . . . . . . . . . . . . . . 4 7
Windows Cleaning .. .... .. ............. .... 221
Defrost ing . . . . . . . . . . . . . . . . . . . . . . . .
81
Windshield
Defrosting .... .. .. ......... .. .. .. .
81
Windsh ie ld washer fluid
Low leve l .. .. .. . .............. .. .. .
33
Windsh ie ld wipers .. .............. .. . 54
Faulty ........ .. .. ........ ...... .. 35
Installing new wiper blades . . . . . . . . . . 56
Replac ing the rear wiper blade ........ 56
Service position . . . . . . . . . . . . . . . . . . . . 55
Washer reservoir . ............. .. .. 247
Winter operation
Battery . . . . . . . . . . . . . . . . . . . . . . . . . .
243
Coolant system .. ................ . 240
Defrosting windows ............ .. .. . 81
Seat heating . .. .. ............. .. ... 81
T ires . .... .... ................... 202
Windows ..... .. .. ... ... ..... .. .. 221
Winter tires ..... .. .. ........ ...... .
263
All-wheel drive ... ... .......... .. .. 263
Wiper b lades
Installing new wiper b lades . . . . . . . . . .
56
X
Xenon-L ights . . . . . . . . . . . . . . . . . . . 51, 283
y
Ye llow symbo ls . . . . . . . . . . . . . . . . . . . . . . 31