start stop button AUDI R8 COUPE 2020 User Guide
[x] Cancel search | Manufacturer: AUDI, Model Year: 2020, Model line: R8 COUPE, Model: AUDI R8 COUPE 2020Pages: 308, PDF Size: 82.41 MB
Page 72 of 308
Driving
transmission, because it is not lubricated
under those circumstances > page 278,
Towing.
— The transmission can overheat and be dam-
aged under certain driving and traffic condi-
tions such as frequent starts, creeping for a
long time, or stop-and-go traffic. When the
fs} or i] indicator light turns on, stop the
vehicle at the next opportunity and let the
transmission cool > page 72.
G) Tips
For safety reasons, the parking brake only re-
leases automatically when the driver's door is
closed.
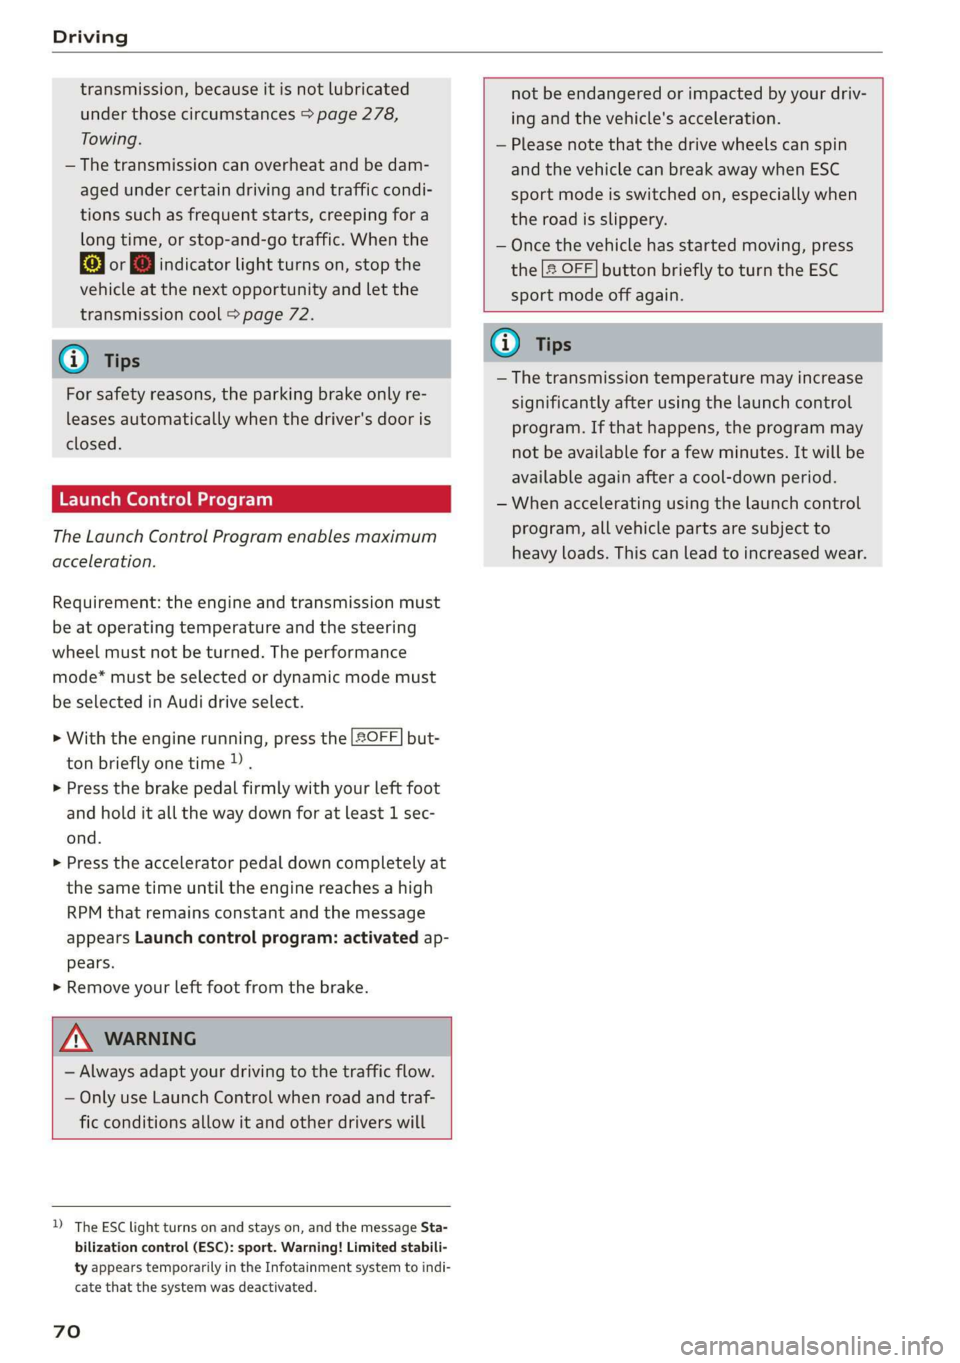
Launch Control Program
The Launch Control Program enables maximum
acceleration.
Requirement: the engine and transmission must
be at operating temperature and the steering
wheel must not be turned. The performance
mode* must be selected or dynamic mode must
be selected in Audi drive select.
> With the engine running, press the |SOFF] but-
ton briefly one time).
> Press the brake pedal firmly with your left foot
and hold it all the way down for at least 1 sec-
ond.
> Press the accelerator pedal down completely at
the same time until the engine reaches a high
RPM that remains constant and the message
appears Launch control program: activated ap-
pears.
> Remove your left foot from the brake.
ZA WARNING
— Always adapt your driving to the traffic flow.
— Only use Launch Control when road and traf-
fic conditions allow it and other drivers will
D_ The ESC light turns on and stays on, and the message Sta-
bilization control (ESC): sport. Warning! Limited stabili-
ty appears temporarily in the Infotainment system to indi-
cate that the system was deactivated.
70
not be endangered or impacted by your driv-
ing and the vehicle's acceleration.
— Please note that the drive wheels can spin
and the vehicle can break away when ESC
sport mode is switched on, especially when
the road is slippery.
— Once the vehicle has started moving, press
the |[& OFF] button briefly to turn the ESC
sport mode off again.
G@) Tips
— The transmission temperature may increase
significantly after using the launch control
program. If that happens, the program may
not be available for a few minutes. It will be
available again after a cool-down period.
— When accelerating using the launch control
program, all vehicle parts are subject to
heavy loads. This can lead to increased wear.
Page 74 of 308
Driving
in manual mode before reaching the maxi-
mum engine speed only in the “comfort” or
“auto” driving programs.
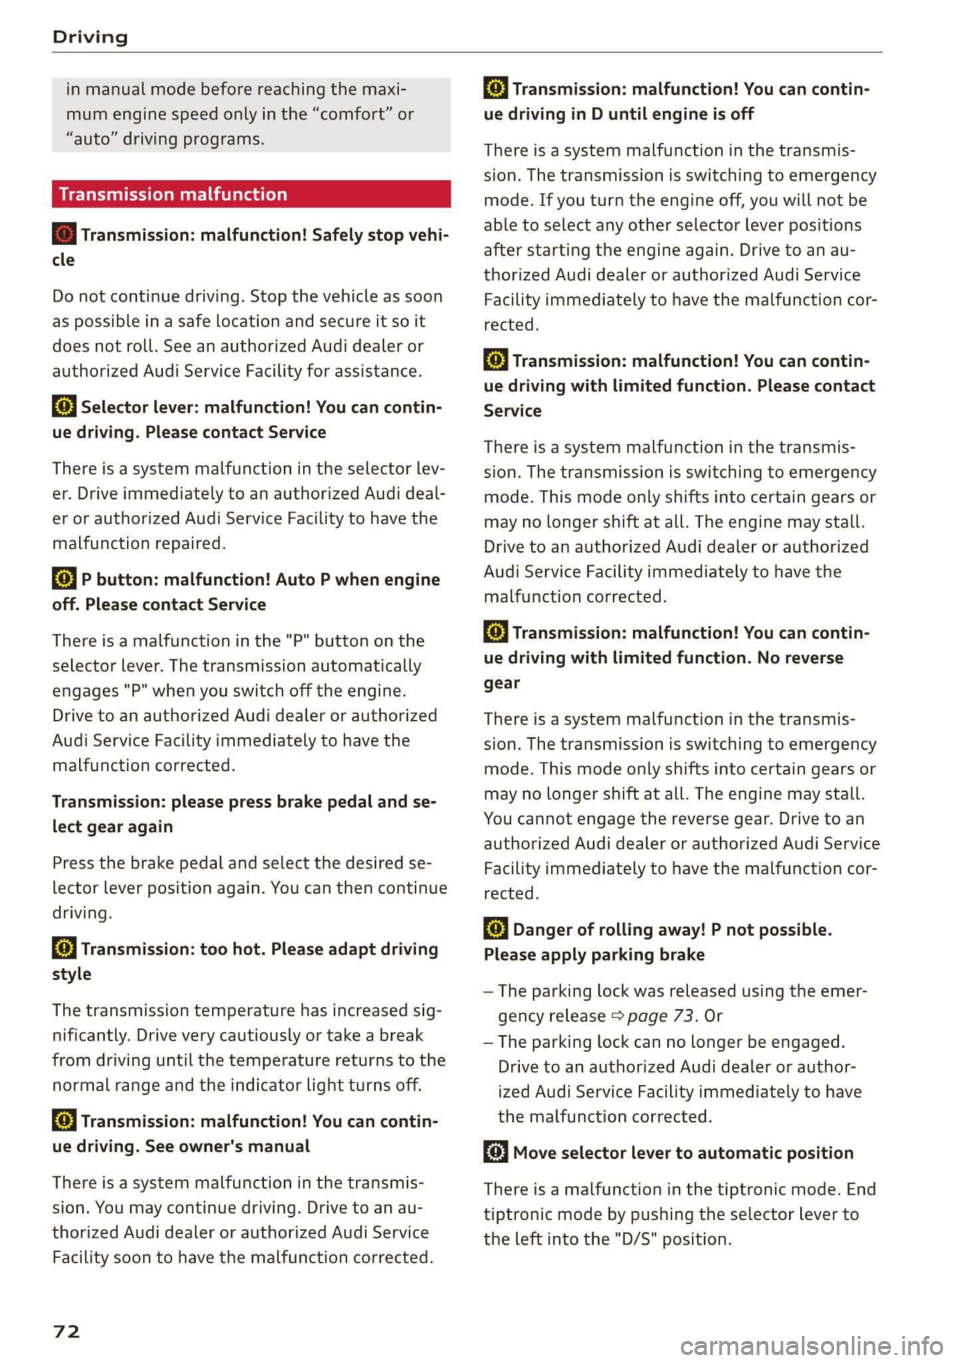
Transmission malfunction
i Transmission: malfunction! Safely stop vehi-
cle
Do not continue driving. Stop the vehicle as soon
as possible in a safe location and secure it so it
does not roll. See an authorized Audi dealer or
authorized Audi Service Facility for assistance.
5 Selector lever: malfunction! You can contin-
ue driving. Please contact Service
There is a system malfunction in the selector lev-
er. Drive immediately to an authorized Audi deal-
er or authorized Audi Service Facility to have the
malfunction repaired.
fs} P button: malfunction! Auto P when engine
off. Please contact Service
There is a malfunction in the "P" button on the
selector lever. The transmission automatically
engages "P" when you switch off the engine.
Drive to an authorized Audi dealer or authorized
Audi Service Facility immediately to have the
malfunction corrected.
Transmission: please press brake pedal and se-
lect gear again
Press the brake pedal and select the desired se-
lector lever position again. You can then continue
driving.
5 Transmission: too hot. Please adapt driving
style
The transmission temperature has increased sig-
nificantly. Drive very cautiously or take a break
from driving until the temperature returns to the
normal range and the indicator light turns off.
fl Transmission: malfunction! You can contin-
ue driving. See owner's manual
There is a system malfunction in the transmis-
sion. You may continue driving. Drive to an au-
thorized Audi dealer or authorized Audi Service
Facility soon to have the malfunction corrected.
72
[Gj Transmission: malfunction! You can contin-
ue driving in D until engine is off
There is a system malfunction in the transmis-
sion. The transmission is switching to emergency
mode. If you turn the engine off, you will not be
able to select any other selector lever positions
after starting the engine again. Drive to an au-
thorized Audi dealer or authorized Audi Service
Facility immediately to have the malfunction cor-
rected.
i} Transmission: malfunction! You can contin-
ue driving with limited function. Please contact
Service
There is a system malfunction in the transmis-
sion. The transmission is switching to emergency
mode. This mode only shifts into certain gears or
may no longer shift at all. The engine may stall.
Drive to an authorized Audi dealer or authorized
Audi Service Facility immediately to have the
malfunction corrected.
+} Transmission: malfunction! You can contin-
ue driving with limited function. No reverse
gear
There is a system malfunction in the transmis-
sion. The transmission is switching to emergency
mode. This mode only shifts into certain gears or
may no longer shift at all. The engine may stall.
You cannot engage the reverse gear. Drive to an
authorized Audi dealer or authorized Audi Service
Facility immediately to have the malfunction cor-
rected.
i Danger of rolling away! P not possible.
Please apply parking brake
— The parking lock was released using the emer-
gency release > page 73. Or
— The parking lock can no longer be engaged.
Drive to an authorized Audi dealer or author-
ized Audi Service Facility immediately to have
the malfunction corrected.
Move selector lever to automatic position
There is a malfunction in the tiptronic mode. End
tiptronic mode by pushing the selector lever to
the left into the "D/S" position.
Page 78 of 308
Assist systems
Applies to: vehicles with cruise control system
ICRUISE| / §) Speed control system: currently un-
available. See owner's manual
If the indicator light turns on and this message
appears, the cruise control system has been deac-
tivated. There is a temporary malfunction, for ex-
ample the brakes are overheating. Switch the
cruise control system on again later.
Lap timer
Lap timer
You can measure and analyze lap times with the
lap timer in the display. The time is measured in
minutes, seconds and 1/10 seconds. With lap
times longer than 60 minutes, the hour is also
shown and the display of 1/10 seconds is re-
moved.
The time measurement on an individual lap ends
after 99 hours 59 minutes and 59 seconds. A new
lap starts automatically after that.
The measurement ends after a maximum of 30
laps. You can then evaluate the lap times or start
a new time measurement.
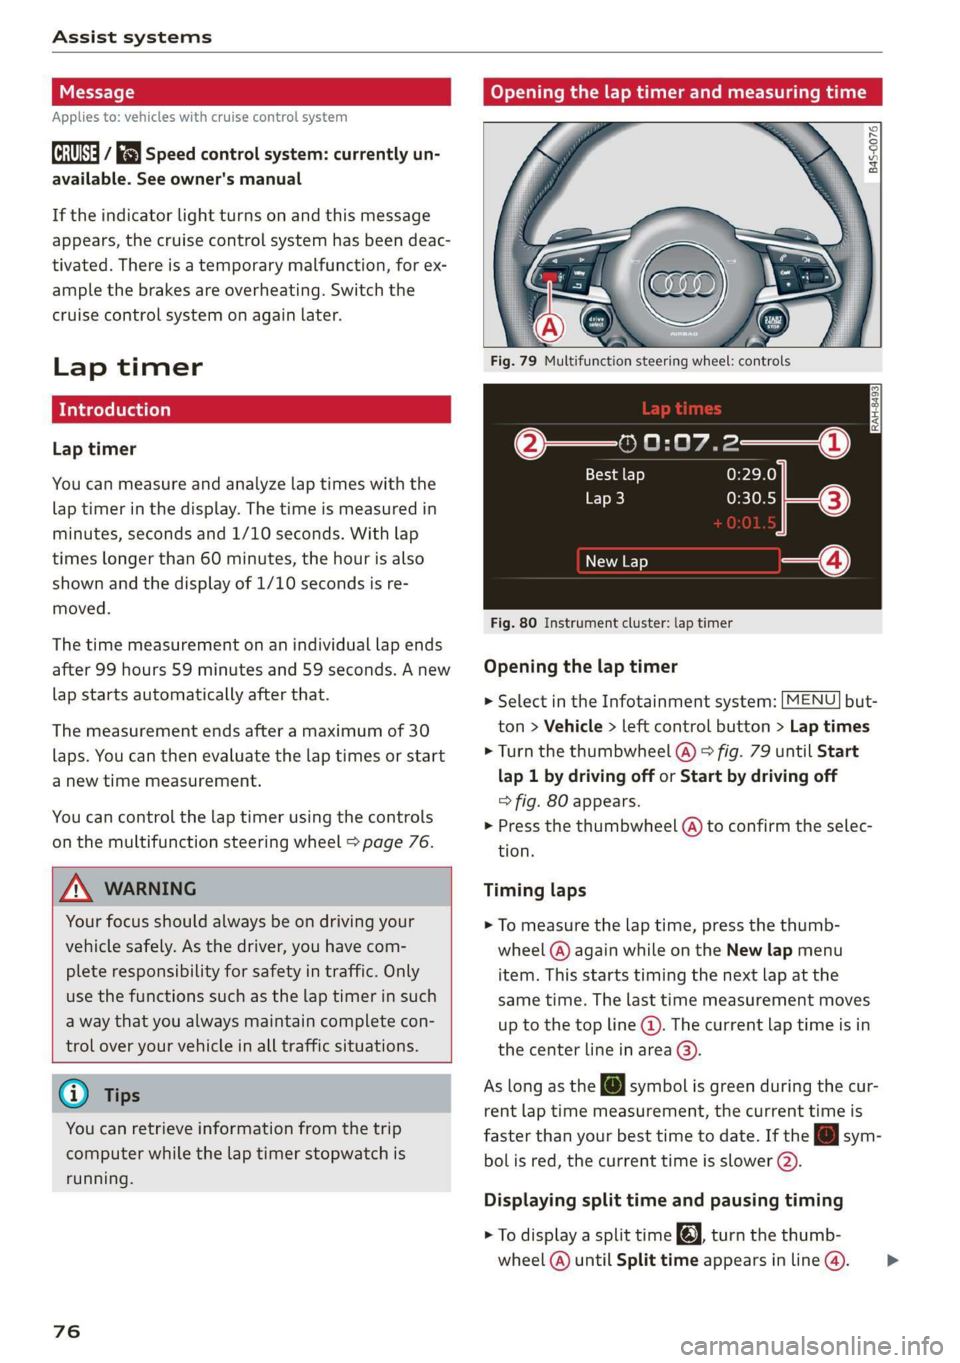
You can control the lap timer using the controls
on the multifunction steering wheel > page 76.
ZA\ WARNING
Your focus should always be on driving your
vehicle safely. As the driver, you have com-
plete responsibility for safety in traffic. Only
use the functions such as the lap timer in such
a way that you always maintain complete con-
trol over your vehicle in all traffic situations.
G) Tips
You can retrieve information from the trip
computer while the lap timer stopwatch is
running.
76
Opening the lap timer and measuring time
B4S-0076
Fig. 79 Multifunction steering wheel: controls
@—» 0:07.2——_@
Best lap 0:29.0
To} 0:30.5
New Lap
Fig. 80 Instrument cluster: lap timer
Opening the lap timer
> Select in the Infotainment system: [MENU] but-
ton > Vehicle > left control button > Lap times
> Turn the thumbwheel @) ° fig. 79 until Start
lap 1 by driving off or Start by driving off
=> fig. 80 appears.
> Press the thumbwheel (a) to confirm the selec-
tion.
Timing laps
> To measure the lap time, press the thumb-
wheel @) again while on the New lap menu
item. This starts timing the next lap at the
same time. The last time measurement moves
up to the top line @). The current lap time is in
the center line in area @).
As
long as the [J symbol is green during the cur-
rent lap time measurement, the current time is
faster than your best time to date. If the @ sym-
bolis red, the current time is slower (@).
Displaying split time and pausing timing
> To display a split time @, turn the thumb-
wheel (@) until Split time appears in line @). >
Page 136 of 308
Navigation
— Select and confirm an address or a destination.
When you have selected a destination, the
route guidance can be started directly.
— Check the address input again when selecting
an address.
—Then select and confirm Start route guidance.
Additional directory functions in the navigation
system can be found under > page 137.
G) Tips
— Addresses that have been imported from
your mobile device into the MMI can also be
used as a destination.
— If a contact is grayed out in the directory,
this contact does not have a destination or
an address assigned to it.
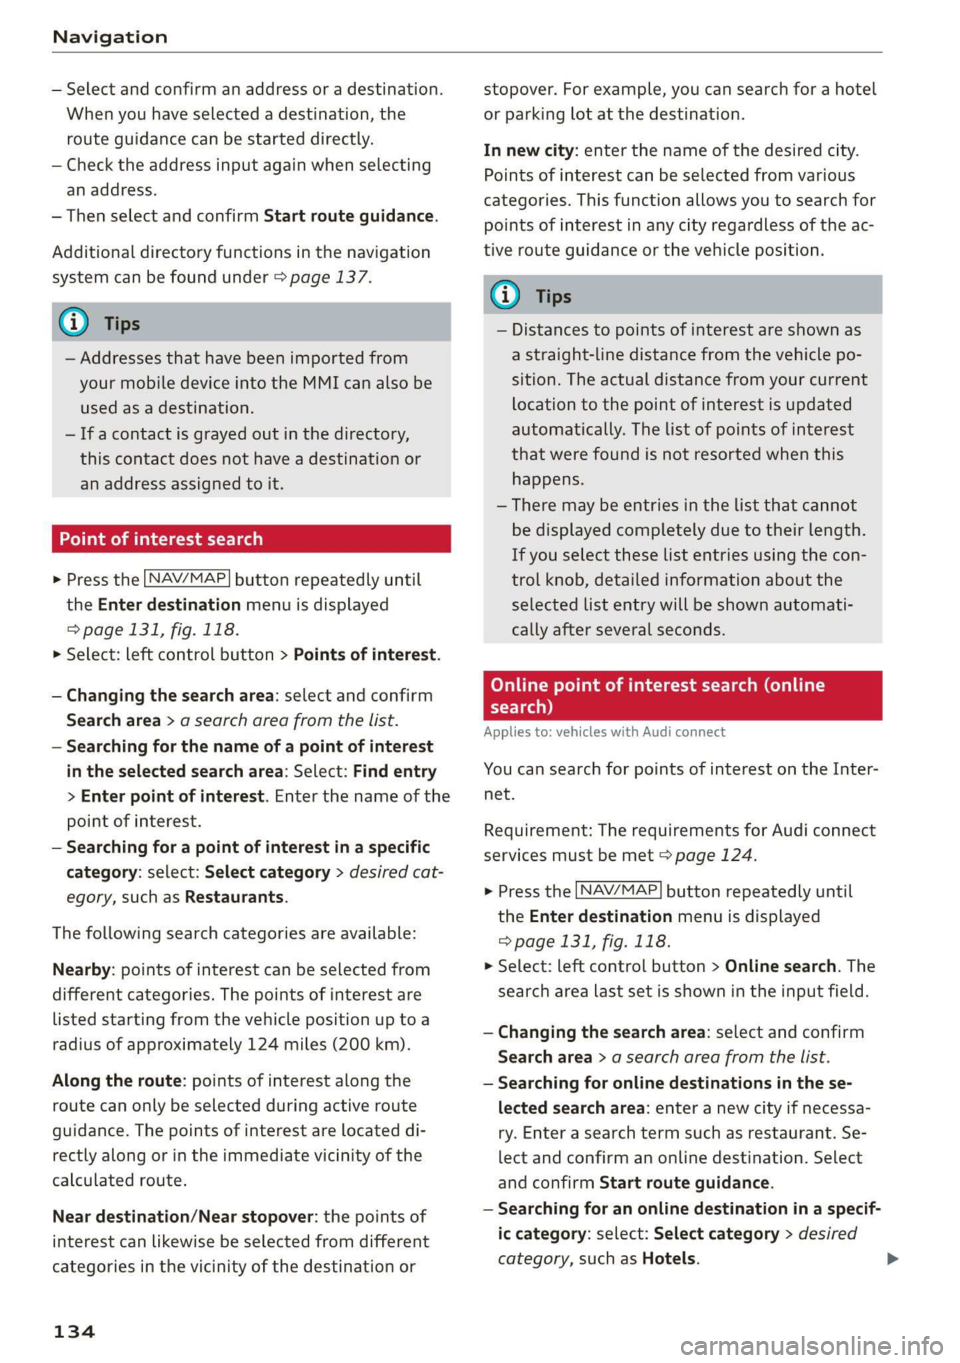
Point of interest search
> Press the LNAV/MAP] button repeatedly until
the Enter destination menu is displayed
=> page 131, fig. 118.
> Select: left control button > Points of interest.
— Changing the search area: select and confirm
Search area > a search area from the list.
— Searching for the name of a point of interest
in the selected search area: Select: Find entry
> Enter point of interest. Enter the name of the
point of interest.
— Searching for a point of interest in a specific
category: select: Select category > desired cat-
egory, such as Restaurants.
The following search categories are available:
Nearby: points of interest can be selected from
different categories. The points of interest are
listed
starting from the vehicle position up toa
radius of approximately 124 miles (200 km).
Along the route: points of interest along the
route can only be selected during active route
guidance. The points of interest are located di-
rectly along or in the immediate vicinity of the
calculated route.
Near destination/Near stopover: the points of
interest can likewise be selected from different
categories in the vicinity of the destination or
134
stopover. For example, you can search for a hotel
or parking lot at the destination.
In new city: enter the name of the desired city.
Points of interest can be selected from various
categories. This function allows you to search for
points of interest in any city regardless of the ac-
tive route guidance or the vehicle position.
(i) Tips
— Distances to points of interest are shown as
a straight-line distance from the vehicle po-
sition. The actual distance from your current
location to the point of interest is updated
automatically. The list of points of interest
that were found is not resorted when this
happens.
— There may be entries in the list that cannot
be displayed completely due to their length.
If you select these list entries using the con-
trol knob, detailed information about the
selected list entry will be shown automati-
cally after several seconds.
OTe Loli elms e etre Cola)
search)
Applies to: vehicles with Audi connect
You can search for points of interest on the Inter-
net.
Requirement: The requirements for Audi connect
services must be met > page 124.
> Press the [NAV/MAP] button repeatedly until
the Enter destination menu is displayed
=> page 131, fig. 118.
> Select: left control button > Online search. The
search area last set is shown in the input field.
— Changing the search area: select and confirm
Search area > a search area from the list.
— Searching for online destinations in the se-
lected search area: enter a new city if necessa-
ry. Enter a search term such as restaurant. Se-
lect and confirm an online destination. Select
and confirm Start route guidance.
— Searching for an online destination in a specif-
ic category: select: Select category > desired
category, such as Hotels.
Page 137 of 308
4S1012721BA
Navigation
Find which search areas are available under
=> page 134.
You can search for online destinations using the
voice recognition system > table on page 106.
@) Tips
Always read the chapter > page 124.
NCC M mA el
Else
Applies to: vehicles with Audi connect
Import destinations from your myAudi account
into the MMI.
Requirement: You must have a registered myAudi
account at my.audi.com. You must have a vehicle
stored in your myAudi account and you must have
a destination stored.
> Press the [NAV/MAP] button repeatedly until
the Enter destination menu is displayed
=> page 131, fig. 118.
> Select: left control button > myAudi contacts.
> If necessary, enter your myAudi user data or
your myAudi PIN. The contacts stored in myAu-
di are displayed.
— Select and confirm a contact > desired destina-
tion.
— Select and confirm Start route guidance.
G) Tips
— You only need to enter the myAudi user data
one time.
— You can receive your myAudi PIN if you have
set up a myAudi account.
— For additional information, visit my.audi.
com.
Entering a destination using geo
coordinates
> Press the [NAV/MAP] button repeatedly until
the Enter destination menu is displayed
> page 131, fig. 118.
> Select: left control button > Geographical coor-
dinates.
— Select and confirm either Latitude or Longi-
tude.
— Turn the control knob to change the latitude/
longitude.
— Press the control knob to confirm your input.
— Select and confirm Start route guidance.
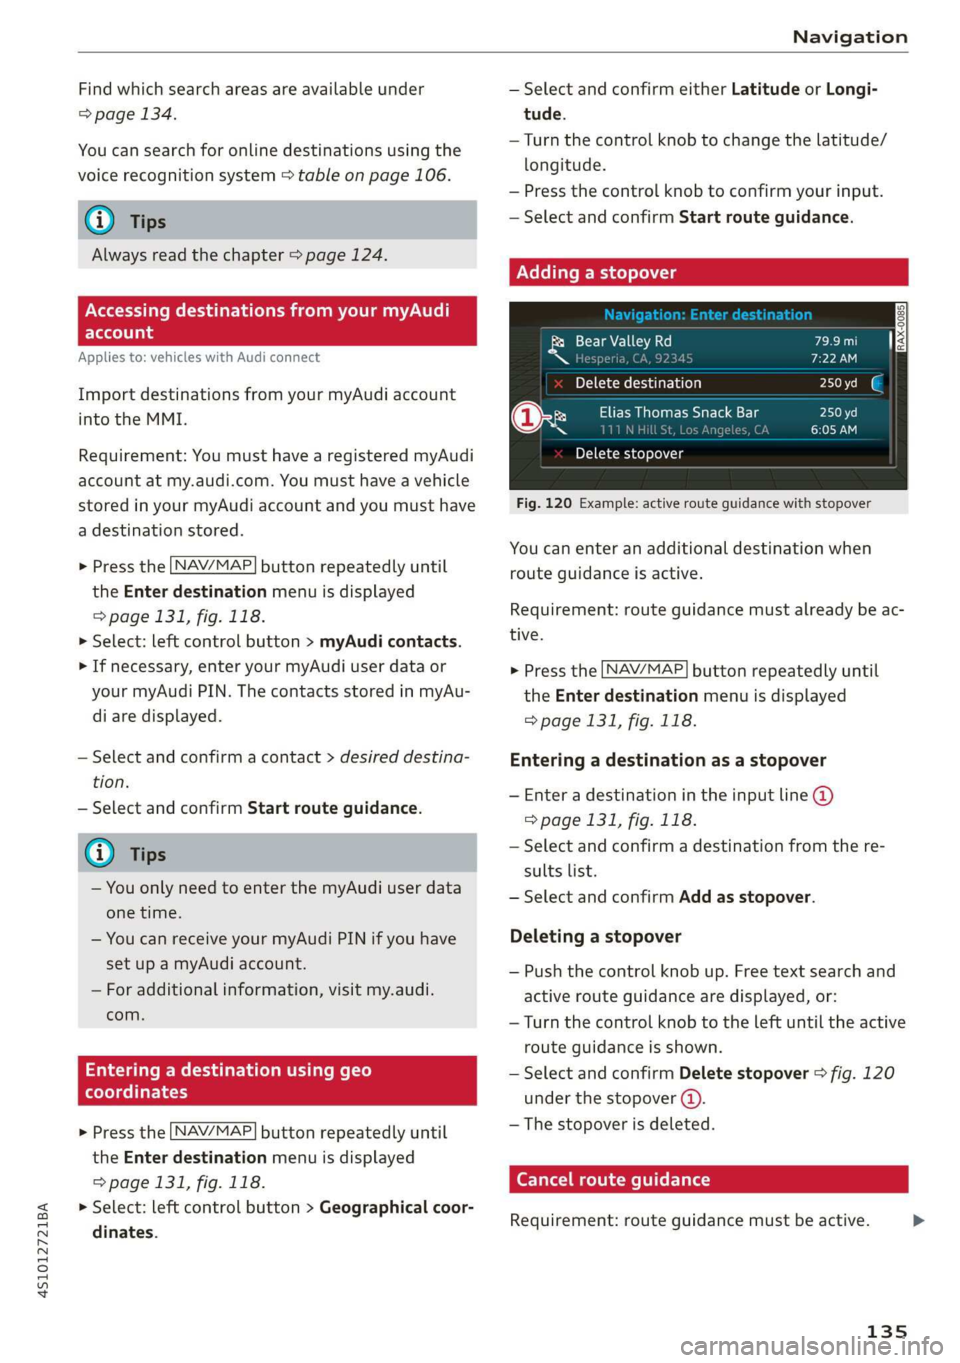
Adding a stopover
ols Valley Rd
N [ J
Yoh Me (hair b aol)
@x Ry Elias Thomas Snack Bar
~~ ney i
Delete stopover
Fig. 120 Example: active route guidance with stopover
You can enter an additional destination when
route guidance is active.
Requirement: route guidance must already be ac-
tive.
> Press the [NAV/MAP] button repeatedly until
the Enter destination menu is displayed
=> page 131, fig. 118.
Entering a destination as a stopover
— Enter a destination in the input line @
=> page 131, fig. 118.
— Select and confirm a destination from the re-
sults list.
— Select and confirm Add as stopover.
Deleting a stopover
— Push the control knob up. Free text search and
active route guidance are displayed, or:
—
Turn the control knob to the left until the active
route guidance is shown.
— Select and confirm Delete stopover > fig. 120
under the stopover (4).
— The stopover is deleted.
Cancel route guidance
Requirement: route guidance must be active.
135
Page 142 of 308
Navigation
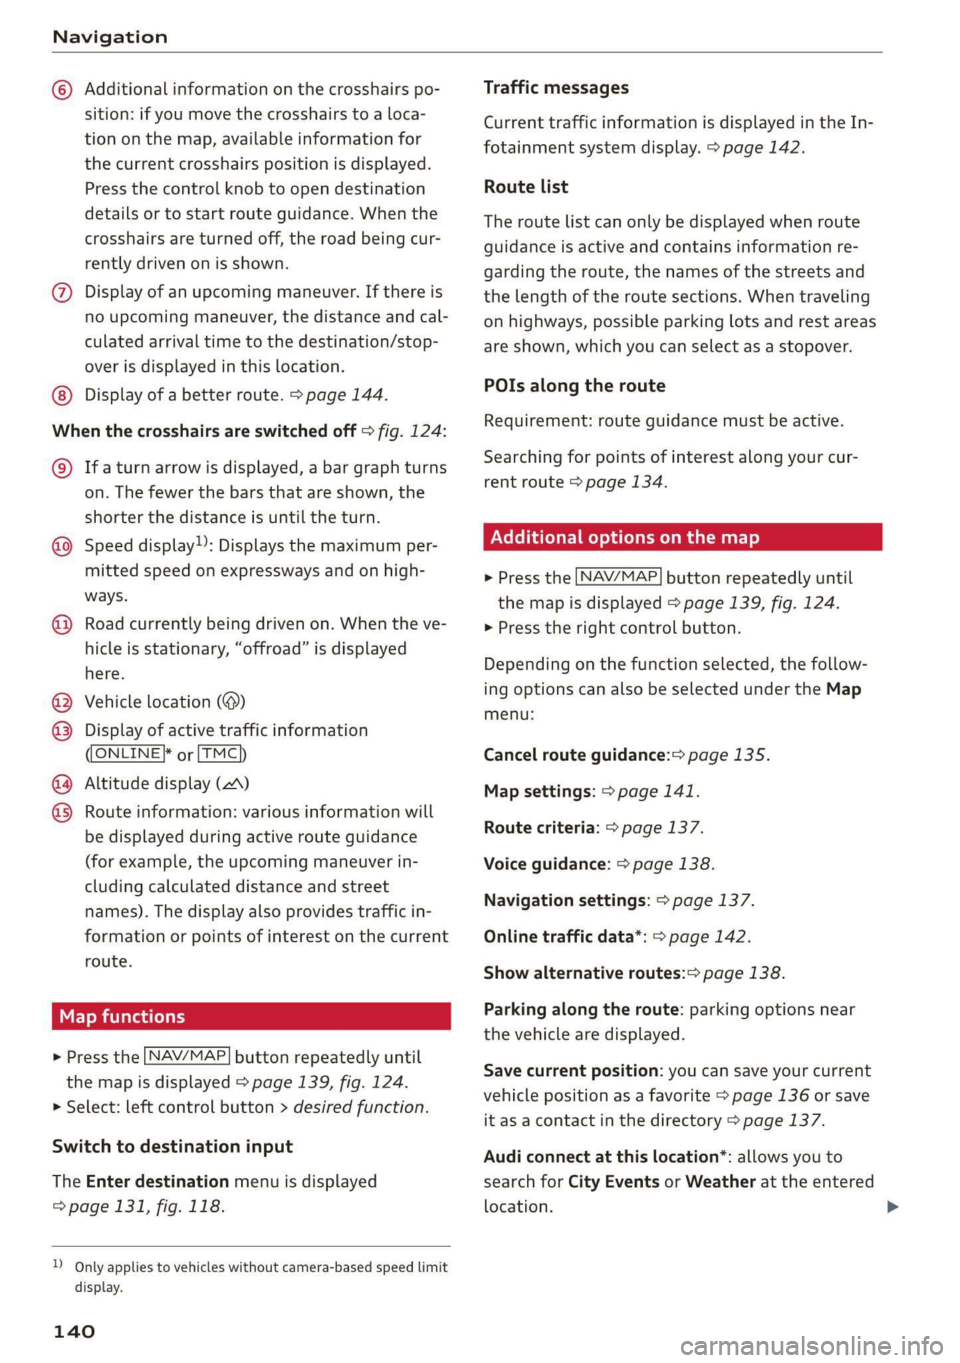
© Additional information on the crosshairs po-
sition: if you move the crosshairs to a loca-
tion on the map, available information for
the current crosshairs position is displayed.
Press the control knob to open destination
details or to start route guidance. When the
crosshairs are turned off, the road being cur-
rently driven on is shown.
@) Display of an upcoming maneuver. If there is
no upcoming maneuver, the distance and cal-
culated arrival time to the destination/stop-
over is displayed in this location.
Display of a better route. > page 144.
When the crosshairs are switched off > fig. 124:
© Ifa turn arrow is displayed, a bar graph turns
on. The fewer the bars that are shown, the
shorter the distance is until the turn.
@ Speed display): Displays the maximum per-
mitted speed on expressways and on high-
ways.
© Road currently being driven on. When the ve-
hicle is stationary, “offroad” is displayed
here.
Vehicle location (®)
Display of active traffic information
((ONLINE}* or [TMC
Altitude display (A)
Route information: various information will
be displayed during active route guidance
(for example, the upcoming maneuver in-
cluding calculated distance and street
names). The display also provides traffic in-
formation or points of interest on the current
route.
Map functions
> Press the LNAV/MAP] button repeatedly until
the map is displayed > page 1339, fig. 124.
> Select: left control button > desired function.
®®
©®
Switch to destination input
The Enter destination menu is displayed
=> page 131, fig. 118.
D_ Only applies to vehicles without camera-based speed limit
display.
140
Traffic messages
Current traffic information is displayed in the In-
fotainment system display. > page 142.
Route list
The route list can only be displayed when route
guidance is active and contains information re-
garding the route, the names of the streets and
the length of the route sections. When traveling
on highways, possible parking lots and rest areas
are shown, which you can select as a stopover.
POIs along the route
Requirement: route guidance must be active.
Searching for points of interest along your cur-
rent route > page 134.
Additional options on the map
> Press the [NAV/MAP] button repeatedly until
the map is displayed > page 139, fig. 124.
> Press the right control button.
Depending on the function selected, the follow-
ing options can also be selected under the Map
menu:
Cancel route guidance:> page 135.
Map settings: > page 141.
Route criteria: > page 137.
Voice guidance: > page 138.
Navigation settings: > page 137.
Online traffic data*: > page 142.
Show alternative routes:> page 138.
Parking along the route: parking options near
the vehicle are displayed.
Save current position: you can save your current
vehicle position as a favorite > page 136 or save
it as a contact in the directory > page 137.
Audi connect at this location*: allows you to
search for City Events or Weather at the entered
location.
Page 154 of 308
![AUDI R8 COUPE 2020 User Guide Media
Adding files to the Jukebox
— Press the [MEDIA] button. Press the left control
button until the sources overview > page 157 is
displayed. Select one of the following sources
to copy to AUDI R8 COUPE 2020 User Guide Media
Adding files to the Jukebox
— Press the [MEDIA] button. Press the left control
button until the sources overview > page 157 is
displayed. Select one of the following sources
to copy to](/img/6/57639/w960_57639-153.png)
Media
Adding files to the Jukebox
— Press the [MEDIA] button. Press the left control
button until the sources overview > page 157 is
displayed. Select one of the following sources
to copy to the Jukebox: SD card, CD-ROM, DVD-
ROM, USB storage device.
Requirement: the media center (for example,
tracks, albums) must be open.
— Selecting an entry: select an entry from the
media center. Select: right control button >
Copy to jukebox > This entry or Entire list.
Requirement: the playlist must be open. See
=> page 159.
— Selecting a track: select the track that is cur-
rently playing. Select: right control button >
Copy to jukebox > This track or Entire album or
This artist.
Requirement: a video file must be playing.
— Select: right control button > Copy to jukebox.
The copying process begins. The status of the
copying process is shown in the MMI.
— Hiding the importing process: select and con-
firm Continue copying in background. The im-
porting process is hidden.
— Canceling the importing process: select and
confirm Cancel copying, or remove the source
that is being imported. Files already copied re-
main.
Requirement: the copying process must be active
in the background.
— Showing the copying process: select: right
control button > Copying in progress.
When importing, the audio files are automatical-
ly sorted into the media center categories based
on the stored additional information > page 158.
The copied video files are stored in the media
center under the Videos category.
Playing the Jukebox
Requirement: the Jukebox must contain audio/
video files > page 152, Adding files to the Juke-
box.
) Not in the Playback view.
152
The Jukebox is accessed and operated through
the MMI @) & page 157, fig. 136.
Displaying Jukebox memory capacity
Select: right control button > Jukebox memory
capacity. Information about the Jukebox memory
capacity and the number of stored tracks is dis-
played.
Deleting tracks from the Jukebox!)
Requirement: the Jukebox must contain audio/
video files.
— Deleting an entry: select an entry from the
Jukebox media center. Select: right control but-
ton > Delete from jukebox > This entry or En-
tire list.
— The status of the deleting process is shown in
the MMI. Jukebox playback stops during the de-
leting process and starts again automatically
once the deletion is complete.
() Note
Do not import audio/video files when the en-
gine is turned off because this will drain the
vehicle battery.
@) Tips
— Tracks from audio CDs cannot be imported
to the Jukebox for legal reasons.
— Files that have already been imported are
automatically recognized and cannot be
copied to the Jukebox again.
— It is not possible to play audio/video files in
the DVD drive while importing them.
— The Jukebox does not provide an export
function due to legal reasons.
— Files or tracks without additional stored in-
formation are listed as Unknown. Audi rec-
ommends adding additional information
(such as ID3 tags) to audio files.
— Reset the Jukebox to the factory default set-
tings when selling your vehicle > page 168.
Page 303 of 308
4S1012721BA
Index
Seating position
Driver... ee ee eee 174
Front Passenger ies « » wives 3 ¥ asws oo ey & i175
How to adjust the front seats........... 175
Incorrect seat position................ 175
OGCUBANUS vem: « s wee 5 5 weER Fy Bee Ee 174
Seats
AGJUStING a: « 9 soos x 3 wees a ¢ caus 2 2 oem oY 50
Adjusting bucket seats................. 51
Correct seating position............... 174
Number of seats « asc xagea oy comp 2 oo 180
Secondary phone..........02.. eee 112, 169
Selecting a source (media).............. 157
Selection menu...............00. 94, 97,98
Selective door unlocking...............-. 21
Selective wheel torque control............ 86
Selector lever
Selector lever positions................- 67
Service and disposal
Safety belt pretensioner............... 186
Service interval display................. 243
Settings
Dir@GtOLy aces < = sees « 3 tees x 5 see ee eee 122
Maples a seca 0 v svonins © a ouivans we arruens 6 cana 141
Media...... 0... eee eee eee eee eee 160
Navigation): « s sews s < exw x & eees 3 x ewe 137
RadiGise x crouse a i cwswaus 2 v comune a cuexene w 8 ao 149
SYStEM occ eee eee eee eee 167
TeléphOn@:ecs « « sae ¢ = oes ¢ s eee ¢ x eee 122
WIFEL HOtSPOb wecsa co ssswens oo ees ov ee v2 129
Setting the language................00. 167
Shift light:indicator = wees = sees = sews 2 ges 15
Shift paddl@Sis< « 2 2emu = » seme ye eee yp eeR 71
Shuffle... 0.0... ee eee 160
Side airbags
Descriptions « « eswe + weeny ¢ peau se pews < 204
How they: Work). is « scasise sv aves sw mews + @ ace 206
Side curtain airbags... ....... 6000s ee eee 207
Description...............0..000000. 207
How they Work: 5 i seas si sees & deers ge oe 209
Safety instructions................00. 209
SIM Card r@ade@Pins «x ways : sane gs were « x ee 125
Smartphone
refertoTelephone..............0.000 110
SNOWCHAINSS. « owns vo samen oo so Yo oem © 259
Socket
refer to Power sourceS.........2- 000 eee 53
Software update
refer to System update (MMI).......... 170
Software (MMI)
LIGGHSES « ssc & ¢ See & ¥ Rae & % HETES 3 £ er 172
Updates = sve es meme sean es wee ae ee 170
VErSION eee eee eee 170
Sources of information about child restraints
andtheiruse............... eee eee eee 224
Speed dependent volume control......... 171
Speedometer..........0 2... cee eee eee ee 10
Speed warning systeM..........ceeeeeeee 74
Spellers so caves 6 v sas + oan ow cere wo ae « 99
Sportdisplays « wcos ss seas sc sews ve ees vv 15
SPOrtMOd Ges « » sews 2 = eens = 2 ewe eb ee 87
SHOERVICWearx ¢ » meee ¥ sages 6 5 em © tome bob 13
Sporty driving............ eee eee ee eae 67
Stabilization program
refer to Electronic Stabilization
Comtroli(ESO):. x sscoons w 0 avescos ow awcvane w seawness 86
Start/Stopisyste Mis 2s wes 26 weww = van a oe 62
Engine does not switch off.............. 64
Engine starts automatically............. 64
Indicator lightsiec so news ve erwn a o sem oo 63
MessageS.. 6... cece eee eee eee eee 65
Stopping/starting the engine............ 63
Switching off atid Of). « cies se caw ss vans s 64
START Engine STOP button............... 60
START ENGINE STOP (button)............. 61
Starting to drive........ 2... cee eee ee eee 66
Starting (engine)...................000. 60
Steering .... 02... 2. e eee eee eee 89
INGICStOMUGHE = seven x ¢ senmn x o oem So ee 18
LOCKING sec as seis ee owe ov eens 3 owe sw 61
also refer to Steering..............0008 89
Steering wheel
Adjusting... 0.0.2... e cece eee eee eee 60
Shiftpaddles ; gcc x sean se eee ee eee ee 71
also refer to Multifunction
steering wheel.............---..00-- 12,14
Steps for determining correct load limit... 258
Stopover (navigation). . cess. x ones se exw 135
Storage compartments...............00. 53
Stored stations
refer to Favorites............-.0000005 148
Streaming
refer to Online media................. 154
301