low oil pressure AUDI R8 SPYDER 2014 User Guide
[x] Cancel search | Manufacturer: AUDI, Model Year: 2014, Model line: R8 SPYDER, Model: AUDI R8 SPYDER 2014Pages: 244, PDF Size: 61.06 MB
Page 180 of 244
1 78 Che cking and filling
authorized Audi dealer will have to deny war
ranty cov erage un less you present to the dea l
er proof in the form of Serv ice o r Repair Or
ders tha t all sched uled maintena nce was per
f ormed in a t imely manner .
Engine oil consumption
T he engine in your vehicle depends on an ade
quate amoun t of oil to lubricate and cool all
of its moving par ts.
In order to provide effective l ubrication and
cooling of internal engine components, a ll in
ternal comb ustion eng ines consume a certa in
amount of o il. O il consumption var ies from
engine to eng ine and may c hange significa ntly
over the life of the eng ine . T ypically, eng ines
with a specifie d break-in per iod (see
c::> p oge 153) consume more oil during the
b reak-in per io d t han they co nsume after oil
consumption has sta bilized.
Unde r no rma l conditions, the rate of oil con
sum ption depends on the qu ality and vi scosity
of the oi l, the R PM ( revo lutions per m inute) at
which t he engine is ope rated, the ambient
temperature and road cond itio ns. Furthe r fac
tors are the amount of o il d ilution from water
condensation or fuel residue and the ox ida
ti on level of the oi l. As any engine is subject to
wear as mileage bu ilds up , the oil consump
tion may increase over t ime until replacement
of worn componen ts may become necessary.
W ith all these variables com ing into play, no
standa rd rate of o il consumption can be es
tablished or specif ied . T he re is no alternative
to regular and frequent checking of the oil lev
e l, see
Note .
If the ye llow eng ine o il level warning symbol
i n t he inst rument cluster
1\1 lights up, you
should check the o il l evel as soon as possibl e
c::> page 178. Top off the oil at you r earliest
conven ie nc e
c::>page 180.
_& WARNING
Before yo u check any thin g in t he engine
compartment , always read and hee d all
-
WAR NIN GS c::> & in Working in the engine
compartment on page 173.
(D Note
D riving wit h an insufficient o il level is like
l y to cause severe dama ge to the e ngine.
(D Tips
- The oil pressure warning display. is
not an indicator of the oil level. Do not
rely on it. Instead, check the oil level in
your engine at regular intervals , pref
erably each time you refuel, and always
before going on a long trip .
- If
you have t he impression yo ur engine
cons umes excessive amounts of o il, we
recommend that you consu lt your Aud i
deale r to have the cause of your concer n
prope rly diagnosed . K eep in m ind that
th e accu rat e meas urement of o il con
s u m ptio n re quires grea t care and may
t a ke some time. Y our Audi de aler h as i n
st ru ctio ns abou t how to measure oil con
sumption acc urately .
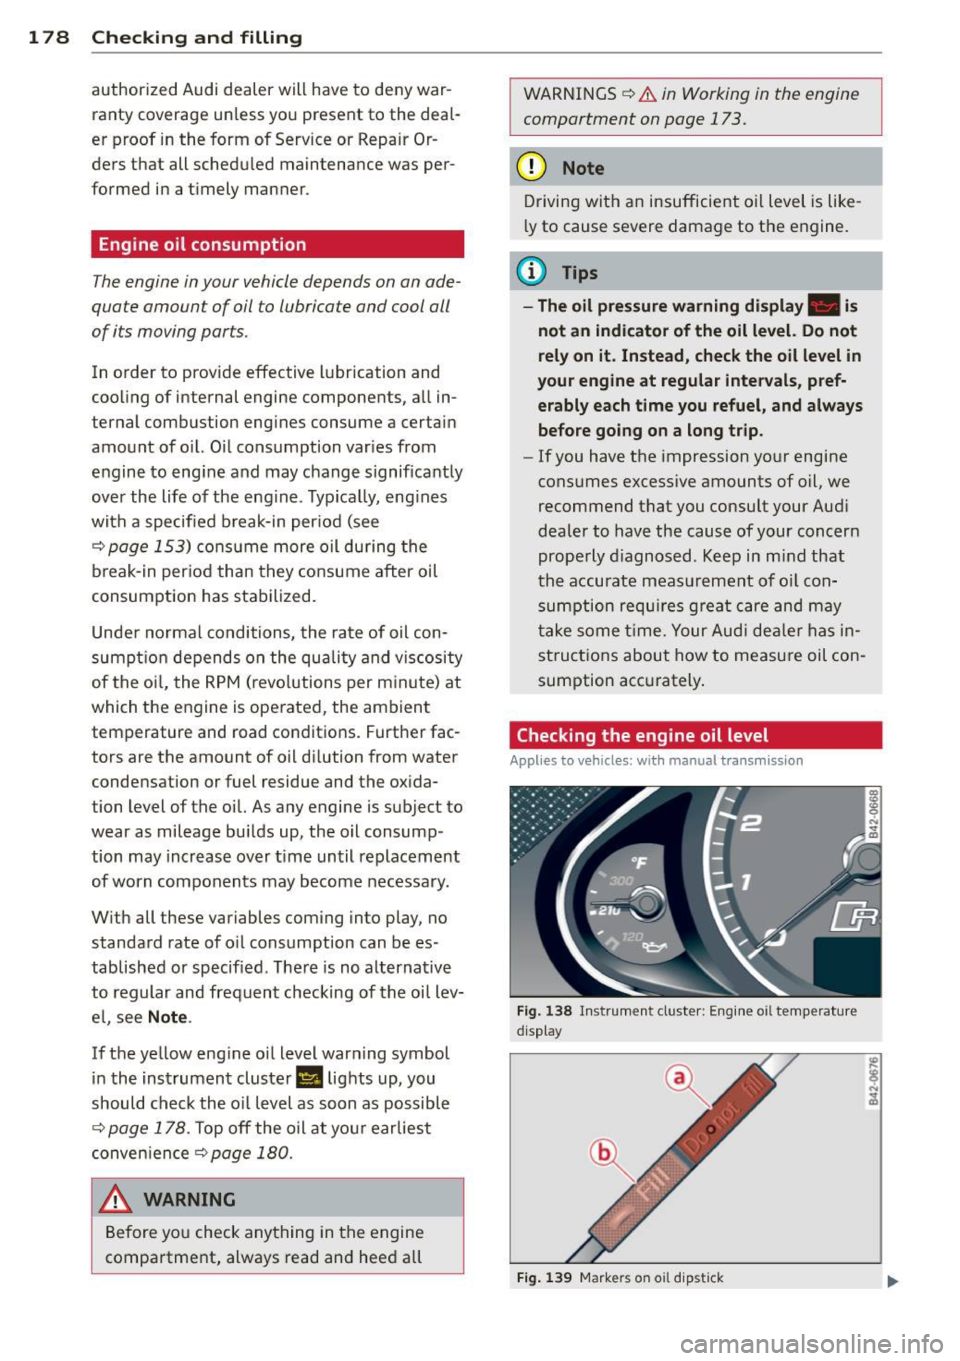
Checking the engine oil level
Applies to vehicles: with manual transmiss ion
Fig . 1 38 In st ru men t cl uste r: E ng in e oi l te m pe ratu re
d isp lay
Fig. 139 M arkers on o il dip stick
Page 184 of 244

182 Checking and filling
Checking the engine coolant level
Proceed carefully when checking the coolant.
Fig. 144 Convertible top: se rvice position
Fig. 145 Convert ible top sto rage bay: coo lant expan
sion tank
Before you check anything in the engine com
partment,
always read and heed all WARN
INGS c:::> &_ in Working in the engine compart
ment on page 173
and park your vehicle on a
level surface.
The coolant expansion tank is located in the
right side of the convertible top storage bay
under the round metal cover
c:::> fig. 145. The
convertible top must be in the service position
to check the coolant leve l
c:::> fig. 144.
Bringing the closed convertible top into
the service position
.. Switch the ignition on .
.. Pull and hold the convertible top switch .
.. Press and hold the rear window switch too
until the convertib le top moves into the
service position
c:::> fig. 144.
Bringing the open convertible to into the
service position
.. Switch the ignition on.
.. Press and hold the convertible top switch. ..
Press and hold the rear window switch too
until the convertible top moves into the
service position
c:::> fig. 144.
Opening the coolant expansion tank cover
.. Stop the engine and allow it to cool.
.. Switch the ignition off .
.. Care fully remove the bolts in the cover@
using a screwdriver and remove the cover.
The coolant reservoir is located below
¢fig. 145.
Checking the engine coolant level
.. Place a rag or cloth on the cap of the coolant
expansion tank and turn the cap
carefully to
the left (counter-clockwise)
c:::> .&, .
.. Read the coolant leve l inside the coolant ex
pansion tank¢
fig. 145. With a cold engine,
it must be above the "min" mark. With a hot
eng ine, it can be a little above the indicated
range.
To obtain an accurate reading, the engine must be switched off.
The expansion tank in your vehicle is equipped
with an electric coo lant level sensor
c:::> page 15. We still recommend you check the
coolant level from time to time .
Coolant loss
Coolant loss may indicate a leak in the cooling
system. In the event of coolant loss, the cool
ing system should be inspected immediately
by your authorized Audi dealer. It is not
enough merely to add coolant.
In a
sealed system, losses can occur on ly if
the boiling point of the coo lant is exceeded as
a result of overheating .
A WARNING
-- The cooling system is under pressure. Do
notopenthecapofthecoolantexpan
sion tank when the engine is hot. You
ris k be ing sca lded.
- The coolant additive, and therefore the
coo lant itself, is haza rdous to hea lth .
Keep the coolant additive in the original
Page 185 of 244
container out of the reach of children. It
is a poison hazard.
@ Note
Do not add any type of radiator leak seal
ant to your vehicle's engine coolant. Add
ing radiator repair fluid may adversely af
fect the function and performance of your
cooling system and could result in damage
not covered by your New Vehicle Lim ited
Warranty.
Adding coolant
Before you check anything in the engine com
partment,
always read and heed all WARN
INGS q A in Working in the engine compart
ment on pag e 173.
"'Add coolant .
"'Twist the cap on again
tightly.
"'Tighten the cap (D q page 182, fig. 145
again.
Replacement engine coolant must conform to
exact specifications
q page 181, Coolant .
We recommend using only coolant additive
G12++, G13 or in an emergency G12 +. Do
not
use a different additive. In an emergency use
plain water until you can get the correct addi
tive and can restore the correct ratio. This
should be done as soon as possible.
If you have lost a considerable amount of
coolant, then you should add cold antifreeze
and cold water only when the engine is cold.
Always use
new engine coolant when refilling .
Do not fill coolant above the "max" mark. Ex
cess coolant will be forced out through the
pressure relief valve in the cap when the en
gine becomes hot.
A WARNING
- The cooling system is under pressure and
can get very hot. Reduce the risk of
scalding from hot coolant by following
these steps.
Checking and filling 183
- Turn off the engine and allow it to cool
down.
- Protect your face, hands and arms from
escaping fluid and steam by covering
the cap with a large, thick rag.
- Turn the cap slowly and very carefully
in a counter-clockwise direction while
applying light, downward pressure on
the top of the cap.
- To avoid being burned, do not spill an
tifreeze or coolant on the exhaust sys
tem or hot engine parts. Under certain
conditions, the ethylene glycol in en
gine coolant can catch fire .
- Antifreeze is poisonous. Always store an
tifreeze in its original container and well
out of the reach of children.
- If you drain the coolant, it must be
caught and safely stored in a proper con
tainer clearly marked "poison" .
Q) Note
- Coolant pollutes the environment and
could cause an engine fire . Ex cess cool
ant will be forced out through the pres
sure relief valve in the cap when the en
gine becomes hot.
- If, in an emergency, only water can be
added, the correct ratio between water
and antifreeze
q page 181 must be re
stored as soon as possible.
@ For the sake of the environment
Drained coolant should not be reused . Al
ways dispose of used coolant while observ
ing all environmental regulations.
Brake fluid
Have the brake fluid changed by an experi
enced t echnician.
Brake fluid absorbs moisture from the air. If
the water content in the brake fluid is too
high, corrosion in the brake system may result
afte r a period of time. The boiling point of the
brake fluid will also decrease considerably and
decrease braking performance. .,.. •
•
Page 192 of 244
190 Tire s and wheel s
-Never mount used tires on yo ur vehicle if
yo u are not sure of their "previous histo
ry." Old used tires may have been dam
aged even though the damage cannot be
seen that can lead to sudden t ire failure
and loss of vehicle control.
- If you notice unusual vibration or if the
vehicle pulls to one side when driving, al
ways stop as soon as it is safe to do so
and check the wheels and tires for dam
age.
(D Note
Please note that summer and winter tires
are designed for the cond itions that are
Glossary of tire and loading terminology
Accessory weight
means the comb ined we ight (in excess of
those standard items which may be rep laced)
of au toma tic tra nsmission, power steer ing,
power brakes, power windows, power seats,
radio, and heater, to the extent that these
items are availab le as factory -installed equip
ment (whether installed or not) .
Aspect ratio
means the ratio of the he ight to the w idth of
the tire in percent . Numbers of 55 or lower in
dicate a low sidewall for improved steering re
sponse and better overall handling on dry pavement .
Bead
means the part of the ti re that is made of
steel wires, wrapped or reinforced by ply cords
and that is shaped to fit the rim.
Bead s eparation
means a b reakdown of the bond between
components in the bead.
Cord
means the strands forming the plies in the
tire . typ
ica l in those seasons . Audi recommends
using winter tires during the winter
months . Low temperatures signif icant ly
decrease the e lasticity of summer tires,
which affects tract ion and brak ing ability.
If summer tires are used in very co ld tem
peratures, cracks ca n form on the tread
bars, res ulting in permanent tire damage
that can cause loud driving no ise and un
balan ced t ires. Audi is not responsible for
th is type of damage .
Cold tire inflation pre ssure
means the t ire p ressure recommended by the
vehicle manufacturer fo r a tire of a des ignated
s ize that has not bee n driven for more than a
coup le of miles (k ilometers) at low speeds in
the three hour period before the tire pressure
is measured or adjusted.
Curb weight
means the we ight of a motor ve hicle w ith
standard equipment including the max imum
capacity of fuel, oil, and coolant, air condi
tioning and additional weight of optiona l
equipment.
E x tra load tire
means a t ire designed to ope rate a t higher
loads and at highe r inflation p ressu res than
the corresponding standard tire. Extra load
tires my be identified as "XL", "xl", "EXTRA
LOAD", or "RF" on the sidewall.
Gross A xle Weight Rating ("GAWR ")
means the load -carry ing capacity of a s ingle
axle system , measured at the tire-ground in
terfaces.
Gr oss Vehicle Weight Rating ("GVWR ")
means the maximum total loaded we ight of
t h e vehi cle. .,.
Page 199 of 244
load limits are technically referred to as the
vehicle's
Gross Vehicle Weight Rating
("GVWR").
The "GVWR" includes the weight of the basic
vehicle, all factory installed accessories, a full
tank of fuel, oil, coolant and other fluids plus
maximum load. The maximum load includes
the number of passengers that the vehicle is intended to carry ("seating capacity") with an
assumed weight of 150 lbs. (68 kg) for each
passenger at a designated seating position
and the total weight of any luggage in the ve
hicle.
T he
Gross Axle Weight Rating (" GAWR") is
the maximum load that can be applied at each
of the vehicle's two axles .
The Gross Vehicle Weight Rating and the
Gross Axle Weight Rating are listed on the
safety compliance sticker label located on the
driver 's side B-pillar . Your Audi has 2 seating
positions. Each seating position has a safety
belt ¢
page 103, Safety belts.
The fact that there is an upper limit to your
vehicle 's Gross Vehicle Weight Rating means
that the total weight of whatever is being car
ried in the vehicle is limited. The more passen
gers in the vehicle or passengers who are
heavier than the standard weights assumed
mean that less weight can be carried as lug
gage.
The tire pressure label on your Audi also lists
the maximum combined weight of all of the
occupants and luggage or other cargo that
the vehicle can carry. For the location of the label
¢page 193, fig. 149 .
A WARNING
Overloading a vehicle can cause loss of ve
hicle control, a crash or other accident, se
rious personal injury, and even death .
- Carrying more weight than your vehicle
was designed to carry will prevent the
vehicle from handling properly and in
crease the risk of the loss of vehicle con
trol.
Tires and wheels 197
- The brakes on a vehicle that has been
overloaded may not be able to stop the
vehicle within a safe distance .
- Tires on a vehicle that has been overload
ed can fail suddenly, including a blowout
and sudden deflation, causing loss of
control and a crash .
Determining correct load limit
Use the example below to cal
culate the total weight of the passengers and luggage or oth
er things that you plan to trans
port so that you can make sure
that your vehicle will not be overloaded.
Steps for Determining
Correct Load Limit
1. Locate the statement "THE
COMBINED WEIGHT OF OC
CUPANTS AND CARGO
SHOULD NEVER EXCEED XXX KG OR XXX LBS"on your vehi
cle's placard (tire inflation pressure label)
¢ page 193,
fig. 149.
2. Determine the combined
weight of the driver and passengers that will be riding in
your vehicle.
3. Subtract the combined
weight of the driver and passengers from
"XXX" kilo-
grams or
"XXX" pounds .,.
•
•
Page 240 of 244
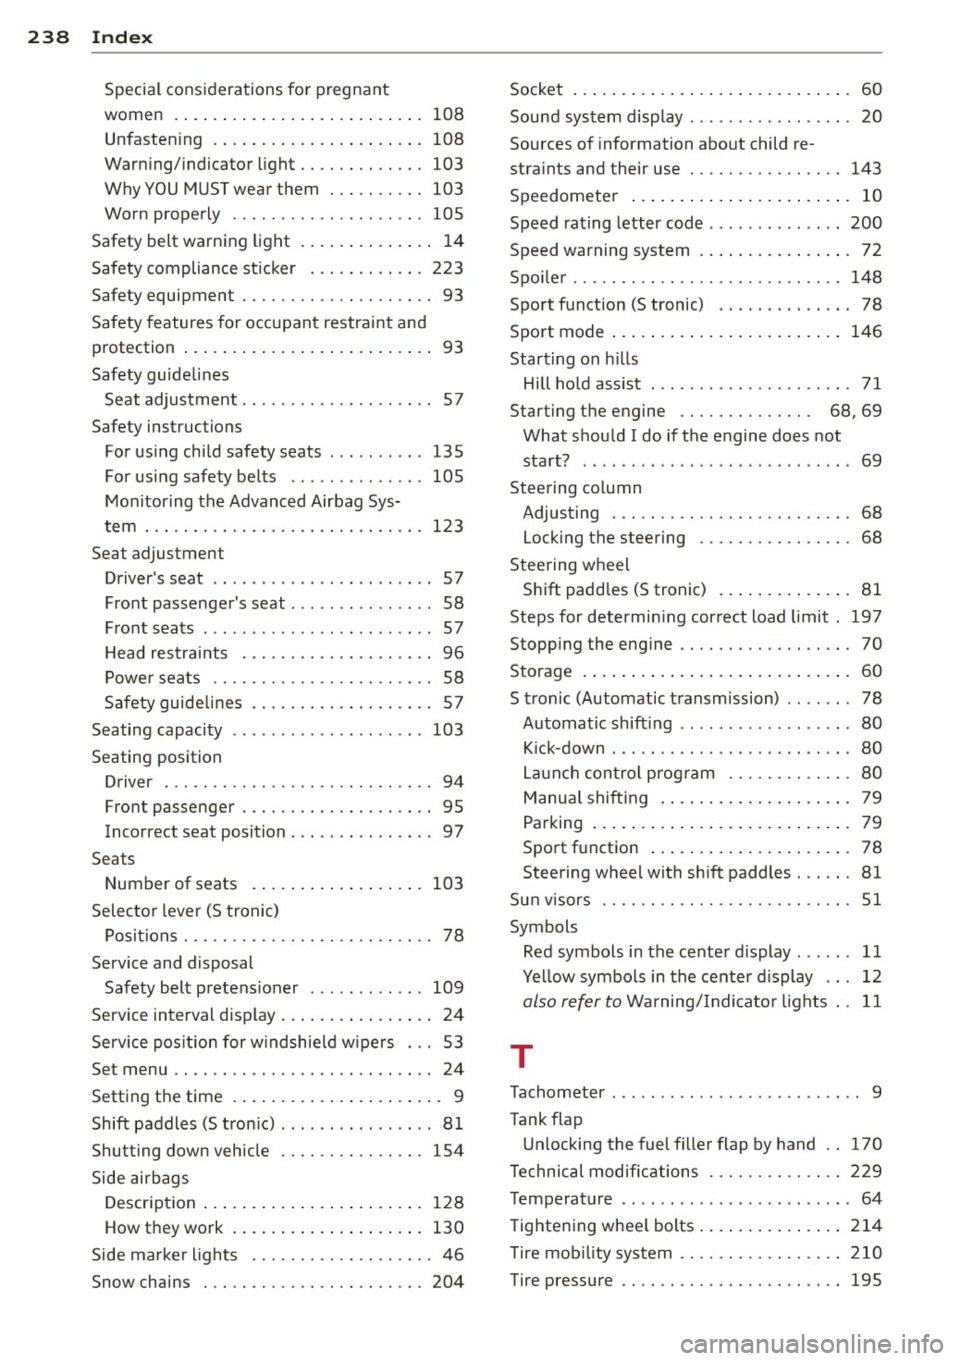
238 Index
Special considerations for pregnant
women .... ................ ..... . 108
Unfasten ing . ............. ... .... . 108
Warning/indicator light ...... .. .... . 103
Why YOU MUST wear them . .. .. .... . 103
Worn properly . . . . . . . . . . . . . . . . . . . . 105
Safety belt warning light ........ .... . . 14
Safety compliance sticker . .. .. .. .. .. . 223
Safety equipment . . . . . . . . . . . . . . . . . . . . 93
Safety features for occupant restraint and
protection . . . . . . . . . . . . . . . . . . . . . . . . . . 93
Safety guidelines
Seat adjustment . ....... .. .. .. .. .. .. 57
Safety instructions For using child safety seats ..... .. .. .
For using safety belts ..... .. .. .. .. .
Monitoring the Advanced Airbag Sys
tem
. .. .. .... ............. .. .... .
Seat adjustmen t 135
105
123
Driver 's seat .......... .... ... .. .. .. 57
Front passenger's seat . . . . . . . . . . . . . . . 58
Front seats . .............. ... .. ... . 57
H ead restraints . . . . . . . . . . . . . . . . . . . . 96
Power seats . . . . . . . . . . . . . . . . . . . . . . . 58
Safety guidelines
Seating capacity
Seating position 57
103
Driver ... .. .... ........... .. .... .. 94
Front passenger . . . . . . . . . . . . . . . . . . . . 95
Incorrect seat position . . . . . . . . . . . . . . . 97
Seats Number of seats 103
Selector lever (S tronic)
Positions . . . . . . . . . . . . . . . . . . . . . . . . . . 78
Service and disposal Safety belt pretens ioner . ........ .. . 109
Service interval display ....... ... .. .. .. 24
Service position for w indshield w ipers .. . 53
Se t menu .. .. ... .. ..... ... .... .. .. .. 24
Setting the time ............ ... .... .. . 9
Shift paddles (S tronic) .......... .. .... 81
Shutting down vehicle ...... .... .... . 154
Side airbags
Description ............... ... .... . 128
How they work . . . . . . . . . . . . . . . . . . . . 130
Side marker lights ......... .. .. .. .. .. 46
Snow chains 204 Socket
......... .. ............. ..... 60
Sound system display . . . . . . . . . . . . . . . . . 20
Sources of information about child re-
straints and their use ............ .... 143
Speedometer . . . . . . . . . . . . . . . . . . . . . . . 10
Speed rating letter code ........... ... 200
Speed warning system . . . . . . . . . . . . . . . . 72
Spoiler ... .. .. .. .. ............. .. .. 148
Sport function (S tronic) ...... ... .. .. . 78
Sport mode ..... .. .. .............. . 146
Starting on hills
Hill hold assist . .. ............. .... . 71
Starting the engine . . . . . . . . . . . . . . 68, 69
What should I do if the engine does not
start? ...... .. .. .. ..... ...... .. .. . 69
Steering co lumn
Adjusting . . . . . . . . . . . . . . . . . . . . . . . . . 68
Locking the steering . . . . . . . . . . . . . . . . 68
Steering wheel
Shift paddles (S tronic) .............. 81
Steps for determin ing correct load limit . 197
Stopping the engine ............. .... . 70
Storage ... ..... .. .. .............. .. 60
S tronic (Automatic transm ission) . . . . . . . 78
Automatic shift ing ................ .. 80
Kick-down . . . . . . . . . . . . . . . . . . . . . . . . . 80
Launch control program ........ .... . 80
Manual shifting . ................. .. 79
Parking ........................... 79
Sport function ... ................ .. 78
Steering wheel with shift paddles . .. .. . 81
Sun visors .. .. .. .. ............. .. .. . 51
Symbols Red symbols in the center display ..... . 11
Yellow symbols in the center display .. . 12
also refer to Warning/Indicator lights . . 11
T
Tachometer . . . . . . . . . . . . . . . . . . . . . . . . . . 9
Tank flap Unlocking the fuel filler flap by hand .. 170
T echnical modifications .......... .. .. 229
Temperature .. .. .. .. ........ ...... .. 64
Tightening wheel bolts ............ ... 214
T ire mobility system ... .......... .. .. 210
Tire pressure .... .. ............. .... 195
Page 242 of 244

24 0 Index
Tire pressur e monitoring system .... .. 19
Turn s igna ls . .. . ...... ... .. .. .... .. 19
War ning/Ind icator lights
Rear spoiler .... .. .... ... .. .. .. .. .. 19
War ning light s ............. ... .. .. .. 11
Red symbols in the center display .. .... 11
Yellow symbols in the center d isplay ... 12
Wa rra nty cove rages . ......... .. .. .. . 22 7
Washing .. ... ... ...... ... .. .. .. .. . 156
F olding top cleaning . ... .. .. .. .... . 159
G eneral informat ion . ... .. .. .... .. . 156
M atte finis h paint ..... ... .. .. .... . 158
Waxing . .. .. .... .. ... .... .. .. .. .. . 156
We ar indic at or ..... ......... .. .. .. . 198
Weights ..... ... .. ..... ... .. .. .... . 223
What happens if you wear your safety belt
too loose? . .. .. . .. ..... ... .. .. .. .. . 107
Wh at happens to unbelted occ upan ts? . . 104
What impairs driving sa fety? . . . . . . . . . . . 94
What should I do after chang ing a
wheel? .. .. .. ................ ... ... 196
Wheel bolts Torque . .. ...... ... ... ..... .. .. .. . 205
Wheels . . . . . . . . . . . . . . . . . . . . . . 161, 189
Check ing tire pressure ... .. .. .. .. .. . 195
Cold t ir e inflat io n pr essu re ... ... ... . 193
Gener al note s ..... ......... .. .. .. . 189
Glos sary of t ire and load ing term ino lo-
gy .. .. .. .... ........ ...... ... .. . 190
New tires and wheels ............... 199
Tir es and vehicle load lim its ......... 196
When must the airb ag system be inspect-
ed? ... .. .. .... ..... ... ... .... .. .. . 121
When shou ld I ad just the tire p ressu res? 196
When sho uld I check the tire pressures? . 196
Where can I find the tire pressures fo r my
ca r? .. .. .. ... ..... ..... .. .. .. .. .. . 195
Why safety be lts? . . . . . . . . . . . . . . 103, 104
W ind deflector ............. ... .. ... . 39
Cleaning ............. ........ ... . 159
W indows
C leaning . ...... .. ... .... .. .. .. .. . 160
Defro st .... ............ ..... .. .. .. 66
De icing .. .. ................ ... ... 160
Windshield washer fluid . ... .. .. .... . . 18 Windsh
ie ld wipers .... .. ..... .... . .. 188
Cleaning . . . . . . . . . . . . . . . . . . . . . . . . . . 53
Installing new wiper b lades . . . . . . . . . . 54
Se rv ice position . . . . . . . . . . . . . . . . . . . . 53
Win ter operation
Battery ... .... .. .. ... ..... ... .. .. 184
Coolant system .. ... .. ..... .... . .. 181
D efrosting windows .. .. ..... ... .. .. . 66
Heated seats . . . . . . . . . . . . . . . . . . . . . . 67
Windows . .. .. . .......... ........ 160
Windsh ie ld wipers .......... ...... . 188
Winter tires ..... .. .. .... .... ... .. .. 203
All-wheel drive ... ... .. ..... .... . .. 203
Wiper and washer sys tem ...... .. .. .. . 51
Intermitten t wiping ...... ...... .... . 51
One -tap wip ing ... .. ... ..... ... .. .. . 51
Wiper b lades
r e fer to W indshield wipers ...... .. .. . 54