radio AUDI S6 2009 Owners Manual
[x] Cancel search | Manufacturer: AUDI, Model Year: 2009, Model line: S6, Model: AUDI S6 2009Pages: 398, PDF Size: 43 MB
Page 25 of 398
Driver information display
Introduction
General notes
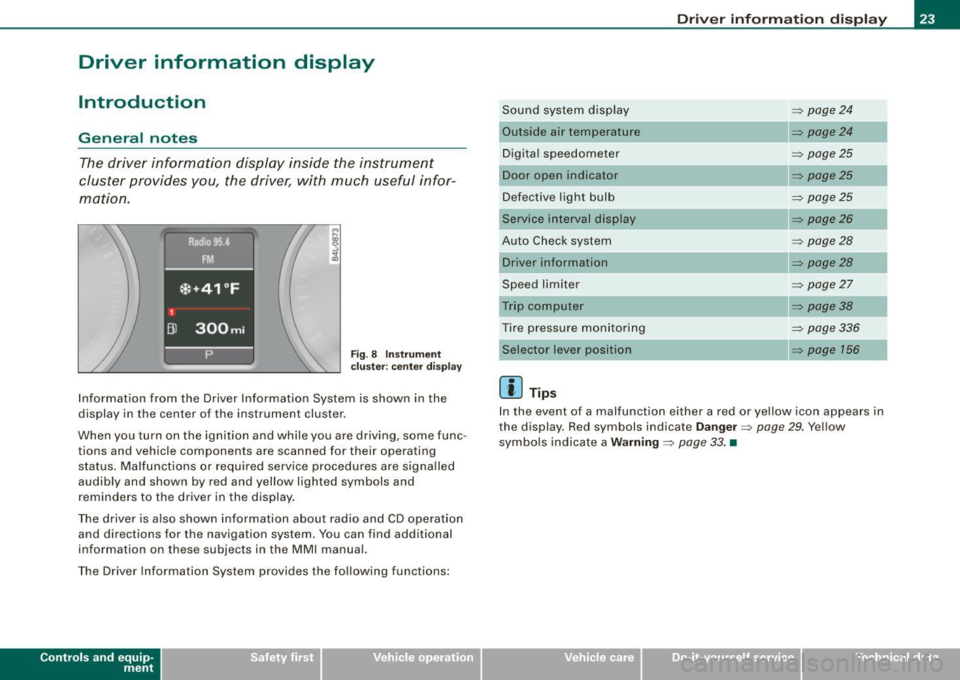
The driver information display inside the instrument
cluster provides you, the driver, with much useful infor
mation.
F ig. 8 Inst rume nt
c luster: ce nte r display
Information from the Driver Information System is shown in the
display in the center of the instrument cluster.
When you turn on the ignition and whi le you are driving, some func
tions and vehicle components are scanned for their operating status . Malfunctions or required service procedures are signa lled
audibly and shown by red and yellow lighted symbols and
reminders to the driver in the display .
The driver is also shown information about radio and CD operation and directions for the navigation system . You can find additional
information on these subjects in the MMI manual.
The Driver Information System provides the following functions:
Con tro ls and eq uip
ment
Dri ver inf orm atio n di spl ay
Sound system disp lay ~ page24
Outside air temperature ~ pa ge24
Digita l speedometer ~ page25
Door open in dicator ~ p age25
Defective light bulb ~ page25
Service interval display ~ page26
Auto Check system ~ page28
Driver inform ation ~ pa ge28
Speed limiter ~ page27
Tr ip computer ~ pag e38
Tire pressure monitoring ~ page336
~ page 156
[ i ] Tip s
In the event of a malfunction either a red or yellow icon appears in
the display. Red symbols indicate
D ange r~ page 29 . Yellow
symbols indicate a
W arning ~ page 33 . •
Vehicle care I I irechnical data
Page 101 of 398
![AUDI S6 2009 Owners Manual 0 Note
To avoid damaging the socket, only use plugs that fit properly.
[ i] Tips
When the engine is off and accessories are still plugged in and are
on, the vehicle battery AUDI S6 2009 Owners Manual 0 Note
To avoid damaging the socket, only use plugs that fit properly.
[ i] Tips
When the engine is off and accessories are still plugged in and are
on, the vehicle battery](/img/6/57595/w960_57595-100.png)
0 Note
To avoid damaging the socket, only use plugs that fit properly.
[ i] Tips
When the engine is off and accessories are still plugged in and are
on, the vehicle battery can still be drained. •
Storage
General overview
There are numerous places to store items in your vehicle.
Glove compartment
Storage compartment in roof
Coat hooks
Storage compartment in the trunk
& WARNING
~ page 99
~ page 100
~ page 101
~ page 91
• Always remove objects from the instrument panel. Any items
not stored could slide around inside the vehicle while driving or
when accelerating or when applying the brakes or when driving
around a corner.
• When you are driving make sure that anything you may have
placed in the center console or other storage locations cannot fall
out into the footwells. In case of sudden braking you would not be
able to brake or accelerate.
• Any articles of clothing that you have hung up must not inter
fere with the driver's view. The coat hooks are designed only for
lightweight clothing. Never hang any clothing with hard, pointed
or heavy objects in the pockets on the coat hooks. During sudden
Con tro ls and eq uip
ment
Seats and storage
& WARNING !continued)
braking or in an accident -especially if the airbag is deployed -
these objects could injure any passengers inside the vehicle. •
Glove compartment
The media player is in the glove compartment.
To open glove compartment
Fig. 99 Unlocking
button for glove
compartment
Press the button ::V => fig. 99 (arrow) - the lid opens auto
matically.
To close glove compartment
Push the glove compartment lid up unt il the lock
engages.
In the glove compartmen t lid you will find a place to store a pen and
a pad of paper.
CD changer*
The CD changer for the radio system and the Navigation drive* is located in the glove compartment . How to change CDs is described
in the pertinent Owner's Manual.
tJ,,,
Vehicle care I I irechnical data
Page 122 of 398
• .___O_ n_ t_ h_ e_ r_ o_ a_d ____________________________________________________ _
& WARNING
• Never turn off the engine until the vehicle has come to a
complete stop.
• The brake booster and servotronic only work when the engine
is running. With the ignition turned off, you have to apply more
force when steering or braking. Since you cannot steer and stop
normally, this can lead to accidents and serious injuries.
• For safety reasons, you should always park your vehicle with
the selector lever in P. Otherwise, the vehicle could inadvertently roll away.
• After the engine has been switched off, the radiator fan can
continue to run for up to 10 minutes -even with the ignition
switched off. It can also switch on again after some time if the
coolant temperature rises as the result of a heat buildup or if the
engine is hot and the engine compartment is additionally heated
by the sun's rays.
0 Note
If the engine has been under heavy load for an extended period,
heat builds up in the engine compartment after the engine is
switched off -there is a risk of damaging the engine. Allow the
engine to run at idle for about 2 minutes before switching it off. •
Applies to vehicles: w ith Conven ience key
Driver messages in the instrument cluster
display
If a function is not present, a driver message appears.
No key identified
This message appears when the [STAR T) button is pressed if there
is no master key inside the vehicle or if the system does not recog
nize it . For example, the master key cannot be recognized if it is
covered by an object (e.g. aluminum brief case) which
screens the radio signal.
.Electronic devices such as cell phones can also inter
fere with the radio signal.
Press brake pedal to start engine
This message appears if you press the [ START) button to start the
engine and do not depress the brake pedal. The engine can only be
started if the brake pedal is depressed.
Engage N or P to start engine
This message appears when the engine is started if the selector
lever for the automatic transmission is not in the P or N position.
The engine can only be started with the selector in these positions.
? Key not in vehicle
This message appears along with the symbol if the master key is
removed from the vehicle with the engine running. It is intended to
remind you (e.g. when changing drivers) not to continue the journey
without the master key.
If the master key is no longer in the vehicle, you cannot switch off
the ignition after stopping the engine and you also cannot start the engine again. Moreover, you cannot lock the vehicle from the
outside with the key.
Shift to P, otherwise vehicle can roll away. Doors do not lock if lever
is not in
P.
This message appears for safety reasons along with a warning
buzzer if the selector lever for the automatic transmission is not in
the P position when the ignition is switched off with the
[STOP)
button and the driver's door is opened. Move the selector lever to
the P position, otherwise the vehicle is not secured against rolling
away. You also cannot lock the vehicle using the locking button on
the door handle or using the remote key.
To engage steering lock, press and hold STOP button
This message appears for safety reasons if the engine and the igni
tion have been switched off by pressing the [
STOP) button once, .,,_
Page 172 of 398
• .___A_ u_d_ i _P _a_ r_ k_ i_ n ..:g=-- S_ y=-- s_t _ e _m _____________________________________________ _
Please note that low objects already signalled by a warning can
disappear fro m the system 's detectio n range and wil l n ot con tinu e
to be signa lled .
If the distance to an obstacle remains the same, the vo lume of the
d istance wa rni ng i s gradually reduced after a bout 4 seconds .
Approaching another obstacle wi ll result in the distance warning
sound ing at the nor mal vo lume agai n.
Malfunctions in the system
If a warnin g tone is audible for about five seconds when you turn on
the ignition, there is a ma lfunction in the system. Have the prob lem
corrected by y our aut horiz ed Aud i dealer .
Keep the sensors in the rear bumper c lean and free from ice so that
t he acoustic park ass is t sy ste m can f unction pro per ly .
& WARNING
• Sensors have dead spaces in which objects cannot be
detected . Be e specially alert for small children and animals , since
they are not always detected by the sensors.
• The Acoustic Parking System is not a substitute for the dr iver's
own caution and alertne ss. Ultimate respon sibility always
remains with the driver during parking and similar maneuvers .
Always watch where you are driving .
• You should always adjust the volume and frequen cy of the
chimes so that you can easily hear the acoustic distance warning
even if the radio is playing , the air-condit ioner blower is on High or
there i s a high level of out side noise .
- Check the settings whenever anyone else has driven the
vehicle before you.
0 Note
• Reme mber that l ow obstacles for wh ic h a warn ing has already
been issued may "dive" below the system's sensing zone if the
v e h icl e is be ing backed u p closer. In this cas e, th e wa rning so und shutting off does
not indicate that you have c
leared the obstacle .
In stea d, impact is im min ent.
• Objects such as trai ler hitches, chains, narrow posts or fences
cov ered by a t hin lay er of p ain t may no t always be dete cte d by t he
system . T hey can stil l damage your vehicle without warning.
[ i ] Tips
K eep the sensors in the rear bumper clean and free of snow and ice
so tha t the acou stic parki ng a ssis t system ca n fu nc tio n proper ly . •
Ap plie s to v ehic le s : w ith Audi P arki ng Syst em ( re arl
Adjusting the chimes
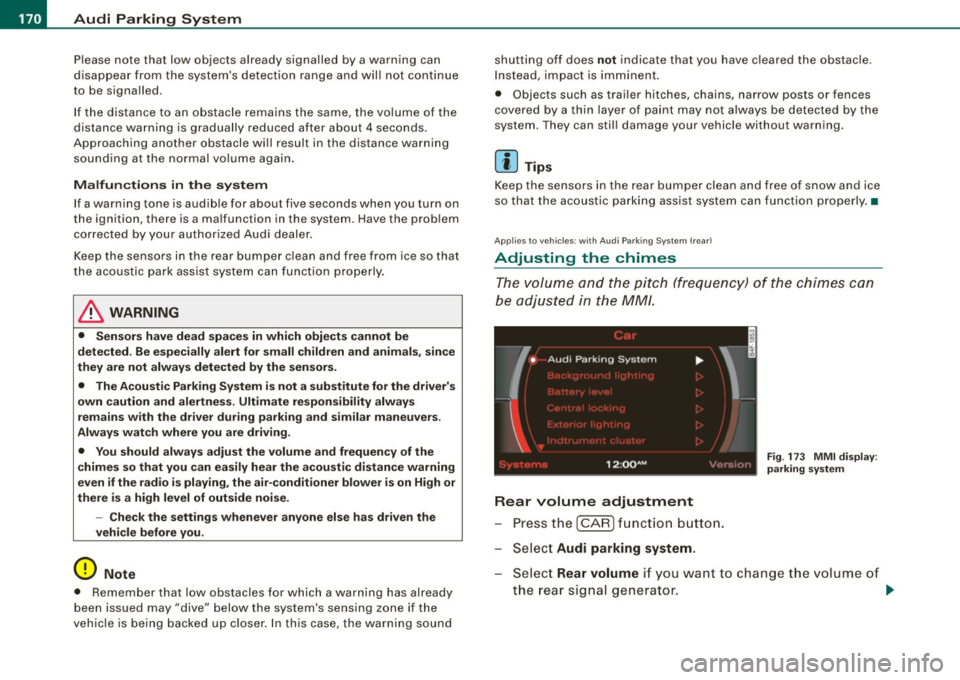
Th e vo lum e and t he pitc h (freq uency) o f th e c him es can
be adju ste d i n th e
MM/ .
Rear volume adjustment
Pre ss th e [ CAR ] fun ctio n butt on.
S el ect
Audi parking system.
Fig. 173 MMI display :
pa rking system
S elect Rear volume if you want to change t he volume of
t h e rear si gnal genera tor .
~
Page 173 of 398
![AUDI S6 2009 Owners Manual Audi Parking System -
----------------=----=------
Rear frequency adjustment
- Pressthe (CAR]function button.
- Select
Audi parking system.
- Select Rear frequency when you want to cha AUDI S6 2009 Owners Manual Audi Parking System -
----------------=----=------
Rear frequency adjustment
- Pressthe (CAR]function button.
- Select
Audi parking system.
- Select Rear frequency when you want to cha](/img/6/57595/w960_57595-172.png)
Audi Parking System -
----------------=----=------'
Rear frequency adjustment
- Pressthe (CAR]function button.
- Select
Audi parking system.
- Select Rear frequency when you want to change the
frequency of the rear audible signal generator.
When adjusting the volume and frequency, the new setting will
sound for approx. 2 seconds from each audible signal generator.
The volume and frequency settings are automatically stored and assigned to the master key with remote control.
& WARNING
• You should always adjust the volume and frequency of the
chimes so that you can easily hear the acoustic distance warning
even if the radio is playing, the air-conditioner blower is on High or
there is a high level of outside noise.
- Check the settings whenever anyone else has driven the
vehicle before you. •
Con tro ls and eq uip
ment
Audi Parking System (rear, with rear
view camera)
A pp lies to veh ic les: w ith Aud i Par king System ( rear) and re ar-view came ra
Acoustic parking system in the rear , with rear
view camera
The acoustic parking system gives an acoustic signal
when detecting obstacles, and the rear -view camera
offers further aid in the parking process.
OOID ;
r--= ===~~=~~;;;;;;;;~, ---;!
l_..:..:-=.: ~f---=====:=~.
Activation
Fig . 174 Rear lid: Loca
tion of the rear-view
camera
-Put the vehicle in reverse gear, the acoust ic parking
system with rear-view camera is activated automatically.
Activation of the acoustic parking system is confirmed by
a brief acknowledgement sound.
Deactivation
- Take the vehicle out of reverse gear. The acoustic park ing
system is immediately deactivated, and the rear -view
camera picture is deactivated automatically after a period of about 15 seconds, or
~
Vehicle care I I irechnical data
Page 175 of 398
Audi Parking System -
----------------=----=------'
& WARNING ! continued )
detected by the system . They can still damage your vehicle
without warning .
• Always make sure that the volu me and frequency of the chimes
i s adjusted so that you can easily hear the acousti c di stance signal
ev en if the radio is playing , the air- cond it ioner blower is on High or
there i s a high level of outs ide noise .
- Che ck the settings whenever someone else has driven the
vehicle before you.
• Improp er reliance on the Audi Parking System can cause colli
s ions and serious personal inju ry .
- Never rely only on parking assist when backing up.
- Always check rear view mirrors to make sure it is safe to back
up.
[ i ) Tips
• The rea r-view came ra pic ture is avai lable a s soon as the MMI
D isplay or the MMI is switched on, or the start-up phase is
completed.
• K eep the sensors in the rear bumper and the rear-view camera
len s clean a nd free of snow and ice, so that the Aud i Pa rking Syste m
can work properl y. Please follow the additional notes on
~ page 181 . •
Con tro ls and eq uip
ment
App lies to veh icles: with Audi Parking System ( rear) and rear-view camera
Rear-view camera (Rear View)
T he rea r-vie w camer a picture , appearing in the MM/
Display, s hows t he are a behin d t he veh icle.
9
"' co m
Fig . 1 7 5 T op view :
Pa rking mode 1
0
Fig . 17 6 T op view :
Parking mode 2
Parking mode
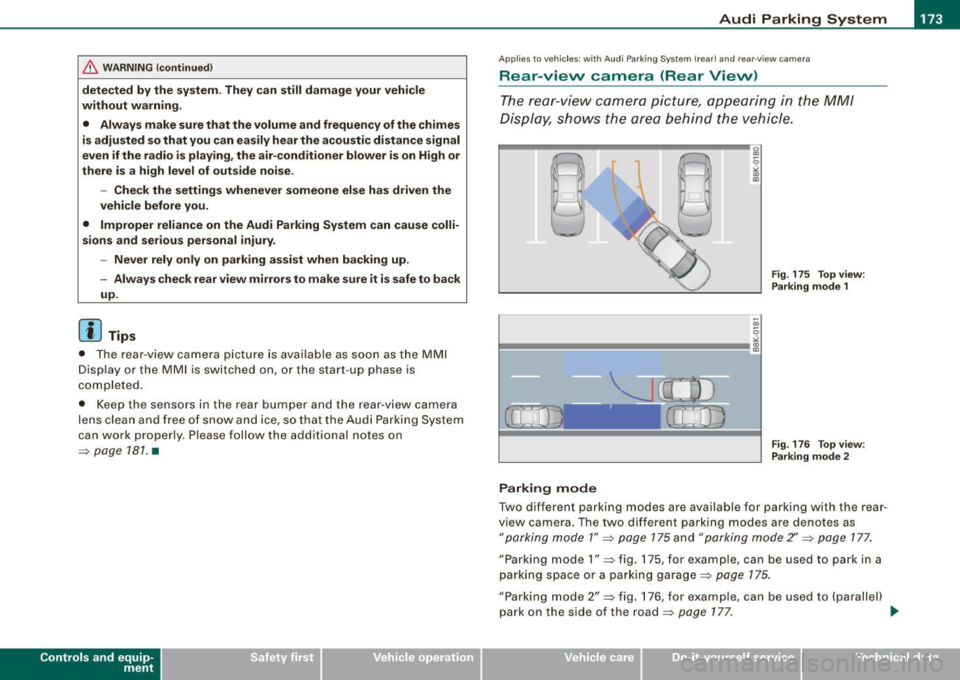
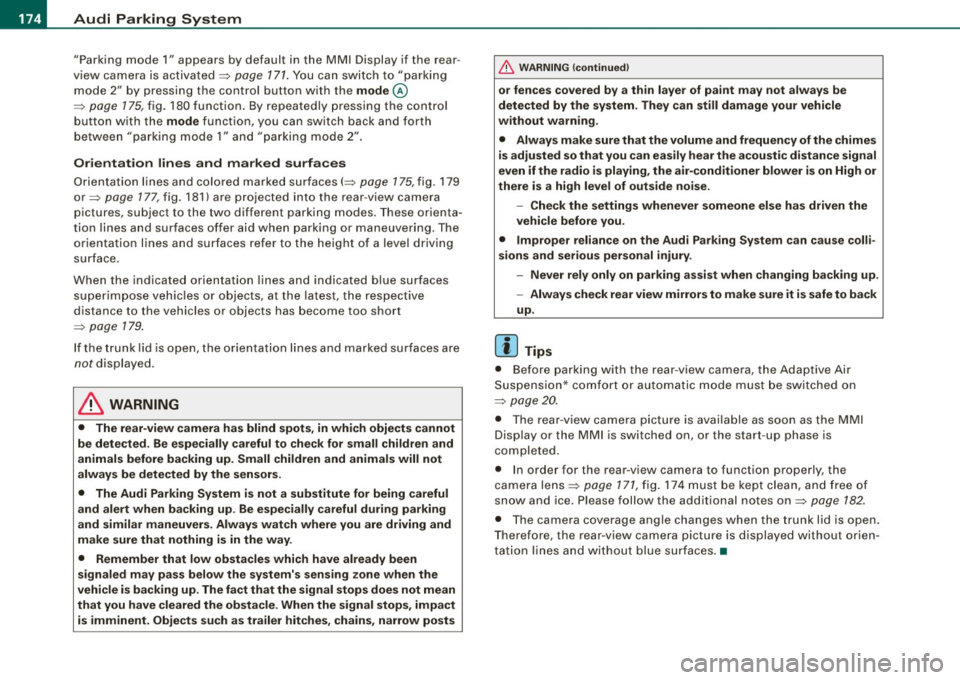
Two different parkin g modes are available for parking with the rear
v iew camera. The two different parking modes are denotes as
"parking mode 1" ~ page 175 a nd "parking mode 2" ~ page 177.
"Parking mode 1" ~ fig. 175, for e xamp le, can be used to park in a
parki ng space o r a par king garage ~
pag e 175 .
"Parking mode 2" ~ fig. 176, for example, can be used to {parallel)
park on the s ide of the road~
page 177. ..,
Vehicle care I I irechnical data
Page 176 of 398
_____ A_ u_d _ i_ P_ a_r _k _in _ g=- S--=- y_s _t _e _m ____________________________________________ _
"Parking mode 1" appears by default in the MMI Display if the rear
v iew came ra is activate d=>
page 171 . You can switch to " parki ng
mode
2" by pressing the control button with the mode @
=> page 175, fig. 180 function . By repeatedly p ressing the control
button with the
mode function, you can switch back and forth
between "parking mode
1 " and "pa rking mode 2".
Orientation lines and marked surfa ces
Orientati on l ines and col ored ma rke d surfaces( => page 175, fig . 179
or => page 177, fig. 181) a re projected into the rear -view ca mer a
pictu res, subject to the two diffe rent par king modes . These orienta
tion lines and surfaces offer aid when parking or maneuvering. The
orientation lines and su rfaces refer to the height of a leve l driving
sur face.
When the indicated orientation lines and indicated blue surfaces
sup erimpos e veh ic le s or o bjects, a t the lates t, t he respectiv e
d istance to the vehicles or objects has become too short
=>
p age 179 .
If the tr unk lid is open, the o rien tat io n lin es and marked su rfaces are
not displayed .
& WARNING
• The rear-view camera has blind spots , in which objects cannot
be detected . Be especially careful to check for small children and
animals before backing up . Small children and animals will not
always be detected by the sensors.
• The Audi Parking System is not a substitute for being careful
and alert when backing up . Be especially careful during parking
and similar maneuvers . Always watch where you are driving and
make sure that nothing is in the way.
• Remember that low obstacles which have already been
signaled may pass below the system 's sensing zone when the
vehicle is backing up . The fact that the signal stops does not mean
that you have cleared the obstacle . When the signal stops , impact
is imminent . Objects such as trailer hit ches, chains , narrow posts
& WARNING (continued )
or fences covered by a thin layer of paint may not always be
detected by the sy stem. They can still damage your vehicle
without warning .
• Always make sure that the volume and frequency of the chime s
is adjusted so that you can easily hear the acoustic distance signal
even if the radio is playing , the air -conditioner blower is on High or
there is a high level of outside noise .
- Check the settings whenever someone else has driven the
vehicle before you .
• Improper reliance on the Audi Parking System can cause colli
sions and serious personal injury .
- Never rely only on parking assi st w hen changing backing up .
- Always check rear view mirrors to make sure it is safe to back
up .
[ i ] Tips
• B efore parking with the rear -view camera, the Adaptive Air
Su spensi on* co mfort or automatic mode must be switched on
=>
page 20.
• The rea r-v iew ca mera pic ture is avai la bl e as soon as the M MI
Display or the MMI is sw itched on, or the start -up phase is
completed.
• I n order for the rear-view camera to function proper ly, the
c a m era len s=>
page 171 , fig. 17 4 mu st be kept clea n, a nd free of
snow and ice. P lease follow the additional notes on=>
page 182.
• The came ra c overage a ngle changes when the trunk lid is open .
T herefore, the rear-view camera picture is d isplayed without orien
t a tion lin es an d w ith out blue surfaces .•
Page 182 of 398
• .___A_ u_d_ i _P _a_ r_ k_ i_ n ..:g=-- S_ y=-- s_t _ e _m _____________________________________________ _
& WARNING (continued)
• Maintain plenty of distance from an obstacle, so that your
outside mirror or a corner of your vehicle does not collide with any
obstacles - danger of accident!
• The Audi Parking System is not a substitute for being careful
and alert when backing up. Be especially careful during parking
and similar maneuvers. Always watch where you are driving and
make sure that nothing is in the way.
• When maneuvering or parking, do not only use the MMI Display
for orientation. Certain objects -depending on the screen resolu
tion -may not, or not entirely, be displayed ; for example trailer
hitches, chains, narrow posts, or fences . •
Settings in the MMI
App lies to veh ic les: witn Av(li Pi, rk ing System (rear! and rear-view camera
Adjusting the chimes -option 1
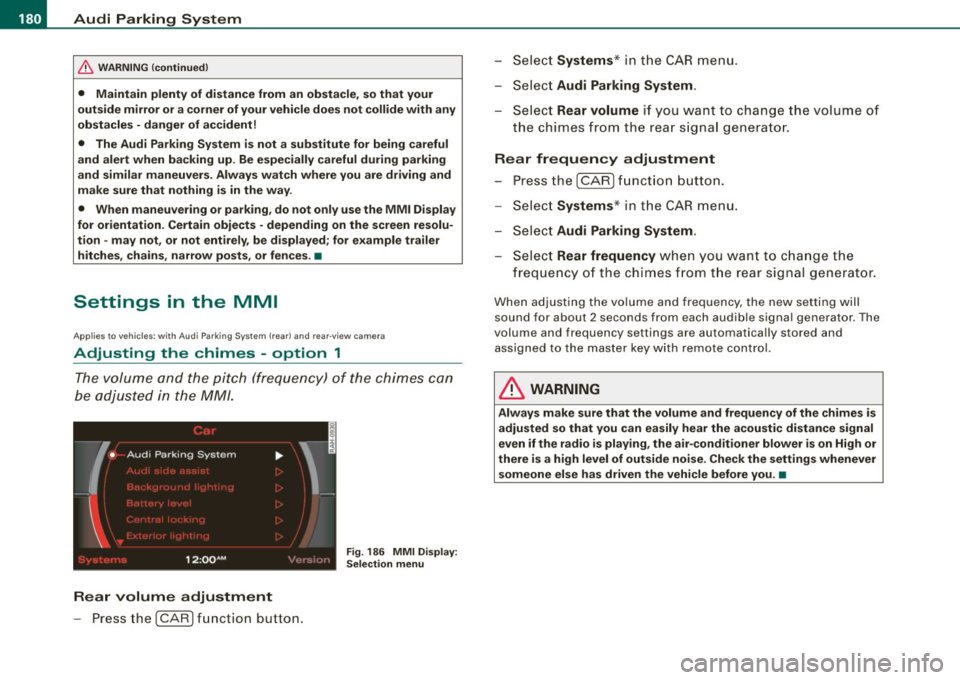
The volume and the pitch (frequency) of the chimes can
be adjusted in the MM/.
Fig . 186 MMI Display:
Selection menu
Rear volume adjustment
- Press the [CARI function button. -
Select
Systems * in the CAR menu .
- Select
Audi Parking System .
-Select Rear volume if you want to change the volume of
the chimes from the rear signal generator.
Rear frequency adjustment
- Press the [CAR I function button.
- Select
Systems* in the CAR menu .
- Select
Audi Parking System .
-Select Rear frequency when you want to change the
frequency of the chimes from the rear signal generator.
When adjusting the volume and frequency, the new setting will
sound for about 2 seconds from each audible signal generator . The
volume and frequency settings are automatically stored and assigned to the master key with remote control.
& WARNING
Always make sure that the volume and frequency of the chimes is
adjusted so that you can easily hear the acoustic distance signal
even if the radio is playing, the air-conditioner blower is on High or
there is a high level of outside noise. Check the settings whenever someone else has driven the vehicle before you. •
Page 183 of 398
______________________________________________ A_ u_d_ i _ P_a _ r_ k_ i_n -=g:a.- S_ y=--- s_t _ e _m _ ___._
Ap plies to vehicles: with Audi Par king System (r ear) and rea r-vie w came ra
Adjusting the chimes -option 2
The menu for adjusting signal sounds can also be called
up via the control button with the "settings" function.
Fig. 187 MMI Display:
Rear-view camera
picture
Fig . 188 MMI Display:
Audi Parking System
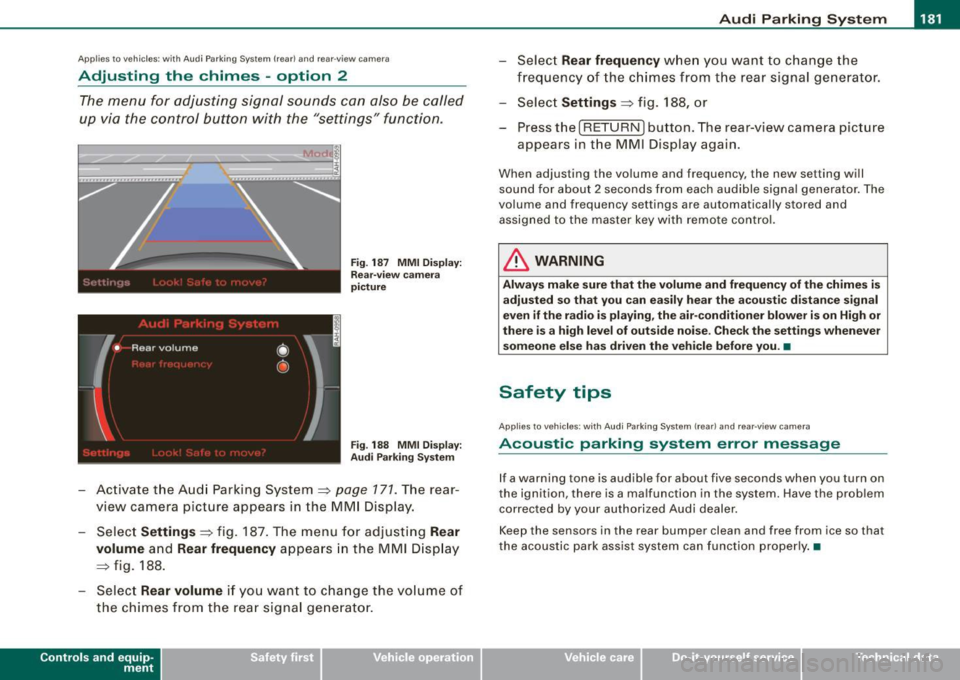
- Activate the Audi Parking System=> page 171. The rear
view camera picture appears in the MMI Display.
- Select
Settings => fig. 187. The menu for adjusting Rear
volume
and Rear frequency appears in the MMI Display
=>fig,
188.
Select Rear volume if you want to change the volume of
the chimes from the rear signal generator.
Contro ls and eq uip
ment
Select Rear frequency when you want to change the
frequency of the chimes from the rear signal generator.
Select
Settings => fig. 188, or
Press the [RETURN] button . T he rear-v iew camera picture
appears in the MMI Display again.
When adjusting the volume and frequency , the new setting will
sound for about 2 seconds from each audible signal generator. The
volume and frequency settings are automatically stored and
assigned to the master key with remote control.
& WARNING
Always make sure that the volume and frequency of the chimes is
adjusted so that you can easily hear the acoustic distance signal
even if the radio is playing, the air-conditioner blower is on High or
there is a high level of outside noise. Check the settings whenever
someone else has driven the vehicle before you. •
Safety tips
Applies to vehic les: with Audi Par king System {rear) and rea r-v iew came ra
Acoustic parking system error message
If a warning tone is audible for about five seconds when you turn on
the ignition, there is a malfunction in the system. Have the problem
corrected by your authorized Audi dealer.
Keep the sensors in the rear bumper clean and free from ice so that
the acoustic park assist system can function properly.•
Vehicle care I I irechnical data
Page 192 of 398
• ..__H_ o_m_ e_ L_ i_ n _k_ @_R __________________________________________________ _
9. The emergency flashers will flash three times (after
about 15-60 seconds) when the programming is
successful. Release the button on the remote control.
- To program more devices, repeat steps 4 to 9.
10. Press and hold the trained Homelink® button and
observe the indicator light@=> page 189, fig. 192.
- If the indicator light is solid/continuous, programming is
complete and your device should activate when you press and release the trained Homelink® button.
- If the indicator light blinks rapidly for 2 seconds and is
then a solid/continuous light, proceed with phase 3 to program a rolling code device.
Phase 3: rolling code programming
- A second person on a ladder who can safely reach the
garage door opener motor is recommended.
11. Locate the "learn" button on the garage door opener
motor (refer to the operating instructions for the opener,
as the location of this button may vary by manufacturer).
12. Press and release the learn button on the garage door
opener motor.
- Note: once the button is pressed, there are 30 seconds in
which to initiate the next step.
13. On the Homelink® keypad inside the vehicle, firmly
press and hold the Homelink ® button previously
programmed in phases 1 and 2 for two seconds and
release. Repeat this sequence
twice .
- Some vehicles may require the press/hold/release
sequence up to three times to complete the training
process.
- Homelink® should now activate your rolling code
equipped device.
If the 5 minute time limit is exceeded, the emergency flashers will
flash one time
to indicate that the process has been terminated. In
this case, repeat steps 4 through 9.
If the emergency flashers do not flash
three times (after about 15-
60 seconds), programming was not successful. In this case, repeat
steps 4 through 9 .
Remote control units for garage door openers in Canada are set to
stop transmitting radio frequency signals after two seconds. This
time may not b e sufficient for the Homelink® system to learn the
radio frequency signal. Perform all other steps as described
above. •
Applies to vehicles: with Horne link ® uni versa l remote contro l
Operating the HomeLink ® transmitter
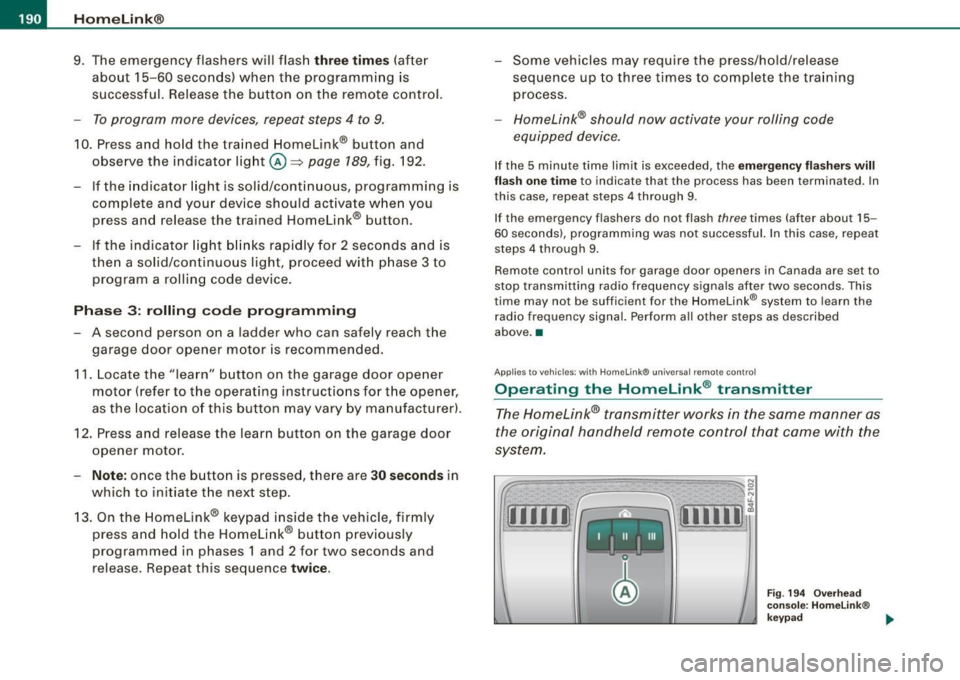
The Homelink® transmitter works in the same manner as
the original handheld remote control that came with the
system.
[iiiil~
I -I II I Ill
Fig. 194 Overhead
console: Homelink®
keypad ...