display AUDI TT COUPE 2009 User Guide
[x] Cancel search | Manufacturer: AUDI, Model Year: 2009, Model line: TT COUPE, Model: AUDI TT COUPE 2009Pages: 316, PDF Size: 71.16 MB
Page 28 of 316
Driver inf ormation sy ste m
You can tell which memory level is currently active by the number in
the display =>
page 25, fig. 11. The data from the single -trip memory
(memory level 1 l is being displayed if a
1 appears in the disp lay. If a
2 is shown, then the data from the total -trip memory is being
displayed (memory leve l 2l.
S in gle-trip m emor y (Trip c ompu ter 1 )
The single-trip memory stores the trip information from the time the
ignition is turned on until it is turned off . If the trip is con tinued
w ithi n 2 hour s from the time the ignition was turned off, the new
data will be included in the calculation of the current trip informa
tion. If the trip is interrupted for
more than 2 ho ur s the memory is
reset automatica lly.
T ot al-tr ip m em ory ( Trip co mpu te r 2)
Unlike the single -trip memory, the total -trip memory is no t reset
automatically . This permits you to evaluate your driving data for the
entire period between manua l resets.
F u el ra nge
The estimated cruising range in miles (km) appears in the display.
The display changes in increments of 6 miles (10 km) .
Avera ge fuel mil eage
The average fuel economy in MPG 0/100 km) since you last cleared
the memory appears in this display.
C ur rent f uel mileage
The instantaneous fuel consumption in mi les per ga llon (1/100 km)
is shown in this display. When the vehicle is stationary, the most
recent fuel consumption is displayed.
A ve ra g e sp eed
The average speed in mph (km/h) s ince the last time the display was
reset appears in the display.
El ap se d tim e
The length of time that you have been driving since you last rese t
the memory appears in this disp lay. The maximum time period that
can be recorded i s 999 hours and 59 minutes .
Distance
The elapsed distance since the last t ime the memory was cleared
appears in the display . The maximum distance that can be recorded
is 9,999 .9 mi les (9,999.9 kilometers).
[ i ] Tips
All stored values will be lost if the vehicle battery is disconnected .•
Op eration
The trip computer is controlled by two switches on the
windshield wiper lever.
Sel ecting th e trip comput er
Fig . 12 Wip er
a rm /w ip er leve r:
co ntrols fo r the t rip
co mput er
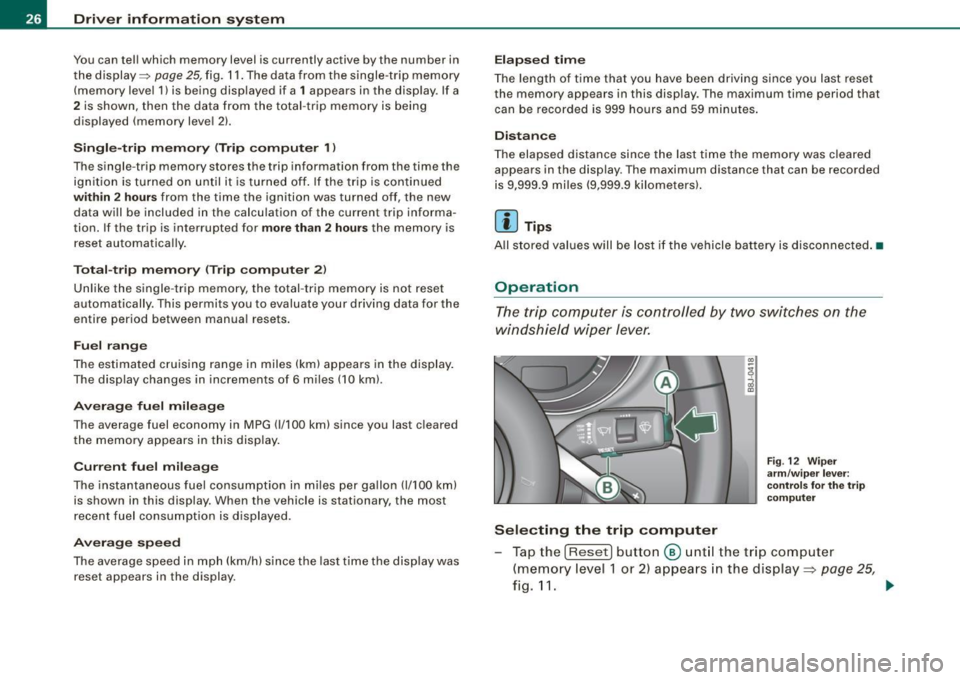
Tap the [Reset) button @ unt il the trip computer
(memory level 1 or 2) appears in the display =:>
page 25,
fig.11. _.
Page 29 of 316

Sele cting the fun ctions
- Push in the uppe r (lower) protrusion on the function
se lector switch
@ =>page 26, fig. 12. The functions for
the trip compu ter are d isp layed in succession on the
respective memory levels.
R ese ttin g the function to z ero
- Push the [Reset ] button ® for at least two seconds .
You can reset the fo llowing values to zero using the [R eset] button:
• driving time
• distance
• average fuel mileage
• average speed
The trip computer only opera tes when the ignition is on . When you
turn on the ignit ion, the function that was in use when you last
turned the ignition off will be displayed.
[ i ] T ip s
• You can also set the va lues for the functions to zero in the menu
display (R es et) ~
page 27 .
• All stored values wil l be lost if the vehic le battery is
disconnected .•
Con tro ls and eq uip
ment
Menu display
Introduction Dri
ver in form ati on syst em
Fig . 13 W ip er leve r:
Co ntrols for the men u
di sp la y
Fig . 14 Di spl ay: Star t
menu
Some functions in your vehicle can be set, activated, and controlled
by Men us (e.g. Acoustic park assist*) . With these menus you can
also select the informa tion shown in the driver information system ,
which operates only with the ignition switched on . Operation is
controlled by the
I Res et I button and the rocker switch on the wiper
lever~fig .13 . .,_.
Vehicle care
I I Technical data
Page 30 of 316
Driver inf ormation sy ste m
The Sta rt m enu shows you the different disp lay types:
Se t
Check
M enu off
Each display type in the Start menu contains a submenu with addi
tional options.
S et
Ch eck
Clock ~ page29
Lighting* ~ page 53~ page 55
Computer ~ page29
Acoustic park assist* ~ page95
Speed alarm (speed ~ page 37
warning)
Language (6 languages)
~ page29
Units (distance, fuel con -~ page29
sumption, temperature)
Wiper (service position)
~ page 62
Window ~ page 49
Doors (Auto-lock) ~ page 41
Service
Chassis number* ~ page23
~ page288
Navigating the menu
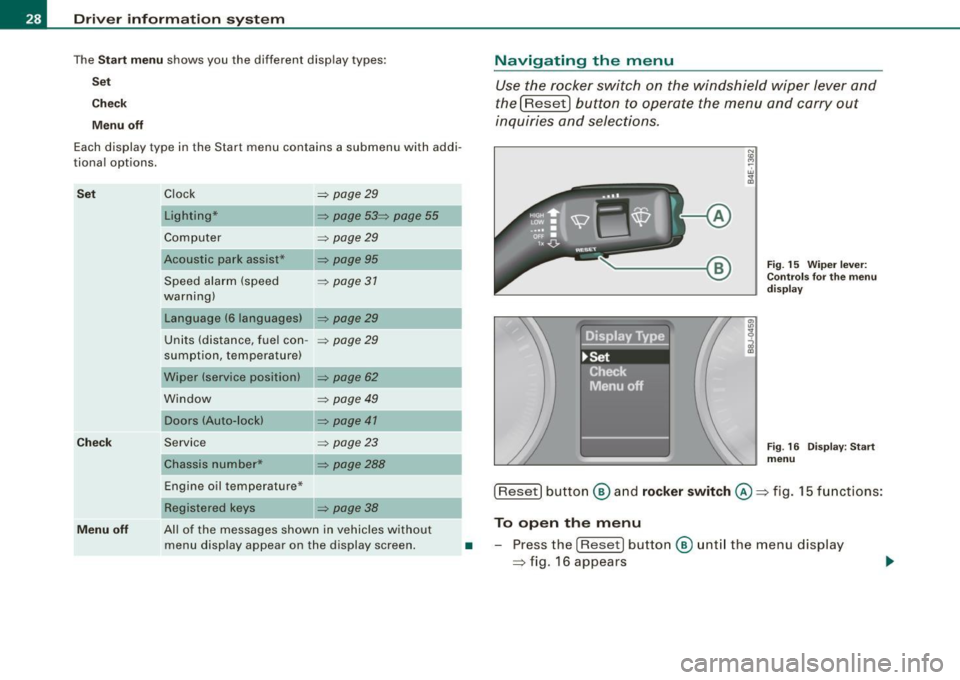
Use the rocker switch on the windshield wiper lever and
the[Reset) button to operate the menu and carry out
inquiries and selec tions.
-A
N
"' cc
Fig . 15 Wiper leve r:
Con trols fo r th e m enu
d is pla y
Fig . 16 Disp lay: Start
menu
Engine oil temperature* ___ __, [Reset] button ® an d rock er swit ch @ => fig. 15 functions:
Menu off
Registered keys ~ page 38
All of the messages shown in vehicles without
menu display appear on the display screen. To open the menu
• -Press the [Reset ) button ® unt il the menu display
=> fig. 16 appears
Page 31 of 316
![AUDI TT COUPE 2009 User Guide Selections and settings
-Press the rocker switch @ to reach a menu display. The
switch is operated the same as the display (up/downl.
Entering and confirming
- Press the (Reset] AUDI TT COUPE 2009 User Guide Selections and settings
-Press the rocker switch @ to reach a menu display. The
switch is operated the same as the display (up/downl.
Entering and confirming
- Press the (Reset]](/img/6/57663/w960_57663-30.png)
Selections and settings
-Press the rocker switch @ to reach a menu display. The
switch is operated the same as the display (up/downl.
Entering and confirming
- Press the (Reset] button@.
Returning to the Start menu
- Press the [ Reset] button longer than 2 seconds to return
from any menu level to the Start menu.
Using the rocker switch, you can select the menus in the display or
change settings. A cursor appears on the left in front of the selected
values .
By pressing the !Reset] button, you activate the selection you made
or confirm the values you set.
Selected functions are identified with
a check mark or are carried out directly.
Meanings of the symbols in the display :
Selection bar
>
./
D
-
Selected function
Cursor
Check mark
Box
Meaning
Current Selection
Selected or Function
active
Not selected
Triangle pointing up Previous page
Triangle pointing down Next page
Driver information system
Selecting settings
The Driver Information System settings are menu-guided.
Select your settings as follows:
Fig. 17 Display: Menu
Settings, computer
selected (page 1)
-Press the (Reset] button. The Start menu appears
=>
page 27, fig. 14.
- Press the rocker switch until
Set is displayed.
- Press the (Reset] button. All the menus appear.
- Press the rocker switch until the desired line is high -
lighted (cursor)=> fig. 17.
- Press the (Reset] button.
- If necessary, scroll by selecting and activating the
symbol for "Next page" or "Previous page".
When you have selected the Computer menu and activated it by
pressing the !Rese t] button, two computer levels appear (computer
• 1 and computer 2). Now you have to select the level you want using
-------·------------------- the rocker switch and activate it with the !R ese tj button. •
Contro ls and eq uip
ment Vehicle care I I irechnical data
Page 32 of 316
Driver inf ormation sy ste m
Speed warning system
Overview
The speed warning system helps you to keep your driving
speed below a set speed limit.
Fi g. 18 D isplay: s pee d
w arn in g sys tem
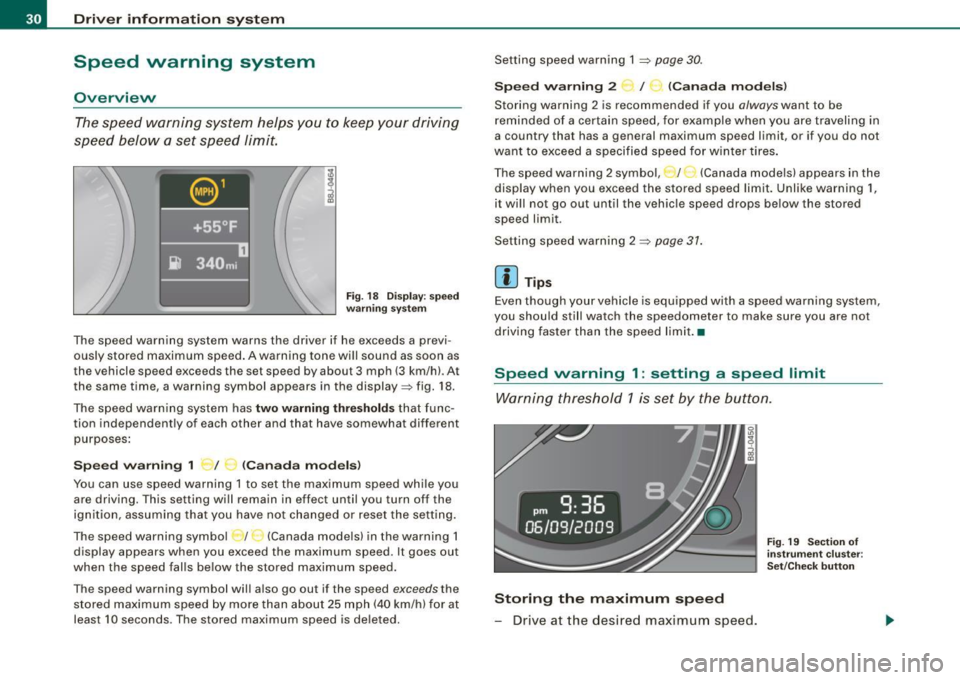
The speed warning system warns the driver if he exceeds a previ
ously stored maximum speed . A warning tone wi ll sound as soon as
the vehicle speed exceeds the set speed by about 3 mph (3 km/h). At
the same time, a warning symbol appears in the display=> fig. 18.
The speed warn ing system has
two warning thre shold s that func
tion independent ly of each other and that have somewhat different
purposes :
Speed w arnin g 1 _ / ~ (C ana da mod els)
You can use speed warning 1 to set the max imum speed whi le you
are driving. This setting wi ll remain in effect until you turn off the
ign ition, assuming that you have not changed or reset the setting .
The speed warning symbo l / (Canada mode ls) in the warning 1
display appears when you exceed the maximum speed. It goes out
when the speed falls be low the stored maximum speed.
The speed warning symbol will also go out if the speed
exceeds the
stored maximum speed by more than about 25 mph (40 km/h) for at
least 10 seconds. The stored maximum speed is de leted . Setting speed warning 1
~ page 30.
S
peed w arning 2 I (Canada m odel s)
Storing warning 2 is recommended if you always want to be
reminded of a certain speed, for example when you are traveling in
a country that has a general maximum speed limit, or if you do not
want to exceed a specified speed for winter tires .
The speed warning 2 symbol, _;_._ (Canada models) appears in the
display when you exceed the stored speed limit. Unlike warning 1,
it wi ll not go out until the vehic le speed drops be low the stored
speed limit .
Setting speed warning 2
~ page 31 .
[ i ] Tips
Even though your vehicle is equipped with a speed warning system,
you should still watch the speedometer to make sure you are not
driving faster than the speed limit .•
Speed warning 1 : setting a speed limit
Warning threshold 1 is set by the button .
Storing the maximum speed
- Drive at the desired maximum speed.
Fig . 19 Section of
i ns trum ent cl uster:
Set/C heck bu tton
Page 33 of 316
- Press the knob button:::> page 30, fig. 19 until the
=>
page 30, fig. 18 symbol appears.
Resetting the maximum speed
- Drive the vehicle at a speed of at least 3 mph (5 km/h)
- Press the knob for more than 2 seconds .
The speed warning symbol ~ (USA models) /~ (Canada models) will
appear briefly in the display when you release the button to indicate
that the maximum speed has been stored successfully.
The maximum speed remains stored until it is changed by pressing
the button again briefly or un til it is del ete d by a l engthy push on the
button. •
Speed warning 2: setting a speed limit
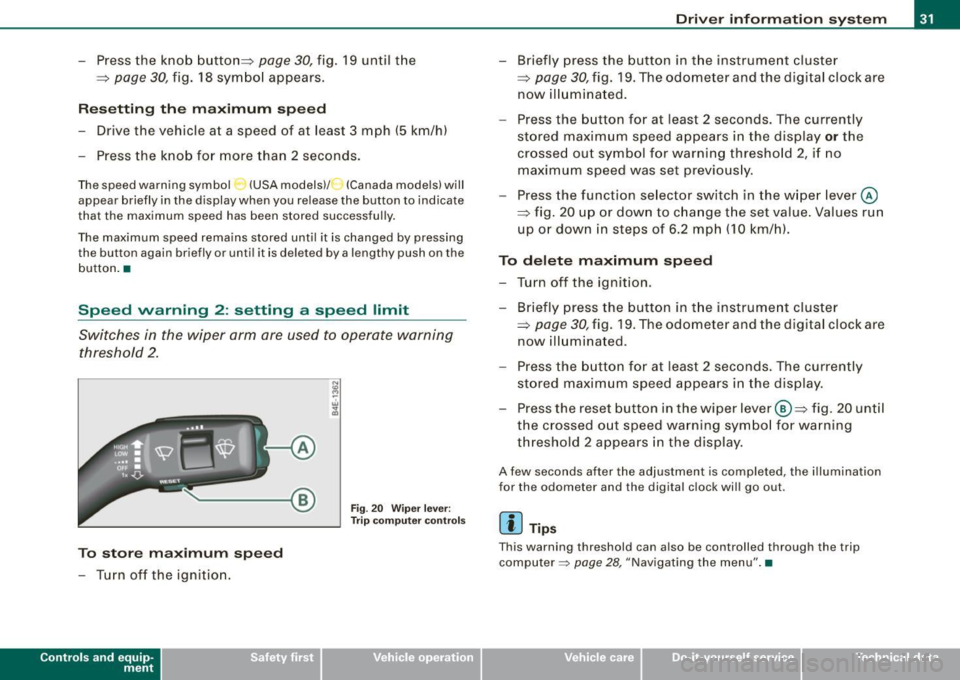
Switches in the wiper arm are used to operate warning
threshold 2 .
To store maximum speed
- Turn off the ignition.
Con tro ls and eq uip
ment
A
Fig . 20 Wiper lever:
Trip computer controls
Driver information system
- Briefly press the button in the instrument cluster
=;, page 30, fig. 19. The odometer and the digital clock are
now illuminated.
- Press the button for at least 2 seconds. The currently
stored maximum speed appears in the display
or the
crossed out symbol for warning threshold 2, if no maximum speed was set previously.
- Press the function selector switch in the wiper lever @
::::> fig. 20 up or down to change the set value. Values run
up or down in steps of 6.2 mph (10 km/h).
To delete maximum speed
- Turn off the ignition.
- Briefly press the button in the instrument cluster
=>
page 30, fig. 19. The odometer and the digital clock are
now illuminated .
- Press the button for at least 2 seconds. The currently
stored maximum speed appears in the display.
Press the reset button in the wiper lever ®=> fig. 20 until
the crossed out speed warning symbol for warning threshold 2 appears in the display.
A few seconds after the adjustment is completed , the illumination
for the odometer and the digital clock will go out.
[ i] Tips
Th is warning threshold can also be controlled through the trip
computer =>
page 28, "Navigating the menu". •
Vehicle care I I irechnical data
Page 35 of 316
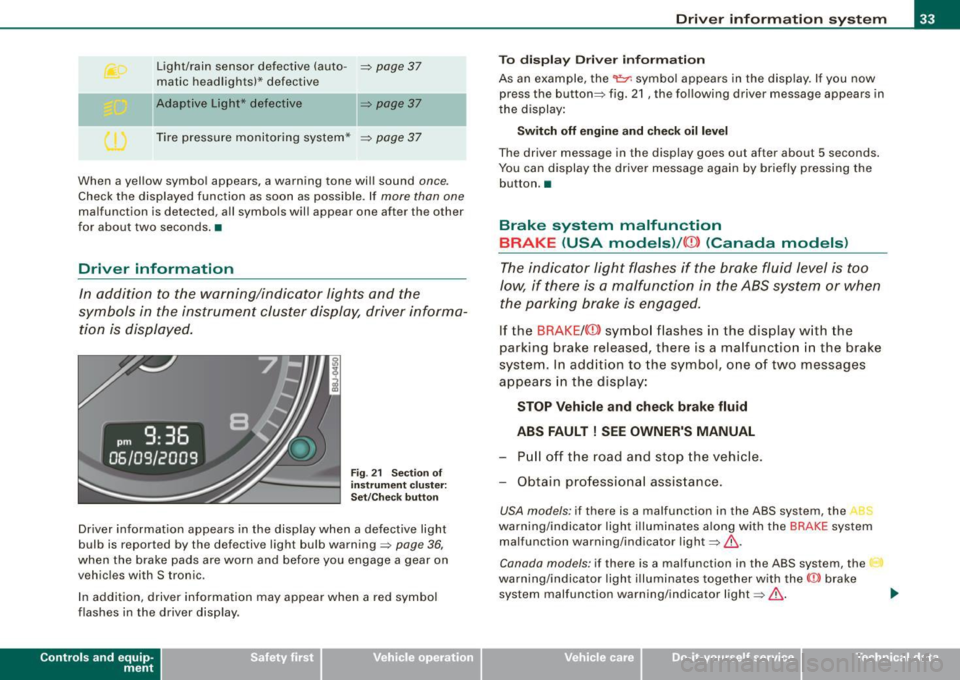
Light/rain sensor defective (auto-~ page 37
matic headlights)* defective
Ad aptiv e Li ght* def ective
~ page37
Tire pressure monitoring system*
~ page 37
When a yel low symbol appears, a warning tone wil l sound once.
Check the displayed function as soon as possible . If more than one
malfunction is detected, all symbols wil l appear one after the other
for about two seconds .•
Driver info rmation
In addition to the warning/indicator lights and the
symbols in the instrument cluster display, driver informa tion is displayed.
F ig . 21 S ectio n of
instrum en t c luster :
Set/C hec k butt on
Driver information appears in the display when a defective light
bulb is reported by the defective light bulb warning ~ page 36,
when the brake pads are worn and before you engage a gear on
vehicles with S tronic .
In addition, driver information may appear when a red symbol
flashes in the driver disp lay .
Con tro ls and eq uip
ment
Dri ver in form ati on syst em
To d is pl ay Driver inf orm ati on
As an example, the
t he display :
Switch off engine and che ck oil level
The driver message in the display goes out after about 5 seconds.
You can display the driver message again by br iefly pressing the
button. •
Brake system malfunction
BRAKE (USA models) /((D) (Canada models )
The indicator light flashes if the brake fluid level is t oo
low, if there is a malfunction in the ABS system or when the parking brake is engaged .
If the BRAKE /
s y stem. In addition to the symbol , one of two messages
appears in the display:
STOP Vehicle and check brake fluid
ABS FAULT! SEE OWNER'S MANUAL
- Pull off the ro ad an d stop the vehicle.
- Obtain professional assistance.
USA models: if there is a malfunction in the ABS system, the
warning/indicator light i llumina tes along with the BRAKE system
malfunction warning/indicator light~&.
Canada models: if there is a malfunction in the ABS system, the
warning/indicator light i llumina tes together with the CCD> brake
system malfunction warning/indicator light~& .
Vehicle care I I irechnical data
Page 36 of 316
Driver information system
Parking brake set
The parking brake warning light Brake /((D) (Canada models) illumi
nates when the parking brake is set. In addition , a warning tone will
sound after you have driven for longer than 3 seconds and faster
than 3 mph (5 km/h).
L1}. WARNING
• Always observe the warnings in => page 209, "Engine compart
ment", before opening the engine hood and checking the brake
fluid.
• Driving with low brake fluid is a safety hazard! Stop the car and
get professional assistance.
• If the brake system warning/indicator light illuminates
together with the ABS warning/indicator light, then the ABS system is malfunctioning. The rear wheels could quickly lock up
when you apply the brakes. This could lead to loss of control and
your vehicle could slide! Drive carefully to the nearest authorized
Audi dealer and have the malfunction corrected. •
Engine cooling system malfunction ¾
A malfunction in the engine cooling system must be
repaired as soon as possible.
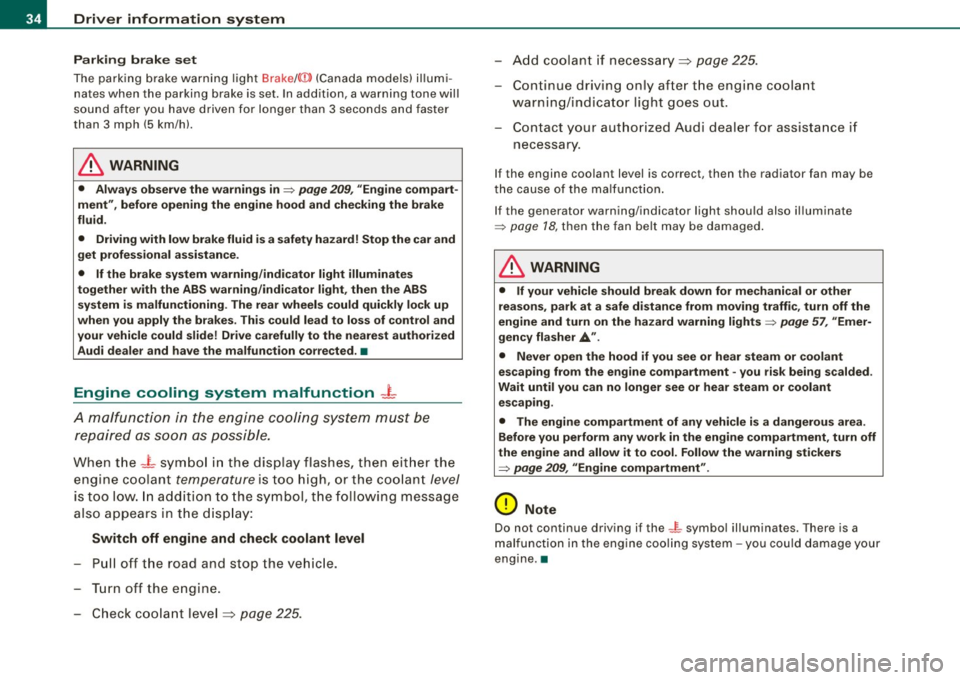
When the _t symbol in the display flashes, then either the
engine coolant
temperature is too high, or the coolant level
is too low. In addition to the symbol, the following message
also appears in the display:
Switch off engine and check coolant level
-Pull off the road and stop the vehicle.
- Turn off the engine.
- Check coolant level
~ page 225.
-Add coolant if necessary ~ page 225.
-Continue driving only after the engine coolant
warning/indicator light goes out.
- Contact your authorized Audi dealer for assistance if
necessary .
If t he engine coolant lev el is correct, then th e radia tor fan may be
the cause of the malfunction.
If the gene rator warning/indicator light should also illuminate
=> page 18, then the fan belt may be damaged.
L1}. WARNING
• If your vehicle should break down for mechanical or other
reasons, park at a safe distance from moving traffic, turn off the
engine and turn on the hazard warning lights
=> page 57, "Emer
gency flasher A" .
• Never open the hood if you see or hear steam or coolant
escaping from the engine compartment -you risk being scalded.
Wait until you can no longer see or hear steam or coolant escaping.
• The engine compartment of any vehicle is a dangerous area.
Before you perform any work in the engine compartment, turn off
the engine and allow it to cool. Follow the warning stickers
=> page 209, "Engine compartment" .
0 Note
Do not continue driving if the-~- symbol illuminates. There is a
malfunction in the engine cooling system -you could damage your
engine .•
Page 37 of 316
Engine oil pressure malfunction 9=;r;
The red engine oil pressure warning symbol requires
immediate service or repair.
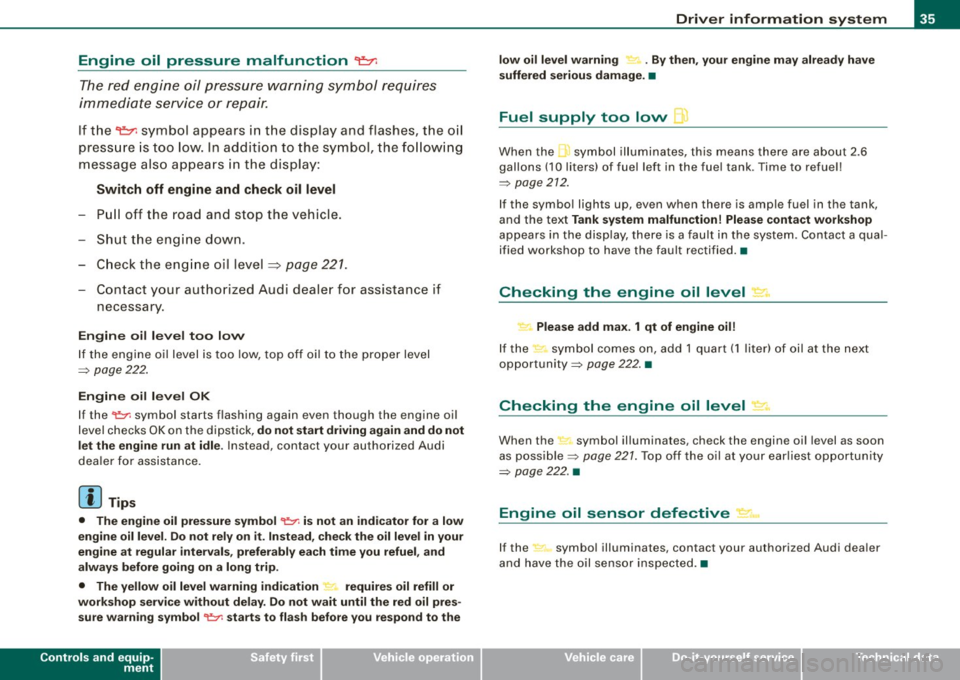
If the ~ symbol appears in the display and flashes, the oil
pressure is too low. In addition to the symbol, the following
message also appears in the display:
Switch off engine and check oil level
- Pull off the road and stop the vehicle .
- Shut the engine down.
- Check the engine oil level~
page 221.
-Contact your authorized Audi dealer for assistance if
necessary .
Engine oil level too low
If the engine oil level is too low, top off oil to the proper level
=>
page 222.
Engine oil level OK
If the ~ symbol starts flashing again ev en though the engine oil
level checks OK on the dipstick,
do not start driving again and do not
let the engine run at idle .
Instead, contact your authorized Audi
dealer for assistance .
[ i J Tips
• The engine oil pressure symbol ~ is not an indicator for a low
engine oil level. Do not rely on it. Instead, check the oil level in your
engine at regular intervals, preferably each time you refuel, and
always before going on a long trip.
• The yellow oil level warning indication _ requires oil refill or
workshop service without delay. Do not wait until the red oil pres sure warning symbol
~ starts to flash before you respond to the
Controls and equip
ment
Driver information system
low oil level warning = . By then, your engine may already have
suffered serious damage. •
Fuel supply too low Jl
When the L symbol illuminates, this means there are about 2.6
gallons
(10 liters) of fuel left in the fuel tank . Time to refuel!
=>
page 212.
If the symbol lights up , even when there is ample fuel in the tank,
and the text
Tank system malfunction! Please contact workshop
appears in the display, there is a fault in the system. Contact a qual
ified workshop to have the fault rectified. •
Checking the engine oil level .d'" ..
Please add max. 1 qt of engine oil!
If the symbol comes on, add 1 quart (1 liter) of oil at the next
opportunity=>
page 222. •
Checking the engine oil level -1.
When the _ symbol illuminates, check the engine oil level as soon
as possible =>
page 221. Top off the oil at your earliest opportunity
=>
page 222. •
Engine oil sensor defective • ...
If the symbol illuminates, contact your authorized Audi dealer
and have the oil sensor inspected. •
I • •
Page 38 of 316
Driver information system
Worn brake pads
~
..) Brake pads!
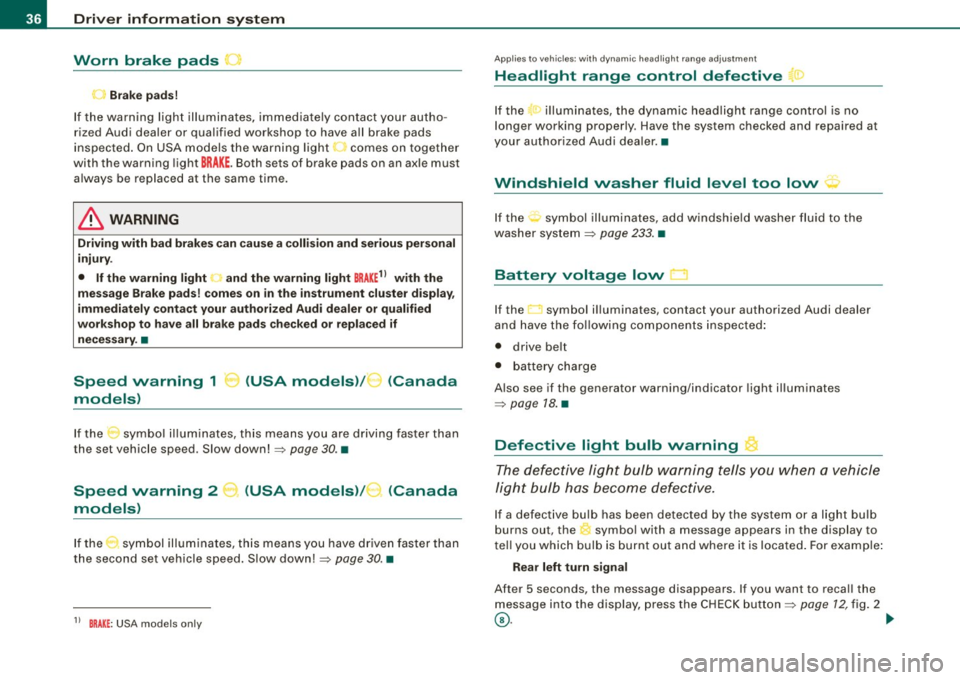
If the warning light illuminates, immediately contact your autho
rized Audi dealer or qualified workshop to have all brake pads
inspected. On USA models the warning light~ comes on together
with the warning light
BRAKE. Both sets of brake pads on an axle must
always be replaced at the same time.
& WARNING
Driving with bad brakes can cause a collision and serious personal
injury.
• If the warning light
~ and the warning light BRAKE11 with the
message Brake pads! comes on in the instrument cluster display,
immediately contact your authorized Audi dealer or qualified
workshop to have all brake pads checked or replaced if
necessary. •
Speed warning 1 -.. (USA models)/ K_ (Canada
models)
If the symbol illuminates, this means you are driving faster than
the set vehicle speed . Slow down! =>
page 30. •
Speed warning 2
models) (USA models)
/ (Canada
If the symbol illuminates, this means you have driven faster than
the second set vehicle speed. Slow down!=>
page 30. •
1 1 BRAKE : USA models only
Applie s to vehi cles : with dynami c hea dlight r ang e a dju st ment
Headlight range control defective
If the ,." illuminates, the dynamic headlight range control is no
longer working properly . Have the system checked and repaired at
your authorized Audi dealer. •
Windshield washer fluid level too low :;-
If the : symbol illuminates, add windshield washer fluid to the
washer system
=> page 233. •
Battery voltage low
If the LI symbol illuminates, contact your authorized Audi dealer
and have the following components inspected:
• drive belt
• battery charge
Also see if the generator warning/indicator light illuminates
=>
page 18. •
Defective light bulb warning
The defective light bulb warning tells you when a vehicle
light bulb has become defective.
If a defective bulb has been detected by the system or a light bulb
burns out, the symbol with a message appears in the display to
tell you which bulb is burnt out and where it is located. For example:
Rear left turn signal
After 5 seconds, the message disappears. If you want to recall the
message into the display, press the CHECK button=>
page 12, fig. 2
©-~