key AUDI TT COUPE 2016 Owner's Manual
[x] Cancel search | Manufacturer: AUDI, Model Year: 2016, Model line: TT COUPE, Model: AUDI TT COUPE 2016Pages: 322, PDF Size: 52.86 MB
Page 81 of 322
Downloaded from www.Manualslib.com manuals search engine Switching on and off
App lies to: vehicles with Audi side assist
The system can be switched on/off in the Info
tainment system.
"'Select in the Infotainment system: IM ENUI but
ton >Vehicle > left control button >Driver as
sistance >Audi side assist
An activated system will signal every time the ig
nition is switched on by turning the displays in
the exterior mirrors on briefly.
Adjusting the display brightness
Applies to: vehicles with Audi side assist
The display brightness can be adjusted in the In
fotainment system.
"'Select in the Infotainment system: IM ENUI but
ton >Vehicle > left control button >Driver as
sistance >Audi side assist
The display brightness adjusts automatically to
the brightness of the surroundings, both in the
information and in the warning stage. In very
dark or very bright surroundings, the display is
already set to the minimum or maximum level by
the automatic adjustment. In such cases, you
may notice no
change when adjusting the bright
ness, or the change may only be noticeable once
the surroundings change.
Adjust
the brightness to a level where the display
in the information stage will not disrupt your
view forward. If you change the brightness, the
display in the exterior mirror will briefly show the
brightness level in the information stage. The
brightness of the warning stage is linked to the
brightness in the information stage and is adjust
ed along with the information stage adjustment.
-Side assist is not active while you are mak
ing the adjustment.
- Your settings are automatically stored and
assigned to the remote control key being
used.
Assist
Driver messages
Applies to: vehicles with Audi side assist
If the side assist switches off automatically, a
message appears in the Infotainment system dis
play.
@i Audi side assist: currently unavailable.
Sensor vision restricted due to surroundings.
See owner's
manual
The radar sensors' vision is affected. Do not cover
the area in front of the sensors with bike wheels,
stickers, dirt or other objects. Clean the area in
front of the sensors, if necessary q page 77,
fig. 77.
@i Audi side assist: currently unavailable.
See owner's
manual
Side assist cannot be switched on temporarily be
cause there is a malfunction (for example, the
battery charge level may be too low).
@i Audi side assist: malfunction! Please
contact
Service
The system cannot guarantee that it will detect
vehicles correctly and it is switched off. The sen
sors have been displaced or are faulty. Have the
system checked by an authorized Audi dealer or
authorized Audi Service Facility soon.
Audi drive select (drive
settings)
Introduction
Applies to: vehicles with Audi drive select
Drive select makes it possible to experience dif
ferent types of vehicle settings in one vehicle.
The driver can
select from three modes, Comfort,
Auto and Dynamic, using the~.~;\,~ button in the
center console or by using the Infotainment sys
tem. This allows you to switch between a sporty
and a comfortable driving mode, for example. In
the Individual mode, the settings can be adjust
ed to your personal preferences. This makes it
possible to combine settings such as a sporty en-
gine
tuning with light steering. .,.
79
Page 83 of 322
Downloaded from www.Manualslib.com manuals search engine A WARNING
Pay attention to traffic when operating the
drive select to prevent potential risk of an ac
cident.
Adjusting the Individual mode
Applies to: vehicles with Audi drive select
Assist
-I
You can adjust the vehicle settings to your personal preferences.
"' Press the button¢ page 80, fig. 78 > Individu·
al> right control button, or
"'Select in the Infotainment system: IMENUI but
ton > Vehicle> left control button>Audi drive
select > Individual
> right control button
After you have closed the settings, you are auto
matically driving in the Individual* driving mode.
Systems comfort
Engine
and Transmission comfortable
Steering comfortable
Damper control* comfortable
Engine sound* subtle
quattro* comfortable
@ Tips
Your Individual* mode settings are automati
cally stored and assigned to the remote con
trol key being used.
The equipment in your vehicle will determine
which settings you can adjust. The following ta
ble gives an overview of the characteristics.
auto dynamic
balanced sporty
balanced sporty
balanced sporty
balanced sporty
balanced sporty
81
Page 88 of 322
Downloaded from www.Manualslib.com manuals search engine Parking systems
in the parking space c) fig. 86. Use the mark
ings @
to help you estimate th e distance from
an obstacle. Each marking represents approxi
mately 3 ft (1 m) . The blue area represents an
extension of the vehicle's outline by approxi
mately 16 ft (5 meters) to the rear.
.,.. While driving in reverse gear, adjust the steer
ing wheel angle to fit the parking space using
the orange orientation lines for assistance
c) .&. in General information on page 84, c)(i)
in General information on page 85.@ displays
the rear bumper. Stop the vehicle, at the latest,
when
the red orientation line @ borders an ob
j ect.
Adjusting the display
and the warning tones
A pp lies to: vehicles with park ing system plus
The display and warning tones can be adjusted in
the Infotainment.
.,.. Select in the Infotainment system: IMENUI but
ton > Vehicle > left control button >Dr iver as
sistance > Parking aid.
Warning tones
Front volume -volume for the front area
Rear volume -volume for the rear area
Entertainment fader -when the parking system
is turned on, the volume of the aud io/video
source
is l owered.
The newly selected level is demonstrated briefly
b y the sou nd
generator.
(}) Tips
The settings are automatically stored a nd as
signed to the remote control key that is in
use.
Error messages
Applies to: vehicles with rear parking system/parking system
plus
Rear parking aid : malfunction! Obstacles not
detected
Front parking aid : malfunction! Obstacles can
not be detected
86
Parking aid: malfunction! Obstacles cannot be
detected
There is a system malfunction if the LED in the
pg~ button blinks when switching on the system.
If the error is not corrected before you switch off
the ignition, the LED in the pg~ button will blink
the next time you switch on the parking system
by shifting into reverse . As long as the error is ac
tive, you can display
the error messages in the
second tab of the driver information system.
Parking system plus*
If a sensor or speaker is faulty, the JM symbol
will
appear in front of/behind the vehicle in the
Infotainment display. If a rear sensor is faulty,
o nl y o
bstacles that a re in areas@and@ are
s h own c) page 83, fig. 80. If a front sensor is
faulty, only obstacles that are in areas© and @
ar e show n.
Drive
to an authorized Audi dealer or authorized
Audi Service Facility immediately
to have the
malfunction corrected.
Page 95 of 322
Downloaded from www.Manualslib.com manuals search engine voltage, the battery current, and the battery
temperature. The current charge level and the
performance of the battery are determined based
on this.
Idling current management
The idling cur
rent management decreases the
energy used w hile parked. With the engine
switched off, it manages the energy distribution
to the different electrical components. Date from
battery diagnosis is taken into account for this.
Depending
on the battery charge level, electrical
equipment is switched off one item after the oth
er, to prevent the battery from draining and to
retain the starting ability.
Dynamic energy manage
ment
While driving, dynamic energy management dis
tributes the appropriate amount of energy to the
electrical equipment. It controls the battery
charge level so that more energy is not used then
is being generated in order to maintain an opti
mal battery charge level.
(!) Tips
-Energy management cannot overcome the
laws of physics. Note that the charge level
and
length of the battery life are limited.
-
When the starting ability is jeopardized, the
r-1 indicator light turns on ~page 13.
What you should know
Maintaining the starting ability is the highest
priority.
A lot of stress is placed on the battery when driv
ing
short distances, in traffic, and at cold times
of the year. A lot of energy is used but little is
generated. It is also critical when the engine is
not running but electrical equipment is switched
on . In this case, energy is used but none is gener
ated.
In situations like this, energy management will
actively regu l
ated the distribution of energy.
Intelligent T echnology
Long periods without use
If you do not drive your vehicle for several days or
weeks, electrical consumers are gradually scaled
back
or switched off. This reduces energy use and
ensures the vehicle will be able to start after long
periods
of time. Some convenience functions
such
as opening with the remote control key may
not be available. These convenience functions
will be available again once you switch
the igni
tion on and start the engine.
With the engine switched off
The battery will drain if you use Infotainment
functions such as listening to the radio while the
engine is switched off.
The vehicle's
ability to start may be impa ired by
the energy use, a message will appear in the In
fotainment system display. The message indi
cates that the system will switch off automatical
ly soon. If you would like to continue using the
functions, you must start the engine.
With the engine running
Although electrical
energy is generated while
driv ing,
the battery can drain. This can happen
when little energy is generated, and much is used
and the charge level of the battery is not optimal.
To
restore the balance of energy, components
that require large amounts of energy are tempo
rarily scaled back or switched off. Heating sys
tems in particular require a great deal of energy.
If you notice, for example, that the seat heating*
or rear window defroster is not working, then it
has been temporarily re d uced or sw itched off.
T
hese systems are availab le again as soon as the
energy balance has been restored.
In addition, you may notice that the idle speed
has slightly increased. That is normal and no
cause for concern. Due to the increased idling
speed, the additional required energy will be
generated and the battery will be charged.
93
Page 185 of 322
Downloaded from www.Manualslib.com manuals search engine ...... N
> u. CX> ...... u:>
"' ...... u:> ......
Although these examples are based on a frontal
collision, safety belts can also substantially re
duce the risk of injury in other kinds of crashes.
So, whether you're on a long trip or just going to
the corner store, always buckle up and make sure
others do, too. Accident statistics show that vehi
cle
occupants properly wearing safety belts have
a lower risk
of being injured and a much better
chance of surviving an accident. Properly using
safety belts also greatly increases the ability of
the supplemental airbags to do their job in a col
lision. For
this reason, wearing a safety belt is le
gally required
in most countries including much
of the United States and Canada.
Although your Audi is equipped with airbags, you
still have to wear the safety belts provided. Front
a irb
ags, for example, are activated only in some
frontal collisions. The front airbags are not acti
vated
in all frontal collisions, in side and rear col
lisions,
in roll overs or in cases where there is not
enough deceleration through impact to the front
of the vehicle . The same goes for the other airbag
systems in your Audi. So, always wear your safety
belt and make sure everybody in your vehicle is
properly restrained!
Important safety instructions about safety
belts
Safety belts
must always be correctly positioned
across the strongest bones
of your body.
"'Always wear safety belts as illustrated and de
scribed
in this chapter.
"'M ake su re that your safety belts are always
ready for use and
are not damaged.
A_ WARNING
Not wearing safety belts or wearing them im
properly increases
the risk of serious personal
injury and death. Safety belts can work only
when used correctly.
-Always fasten your safety belts correctly be
fore driving off and make sure all passen
gers are correctly restrained .
- For
maximum protection, safety belts must
always be positioned properly on the body .
Safety be lts
- Never strap more than one person, incl ud
ing
small children, into any belt.
-Never place a safety belt over a child sitting
on your lap.
- Always keep
feet in the footwell in front of
the seat while the vehicle is being driven.
- Never
let any person ride with their feet on
the instrument panel or sticking out the
window or on the seat.
-Never remove a safety belt while the vehicle
is moving. Doing
so will increase your risk of
being injured or killed.
- Never
wear belts twisted.
- N ever wear belts over rigid or breakable ob-
jects in or on your clothing, such as eye
glasses, pens, keys, etc., as these may cause
injury.
- Never allow
safety belts to become dam
aged by being caught in door or seat hard
ware.
-
Do not wear the shoulder part of the belt
under your arm or otherwise out of position.
- Several layers
of heavy clothing may inter
fere with correct positioning of belts and re
duce the overall effectiveness of the system.
-Always keep belt buckles free of anything
that may prevent the buckle from latching
securely.
- Never
use comfort clips or devices that cre
ate slack in the shoulder belt. However, spe
cial clips
may be required for the proper use
of some child restraint systems.
-Torn or frayed safety belts can tear and
damaged belt hardware can break in an acci
dent. Inspect belts regularly. If webbing,
b indings , buckles,
or retractors are dam
aged, have belts replaced by an authorized
Audi
dealer or qualified workshop.
- Safety
belts that have been worn and loaded
in an accident must be replaced with the
correct replacement safety belt by an au
thorized Audi dealer. Replacement may be
necessary even if damage cannot be clearly
seen. Anchorages that were loaded must al
so be inspected.
-Never remove, modify, disassemble, or try
to repair the safety belts yourself.
183
Page 187 of 322
Downloaded from www.Manualslib.com manuals search engine .... N
G: CX)
....
"' U"I
....
"' ....
-Always lock the convertible locking retractor
when you are securing a child seat in the ve
hicle
¢ page 225.
@ Tips
For information on safety belt pretensioners,
refer to ¢page 186.
Safety belt position
Correct
belt position is the key to getting maxi
mum protection from safety belts.
Fig. 152 Safety belt positio n
-"' .... 9 I
"' al
Use the height adjustment to change the position
of the shoulder belt of the front safety belts.
_&WARNING
Improperly positioned safety belts can cause
serious personal injury in an accident.
- The
shoulder belt should lie as close to the
center of the collar bone as possible and
should fit well on the body. Hold the belt
above the latch tongue and pull it evenly
across
the chest so that it sits as low as pos
sible
on the pelvis and there is no pressure
on the abdomen. The belt should always fit
snugly¢ fig. 152. Pull on the belt to tighten
if necessary.
- A loose-fitting
safety belt can cause serious
injuries by shifting its position on your body
from the strong bones to more vulnerable,
soft tissue and cause serious injury.
- Always
read and heed all WARNINGS and
other important information ¢page 183 .
Safety belts
Pregnant women must also be correctly
restrained
The best way to protect the fetus is to make sure
that expectant mothers always wear safety belts
correctly
-throughout the pregnancy.
Fig. 153 Safety belt position duri ng pregnancy
To provide maximum protection, safety belts
must always be positioned correctly on the wear
er's body ¢page 185 .
... Adjust the front seat properly ¢ page 44, Seats
and storage .
... Hold the belt by the tongue and pull it evenly
across the chest and pelvis ¢ fig. 153 ¢ ..&_.
.,. Insert the tongue into the correct buckle of
your seat until you hear it latch securely
¢page 184, fig. 151 .
... Pull on the belt to make sure that it is securely
latched in the buckle.
_&WARNING
Improperly positioned safety belts can cause
serious personal injury in an accident.
- Expectant
mothers must always wear the
lap portion of the safety belt as low as pos
sible across the pelvis and below the round
ing
of the abdomen.
- Always read and heed all WARNINGS and
other important information c> .&. in Fasten
ing safety belts on page 184.
185
Page 288 of 322
Downloaded from www.Manualslib.com manuals search engine Fuses and bulbs
Interior fuse assignment
Fig. 211 Vehicle interior: fuse assignment
No. Equipment
Fl Powe r top control module (Roadster)
F2
Power top control module (Roadster)
F3 ESC control module
F4 Central computer processor (MIB-2)
FS Gateway
F6
Anti-theft alarm system
Climate control system, selector lever (au-
F7 tomatic transmission), parking heater,
rear window heater relay coil
Diagnosis,
electr ical parking brake switch,
F8
light switch, rain/light sensor, inter ior
lighting
F9
Steering column switch module
FlO Display
Fll Haldex clutch
F12 MMI area
Fl3 Adaptive dampers control module
F14 Climate control system blower
FlS Electronic steering column l ock
Fl6
MMI components, safety belt microphone
(Roadster)
286
No . Equipment
Fl7 Instrument cluster
Fl8 Rearview camera
F19 Convenience key system control module
F20 Power lumbar support adjustment
F22
Front passenger's side upper cabin heating
(Roadster)
F23 Right
exterior lighting, on-board computer
(right)
F25 Door/driver's
side doors (for example pow-
er windows)
F26 Seat heating
F28 AMI High media port
F29 On-board computer
F31 Left on-board computer
F32
Driver assistance systems
F33
Airbag
Socket relay, interior sound, back-up light
F34 switch, temperature sensor, oil level sen-
sor
Diagnosis, headlight range control system,
F35 air quality sensor, automatic dimming
rearview mirror
F36 Right cornering light I right LED-headlight
F37 Left
cornering light I left LED-headlight
F38
Engine control module, ESC control mod-
ule
F39
Door/front passenger's side doors (for ex-
ample, power windows)
F40 Cigarette lighter, sockets
F41 SCR relay and delivery unit
F42 Central locking area
F43 On-board computer
F45 Power adjustable driver's side seat
F46
Driver's side upper cabin heating (Road-
ster)
F49 Starter, clutch sensor
FSO ESC valves
FS3 Rear window defogger
The
power seats* are protected via circuit break
ers that automatically switch on after a few sec
onds after the overload has been reduced.
Page 299 of 322
Downloaded from www.Manualslib.com manuals search engine means that you risk both a substantia l reduction
in
the operationa l safety of your vehicle and an
increased wear of vehicle parts¢& .
Authorized Audi dealers will perform this work in
a professional and
competent manner or, in spe
cial
cases, refer you to a professional company
that specializes in such modifications.
A WARNING
Improper repairs and mod ifications can
change the way vehicle systems work and
cause damage
to the vehicle and serious per
sonal injury.
If emergency repairs must be performed else
where, have
the vehicle examined by an au
thorized Audi dealer
as soon as possib le .
Declaration of Compliance, Telecommuni
cation and Electronic
Systems
Radio Frequency Devices and Radiocommunica
tion Equipment User Manual Notice.
The manufacturer is not responsible for any radio
or TV interference caused by unauthorized modi
fications
to this equ ipment.
Devices
The following devices each comp ly w ith FCC Part
15.19, FCC 15.21 and R5S-Gen Issue 1:
-Audi side assist*
-
Cell phone package*
- Convenience key*
- Electron ic
immobilizer
-Garage door opener (Homelink)*
- Remote control key
FCC Part 15.19
This device complies with part 15 of the FCC
Rules. Operation is s u bject to the following two
conditions :
,.... (1) This device may not cause harmful interfer-N
it ence, and co .....
(2) this device must accept any inte rference re
ceived, including interference
that may cause un
desired operation.
FCC Part 15.21
CAUTION:
Changes or mod ificatio ns not express ly approved
by
the party responsible for compliance could
vo id
the user' s auth o rity to ope rate the equip
me n
t.
RSS-Gen Issue 1
Operat io n is subject to the following two cond i
t io n
s:
(1) this device may not cause inte rfe rence, and
(2) this device
must accept any interference, in
cluding inter
ference that may cause undesired
operation
of the dev ice.
297
Page 304 of 322
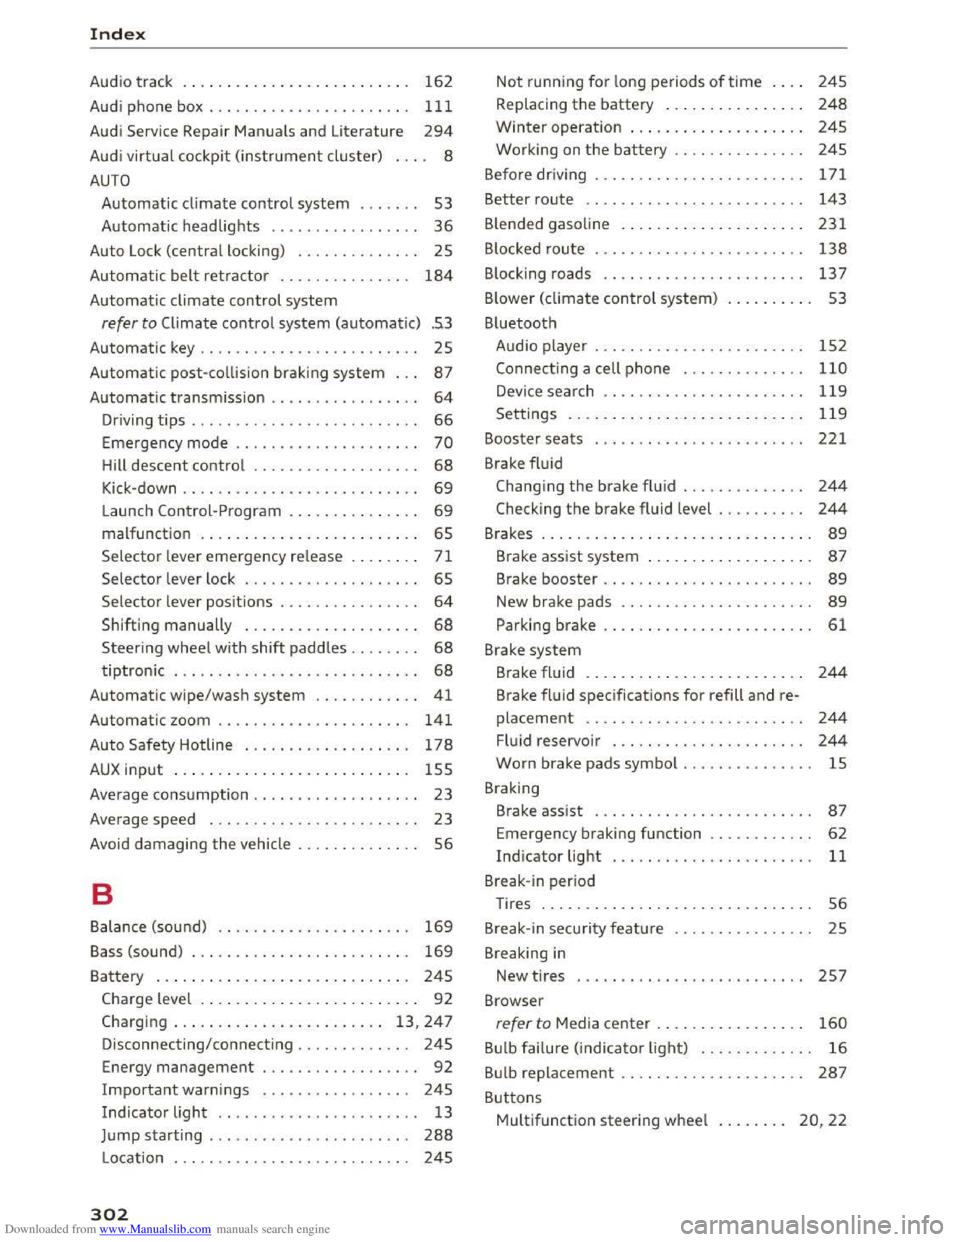
Downloaded from www.Manualslib.com manuals search engine Index
Audio track . . . . . . . . . . . . . . . . . . . . . . . . . . 162
Audi phone
box.................... .. . 111
Audi Service Repair Manuals and Literature 294
Audi virtual cockpit (instrument cluster) . . . . 8
AUTO
Automatic climate control system . . . . . . . 53
Automatic headlights . . . . . . . . . . . . . . . . .
36
Auto Lock (centra l locking) . . . . . . . . . . . . . . 25
Automatic
belt retractor . . . . . . . . . . . . . . . 184
Automatic climate control system
refer to Climate control system (automatic) .53
Automatic key . . . . . . . . . . . . . . . . . . . . . . . . . 25
Automatic post-collision brak ing system . . .
87
Automatic transmission . . . . . . . . . . . . . . . . . 64
Driving tips . . . . . . . . . . . . . . . . . . . . . . . . . . 66
Emergency mode . . . . . . . . . . . . . . . . . . . . . 70
Hill descent control . . . . . . . . . . . . . . . . . . . 68
Kick-down . . . . . . . . . . . . . . . . . . . . . . . . . . . 69
Launch Control-Program . . . . . . . . . . . . . . . 69
malfunction . . . . . . . . . . . . . . . . . . . . . . . . . 65
Selector lever emergency release . . . . . . . . 71
Selector lever lock . . . . . . . . . . . . . . . . . . . . 65
Selector lever positions . . . . . . . . . . . . . . . .
64
Shifting manually . . . . . . . . . . . . . . . . . . . . 68
Steering wheel with shift paddles. . . . . . . . 68
tiptronic . . . . . . . . . . . . . . . . . . . . . . . . . . . . 68
Automatic wipe/wash system . . . . . . . . . . . . 41
Automatic zoom . . . . . . . . . . . . . . . . . . . . . . 141
Auto Safety Hotline . . . . . . . . . . . . . . . . . . . 178
AUX input . . . . . . . . . . . . . . . . . . . . . . . . . . . 155
Average consumption . . . . . . . . . . . . . . . . . . . 23
Average speed . . . . . . . . . . . . . . . . . . . . . . . . 23
Avoid damaging
the vehicle . . . . . . . . . . . . . . 56
B
Balance (sound) . . . . . . . . . . . . . . . . . . . . . . 169
Bass (sound) . . . . . . . . . . . . . . . . . . . . . . . . . 169
Battery . . . . . . . . . . . . . . . . . . . . . . . . . . . . . 245
Charge level . . . . . . . . . . . . . . . . . . . . . . . . . 92
Charging . . . . . . . . . . . . . . . . . . . . . . . . 13, 247
Disconnecting/connecting . . . . . . . . . . . . . 245
Energy management . . . . . . . . . . . . . . . . . . 92
Important warnings . . . . . . . . . . . . . . . . . 245
Indicator light . . . . . . . . . . . . . . . . . . . . . . . 13
Jump starting . . . . . . . . . . . . . . . . . . . . . . .
288
Location . . . . . . . . . . . . . . . . . . . . . . . . . . . 245
302
Not running for long periods of time . . . . 245
Replacing the battery . . . . . . . . . . . . . . . . 248
Winter operat ion . . . . . . . . . . . . . . . . . . . . 245
Working on the battery . . . . . . . . . . . . . . . 24S
Befo re
driv ing . . . . . . . . . . . . . . . . . . . . . . . . 171
Better route . . . . . . . . . . . . . . . . . . . . . . . . . 143
Blended gasoline . . . . . . . . . . . . . . . . . . . . . 231
B locked route . . . . . . . . . . . . . . . . . . . . . . . .
138
Blocking roads . . . . . . . . . . . . . . . . . . . . . . . 13 7
B lower (climate
control system) . . . . . . . . . . 53
Bluetooth Audio player . . . . . . . . . . . . . . . . . . . . . . . .
152
Connect ing a cell phone . . . . . . . . . . . . . . 110
Device search . . . . . . . . . . . . . . . . . . . . . . . 119
Settings . . . . . . . . . . . . . . . . . . . . . . . . . . . 119
Booster seats . . . . . . . . . . . . . . . . . . . . . . . . 221
Brake
fluid
Changing the brake fluid . . . . . . . . . . . . . . 244
Checking the brake fluid level . . . . . . . . . . 244
Brakes . . . . . . . . . . . . . . . . . . . . . . . . . . . . . . . 89
Brake assist system . . . . . . . . . . . . . . . . . . . 87
Brake booster . . . . . . . . . . . . . . . . . . . . . . . . 89
New brake pads . . . . . . . . . . . . . . . . . . . . . . 89
Parking brake . . . . . . . . . . . . . . . . . . . . . . . . 61
Brake system
Brake
fluid . . . . . . . . . . . . . . . . . . . . . . . . . 244
Brake fluid specifications for refill and re
placement . . . . . . . . . . . . . . . . . . . . . . . . .
244
Fluid reservoir . . . . . . . . . . . . . . . . . . . . . . 244
Worn brake pads symbol . . . . . . . . . . . . . . . lS
Braking
Brake assist . . . . . . . . . . . . . . . . . . . . . . . . .
87
Emergency braking function . . . . . . . . . . . . 62
Indicator light . . . . . . . . . . . . . . . . . . . . . . . 11
Break-in period
Tires . . . . . . . . . . . . . . . . . . . . . . . . . . . . . . . 56
Break-in security feature . . . . . . . . . . . . . . . .
25
Breaking in
New tires . . . . . . . . . . . . . . . . . . . . . . . . . . 257
Browser
refer to Media center . . . . . . . . . . . . . . . . . 160
Bulb failure (indicator light) . . . . . . . . . . . . . 16
Bulb replacement . . . . . . . . . . . . . . . . . . . . . 287
Buttons
Multifunction steering wheel . . . . . . . . 20, 22
Page 305 of 322
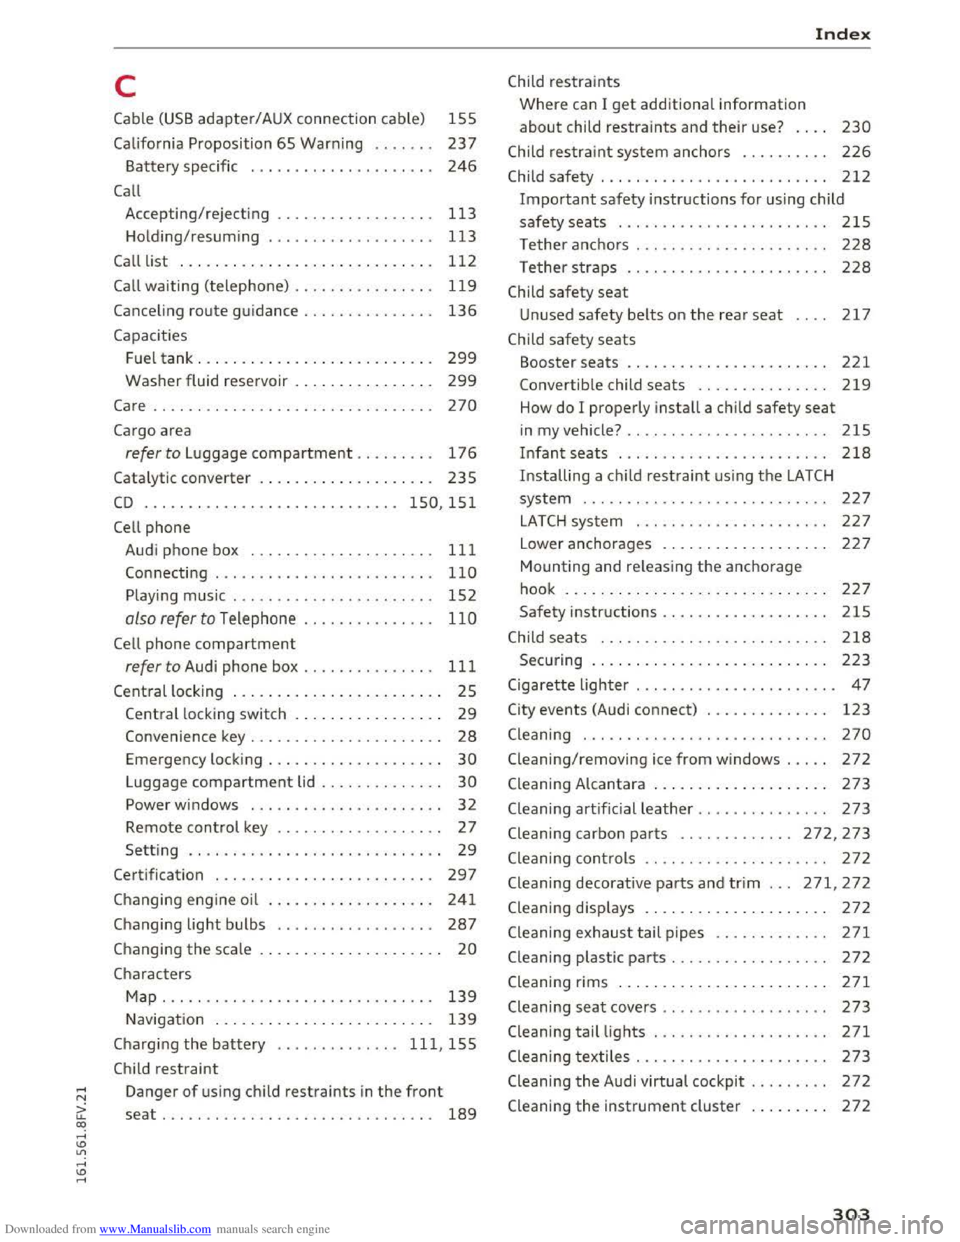
Downloaded from www.Manualslib.com manuals search engine c
Cable (USB adapter/AUX connection cable) 1S5
California Proposition 65 Warning . . . . . . . 237
Battery specific . . . . . . . . . . . . . . . . . . . . . 246
Call
Accepting/rejecting . . . . . . . . . . . . . . . . . . 113
Holding/resuming . . . . . . . . . . . . . . . . . . . 113
Call list . . . . . . . . . . . . . . . . . . . . . . . . . . . . . 112
Call waiting (telephone) . . . . . . . . . . . . . . . . 119
Canceling route guidance . . . . . . . . . . . . . . . 136
Capacities
Fuel tank. . . . . . . . . . . . . . . . . . . . . . . . . . . 299
Washer fluid reservoir . . . . . . . . . . . . . . . . 299
Care . . . . . . . . . . . . . . . . . . . . . . . . . . . . . . . . 270
Cargo area
refer to Luggage compartment . . . . . . . . . 176
Catalytic converter . . . . . . . . . . . . . . . . . . . . 23S
CD ..... .. .. .. .. ............. .. . 150, 151
Cell phone
Audi phone box . . . . . . . . . . . . . . . . . . . . . 111
Connecting . . . . . . . . . . . . . . . . . . . . . . . . . 110
Playing music . . . . . . . . . . . . . . . . . . . . . . . 152
also refer to Telephone . . . . . . . . . . . . . . . 110
Cell phone compartment
refer to Audi phone box.......... .. .. . 111
Central locking . . . . . . . . . . . . . . . . . . . . . . . . 2S
Central locking switch . . . . . . . . . . . . . . . . . 29
Convenience key . . . . . . . . . . . . . . . . . . . . . . 28
Emergency locking . . . . . . . . . . . . . . . . . . . . 30
Luggage compartment lid . . . . . . . . . . . . . . 30
Power windows . . . . . . . . . . . . . . . . . . . . . . 32
Remote control key . . . . . . . . . . . . . . . . . . . 27
Setting . . . . . . . . . . . . . . . . . . . . . . . . . . . . . 29
Certification . . . . . . . . . . . . . . . . . . . . . . . . . 297
Changing engine oil . . . . . . . . . . . . . . . . . . . 241
Changing light bulbs . . . . . . . . . . . . . . . . . . 287
Changing the scale . . . . . . . . . . . . . . . . . . . . . 20
Characters
Map... .. .. .. .. ............. .. .. .. . 139
Navigation . . . . . . . . . . . . . . . . . . . . . . . . . 139
Charging the battery .............. 111, 155
Child restraint
Danger of using child restraints in the front
seat... .. .. .. .. ............. .. ..... 189
Index
Child restraints
Where can I get additional information
about child restraints and their use? . . . . 230
Child restraint system anchors . . . . . . . . . . 226
Child safety . . . . . . . . . . . . . . . . . . . . . . . . . . 212
Important safety instructions for us ing child
safety seats . . . . . . . . . . . . . . . . . . . . . . . . 215
Tether anchors . . . . . . . . . . . . . . . . . . . . . . 228
Tether straps . . . . . . . . . . . . . . . . . . . . . . . 228
Child safety seat
Unused safety belts on the rear seat 217
Child safety seats
Booster seats . . . . . . . . . . . . . . . . . . . . . . . 221
Convertible child seats . . . . . . . . . . . . . . . 219
How do I properly install a child safety seat
in my vehicle? .. .. ................... 215
Infant seats . . . . . . . . . . . . . . . . . . . . . . . . 218
Installing a child restraint using the LATCH
system ......... .. ................. 227
LATCH system . . . . . . . . . . . . . . . . . . . . . . 227
Lower anchorages . . . . . . . . . . . . . . . . . . . 227
Mounting and releasing the anchorage
hook ....... .. .. ................... 227
Safety instructions................... 215
Child seats . . . . . . . . . . . . . . . . . . . . . . . . . . 218
Securing . . . . . . . . . . . . . . . . . . . . . . . . . . . 223
Cigarette lighter . . . . . . . . . . . . . . . . . . . . . . . 47
City events (Audi connect) . . . . . . . . . . . . . . 123
Cleaning . . . . . . . . . . . . . . . . . . . . . . . . . . . . 270
Cleaning/removing ice from windows . . . . . 272
Cleaning Alcantara . . . . . . . . . . . . . . . . . . . . 273
Cleaning artificial leather . . . . . . . . . . . . . . . 273
Cleaning carbon parts . . . . . . . . . . . . . 272, 273
Cleaning controls . . . . . . . . . . . . . . . . . . . . . 272
Cleaning decorative parts and trim ... 271, 272
Cleaning displays . . . . . . . . . . . . . . . . . . . . . 272
Cleaning exhaust tail pipes . . . . . . . . . . . . . 271
Cleaning plastic parts . . . . . . . . . . . . . . . . . . 272
Cleaning rims . . . . . . . . . . . . . . . . . . . . . . . . 271
Cleaning seat covers . . . . . . . . . . . . . . . . . . . 273
Cleaning tail lights . . . . . . . . . . . . . . . . . . . . 271
Cleaning textiles . . . . . . . . . . . . . . . . . . . . . . 273
Cleaning the Audi virtual cockpit . . . . . . . . . 272
Cleaning the instrument cluster . . . . . . . . . 272
303