heating BMW 135IS COUPE 2013 Owners Manual
[x] Cancel search | Manufacturer: BMW, Model Year: 2013, Model line: 135IS COUPE, Model: BMW 135IS COUPE 2013Pages: 284, PDF Size: 6.93 MB
Page 14 of 284
13
Dashboard
At a glance
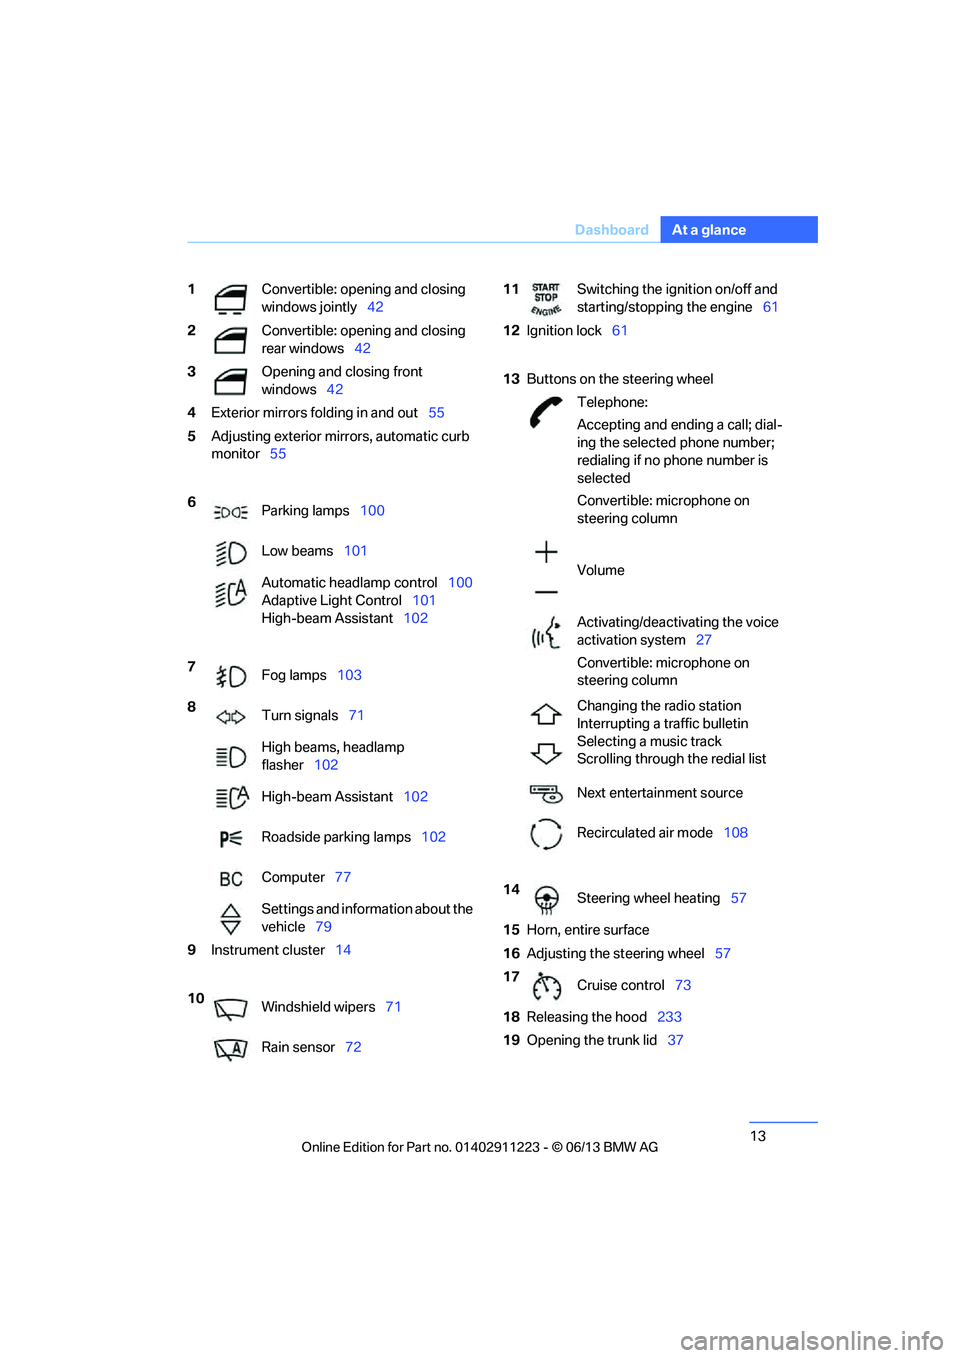
1
Convertible: opening and closing
windows jointly 42
2 Convertible: opening and closing
rear windows 42
3 Opening and closing front
windows42
4 Exterior mirrors fo lding in and out55
5 Adjusting exterior mirrors, automatic curb
monitor 55
6 Parking lamps 100
Low beams 101
Automatic head lamp control100
Adaptive Light Control 101
High-beam Assistant 102
7 Fog lamps 103
8 Turn signals 71
High beams, headlamp
flasher 102
High-beam Assistant 102
Roadside parking lamps 102
Computer 77
Settings and information about the
vehicle 79
9 Instrument cluster 14
10 Windshield wipers 71
Rain sensor 7211Switching the ignition on/off and
starting/stopping the engine 61
12 Ignition lock 61
13 Buttons on the steering wheel
Telephone:
Accepting and ending a call; dial-
ing the selected phone number;
redialing if no phone number is
selected
Convertible: microphone on
steering column
Volume
Activating/deactivating the voice
activation system 27
Convertible: microphone on
steering column
Changing the radio station
Interrupting a traffic bulletin
Selecting a music track
Scrolling through the redial list
Next entertainment source
Recirculated air mode 108
14 Steering wheel heating 57
15 Horn, entire surface
16 Adjusting the steering wheel 57
17 Cruise control 73
18 Releasing the hood 233
19 Opening the trunk lid 37
00320051004F004C00510048000300280047004C0057004C005200510003
Page 18 of 284
17
Dashboard
At a glance
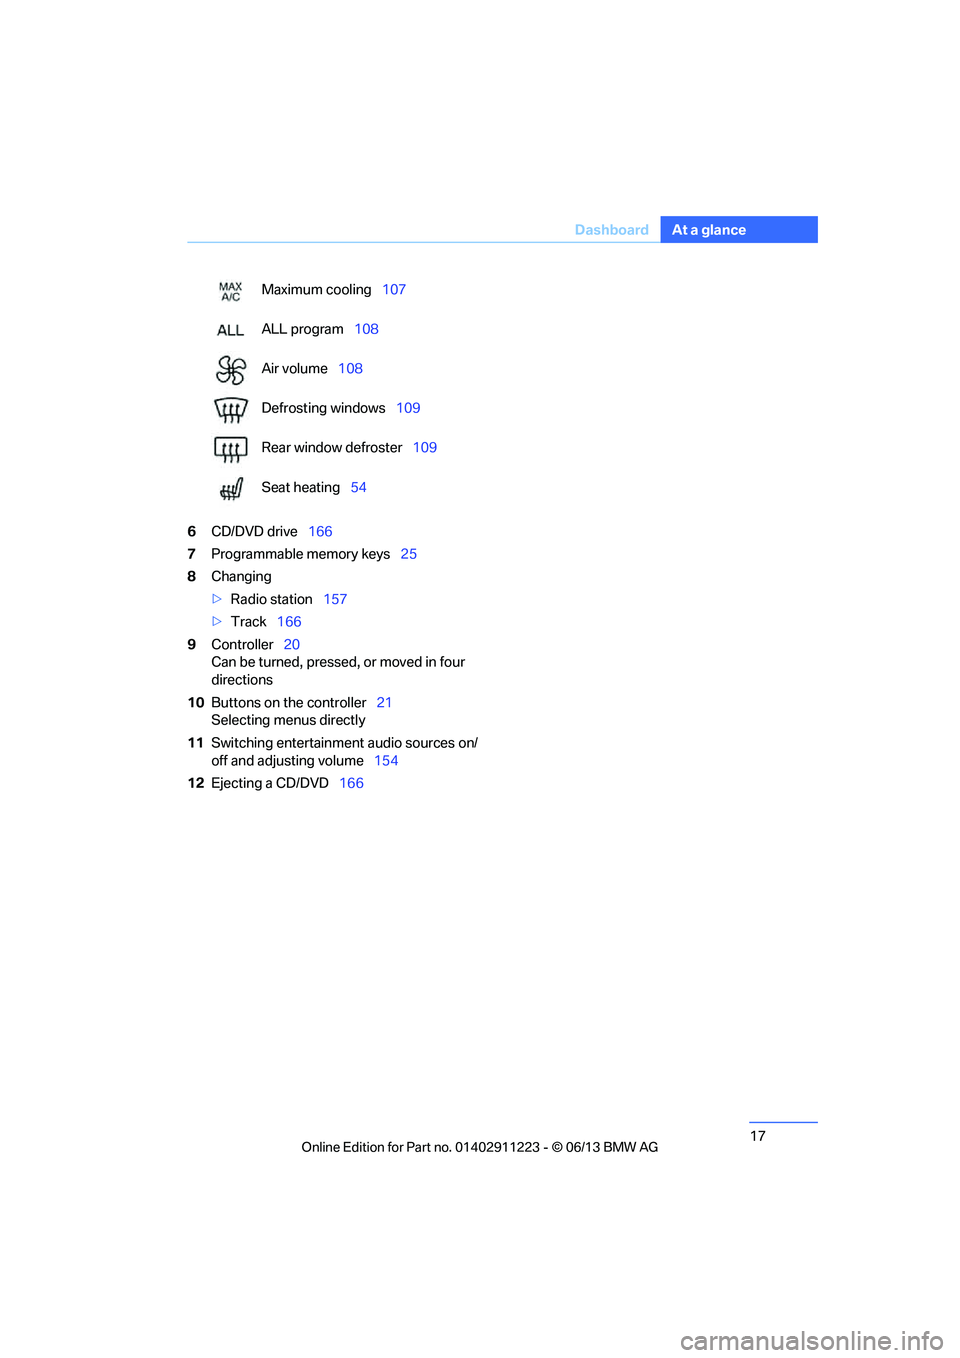
6
CD/DVD drive 166
7 Programmable memory keys 25
8 Changing
>Radio station 157
> Track 166
9 Controller 20
Can be turned, pressed, or moved in four
directions
10 Buttons on the controller 21
Selecting menus directly
11 Switching entertainment audio sources on/
off and adjusting volume 154
12 Ejecting a CD/DVD 166
Maximum cooling
107
ALL program 108
Air volume 108
Defrosting windows 109
Rear window defroster 109
Seat heating 54
00320051004F004C00510048000300280047004C0057004C005200510003
Page 55 of 284
54
ControlsAdjustments
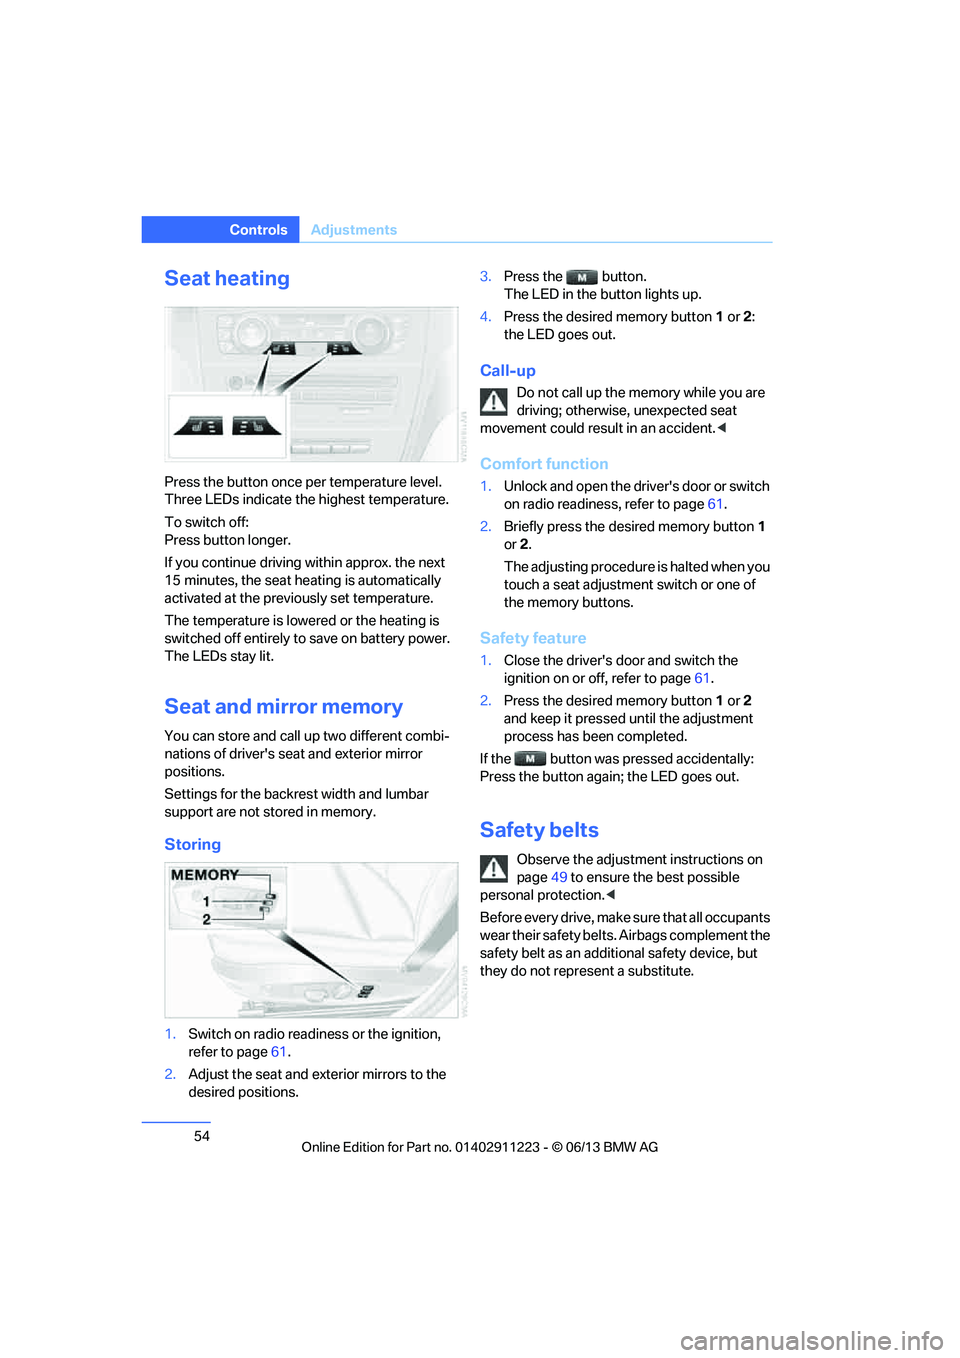
Seat heating
Press the button once per temperature level.
Three LEDs indicate the highest temperature.
To switch off:
Press button longer.
If you continue driving within approx. the next
15 minutes, the seat he ating is automatically
activated at the previously set temperature.
The temperature is lowered or the heating is
switched off entirely to save on battery power.
The LEDs stay lit.
Seat and mirror memory
You can store and call up two different combi-
nations of driver's seat and exterior mirror
positions.
Settings for the backrest width and lumbar
support are not stored in memory.
Storing
1. Switch on radio readin ess or the ignition,
refer to page 61.
2. Adjust the seat and exterior mirrors to the
desired positions. 3.
Press the button.
The LED in the button lights up.
4. Press the desired memory button 1 or 2:
the LED goes out.
Call-up
Do not call up the me mory while you are
driving; otherwise, unexpected seat
movement could result in an accident. <
Comfort function
1.Unlock and open the driver's door or switch
on radio readiness, refer to page 61.
2. Briefly press the desired memory button 1
or 2.
The adjusting procedure is halted when you
touch a seat adjustment switch or one of
the memory buttons.
Safety feature
1. Close the driver's door and switch the
ignition on or off, refer to page 61.
2. Press the desired memory button 1 or 2
and keep it pressed until the adjustment
process has been completed.
If the button was pr essed accidentally:
Press the button again; the LED goes out.
Safety belts
Observe the adjustment instructions on
page 49 to ensure the best possible
personal protection. <
Before every drive, make sure that all occupants
wear their safety belts. Airbags complement the
safety belt as an additi onal safety device, but
they do not repres ent a substitute.
00320051004F004C00510048000300280047004C0057004C005200510003
Page 57 of 284
56
ControlsAdjustments
Automatic heating
Depending on the outside temperature, both
exterior mirrors are heated automatically when
the engine is running or the ignition is switched
on.
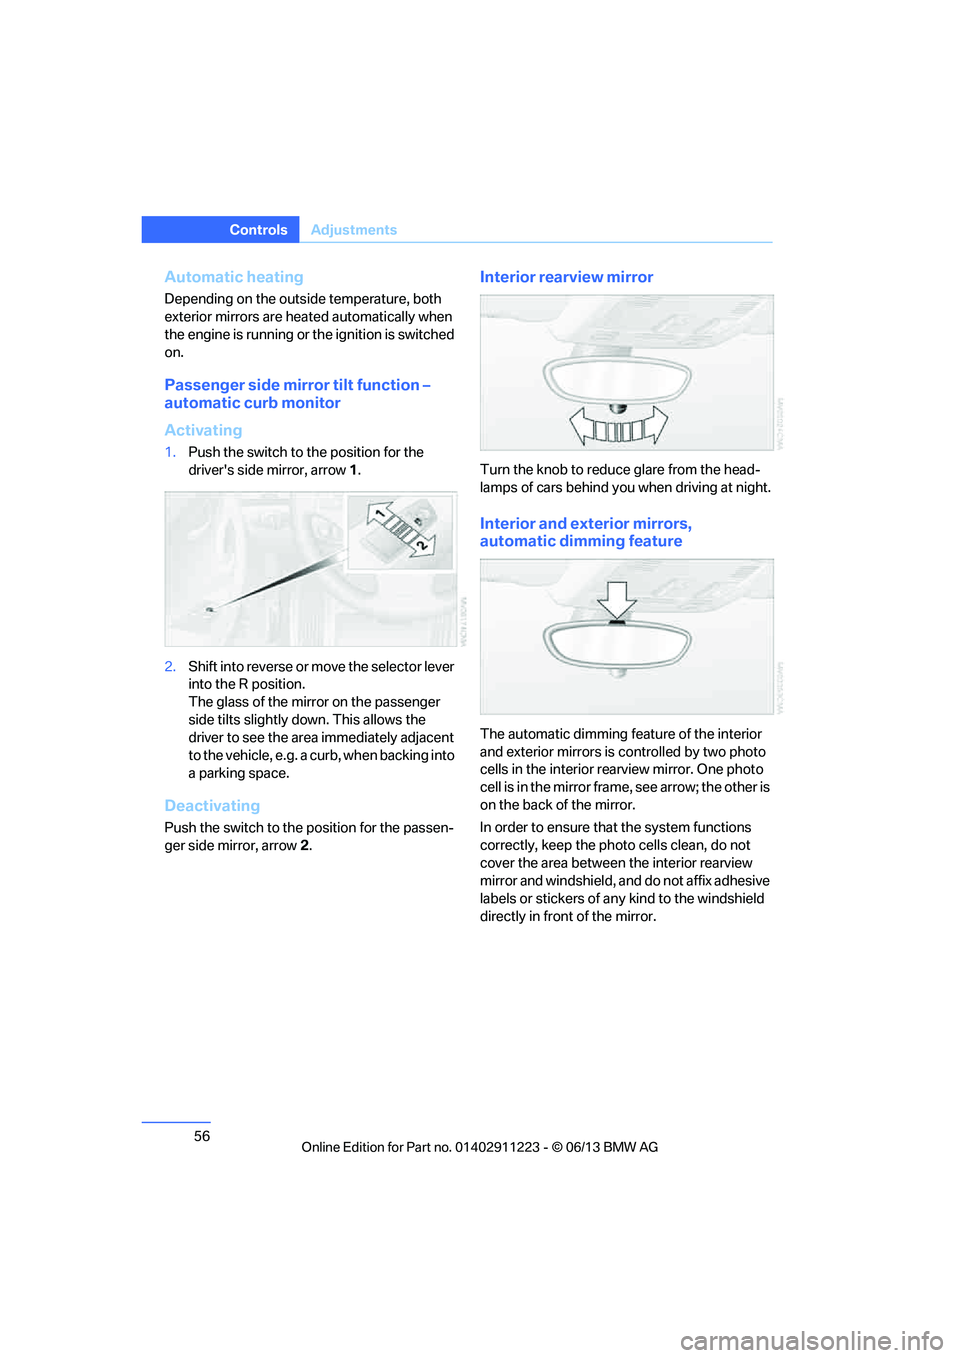
Passenger side mirro r tilt function –
automatic curb monitor
Activating
1. Push the switch to the position for the
driver's side mirror, arrow 1.
2. Shift into reverse or mo ve the selector lever
into the R position.
The glass of the mirror on the passenger
side tilts slightly down. This allows the
driver to see the area immediately adjacent
to the vehicle, e.g. a curb, when backing into
a parking space.
Deactivating
Push the switch to the position for the passen-
ger side mirror, arrow 2.
Interior rearview mirror
Turn the knob to reduce glare from the head-
lamps of cars behind yo u when driving at night.
Interior and exterior mirrors,
automatic dimming feature
The automatic dimming feature of the interior
and exterior mirrors is controlled by two photo
cells in the interior re arview mirror. One photo
cell is in the mirror frame, see arrow; the other is
on the back of the mirror.
In order to ensure that the system functions
correctly, keep the photo cells clean, do not
cover the area between the interior rearview
mirror and windshield, and do not affix adhesive
labels or stickers of an y kind to the windshield
directly in front of the mirror.
00320051004F004C00510048000300280047004C0057004C005200510003
Page 58 of 284
57
Adjustments
Controls
Steering wheel
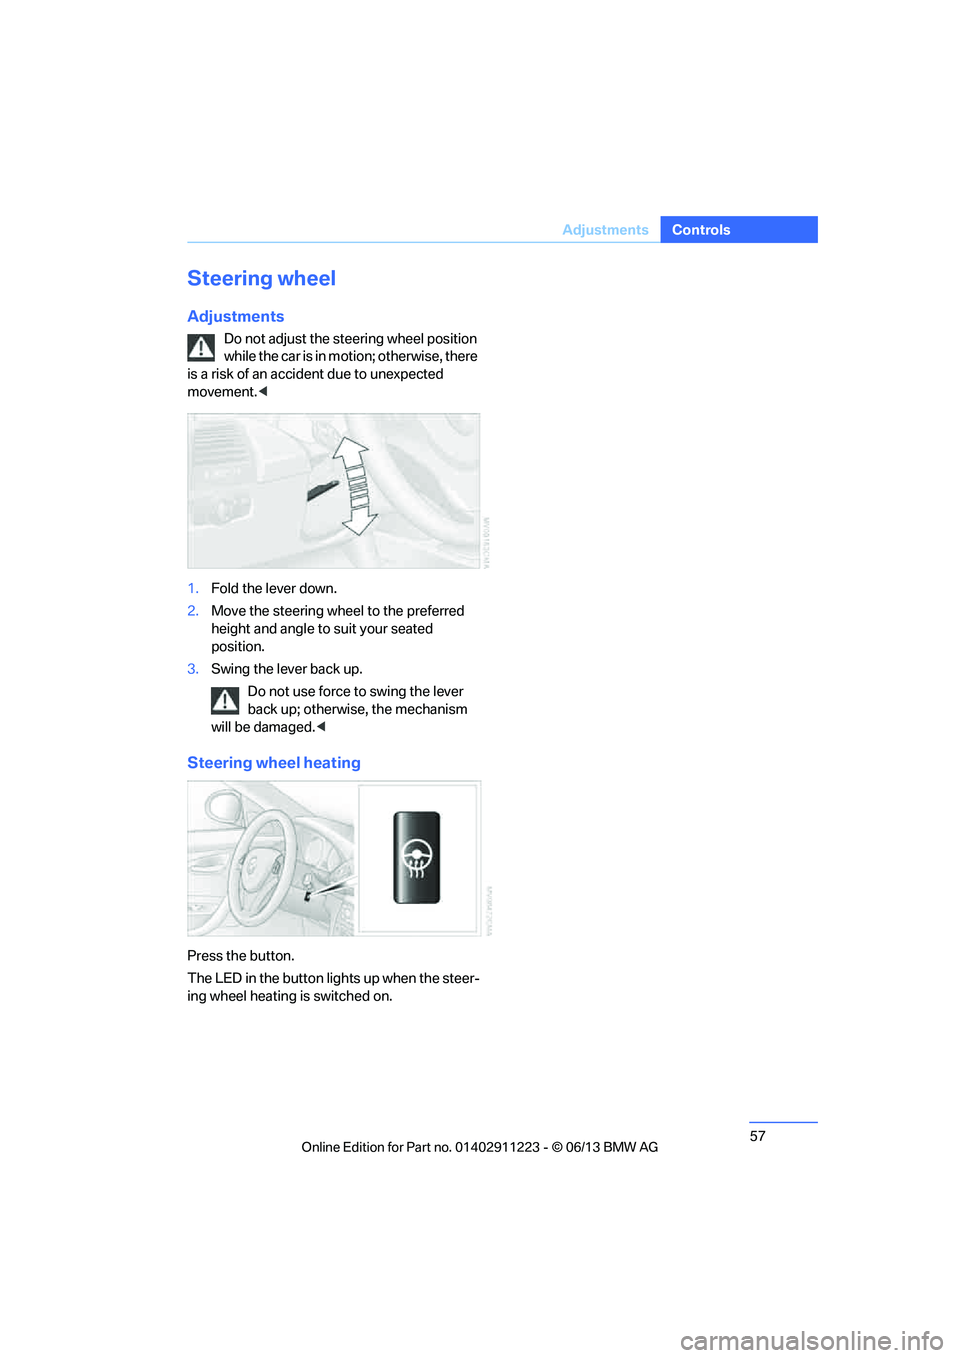
Adjustments
Do not adjust the steering wheel position
while the car is in motion; otherwise, there
is a risk of an accident due to unexpected
movement. <
1. Fold the lever down.
2. Move the steering wheel to the preferred
height and angle to suit your seated
position.
3. Swing the lever back up.
Do not use force to swing the lever
back up; otherwise, the mechanism
will be damaged. <
Steering wheel heating
Press the button.
The LED in the button lights up when the steer-
ing wheel heating is switched on.
00320051004F004C00510048000300280047004C0057004C005200510003
Page 63 of 284
62
ControlsDriving
Ignition on
All electrical consumers can operate. The
odometer and trip odometer are displayed in
the instrument cluster.
When the engine is off, please switch
off the ignition and any unnecessary
electrical consumers in order to preserve the
battery. <
Radio readiness and ignition off
All indicator and warnin g lamps as well as
displays in the instrument cluster go out.
Starting the engine
Do not run the engine in enclosed areas;
otherwise, the inhalati on of toxic exhaust
gases can cause loss of consciousness and
death. The exhaust gases contain carbon mon-
oxide, an odorless and colorless, but highly
toxic gas. Never leave an unattended vehicle
with the engine running; otherwise, such a
vehicle represents a po tential safety hazard.
Before leaving the car with the engine running,
place the transmission in neutral or move the
selector lever to positi on P and forcefully apply
the parking brake to prevent the car from
moving. <
Do not wait for the engine to warm up while the
vehicle remains stationary. Start driving right
away, but at moderate engine speeds. Avoid frequent starting in quick succes-
sion as well as repeated start attempts in
which the engine does no t start. Otherwise, the
fuel is not burned or incompletely burned and
there is a danger of overheating and damaging
the catalytic converter. <
Manual transmission
Remote control in the ignition lock or, with
Comfort Access, inside the vehicle, refer to
page40.
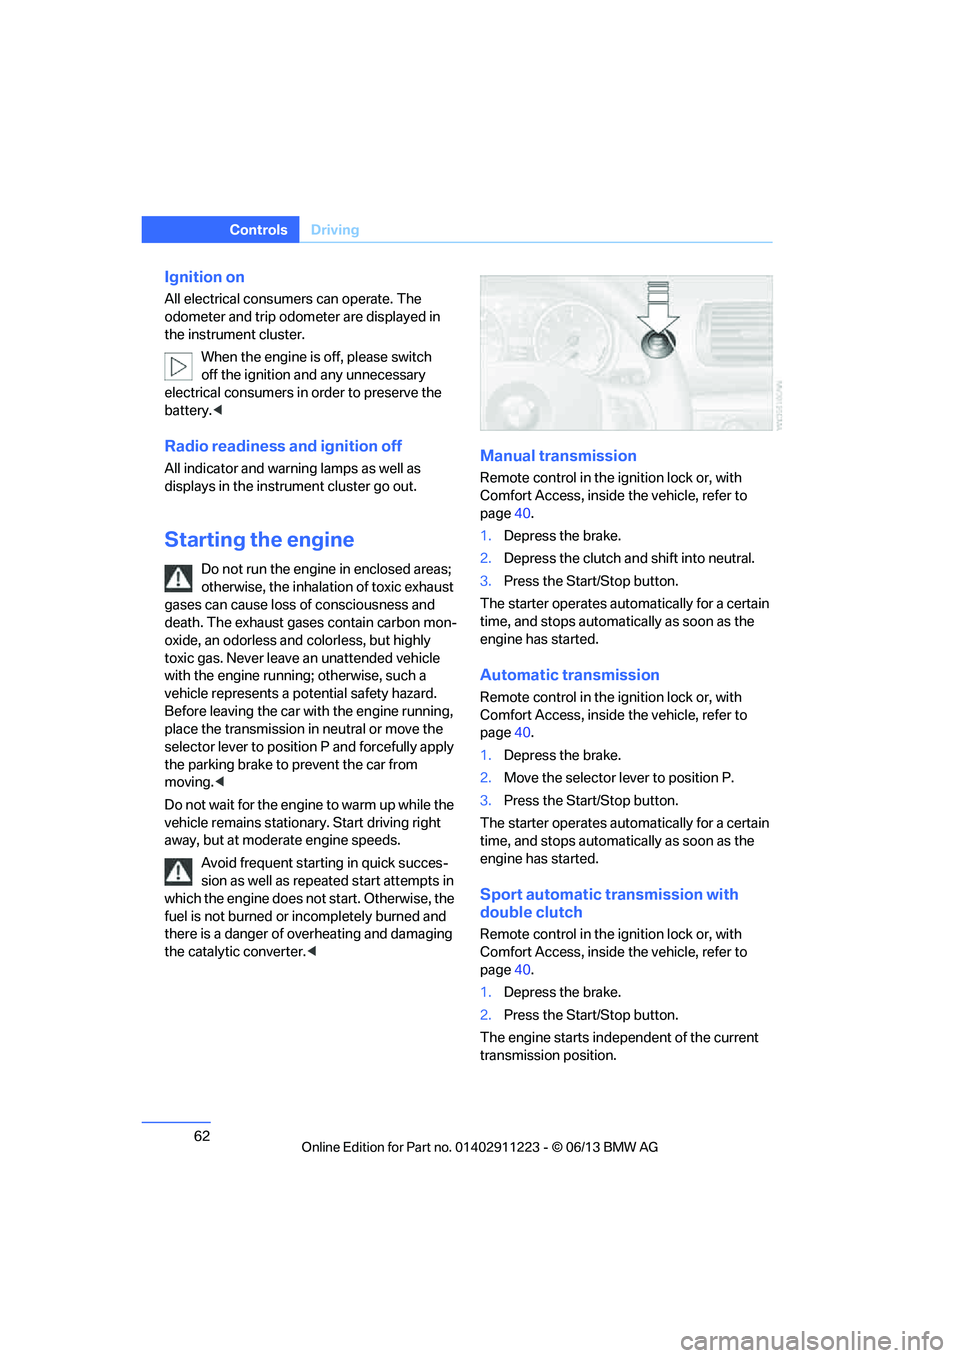
1. Depress the brake.
2. Depress the clutch an d shift into neutral.
3. Press the Start/Stop button.
The starter operates automatically for a certain
time, and stops automatically as soon as the
engine has started.
Automatic transmission
Remote control in the ignition lock or, with
Comfort Access, inside the vehicle, refer to
page 40.
1. Depress the brake.
2. Move the selector lever to position P.
3. Press the Start/Stop button.
The starter operates automatically for a certain
time, and stops automatically as soon as the
engine has started.
Sport automatic transmission with
double clutch
Remote control in the ignition lock or, with
Comfort Access, inside the vehicle, refer to
page 40.
1. Depress the brake.
2. Press the Start/Stop button.
The engine starts independent of the current
transmission position.
00320051004F004C00510048000300280047004C0057004C005200510003
Page 67 of 284
66
ControlsDriving
>To upshift, briefly pull the right shift
paddle +.
> To downshift, briefly pull the left shift
paddle –.
Upshifts and downshifts are executed only
when they will result in a plausible combination
of engine and vehicle speed; thus, for example,
a downshift that would cause the engine to
overrev will not be exec uted by the system.
The gear selected is briefly displayed in the
instrument cluster, followed again by the gear
actually in use.
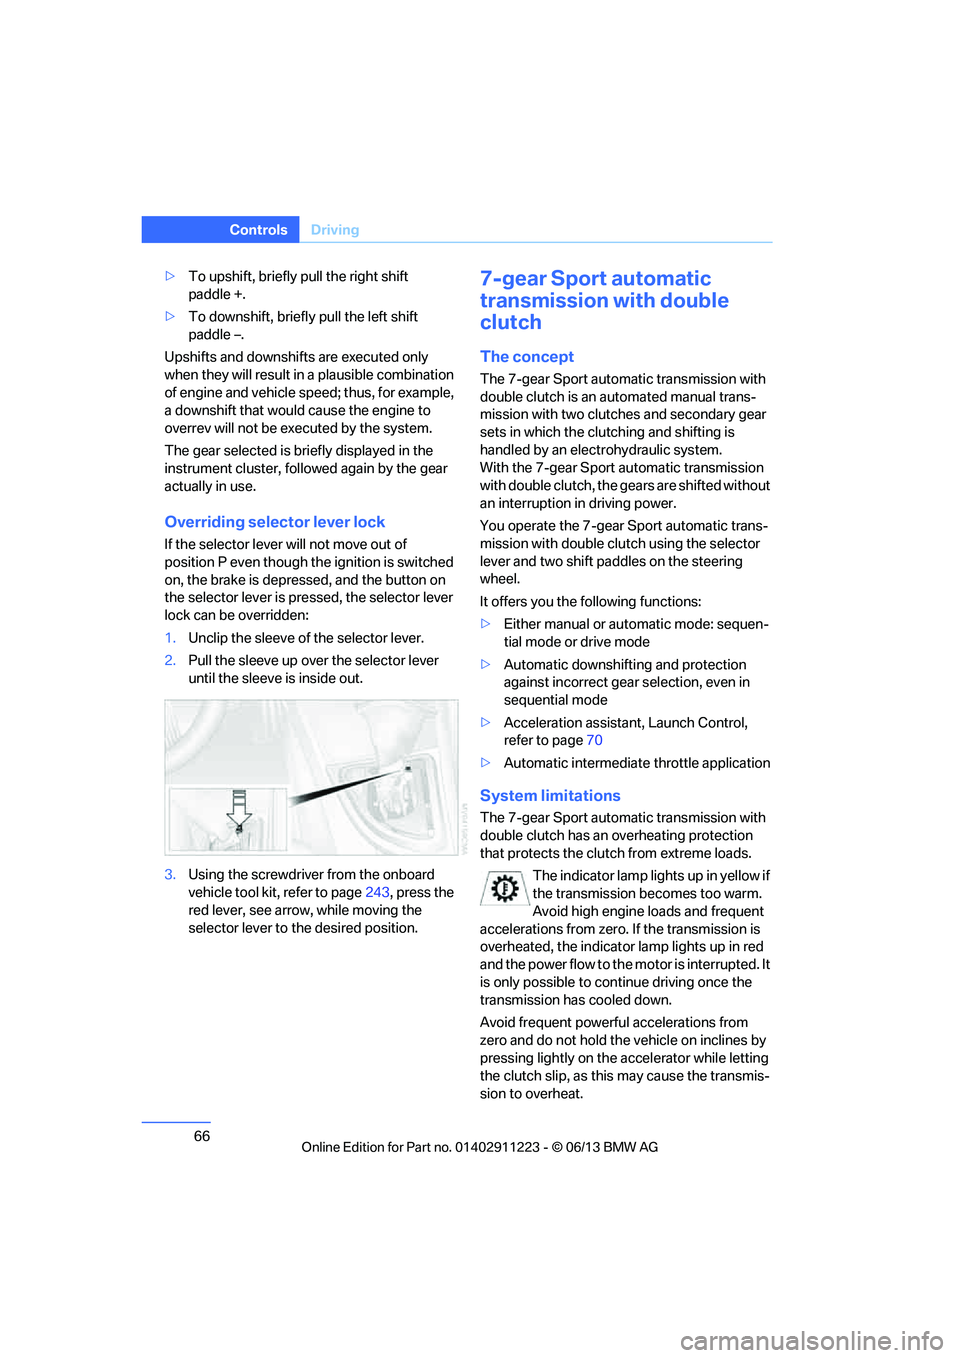
Overriding selector lever lock
If the selector lever will not move out of
position P even though the ignition is switched
on, the brake is depressed, and the button on
the selector lever is pre ssed, the selector lever
lock can be overridden:
1. Unclip the sleeve of the selector lever.
2. Pull the sleeve up over the selector lever
until the sleeve is inside out.
3. Using the screwdriver from the onboard
vehicle tool kit, refer to page 243, press the
red lever, see arrow, while moving the
selector lever to the desired position.
7-gear Sport automatic
transmission with double
clutch
The concept
The 7-gear Sport automatic transmission with
double clutch is an automated manual trans-
mission with two clutches and secondary gear
sets in which the clutching and shifting is
handled by an electr ohydraulic system.
With the 7-gear Sport automatic transmission
with double clutch, the gears are shifted without
an interruption in driving power.
You operate the 7-gear Sport automatic trans-
mission with double clutch using the selector
lever and two shift paddles on the steering
wheel.
It offers you the following functions:
> Either manual or au tomatic mode: sequen-
tial mode or drive mode
> Automatic downshifting and protection
against incorrect gear selection, even in
sequential mode
> Acceleration assistan t, Launch Control,
refer to page 70
> Automatic intermediate throttle application
System limitations
The 7-gear Sport automatic transmission with
double clutch has an overheating protection
that protects the clutch from extreme loads.
The indicator lamp lights up in yellow if
the transmission becomes too warm.
Avoid high engine loads and frequent
accelerations from zero. If the transmission is
overheated, the indicator lamp lights up in red
and the power flow to the motor is interrupted. It
is only possible to continue driving once the
transmission has cooled down.
Avoid frequent powerful accelerations from
zero and do not hold the vehicle on inclines by
pressing lightly on the accelerator while letting
the clutch slip, as this may cause the transmis-
sion to overheat.
00320051004F004C00510048000300280047004C0057004C005200510003
Page 108 of 284
107
Climate
Controls
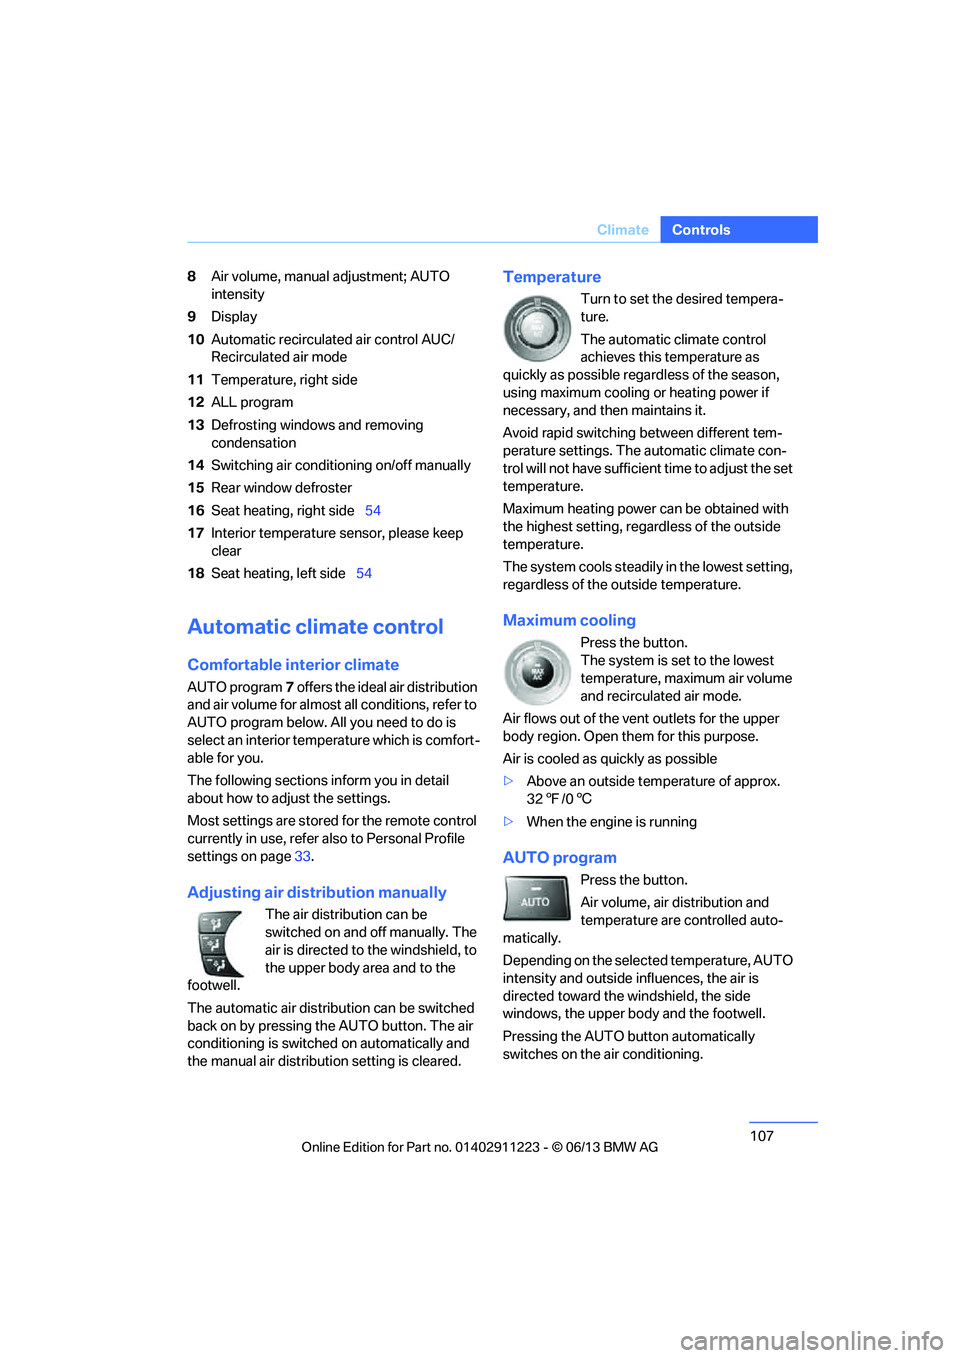
8
Air volume, manual adjustment; AUTO
intensity
9 Display
10 Automatic recirculated air control AUC/
Recirculated air mode
11 Temperature, right side
12 ALL program
13 Defrosting windows and removing
condensation
14 Switching air conditioning on/off manually
15 Rear window defroster
16 Seat heating, right side 54
17 Interior temperature sensor, please keep
clear
18 Seat heating, left side 54
Automatic climate control
Comfortable interior climate
AUTO program7 offers the ideal air distribution
and air volume for almost all conditions, refer to
AUTO program below. All you need to do is
select an interior temperature which is comfort-
able for you.
The following sections inform you in detail
about how to adjust the settings.
Most settings are stored for the remote control
currently in use, refer also to Personal Profile
settings on page 33.
Adjusting air distribution manually
The air distribution can be
switched on and off manually. The
air is directed to the windshield, to
the upper body area and to the
footwell.
The automatic air distribution can be switched
back on by pressing the AUTO button. The air
conditioning is switched on automatically and
the manual air distribution setting is cleared.
Temperature
Turn to set the desired tempera-
ture.
The automatic climate control
achieves this temperature as
quickly as possible regardless of the season,
using maximum cooling or heating power if
necessary, and then maintains it.
Avoid rapid switching between different tem-
perature settings. The automatic climate con-
trol will not have sufficient time to adjust the set
temperature.
Maximum heating power can be obtained with
the highest setting, regardless of the outside
temperature.
The system cools steadily in the lowest setting,
regardless of the outside temperature.
Maximum cooling
Press the button.
The system is set to the lowest
temperature, maximum air volume
and recirculated air mode.
Air flows out of the vent outlets for the upper
body region. Open them for this purpose.
Air is cooled as quickly as possible
> Above an outside temperature of approx.
327/06
> When the engine is running
AUTO program
Press the button.
Air volume, air distribution and
temperature are controlled auto-
matically.
Depending on the selected temperature, AUTO
intensity and outside in fluences, the air is
directed toward the windshield, the side
windows, the upper body and the footwell.
Pressing the AUTO button automatically
switches on the air conditioning.
00320051004F004C00510048000300280047004C0057004C005200510003
Page 126 of 284
125
Things to remember when driving
Driving tips
Check tire inflation pressure regularly
Check the tire inflation pr
essure at least twice a
month and before embarking on a long journey,
and correct it if necessary.
Low tire inflation pressure causes higher rolling
resistance and thus increases fuel consumption
and tire wear.
Set off immediately
Do not let the engine wa rm up while the car is
still standing, but set off immediately at moder-
ate engine speed. This is the fastest way for the
cold engine to reach its operating temperature.
Drive defensively
Avoid unnecessary acceleration and braking
maneuvers. To do so, keep an adequate dis-
tance between you and th e vehicle in front of
you. A defensive and smooth driving style
keeps fuel consumption down.
Avoid high engine speeds
Use first gear only for dr iving off. In second and
higher gears, accelerate without hesitation or
pauses. When accelerati ng, shift up before
reaching high engine speeds.
When you reach the desi red speed, shift into
the highest applicable ge ar and drive with the
engine speed as low as possible and at a con-
stant speed.
As a rule: driving at low engine speeds lowers
fuel consumption and reduces wear.
Coasting
When approaching a red lig ht, take your foot off
the accelerator and coast to a stop in the high-
est applicable gear.
On a downhill slope, take your foot off the accel-
erator and coast in a suitable gear.
The fuel supply is interrupted when coasting.
Switch off the engine during lengthy
stops
Switch off the engine when stopping for lengthy
periods, e.g. at traffic lights, railroad crossings
or in traffic congestions.
Switch off functions you do not need at
the moment
Functions such as the air conditioner, seat
heating or rear window defroster draw large
amounts of power and consume additional fuel.
Especially in city traffic and in stop-and-go driv-
ing they have a considerable impact. Therefore,
switch these functions off when they are not
really needed.
Have the vehicle serviced
Have the vehicle serviced regularly to achieve
good economy and a long vehicle life. BMW
recommends having the vehicle serviced at
your BMW center. Also note the BMW Mainte-
nance System, refer to page 237.
General driving notes
Close the trunk lid
Only drive with the trunk closed. Failure to
do so may endanger passengers or other
road users or may damage the vehicle in the
event of an accident or a braking and evasive
maneuver. In addition, exhaust gas may flow
into the passenger compartment. <
If special circumstance s make it absolutely
necessary to drive wi th the trunk open:
1. Close all windows and the glass roof.
2. Greatly increase the air volume of the
automatic climate cont rol system, refer to
page 108.
3. Drive cautiously.
00320051004F004C00510048000300280047004C0057004C005200510003
Page 128 of 284
127
Things to remember when driving
Driving tips
Hills
To prevent overheating and the resulting
reduced efficiency of the brake system,
drive long or steep downhill gradients in the
gear in which the least br aking is required. Even
light but consistent brak e pressure can lead to
high temperatures, brake wear and possibly
even brake failure. <
You can increase the engine's braking effect
by shifting down, all the way to first gear if nec-
essary. This strategy helps you avoid placing
excessive loads on the brake system. Down-
shifting in manual mo de of the automatic
transmission, refer to page 65.
Sport automatic transm ission with double
clutch: never drive with the transmission
in neutral or with the en gine switched off; other-
wise, there will be no en gine braking action and
no power assistance to the brakes and steering.
Manual transmission: never drive with the
clutch held down, with the transmission in neu-
tral or with the engine switched off; otherwise,
there will be no engine braking action and no
power assistance to the brakes and steering.
Never allow floor mats, carpets or any other
objects to protrude into the area around the
pedals; otherwise, pedal function could be
impaired. <
Corrosion on brake rotors
When the vehicle is driv en only occasionally,
during extended periods when the vehicle is not
used at all, and in operating conditions where
brake applications are le ss frequent, there is an
increased tendency for corrosion to form on
rotors, while contaminan ts accumulate on the
brake pads. This occurs because the minimum
pressure which must be exerted by the pads
during brake applications to clean the rotors is
not reached.
Should corrosion form on the brake rotors, the
brakes will tend to respond with a pulsating
effect that even extended application will fail to
cure.
When the vehicle is parked
Condensation forms while the automatic
climate control is in operation, and then exits
under the vehicle. Traces of condensed water
under the vehicle are therefore normal.
Cargo loading
To avoid loading the tires beyond their
approved carrying ca pacity, never over-
load the vehicle. Overlo ading can lead to over-
heating and increases the rate at which damage
develops inside the tires. In some situations,
this can result in sudden loss of tire pressure. <
Avoid fluid spills in the trunk as they could
damage the vehicle. <
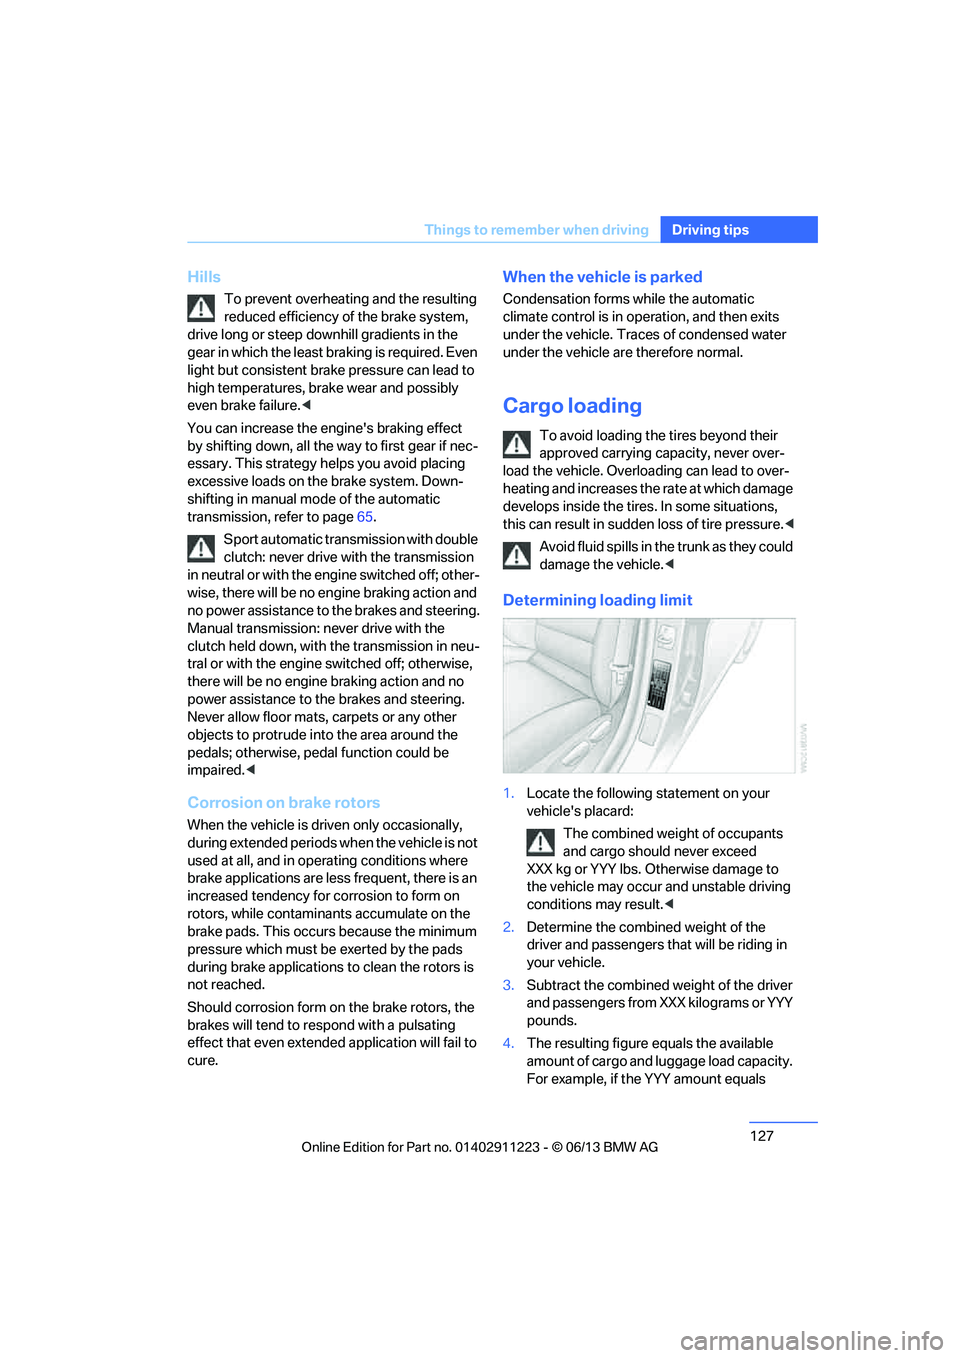
Determining loading limit
1.Locate the following statement on your
vehicle's placard:
The combined weight of occupants
and cargo should never exceed
XXX kg or YYY lbs. Otherwise damage to
the vehicle may occur and unstable driving
conditions may result.<
2. Determine the combined weight of the
driver and passengers that will be riding in
your vehicle.
3. Subtract the combined weight of the driver
and passengers from XXX kilograms or YYY
pounds.
4. The resulting figure equals the available
amount of cargo and luggage load capacity.
For example, if the YYY amount equals
00320051004F004C00510048000300280047004C0057004C005200510003