Fold BMW 2 SERIES CONVERTIBLE 2016 F23 Owner's Manual
[x] Cancel search | Manufacturer: BMW, Model Year: 2016, Model line: 2 SERIES CONVERTIBLE, Model: BMW 2 SERIES CONVERTIBLE 2016 F23Pages: 234, PDF Size: 5.93 MB
Page 41 of 234
other vehicle equipped with the Personal Pro‐
file function.
The following export options are available:▷Via BMW Online.▷Via the USB port to a USB device.
Popular file systems for USB devices are
supported. FAT32 and exFAT are the rec‐
ommended formats for profile export.
Other formats may not support the export.1."Settings"2."Profiles"3."Export profile"4.BMW Online: "BMW Online"
USB interface: "USB device"
Importing profiles
Profiles exported via BMW Online can also be
imported via BMW Online.
Profiles stored on a USB device can be im‐
ported via the USB interface.
Existing settings are overwritten with the im‐
ported profile.
1."Settings"2."Profiles"3."Import profile"4.BMW Online: "BMW Online"
USB interface: "USB device"
Using the guest profile
The guest profile is for individual settings that
are saved in none of the three personal pro‐
files.
This can be useful for drivers who are using
the vehicle temporarily and do not have their
own profile.
1."Settings"2."Profiles"3."Guest"
The guest profile cannot be renamed. It is not
assigned to the current remote control.
Display profile list during start
The profile list can be displayed during each
start to select the desired profile.1."Settings"2."Profiles"3."Options"4."Display user list at startup"
Using the remote control
Note Take the remote control with youPeople or animals left unattended in a
parked vehicle can lock the doors from the in‐
side. Always take the remote control with you
when leaving the vehicle so that the vehicle
can then be opened from the outside.◀
Unlocking Press button on the remote control.
▷All doors, the tailgate, and the fuel filler flap
are being unlocked.▷Interior lamps and courtesy lamps are acti‐
vated. This function is not available, if the
interior lamps were switched off manually.▷The welcome lamps are switched on, if this
function was activated.▷Exterior mirrors folded through convenient
closing are folded open.
You can set how the vehicle is to be unlocked.
For Settings, refer to page 43.
The alarm system, refer to page 44, is dis‐
armed.
Convenient opening Press and hold this button on the re‐mote control.
Seite 37Opening and closingControls37
Online Edition for Part no. 01 40 2 959 847 - II/15
Page 42 of 234
The windows are opened, as long as the but‐
ton on the remote control is pressed.
With Comfort Access, the remote control can
be used to open the convertible top when in
the vicinity of the vehicle.
Press and hold this button on the re‐
mote control until the convertible top
is fully opened and the convertible top well
storage cover is fully closed.
Danger of jamming
Monitor the opening process to ensure
that no one becomes trapped; otherwise, inju‐
ries may result.◀
Leaving the vicinity of the vehicle stops the
motion.
In this case, the convertible top and convertible
top well storage cover will slowly lower after a
short period of time. The convertible top and
the convertible top well storage cover are not
locked. Press button again until the convertible
top operation is completed.
Locking Locking from the outside
Do not lock the vehicle from the outside
with people inside the car, as the vehicle can‐
not be unlocked from inside without special
knowledge.◀
The driver's door must be closed. Press button on the remote control.
All doors, the tailgate, and the fuel filler flap are
being locked.
The alarm system, refer to page 44, is armed.
Convenient closing With Comfort Access, the convertible top and
the window can be closed in the vicinity of the
vehicle.
Hold down the remote control button un‐
til the closing operation is completed.Releasing the button or leaving the vicinity of
the vehicle stops the motion.
In this case, the convertible top and convertible
top well storage cover will slowly lower after a
short period of time. The convertible top and
the convertible top well storage cover are not
locked. Press button again until the convertible
top operation is completed.
The exterior mirrors are folded in.
The exterior mirrors are not folded in when the
warning flashers are activated.
Monitor closing
Monitor closing to ensure that no one
becomes trapped.◀
Switching on interior lights and
courtesy lights
Press button on the remote control with
the vehicle locked.
This function is not available, if the interior
lamps were switched off manually.
If the button is pressed again within 10 sec‐
onds after vehicle was locked, the interior mo‐
tion sensor and tilt alarm sensor of the anti-
theft warning system, refer to page 45, are
turned off. After locking, wait 10 seconds be‐
fore pressing the button again.
Panic mode
You can trigger the alarm system if you find
yourself in a dangerous situation.
Press button on the remote control for
at least 3 seconds.
To reel off the alarm: press any button.
Unlocking the trunk lid Press button on the remote control for
approx. 1 second.Seite 38ControlsOpening and closing38
Online Edition for Part no. 01 40 2 959 847 - II/15
Page 46 of 234
Comfort Access supports the following func‐
tions:▷Unlocking/locking of the vehicle.▷Unlocking of the trunk lid separately.▷Start the engine.
Functional requirements
▷There are no external sources of interfer‐
ence nearby.▷To lock the vehicle, the remote control
must be located outside of the vehicle.▷The next unlocking and locking cycle is not
possible until after approx. 2 seconds.▷The engine can only be started if the re‐
mote control is in the vehicle.
Unlocking
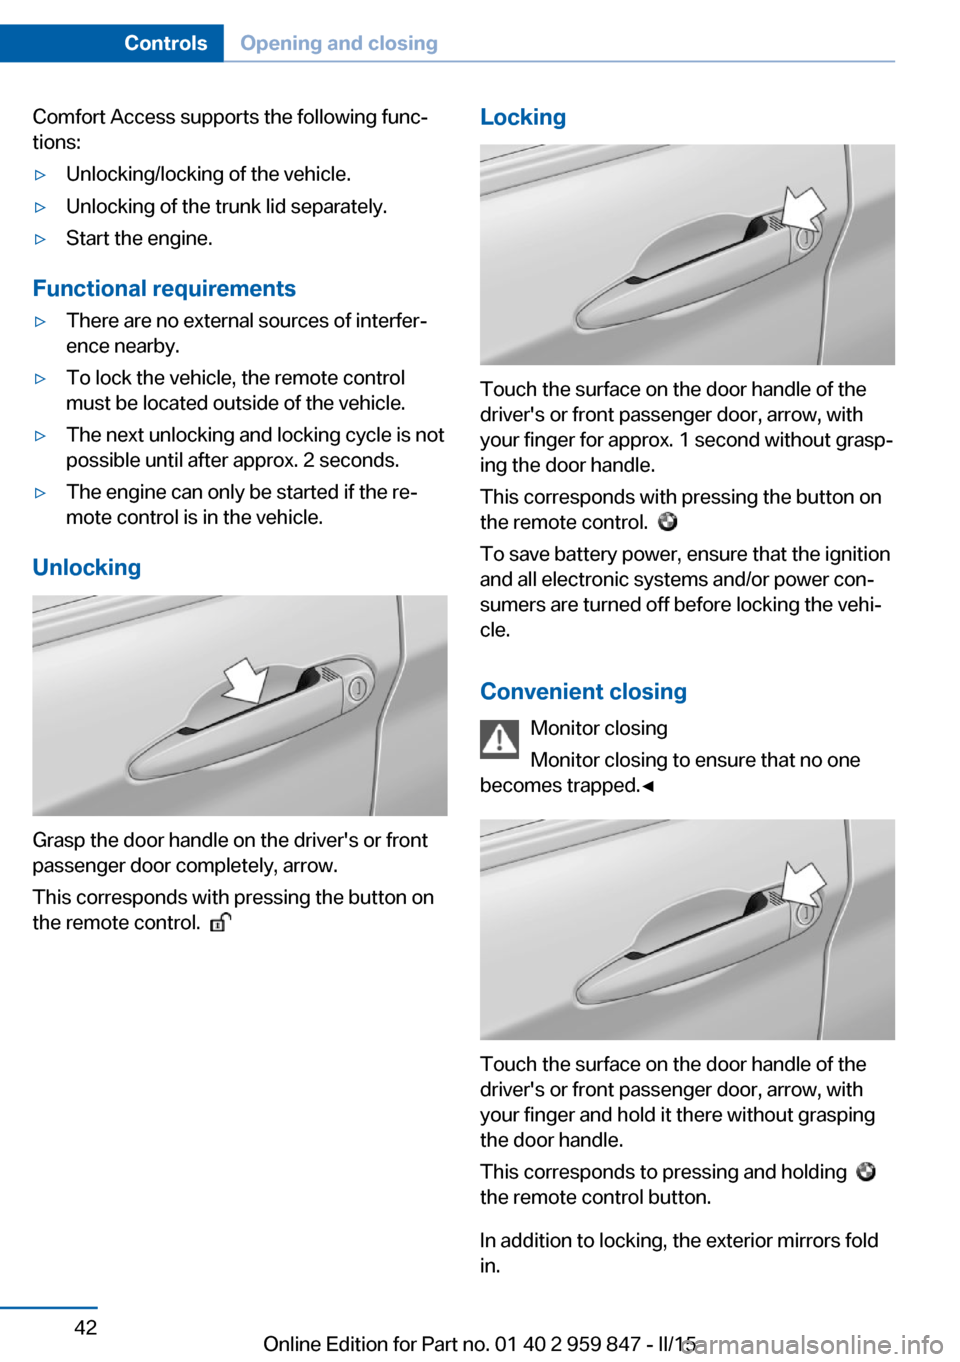
Grasp the door handle on the driver's or front
passenger door completely, arrow.
This corresponds with pressing the button on
the remote control.
Locking
Touch the surface on the door handle of the
driver's or front passenger door, arrow, with
your finger for approx. 1 second without grasp‐
ing the door handle.
This corresponds with pressing the button on
the remote control.
To save battery power, ensure that the ignition
and all electronic systems and/or power con‐
sumers are turned off before locking the vehi‐
cle.
Convenient closing Monitor closing
Monitor closing to ensure that no one
becomes trapped.◀
Touch the surface on the door handle of the
driver's or front passenger door, arrow, with
your finger and hold it there without grasping
the door handle.
This corresponds to pressing and holding
the remote control button.
In addition to locking, the exterior mirrors fold
in.
Seite 42ControlsOpening and closing42
Online Edition for Part no. 01 40 2 959 847 - II/15
Page 52 of 234
Safety informationDo not open convertible top at low tem‐
peratures
With temperatures below +14 ℉/-10 ℃ do not
open the convertible top; otherwise damages
could result.◀
Allow wet convertible top to dry
Do not leave the open convertible top in
the convertible top well longer than one day
while the top is still wet; otherwise, damage
could result due to moisture.◀
Note the swivel range of the convertible
top
The convertible top pivots up during opening
and closing. When the top is moved, e.g., in
garages, make sure that there is a minimum
height of 79 inches/2 meters; otherwise, it
damages may result.◀
Do not place objects on the convertible
top
Do not place any objects on the convertible
top, otherwise, they could fall and cause dam‐
age or injuries.◀
No convertible top movement when roll‐
over protection is activated
Do not move the convertible top when rollover
protection is activated; otherwise, it may result
in damage to the convertible top.◀
Open and close convertible top com‐
pletely
Always open or close the convertible top com‐ pletely. Convertible top and convertible top
well storage cover are locked in the final posi‐
tions. Driving with the convertible top or
convertible top well storage cover unlocked
can result in damage.◀
Do not reach into the convertible top
mechanism
Do not reach into the convertible top mecha‐
nism during the opening and closing operation.Keep children away from the opening path of
the convertible top, otherwise, there is a risk of
injury.◀
Observe traffic during operation
When the convertible top is opened while
driving, be alert to traffic; otherwise, it may re‐
sult in an accident. If possible, do not move the
convertible top while driving in reverse be‐
cause rearward vision is severely impaired
while the convertible top is in motion. During
windy conditions, do not operate the
convertible top while driving.
Do not drive faster than 30 mph/50 km/h; oth‐
erwise, vehicle damage may occur.◀
Do not attach any roof carrier systems to
the convertible top
Do not attach any roof carrier systems; other‐
wise, an accident may occur.◀
Do not operate convertible top on un‐
even sections or road
Do not open or close convertible top on un‐
even sections of road. Otherwise, the vibra‐
tions can result in damage to the convertible
top.◀
Before opening and closing▷Follow the safety instructions for the
convertible top.▷Make sure that the trunk partition in the
trunk is folded down.▷Make sure that the cargo does not push
against the trunk partition from below.▷Make sure that the trunk lid is closed.
Opening and closing from the inside
In order to protect the battery, move the
convertible top only when the engine is run‐
ning if possible.
Before closing the convertible top, remove any
foreign objects from the windshield frame; oth‐
erwise, closing may be prevented.
Seite 48ControlsOpening and closing48
Online Edition for Part no. 01 40 2 959 847 - II/15
Page 53 of 234
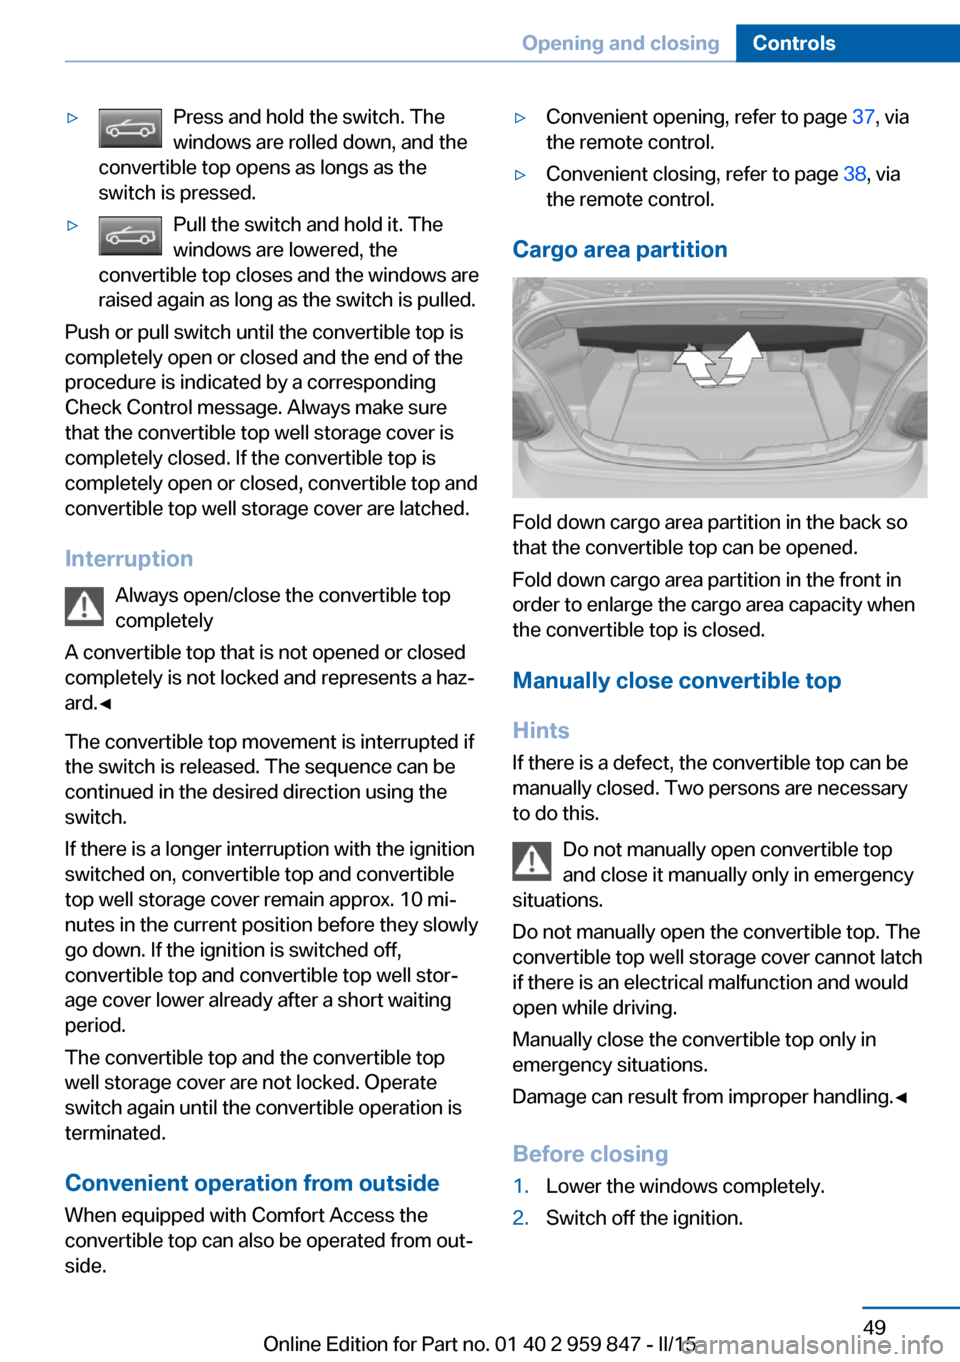
▷Press and hold the switch. The
windows are rolled down, and the
convertible top opens as longs as the
switch is pressed.▷Pull the switch and hold it. The
windows are lowered, the
convertible top closes and the windows are
raised again as long as the switch is pulled.
Push or pull switch until the convertible top is
completely open or closed and the end of the
procedure is indicated by a corresponding
Check Control message. Always make sure
that the convertible top well storage cover is
completely closed. If the convertible top is
completely open or closed, convertible top and
convertible top well storage cover are latched.
Interruption Always open/close the convertible top
completely
A convertible top that is not opened or closed
completely is not locked and represents a haz‐
ard.◀
The convertible top movement is interrupted if
the switch is released. The sequence can be
continued in the desired direction using the
switch.
If there is a longer interruption with the ignition
switched on, convertible top and convertible
top well storage cover remain approx. 10 mi‐ nutes in the current position before they slowly
go down. If the ignition is switched off,
convertible top and convertible top well stor‐ age cover lower already after a short waiting
period.
The convertible top and the convertible top
well storage cover are not locked. Operate
switch again until the convertible operation is
terminated.
Convenient operation from outside
When equipped with Comfort Access the convertible top can also be operated from out‐
side.
▷Convenient opening, refer to page 37, via
the remote control.▷Convenient closing, refer to page 38, via
the remote control.
Cargo area partition
Fold down cargo area partition in the back so
that the convertible top can be opened.
Fold down cargo area partition in the front in
order to enlarge the cargo area capacity when
the convertible top is closed.
Manually close convertible top
Hints
If there is a defect, the convertible top can be
manually closed. Two persons are necessary
to do this.
Do not manually open convertible top
and close it manually only in emergency
situations.
Do not manually open the convertible top. The
convertible top well storage cover cannot latch
if there is an electrical malfunction and would
open while driving.
Manually close the convertible top only in
emergency situations.
Damage can result from improper handling.◀
Before closing
1.Lower the windows completely.2.Switch off the ignition.Seite 49Opening and closingControls49
Online Edition for Part no. 01 40 2 959 847 - II/15
Page 56 of 234
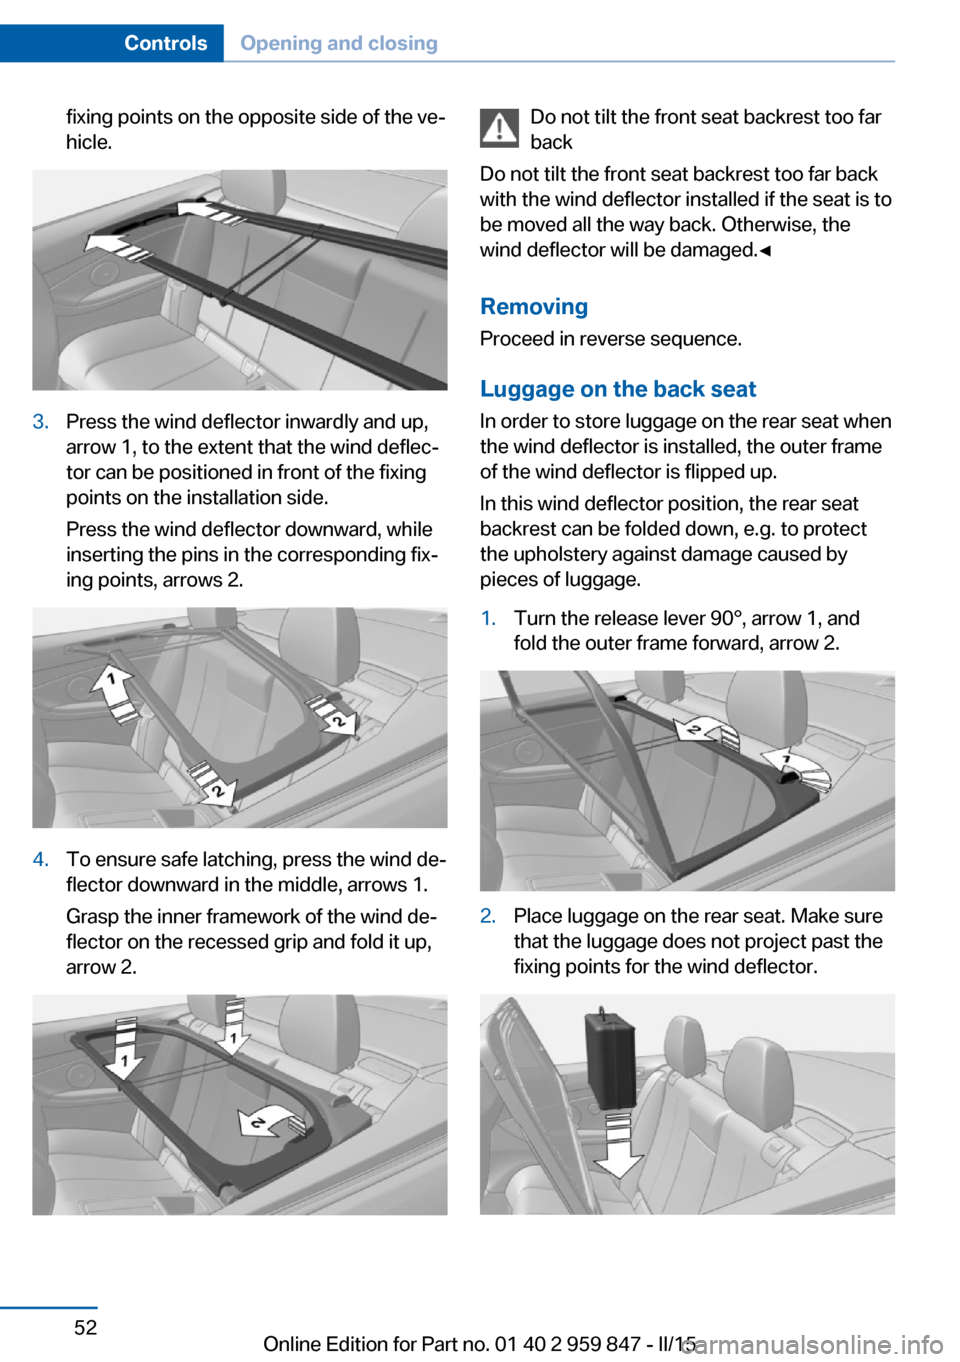
fixing points on the opposite side of the ve‐
hicle.3.Press the wind deflector inwardly and up,
arrow 1, to the extent that the wind deflec‐
tor can be positioned in front of the fixing
points on the installation side.
Press the wind deflector downward, while
inserting the pins in the corresponding fix‐
ing points, arrows 2.4.To ensure safe latching, press the wind de‐
flector downward in the middle, arrows 1.
Grasp the inner framework of the wind de‐
flector on the recessed grip and fold it up,
arrow 2.Do not tilt the front seat backrest too far
back
Do not tilt the front seat backrest too far back
with the wind deflector installed if the seat is to
be moved all the way back. Otherwise, the
wind deflector will be damaged.◀
RemovingProceed in reverse sequence.
Luggage on the back seat In order to store luggage on the rear seat when
the wind deflector is installed, the outer frame
of the wind deflector is flipped up.
In this wind deflector position, the rear seat
backrest can be folded down, e.g. to protect
the upholstery against damage caused by
pieces of luggage.1.Turn the release lever 90°, arrow 1, and
fold the outer frame forward, arrow 2.2.Place luggage on the rear seat. Make sure
that the luggage does not project past the
fixing points for the wind deflector.Seite 52ControlsOpening and closing52
Online Edition for Part no. 01 40 2 959 847 - II/15
Page 57 of 234
3.Fold wind deflector back and align it with
the fixing point on the opposite side of the
vehicle.
Turn release lever back by 45° in order to
extend the opposing pin.4.Align wind deflector with the fixing point on
the installation side and turn back the re‐
lease lever another 45° in order to extend
the second pin.Seite 53Opening and closingControls53
Online Edition for Part no. 01 40 2 959 847 - II/15
Page 61 of 234
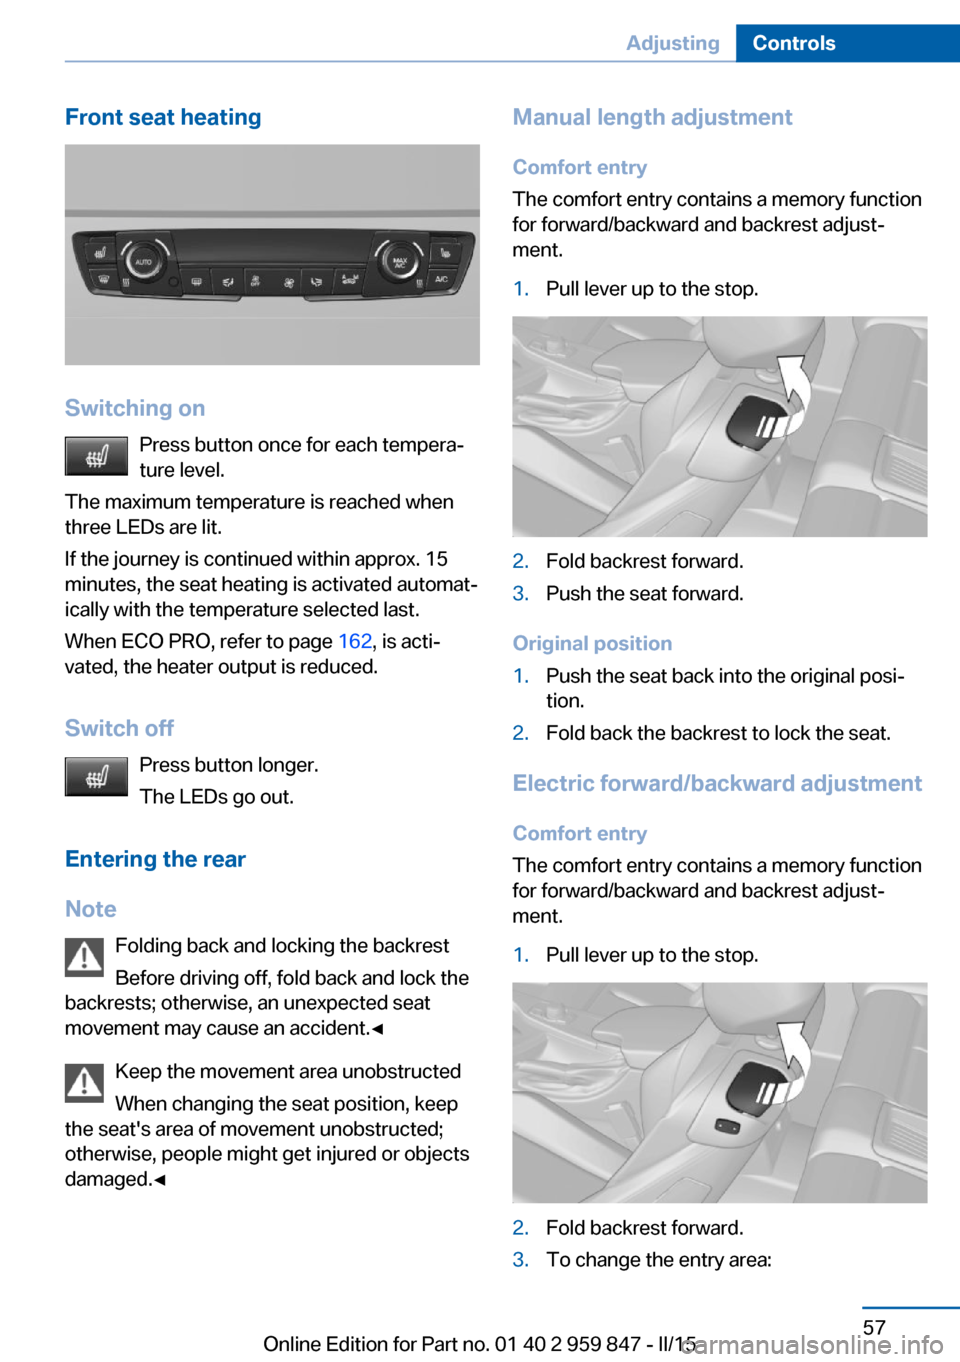
Front seat heating
Switching onPress button once for each tempera‐
ture level.
The maximum temperature is reached when
three LEDs are lit.
If the journey is continued within approx. 15
minutes, the seat heating is activated automat‐
ically with the temperature selected last.
When ECO PRO, refer to page 162, is acti‐
vated, the heater output is reduced.
Switch off Press button longer.
The LEDs go out.
Entering the rear
Note Folding back and locking the backrest
Before driving off, fold back and lock the
backrests; otherwise, an unexpected seat
movement may cause an accident.◀
Keep the movement area unobstructed
When changing the seat position, keep
the seat's area of movement unobstructed;
otherwise, people might get injured or objects
damaged.◀
Manual length adjustment
Comfort entry
The comfort entry contains a memory function
for forward/backward and backrest adjust‐
ment.1.Pull lever up to the stop.2.Fold backrest forward.3.Push the seat forward.
Original position
1.Push the seat back into the original posi‐
tion.2.Fold back the backrest to lock the seat.
Electric forward/backward adjustment
Comfort entry
The comfort entry contains a memory function
for forward/backward and backrest adjust‐
ment.
1.Pull lever up to the stop.2.Fold backrest forward.3.To change the entry area:Seite 57AdjustingControls57
Online Edition for Part no. 01 40 2 959 847 - II/15
Page 62 of 234
▷Press and hold this button until
the seat has moved to the de‐
sired position. Releasing the button
stops window/roof movement.▷Press button briefly. The seat au‐
tomatically moves to the end po‐
sition. Pressing again stops the motion.
Original position
1.Moving the seat to its original position:▷Press and hold this button until
the seat has moved to its original
position. Releasing the button stops
window/roof movement.▷Press button briefly. The seat
moves to its original position.
Pressing again stops the motion.2.Folding the backrest back.
Safety belts
Seats with safety belt
The vehicle has four seats, each of which is
equipped with a safety belt.
General information
Always make sure that safety belts are being
worn by all occupants before driving off.
For the occupants' safety the belt locking
mechanism triggers early. Slowly guide the
belt out of the holder when applying it.
Although airbags enhance safety by providing
added protection, they are not a substitute for
safety belts.
The upper shoulder strap's anchorage point
will be correct for adult seat occupants of ev‐
ery build if the seat is correctly adjusted.
Hints
One person per safety belt
Never allow more than one person to
wear a single safety belt. Never allow infants or
small children to ride on a passenger's lap.◀
Putting on the belt
Lay the belt, without twisting, snugly
across the lap and shoulders, as close to the
body as possible. Make sure that the belt lies
low around the hips in the lap area and does
not press on the abdomen. Otherwise, the belt
can slip over the hips in a frontal impact and in‐
jure the abdomen.
The safety belt must not lie across the neck,
rub on sharp edges, be routed over breakable
objects, or be pinched.◀
What reduces the restraining effect
Avoid wearing bulky clothing, and pull
the shoulder belt periodically to readjust the
tension. Make sure that the belt is not jammed;
otherwise, the belt can be damaged and the
restraining effect is reduced.◀
Buckling the belt
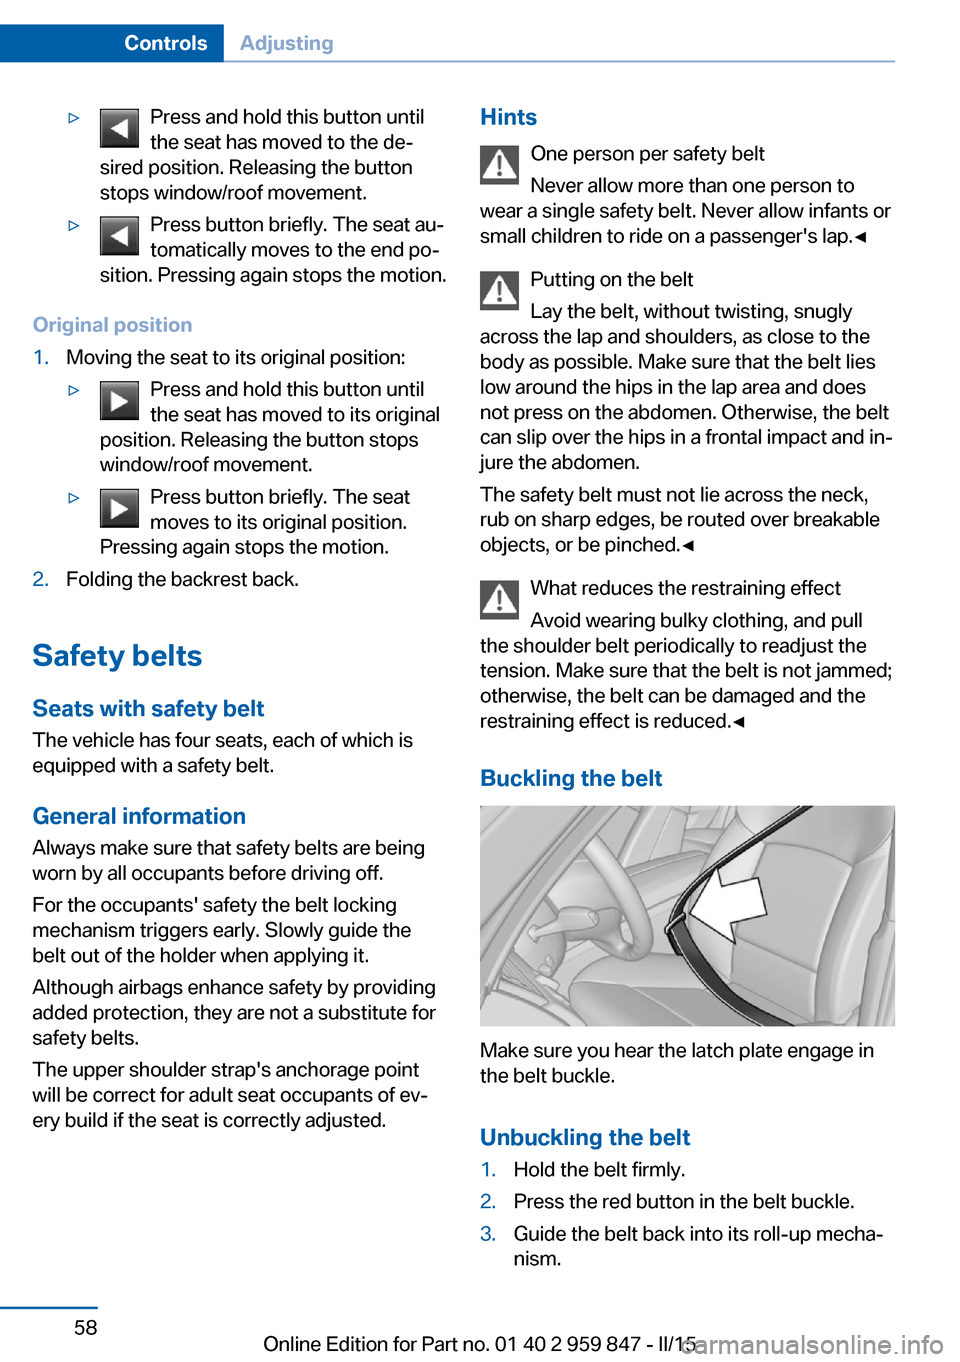
Make sure you hear the latch plate engage in
the belt buckle.
Unbuckling the belt
1.Hold the belt firmly.2.Press the red button in the belt buckle.3.Guide the belt back into its roll-up mecha‐
nism.Seite 58ControlsAdjusting58
Online Edition for Part no. 01 40 2 959 847 - II/15
Page 65 of 234
Calling up of a seat position
deactivated
After a brief period, calling up stored seat posi‐
tions is deactivated to save battery power.
To reactivate calling up of a seat position:▷Open and close the door or trunk lid.▷Press a button on the remote control.▷Press the Start/Stop button.
Mirrors
Exterior mirrors
General information The mirror on the passenger side is more
curved than the driver's side mirror.
Depending on the vehicle equipment, the mir‐
ror setting is stored for the profile currently in
use. When the vehicle is unlocked via the re‐
mote control, the position is automatically re‐
trieved if this function is active.
Note Estimating distances correctly
Objects reflected in the mirror are closer
than they appear. Do not estimate the distance
to the traffic behind you based on what you
see in the mirror, as this will increase your risk
of an accident.◀
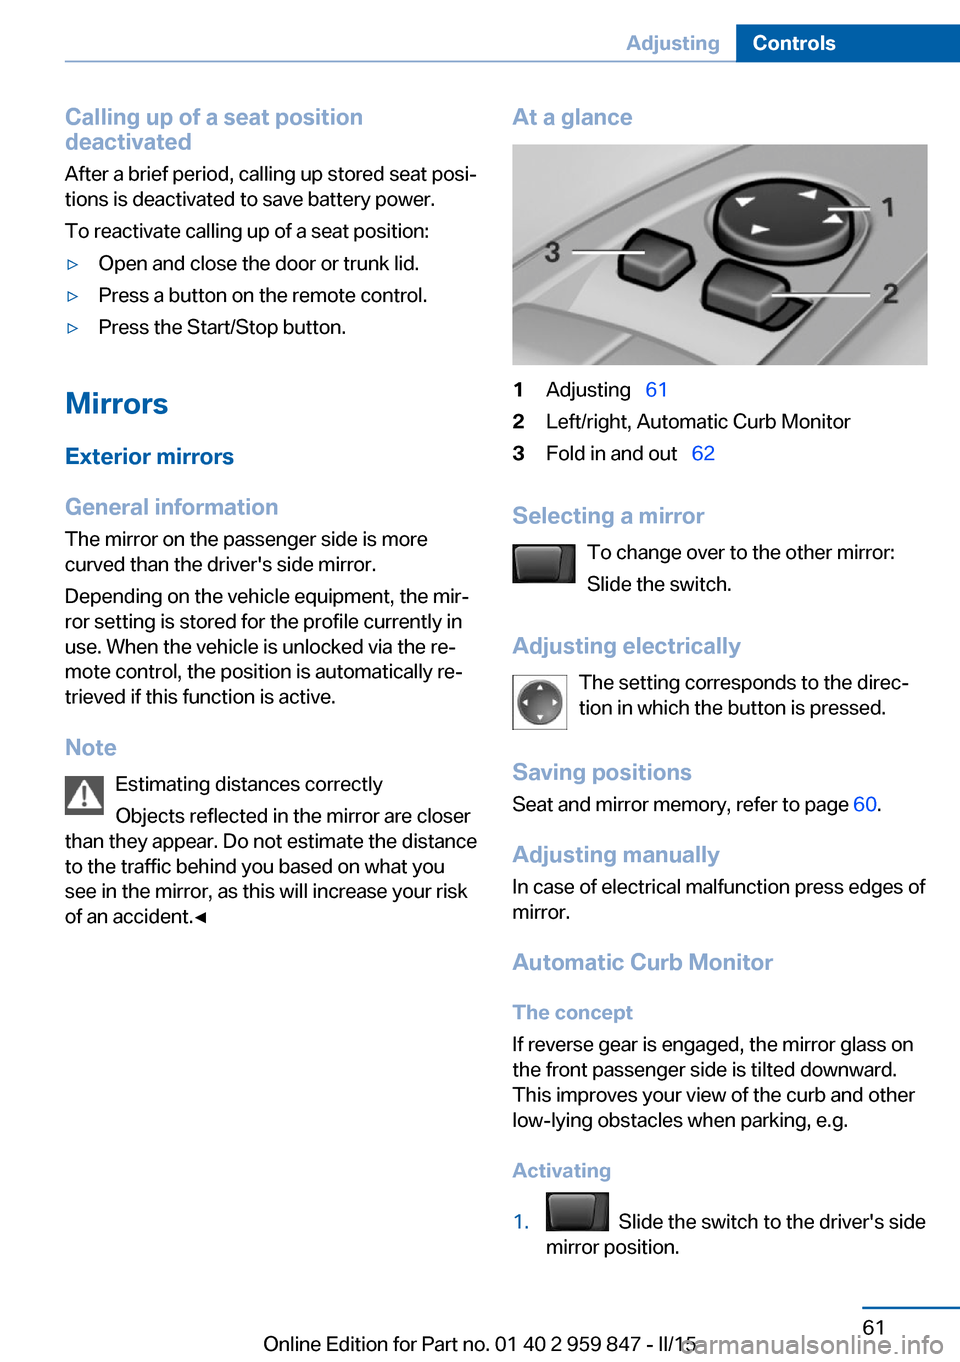
At a glance1Adjusting 612Left/right, Automatic Curb Monitor3Fold in and out 62
Selecting a mirror
To change over to the other mirror:
Slide the switch.
Adjusting electrically The setting corresponds to the direc‐
tion in which the button is pressed.
Saving positions
Seat and mirror memory, refer to page 60.
Adjusting manually
In case of electrical malfunction press edges of
mirror.
Automatic Curb MonitorThe concept
If reverse gear is engaged, the mirror glass on
the front passenger side is tilted downward.
This improves your view of the curb and other
low-lying obstacles when parking, e.g.
Activating
1. Slide the switch to the driver's side
mirror position.
Seite 61AdjustingControls61
Online Edition for Part no. 01 40 2 959 847 - II/15