engine BMW 3.0i ROADSTER&COUPE 2004 User Guide
[x] Cancel search | Manufacturer: BMW, Model Year: 2004, Model line: 3.0i ROADSTER&COUPE, Model: BMW 3.0i ROADSTER&COUPE 2004Pages: 120, PDF Size: 3.44 MB
Page 44 of 120
Driving
42 You accelerate from higher gears, e.g. dur-
ing passing, by downshifting manually.
In the following situations, the SMG in the
sequential mode assists you:
>The transmission will only execute
upshifts and downshifts that will result
in an appropriate combination of vehi-
cle speed and engine rpm. For
instance, downshifts that would result
in excessive engine speed cannot be
executed
>During a stop the gearbox is automati-
cally downshifted into first gear
>Shortly before a gear-dependent mini-
mum speed is reached, the gearbox
shifts down automatically without you
taking any action.
Display in the instrument cluster
Gear indicator
R N 1 2 3 4 5 6 D1 D2 D3 D4 D5 D6
The currently engaged gear, the selected
mode, and any possible malfunctions are
displayed in the instrument cluster.
Malfunctions
Indicator lamp
If the indicator lamp comes on,
there is a malfunction in the trans-
mission system.
All of the selector lever positions can con-
tinue to be engaged; however, in the for-
ward drive positions the range of available
gears is restricted.
If this happens, avoid extreme engine loads
and consult the nearest BMW center.
Warning tone
An acoustic signal sounds if the SMG gear-
box overheats; if possible you should either
stop or increase your pullaway speed so
that the system can cool down.
For jump-starting and towing, refer to the
information on page 94.
Driving Dynamic Control
The Driving Dynamic Control feature lets
you select between a standard and a sport
program.
Sport program
>The engine responds more spontane-
ously to any motion of the accelerator
pedal
>The vehicle is steered more directly and
traction is enhanced
Additionally with SMG and automatic
transmission:
>The shifting times are reduced
>The engine speed range is optimally uti-
lized in the drive mode.
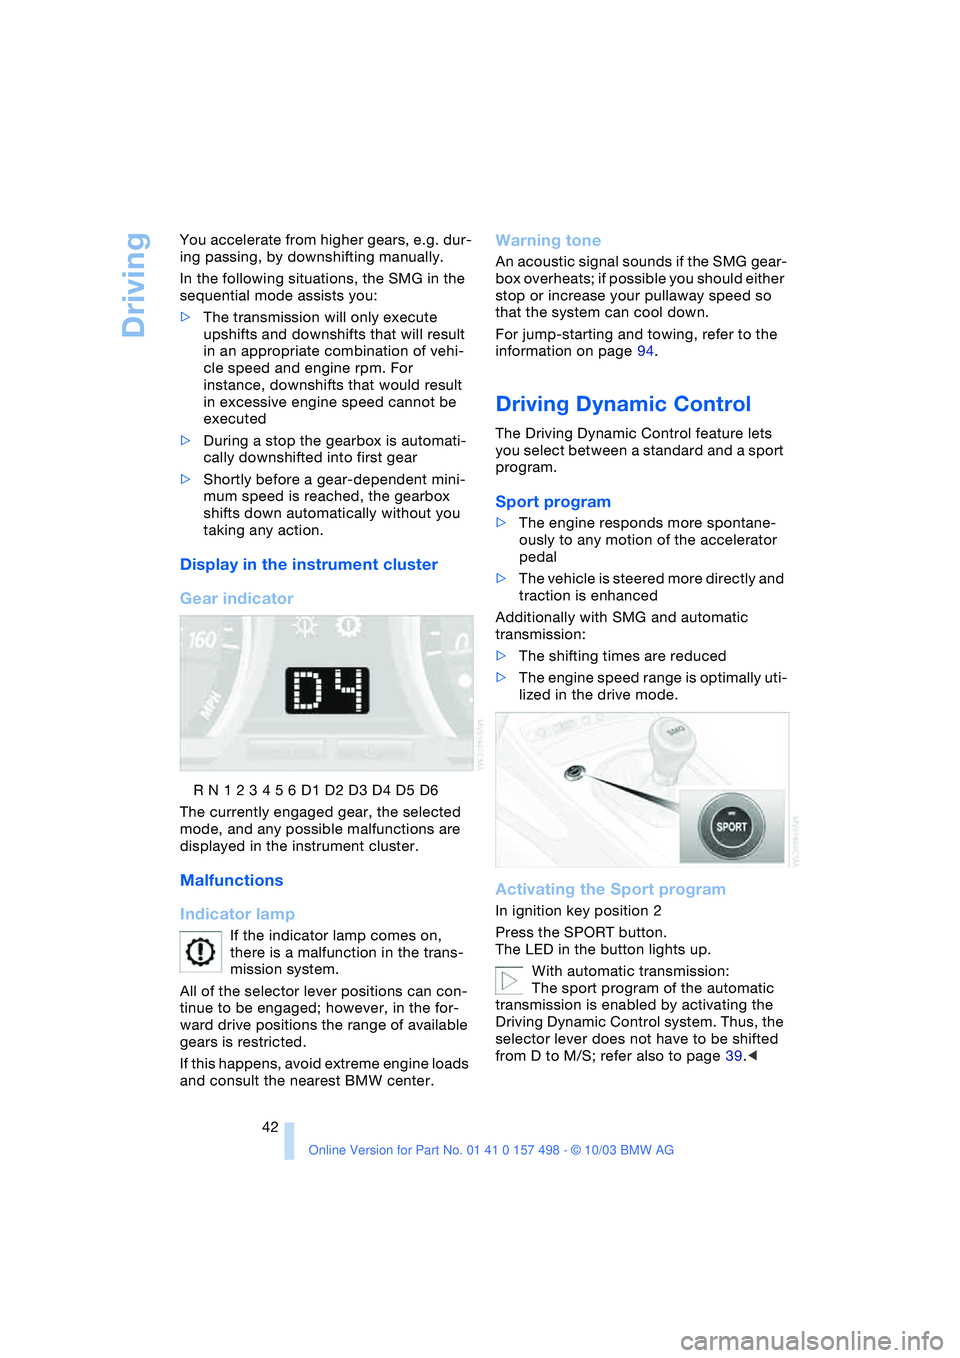
Activating the Sport program
In ignition key position 2
Press the SPORT button.
The LED in the button lights up.
With automatic transmission:
The sport program of the automatic
transmission is enabled by activating the
Driving Dynamic Control system. Thus, the
selector lever does not have to be shifted
from D to M/S; refer also to page 39.<
Page 47 of 120
Reference
At a glance
Controls
Driving tips
Mobility
45
Cruise control*
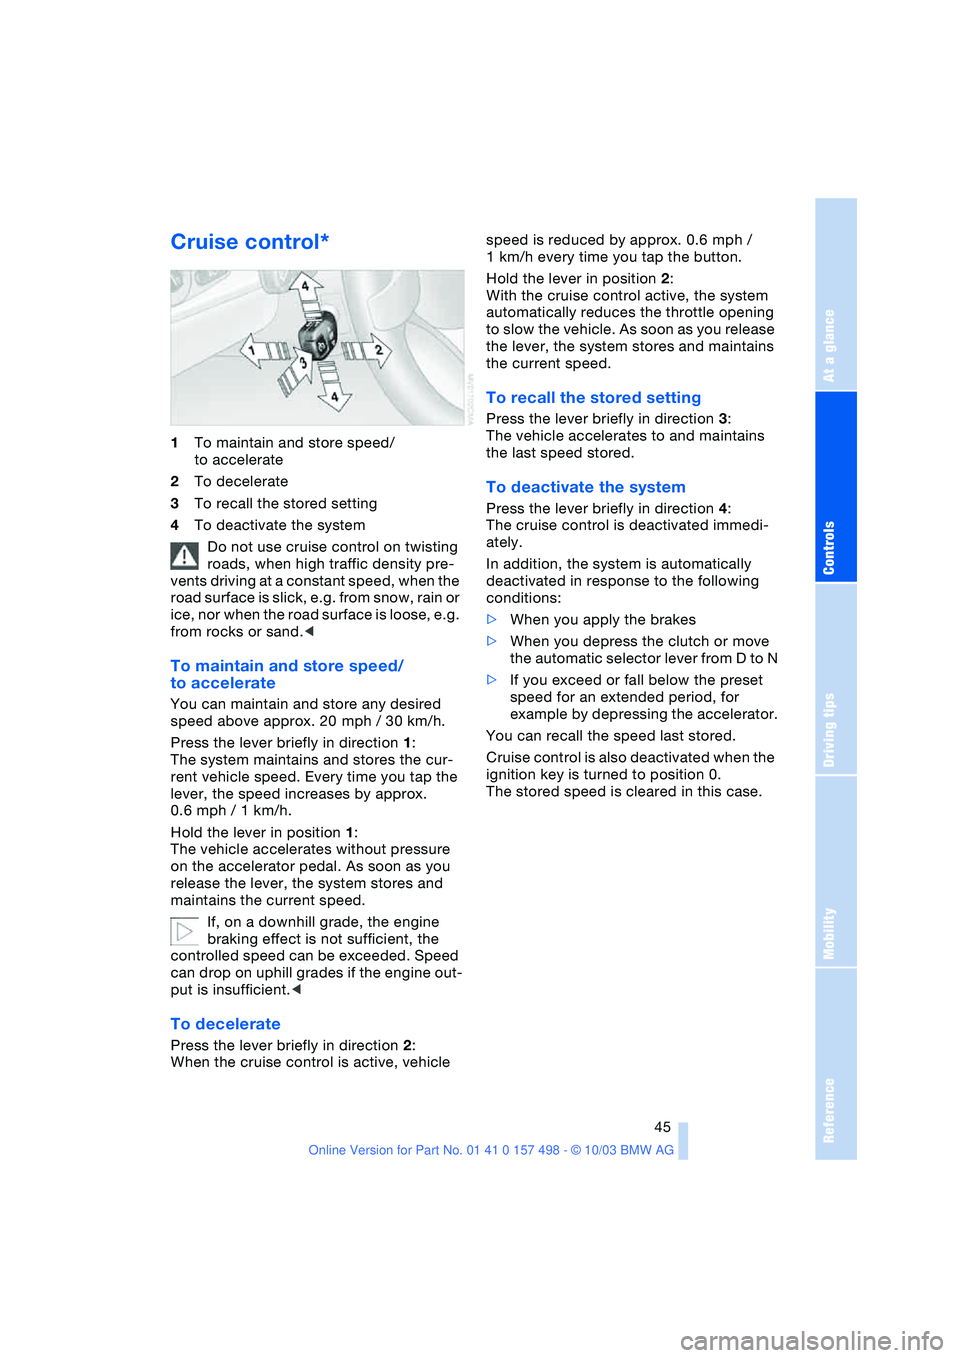
1To maintain and store speed/
to accelerate
2To decelerate
3To recall the stored setting
4To deactivate the system
Do not use cruise control on twisting
roads, when high traffic density pre-
vents driving at a constant speed, when the
road surface is slick, e.g. from snow, rain or
ice, nor when the road surface is loose, e.g.
from rocks or sand.<
To maintain and store speed/
to accelerate
You can maintain and store any desired
speed above approx. 20 mph / 30 km/h.
Press the lever briefly in direction 1:
The system maintains and stores the cur-
rent vehicle speed. Every time you tap the
lever, the speed increases by approx.
0.6 mph / 1 km/h.
Hold the lever in position 1:
The vehicle accelerates without pressure
on the accelerator pedal. As soon as you
release the lever, the system stores and
maintains the current speed.
If, on a downhill grade, the engine
braking effect is not sufficient, the
controlled speed can be exceeded. Speed
can drop on uphill grades if the engine out-
put is insufficient.<
To decelerate
Press the lever briefly in direction 2:
When the cruise control is active, vehicle speed is reduced by approx. 0.6 mph /
1 km/h every time you tap the button.
Hold the lever in position 2:
With the cruise control active, the system
automatically reduces the throttle opening
to slow the vehicle. As soon as you release
the lever, the system stores and maintains
the current speed.
To recall the stored setting
Press the lever briefly in direction 3:
The vehicle accelerates to and maintains
the last speed stored.
To deactivate the system
Press the lever briefly in direction 4:
The cruise control is deactivated immedi-
ately.
In addition, the system is automatically
deactivated in response to the following
conditions:
>When you apply the brakes
>When you depress the clutch or move
the automatic selector lever from D to N
>If you exceed or fall below the preset
speed for an extended period, for
example by depressing the accelerator.
You can recall the speed last stored.
Cruise control is also deactivated when the
ignition key is turned to position 0.
The stored speed is cleared in this case.
Page 50 of 120
Everything under control
48
Everything under control
Odometer
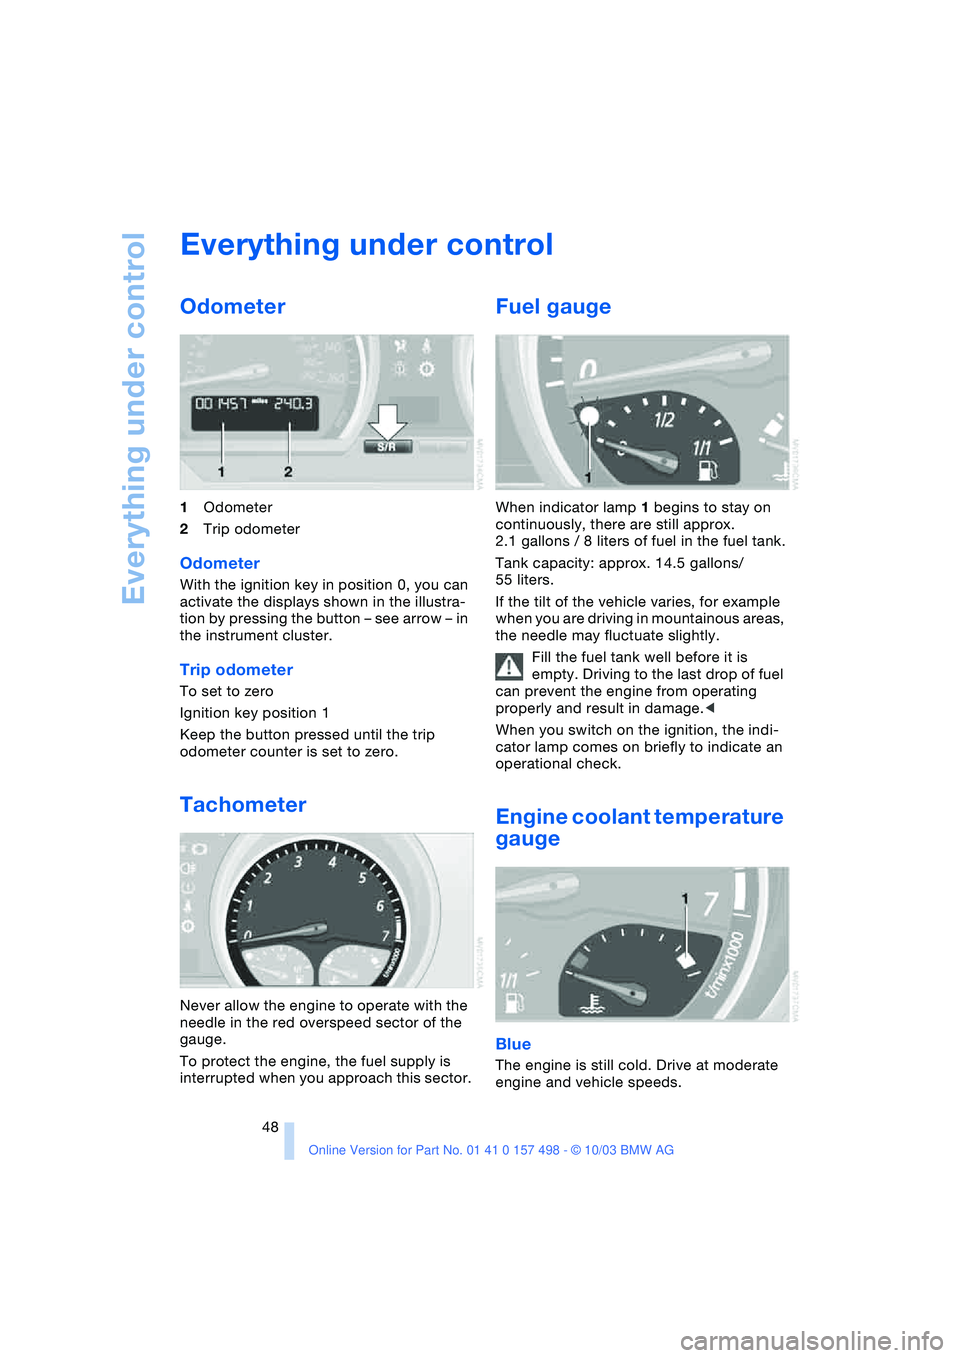
1Odometer
2Trip odometer
Odometer
With the ignition key in position 0, you can
activate the displays shown in the illustra-
tion by pressing the button – see arrow – in
the instrument cluster.
Trip odometer
To set to zero
Ignition key position 1
Keep the button pressed until the trip
odometer counter is set to zero.
Tachometer
Never allow the engine to operate with the
needle in the red overspeed sector of the
gauge.
To protect the engine, the fuel supply is
interrupted when you approach this sector.
Fuel gauge
When indicator lamp 1 begins to stay on
continuously, there are still approx.
2.1 gallons / 8 liters of fuel in the fuel tank.
Tank capacity: approx. 14.5 gallons/
55 liters.
If the tilt of the vehicle varies, for example
when you are driving in mountainous areas,
the needle may fluctuate slightly.
Fill the fuel tank well before it is
empty. Driving to the last drop of fuel
can prevent the engine from operating
properly and result in damage.<
When you switch on the ignition, the indi-
cator lamp comes on briefly to indicate an
operational check.
Engine coolant temperature
gauge
Blue
The engine is still cold. Drive at moderate
engine and vehicle speeds.
Page 51 of 120
Reference
At a glance
Controls
Driving tips
Mobility
49
Between the blue and red zones
Normal operating range. The needle may
rise as far as the edge of the red sector dur-
ing normal operation.
Red
When you switch on the ignition, warning
lamp 1 comes on briefly to indicate an
operational check.
Comes on while driving:
The engine has overheated. Stop and
switch the engine off immediately and
allow it to cool down.
For checking the coolant level, refer to
page 84.
Service interval display
Remaining distance to next service
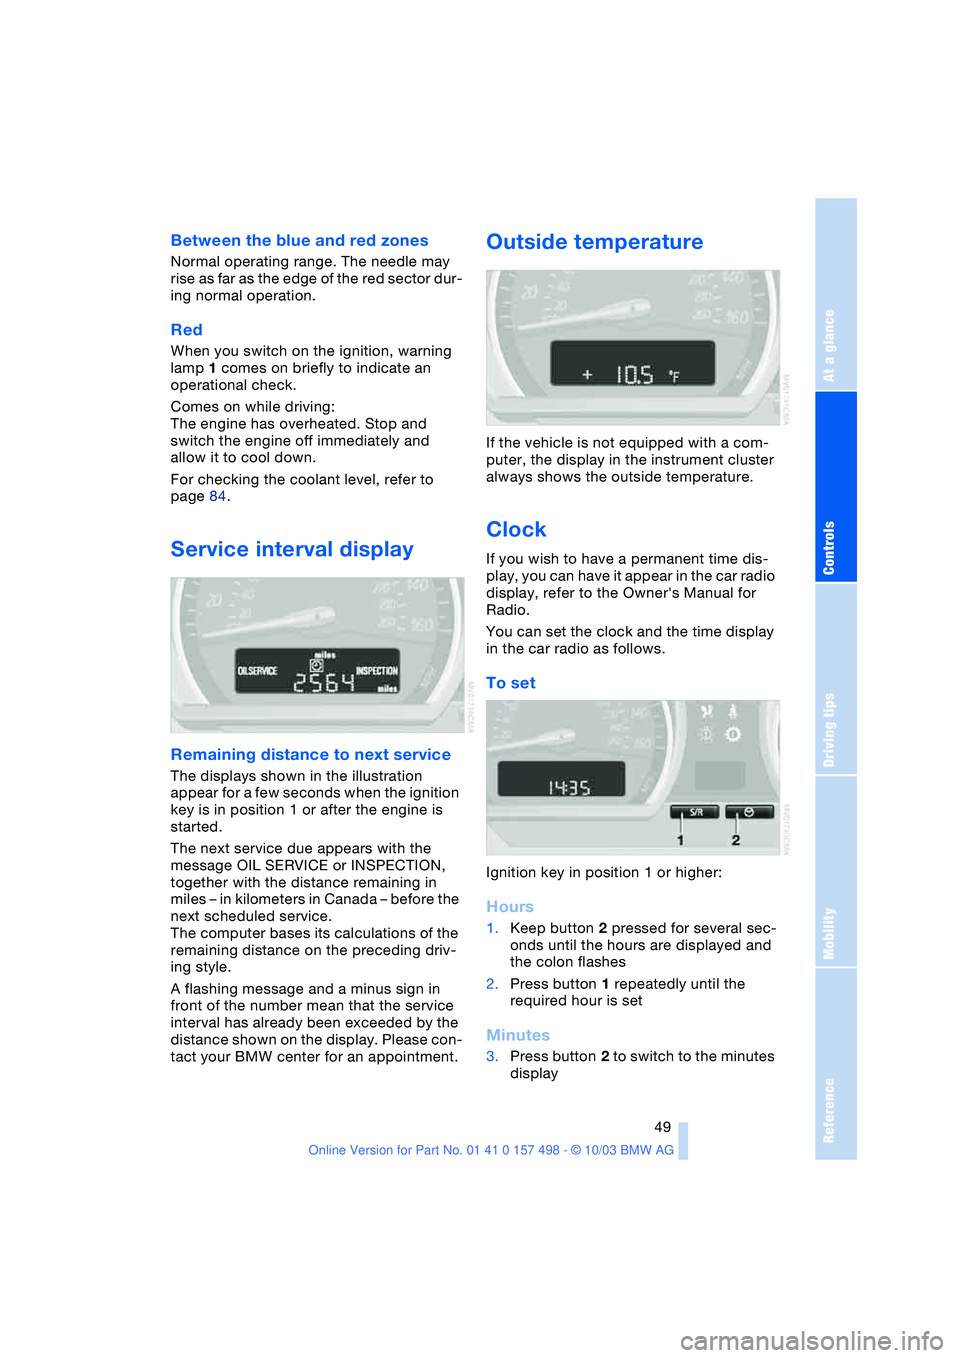
The displays shown in the illustration
appear for a few seconds when the ignition
key is in position 1 or after the engine is
started.
The next service due appears with the
message OIL SERVICE or INSPECTION,
together with the distance remaining in
miles – in kilometers in Canada – before the
next scheduled service.
The computer bases its calculations of the
remaining distance on the preceding driv-
ing style.
A flashing message and a minus sign in
front of the number mean that the service
interval has already been exceeded by the
distance shown on the display. Please con-
tact your BMW center for an appointment.
Outside temperature
If the vehicle is not equipped with a com-
puter, the display in the instrument cluster
always shows the outside temperature.
Clock
If you wish to have a permanent time dis-
play, you can have it appear in the car radio
display, refer to the Owner's Manual for
Radio.
You can set the clock and the time display
in the car radio as follows.
To set
Ignition key in position 1 or higher:
Hours
1.Keep button 2 pressed for several sec-
onds until the hours are displayed and
the colon flashes
2.Press button 1 repeatedly until the
required hour is set
Minutes
3.Press button 2 to switch to the minutes
display
Page 53 of 120
Reference
At a glance
Controls
Driving tips
Mobility
51
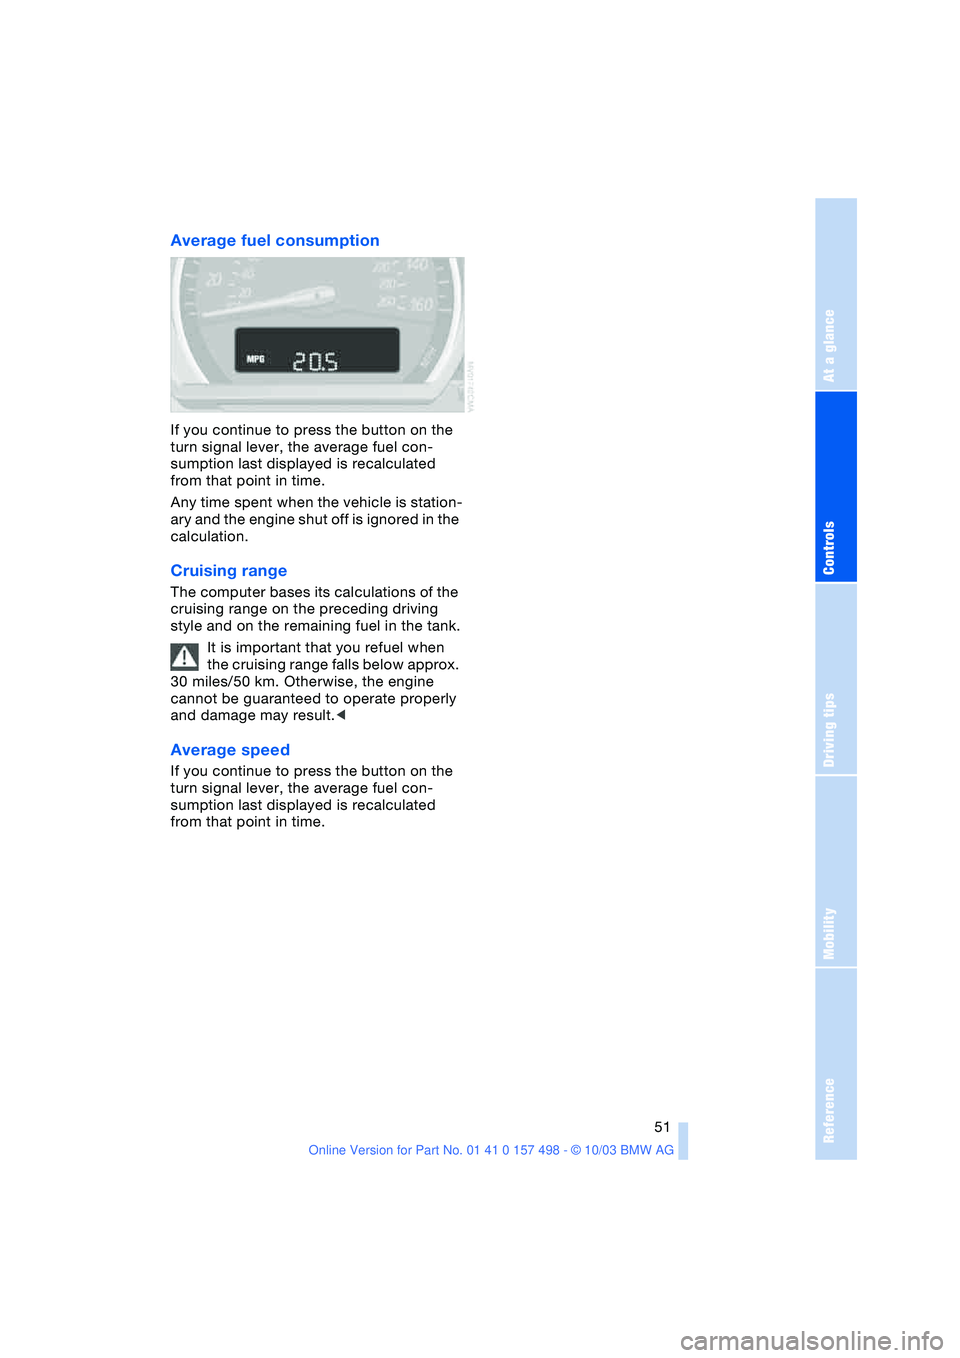
Average fuel consumption
If you continue to press the button on the
turn signal lever, the average fuel con-
sumption last displayed is recalculated
from that point in time.
Any time spent when the vehicle is station-
ary and the engine shut off is ignored in the
calculation.
Cruising range
The computer bases its calculations of the
cruising range on the preceding driving
style and on the remaining fuel in the tank.
It is important that you refuel when
the cruising range falls below approx.
30 miles/50 km. Otherwise, the engine
cannot be guaranteed to operate properly
and damage may result.<
Average speed
If you continue to press the button on the
turn signal lever, the average fuel con-
sumption last displayed is recalculated
from that point in time.
Page 54 of 120
Technology for safety and driving convenience
52
Technology for safety and driving
convenience
Dynamic Stability Control
DSC
The concept
This system optimizes driving stability and
traction, especially when just starting off,
when accelerating or when cornering. It
also maintains vehicle stability, even in crit-
ical driving situations.
DSC recognizes unstable vehicle condi-
tions, such as understeering or oversteer-
ing, and, within physically feasible limits,
helps keeping the vehicle on a steady
course by reducing engine speed and by
brake applications at individual wheels.
The DSC is operational every time you start
the engine. It includes the following func-
tions:
>Automatic Stability Control plus Trac-
tion ASC+T
>Dynamic Traction Control DTC
>Dynamic Brake Control DBC
The laws of physics cannot be
repealed even with DSC. It will always
be the driver's responsibility to drive in a
manner that matches road conditions. We
therefore urge you to avoid using the addi-
tional safety margin of the system as an
excuse for taking risks.
Do not make any modifications to the DSC
system. Allow only authorized technicians
to perform service procedures on the
DSC.<
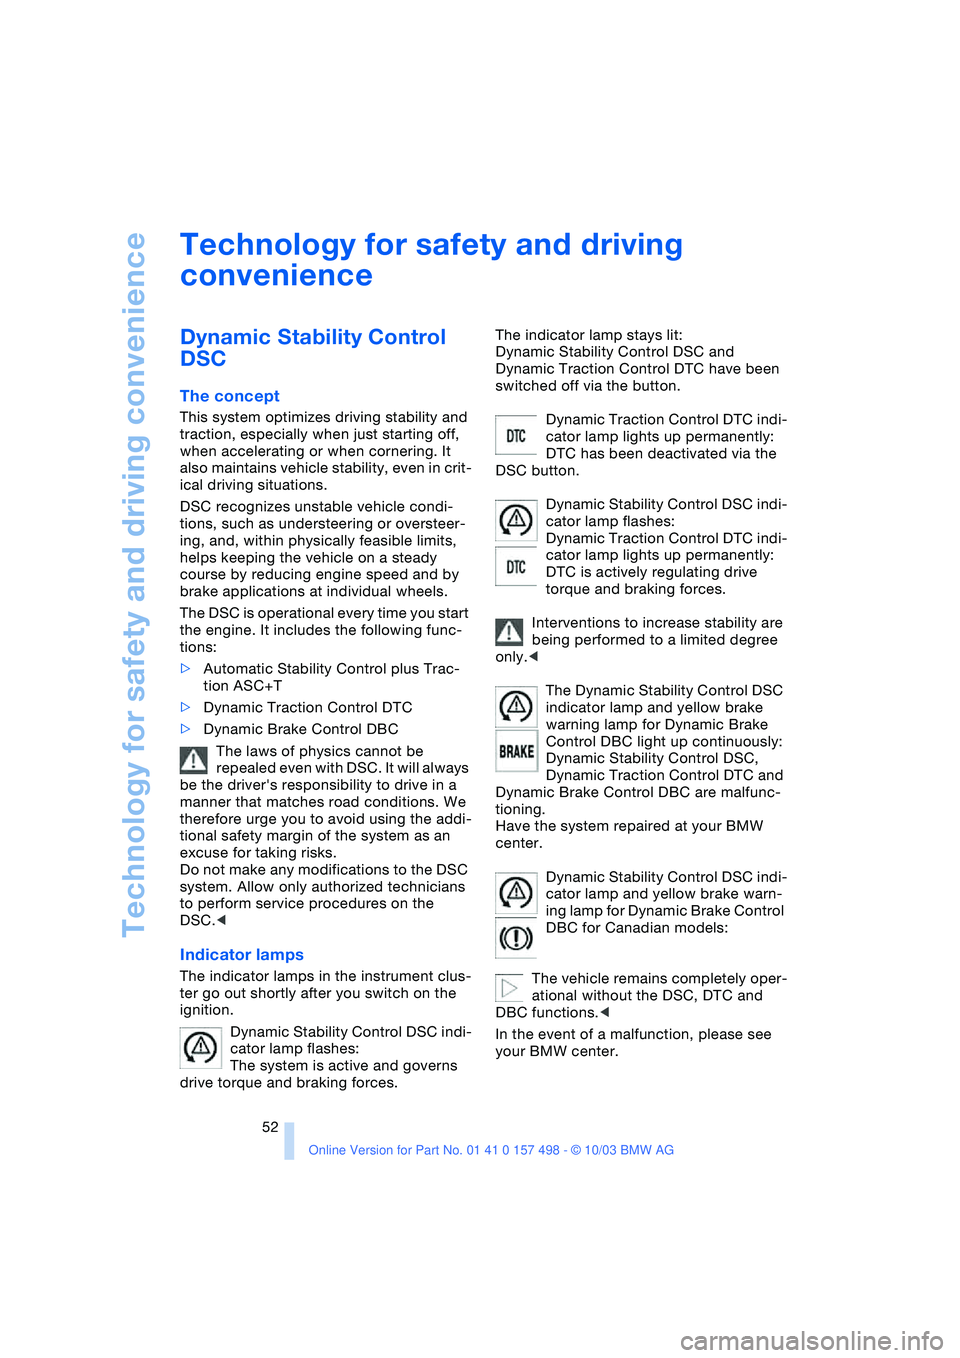
Indicator lamps
The indicator lamps in the instrument clus-
ter go out shortly after you switch on the
ignition.
Dynamic Stability Control DSC indi-
cator lamp flashes:
The system is active and governs
drive torque and braking forces.The indicator lamp stays lit:
Dynamic Stability Control DSC and
Dynamic Traction Control DTC have been
switched off via the button.
Dynamic Traction Control DTC indi-
cator lamp lights up permanently:
DTC has been deactivated via the
DSC button.
Dynamic Stability Control DSC indi-
cator lamp flashes:
Dynamic Traction Control DTC indi-
cator lamp lights up permanently:
DTC is actively regulating drive
torque and braking forces.
Interventions to increase stability are
being performed to a limited degree
only.<
The Dynamic Stability Control DSC
indicator lamp and yellow brake
warning lamp for Dynamic Brake
Control DBC light up continuously:
Dynamic Stability Control DSC,
Dynamic Traction Control DTC and
Dynamic Brake Control DBC are malfunc-
tioning.
Have the system repaired at your BMW
center.
Dynamic Stability Control DSC indi-
cator lamp and yellow brake warn-
ing lamp for Dynamic Brake Control
DBC for Canadian models:
The vehicle remains completely oper-
ational without the DSC, DTC and
DBC functions.<
In the event of a malfunction, please see
your BMW center.
Page 55 of 120
Reference
At a glance
Controls
Driving tips
Mobility
53
If the brake warning lamp comes on
together with the yellow indicator
lamps for the Antilock Brake Sys-
tem ABS and the Dynamic Stability
Control DSC:
The entire ABS and DSC control
system has failed. Continue driving
cautiously and defensively. Avoid
hard brake applications. Please have the
system checked by your BMW center as
soon as possible.
Indicator and warning lamps for
Antilock Brake System ABS and
Dynamic Stability Control DSC for
Canadian models.
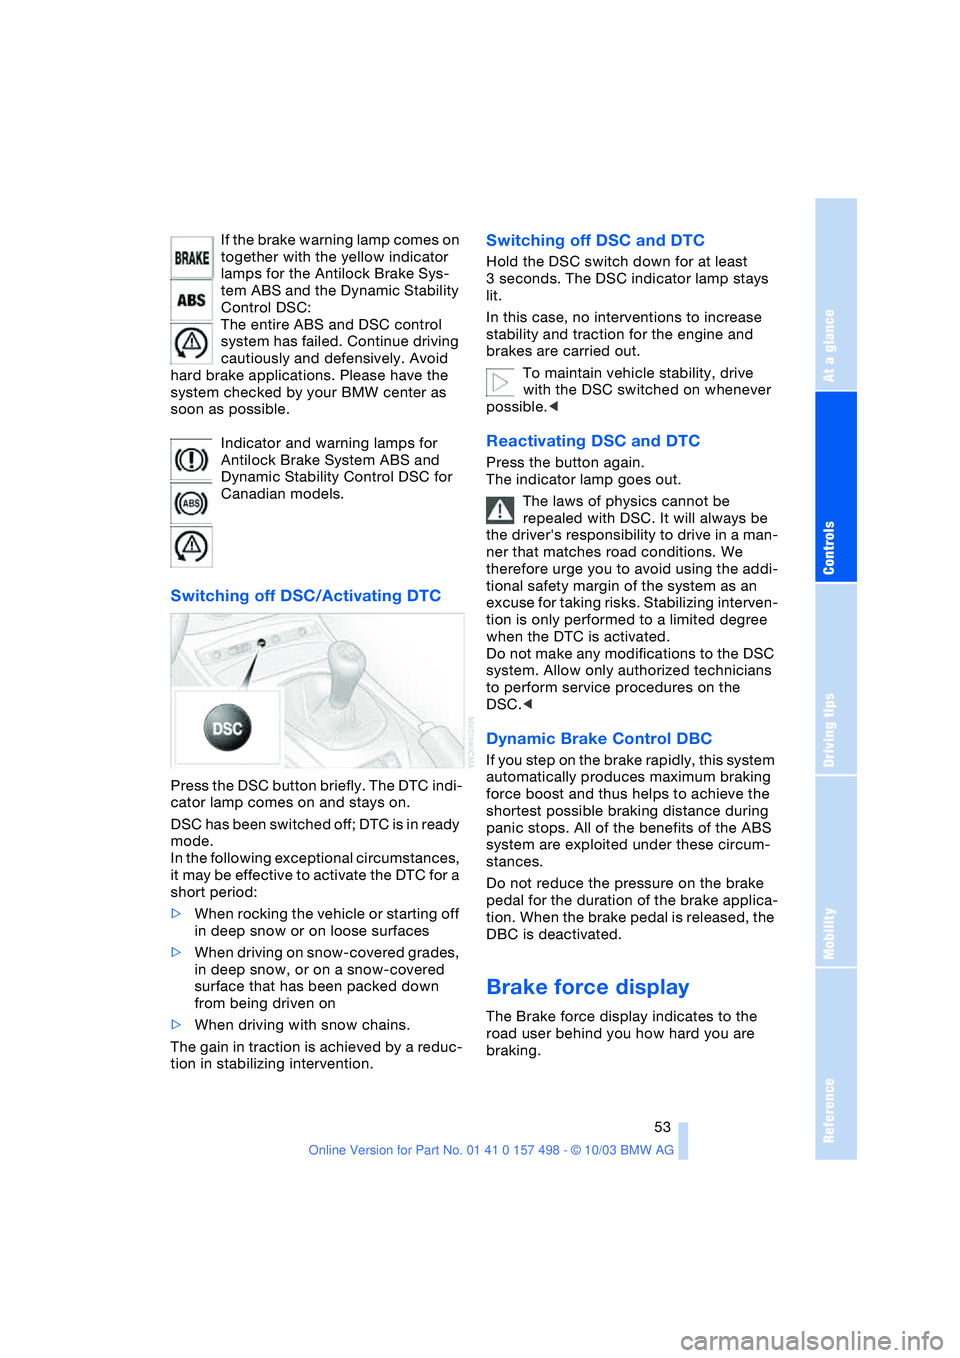
Switching off DSC/Activating DTC
Press the DSC button briefly. The DTC indi-
cator lamp comes on and stays on.
DSC has been switched off; DTC is in ready
mode.
In the following exceptional circumstances,
it may be effective to activate the DTC for a
short period:
>When rocking the vehicle or starting off
in deep snow or on loose surfaces
>When driving on snow-covered grades,
in deep snow, or on a snow-covered
surface that has been packed down
from being driven on
>When driving with snow chains.
The gain in traction is achieved by a reduc-
tion in stabilizing intervention.
Switching off DSC and DTC
Hold the DSC switch down for at least
3 seconds. The DSC indicator lamp stays
lit.
In this case, no interventions to increase
stability and traction for the engine and
brakes are carried out.
To maintain vehicle stability, drive
with the DSC switched on whenever
possible.<
Reactivating DSC and DTC
Press the button again.
The indicator lamp goes out.
The laws of physics cannot be
repealed with DSC. It will always be
the driver's responsibility to drive in a man-
ner that matches road conditions. We
therefore urge you to avoid using the addi-
tional safety margin of the system as an
excuse for taking risks. Stabilizing interven-
tion is only performed to a limited degree
when the DTC is activated.
Do not make any modifications to the DSC
system. Allow only authorized technicians
to perform service procedures on the
DSC.<
Dynamic Brake Control DBC
If you step on the brake rapidly, this system
automatically produces maximum braking
force boost and thus helps to achieve the
shortest possible braking distance during
panic stops. All of the benefits of the ABS
system are exploited under these circum-
stances.
Do not reduce the pressure on the brake
pedal for the duration of the brake applica-
tion. When the brake pedal is released, the
DBC is deactivated.
Brake force display
The Brake force display indicates to the
road user behind you how hard you are
braking.
Page 57 of 120
Reference
At a glance
Controls
Driving tips
Mobility
55
place in all four tires over an extended
period of time.<
On the other hand, the following situations
can lead to false warning, a delayed detec-
tion of pressure loss and even to the sys-
tem not functioning:
>Driving on snow-covered or slippery
roads
>Performance-oriented driving: slip at
the drive wheels, high levels of lateral
acceleration
>When driving with snow chains, false
warnings and undetected pressure
losses may occur
>If the Flat Tire Monitor was not initial-
ized after the last time the tire inflation
pressures were corrected, undetected
losses in pressure or false warnings
that indicate a non-existent flat tire are
possible.
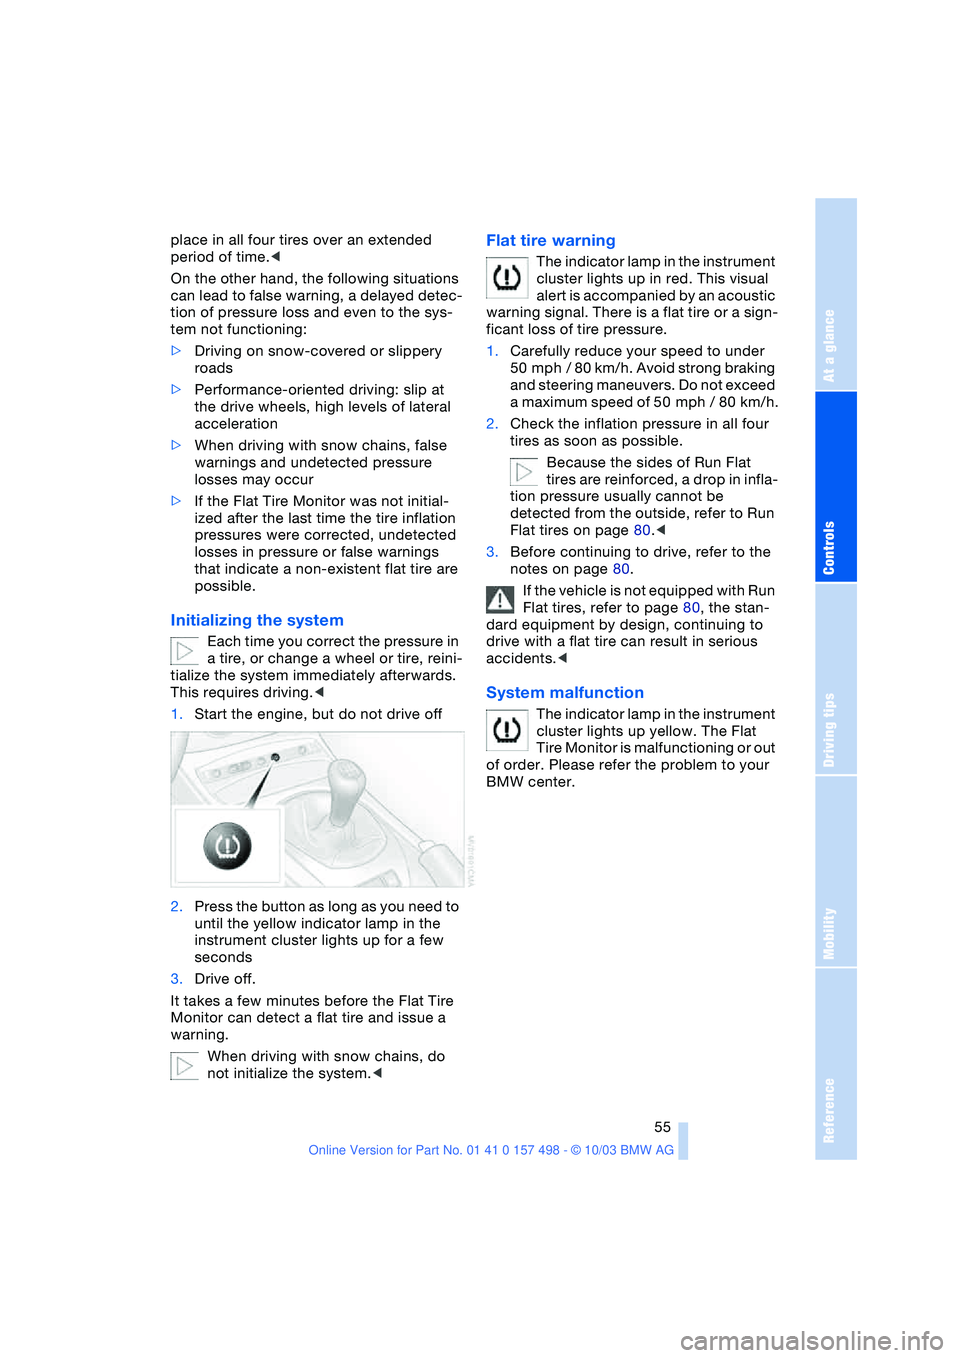
Initializing the system
Each time you correct the pressure in
a tire, or change a wheel or tire, reini-
tialize the system immediately afterwards.
This requires driving.<
1.Start the engine, but do not drive off
2.Press the button as long as you need to
until the yellow indicator lamp in the
instrument cluster lights up for a few
seconds
3.Drive off.
It takes a few minutes before the Flat Tire
Monitor can detect a flat tire and issue a
warning.
When driving with snow chains, do
not initialize the system.<
Flat tire warning
The indicator lamp in the instrument
cluster lights up in red. This visual
alert is accompanied by an acoustic
warning signal. There is a flat tire or a sign-
ficant loss of tire pressure.
1.Carefully reduce your speed to under
50 mph / 80 km/h. Avoid strong braking
and steering maneuvers. Do not exceed
a maximum speed of 50 mph / 80 km/h.
2.Check the inflation pressure in all four
tires as soon as possible.
Because the sides of Run Flat
tires are reinforced, a drop in infla-
tion pressure usually cannot be
detected from the outside, refer to Run
Flat tires on page 80.<
3.Before continuing to drive, refer to the
notes on page 80.
If the vehicle is not equipped with Run
Flat tires, refer to page 80, the stan-
dard equipment by design, continuing to
drive with a flat tire can result in serious
accidents.<
System malfunction
The indicator lamp in the instrument
cluster lights up yellow. The Flat
Tire Monitor is malfunctioning or out
of order. Please refer the problem to your
BMW center.
Page 61 of 120
Reference
At a glance
Controls
Driving tips
Mobility
59
Air distribution
You can direct airflow onto the
windows , toward the upper
body and into the footwell .
All intermediate settings are pos-
sible.
Air supply/blower
You can set the blower to 8 differ-
ent levels. Both heating and ven-
tilation become more effective as
the air supply rate is increased.
Turn the rotary control toward zero:
The blower and the heating are turned off,
and the air supply is stopped.
Temperature
In order to increase the tempera-
ture of the passenger compart-
ment, turn to the right toward the
red zone.
Air conditioning
The air is cooled and dehumidi-
fied and – depending on the tem-
perature setting – rewarmed.
Depending on the weather, the
windshield may fog over briefly when the
engine is started.
Condensation forms during operation
of the air conditioning system, which
then exits under the vehicle. Traces of con-
densed water on the ground underneath
the vehicle are thus normal.<
Outside-air/recirculated-air mode
If there are unpleasant odors in
the outside air, you can tempo-
rarily block the supply of incom-
ing air. The system then recircu-
lates the air currently within the vehicle.
If the windows fog over in the recircu-
lated air mode, switch this mode off
and increase the air supply as required. Do
not use the recirculated-air mode continu-
ously over a long period of time as this
would otherwise reduce the air quality in
the interior of the vehicle.<
Rear window defroster
The indicator lamp lights up when
the rear window defroster is
active. The rear window defroster
switches off automatically.
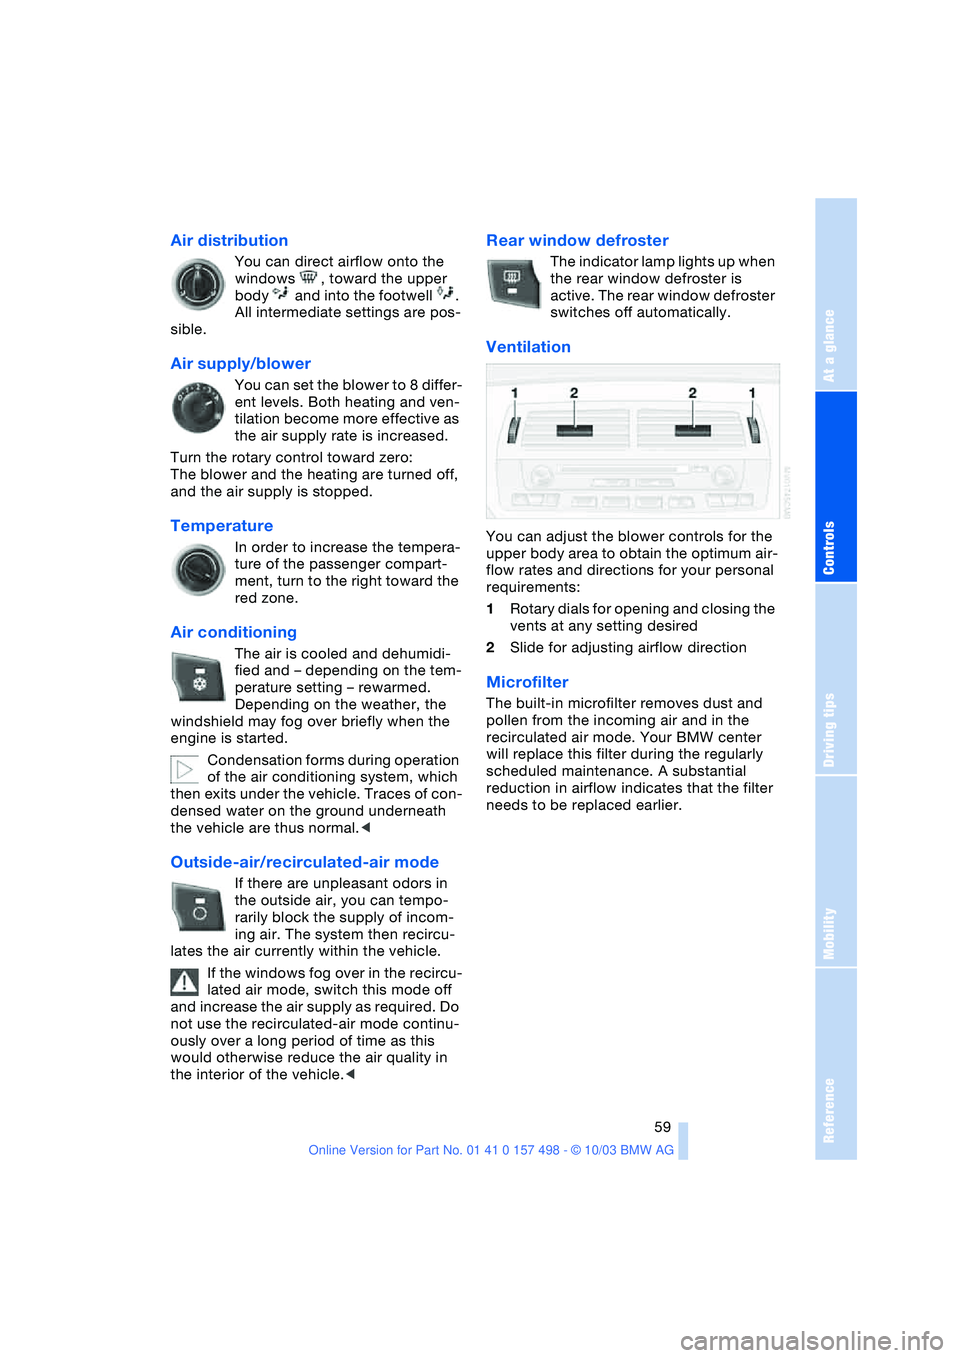
Ventilation
You can adjust the blower controls for the
upper body area to obtain the optimum air-
flow rates and directions for your personal
requirements:
1Rotary dials for opening and closing the
vents at any setting desired
2Slide for adjusting airflow direction
Microfilter
The built-in microfilter removes dust and
pollen from the incoming air and in the
recirculated air mode. Your BMW center
will replace this filter during the regularly
scheduled maintenance. A substantial
reduction in airflow indicates that the filter
needs to be replaced earlier.
Page 64 of 120
Controlling the climate for pleasant driving
62
Tips for pleasant driving
Use the automatic system – switch on with
AUTO button 6. Select the desired interior
temperature.
Detailed setting options are described for
you below.
Automatic air distribution and supply
The AUTO program assumes the
adjustment of the air distribution
and air supply for you and in addi-
tion adapts the temperature to
external influences, summer or winter, to
meet preferences you can specify.
In the AUTO program, the air conditioning
mode is also turned on at the same time.
The AUTO program functions only to
a limited extent when the convertible
top is open.<
Individual air distribution
You yourself can direct airflow
onto the windows , toward the
upper body and into the foot-
well . The arrow lights up. The
automatic air supply remains unchanged.
All intermediate settings are possible. By
pressing the AUTO button, you can reacti-
vate the air distribution.
Temperature
The interior temperature that
appears on the display panel is a
general figure intended for refer-
ence purposes. When you start
the vehicle, the system ensures that the
selected temperature is reached as quickly
as possible, regardless of the season. It
then maintains this temperature.
Air supply/blower
You can set the blower through
an infinitely variable range of
speeds. This shuts off the auto-
matic air supply. The arrow lights
up. The automatic air distribution remains
unchanged. You can reactivate the auto-
matic air supply by pressing the AUTO but-
ton.When you turn the rotary control toward
zero: the blower, heating and air condi-
tioner are switched off, and the air supply is
stopped. You can reactivate the system by
turning the control toward the right again.
To defrost windows and remove
condensation
This program quickly removes ice
and condensation from the wind-
shield and the side windows.
Maximum cooling
Above an outside temperature of
417/+56 and with the engine
running, you achieve a maximum
cooling effect as quickly as possi-
ble. At the same time, the air conditioning is
turned on.
The temperature is set to the lowest possi-
ble value. The system switches into the
recirculated air mode and air flows at max-
imum blower speed from the air outlets
only. Therefore, the air outlets must always
be open when you select this program.
Air conditioning
The air is cooled and dehumidi-
fied and, depending on the tem-
perature setting, rewarmed.
Depending on the weather, the
windshield may fog over briefly when the
engine is started.
The air conditioning system is automati-
cally switched on when you use the AUTO
program.
Condensation forms during operation
of the air conditioning system, which
then exits under the vehicle. Traces of con-
densed water on the ground underneath
the vehicle are thus normal.<