language BMW 3 SERIES CONVERTIBLE 2013 E93 Owner's Manual
[x] Cancel search | Manufacturer: BMW, Model Year: 2013, Model line: 3 SERIES CONVERTIBLE, Model: BMW 3 SERIES CONVERTIBLE 2013 E93Pages: 311, PDF Size: 7.05 MB
Page 5 of 311
Addendum
genuine parts and accessories
approved by BMW.”
In the fifth sentence of that
paragraph, the word “cannot”
should read “does not.”
6.At page 51, under the heading:
“Front active head restraints,” the
text beginning, “Attach only BMW
approved accessories . . .” should
be disregarded and the following
text should be read in lieu thereof:
“BMW recommends that you attach
accessories approved by BMW to
the seat or head restraint.”
7.At page 54, in the “Damage to
safety belts” section, the text
beginning, “Have this work carried
out only at your BMW center. . . .”
should be disregarded and the
following text should be read in lieu
thereof: “BMW recommends having
this work performed by a service
center as it is important that this
safety feature functions properly.”
8.At page 138 under the heading:
“Objects in the movement range of
the pedals” and at page 264 under
the heading: “Carpet and floor
mats,” the paragraph that begins:
“Only use floor mats . . .” should be
disregarded and the following
language should be read in lieu
thereof: “The manufacturer of your
vehicle recommends that you use
floor mats that have been identified
by it as appropriate for use in your
vehicle and that can be properly
fixed in place.”
9.At page 228, under the heading
“Apps” and subheading
“Requirements,” the section that
begins, “To avoid malfunctions, only
use . . . ,” should be disregarded
and the following text should be
read in lieu thereof: “The
manufacturer of your vehicle
recommends the use of BMW
recommended software; otherwise
there may be malfunctions in
system operations.”
10.At page 252, under the heading:
“Correct wheels and tires,” the term
“Correct” should be disregarded and
in lieu thereof, the term
“Recommended” should be read in
its place. In addition, the text of that
section should be disregarded and
the following text should be read in
lieu thereof:
When mounting new tires or
changing over from summer to
winter tires and vice versa, BMW
recommends that you mount run-flat
tires. In the event of a flat, no spare
wheel is available. Your BMW
center will be glad to advise you.
The manufacturer of your vehicle
strongly suggests that you use
wheels and tires that have been
recommended by the vehicle
manufacturer for your vehicle type;
otherwise, for example, despite
having the same official size ratings,
variations can lead to body contact
and with it, the risk of severe
accidents. The manufacturer of
your vehicle does not evaluate non-
recommended wheels and tires to
Page 31 of 311
26
At a glanceiDrive
Entry comparison
Entry of names and addresses: the selection is
narrowed down every ti me a letter is entered
and letters may be added automatically.
The entries are continuously compared to the
data stored in the vehicle.
> During entry, only letters for which there are
data are offered.
> Destination search: town/city names can be
entered with th e spelling used in any of the
languages available on the Control Display.
00320051004F004C00510048000300280047004C0057004C005200510003
Page 32 of 311
27
Voice activation system
At a glance
Voice activation system
Vehicle equipment
In this chapter, all production, country, and
optional equipment that is offered in the model
range is described. For this reason, descrip-
tions will be given of some equipment that may
not be available in a vehi
cle, for example due to
the special options or national-market version
selected. This also app lies to safety related
functions and systems.
The concept
> The voice activation system can be used
to control most functions by spoken
commands.
> Functions that can only used when the vehi-
cle is stopped cannot be operated using the
voice activation system.
> The system includes a special microphone
on the driver's side.
> In the Owner's Manual, {...} indicates com-
mands for the voice activation system.
> In the Owner's Manual, {{...}} indicates the
answers from the voice activation system.
Prerequisite
On the Control Display, set a language that is
also supported by the vo ice activation system
to permit identification of the commands to be
spoken.
Setting the langua ge, refer to page95.
Saying commands
Activating voice activation system
1.Press the button on the steering wheel.
2. Wait for the acoustic signal.
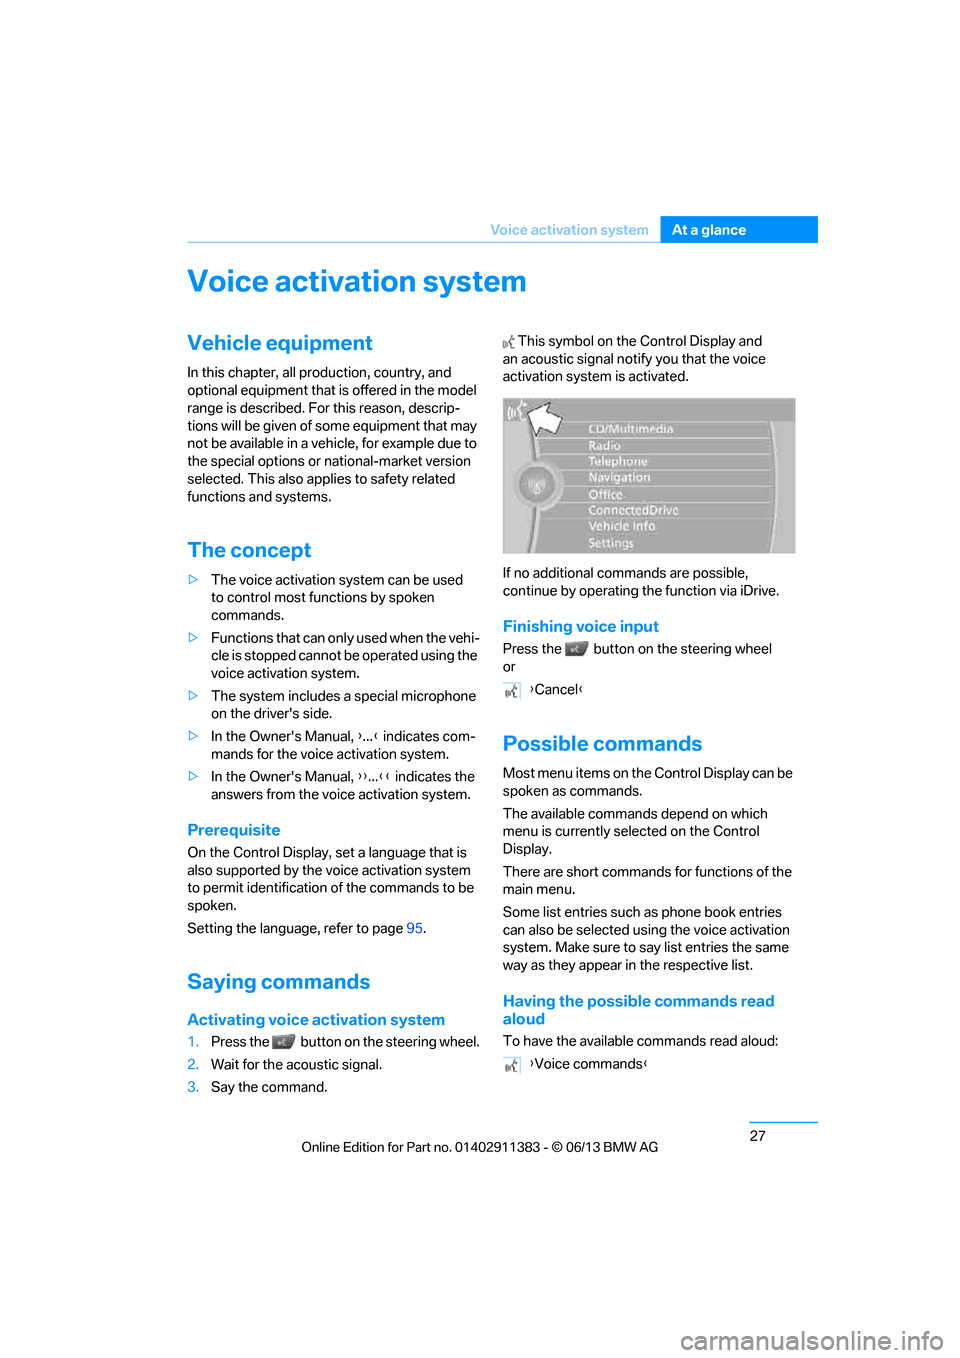
3. Say the command. This symbol on th
e Control Display and
an acoustic signal notify you that the voice
activation system is activated.
If no additional commands are possible,
continue by operating the function via iDrive.
Finishing voice input
Press the button on the steering wheel
or
Possible commands
Most menu items on the Control Display can be
spoken as commands.
The available commands depend on which
menu is currently selected on the Control
Display.
There are short commands for functions of the
main menu.
Some list entries such as phone book entries
can also be selected using the voice activation
system. Make sure to say list entries the same
way as they appear in the respective list.
Having the possible commands read
aloud
To have the available commands read aloud:
{ Cancel }
{ Voice commands }
00320051004F004C00510048000300280047004C0057004C005200510003
Page 33 of 311
28
At a glanceVoice activation system
For example, if the "Settings" menu is dis-
played, the commands relating to settings are
read aloud.
Performing functions using short
commands
Functions from the main menu can be per-
formed directly by means of short commands,
essentially regardless of which menu item is
selected, e.g. { Vehicle status}.
List of short command of the voice activation
system, refer to page 283.
Help dialog for voice activation system
Accessing help:
Other commands for the help dialog:
>{Help with examples }: information about
the current control options and the most
important commands relating to them are
read aloud.
> {Help with voice activation }: information
about the principle operation of the voice
activation system is read aloud.
Example: playing back a CD
Via the main menu
1. If necessary, switch on entertainment audio
output.
2. Press the button on the steering wheel.
Via short commands
The CD playback can also be started via a short
command.
1.If necessary, switch on entertainment audio
output.
2. Press the button on the steering wheel.
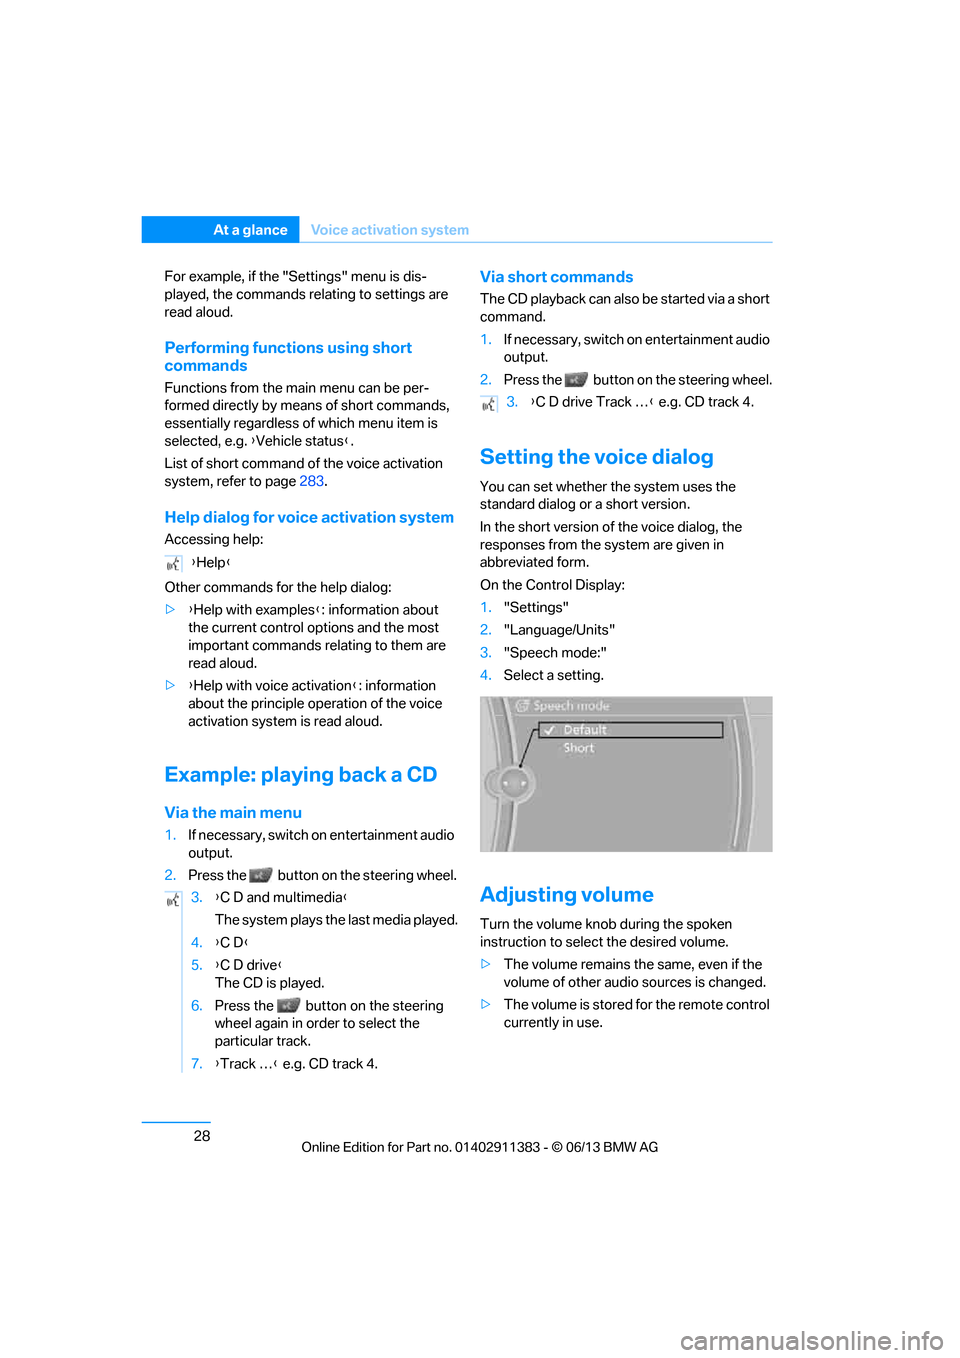
Setting the voice dialog
You can set whether the system uses the
standard dialog or a short version.
In the short version of the voice dialog, the
responses from the system are given in
abbreviated form.
On the Control Display:
1. "Settings"
2. "Language/Units"
3. "Speech mode:"
4. Select a setting.
Adjusting volume
Turn the volume knob during the spoken
instruction to select the desired volume.
>The volume remains the same, even if the
volume of other audio sources is changed.
> The volume is stored for the remote control
currently in use.
{
Help }
3. {C D and multimedia }
The system plays the last media played.
4. {C D }
5. {C D drive}
The CD is played.
6. Press the button on the steering
wheel again in order to select the
particular track.
7. {Track … } e.g. CD track 4.
3.{C D drive Track … } e.g. CD track 4.
00320051004F004C00510048000300280047004C0057004C005200510003
Page 34 of 311
29
Voice activation system
At a glance
Notes on Emergency
Requests
Do not use the voice activation system to ini-
tiate an Emergency Request. In stressful situa-
tions, the voice and vocal pitch can change.
This can unnecessarily
delay the establishment
of a telephone connection.
Instead, use the SOS button, refer to page 272,
in the vicinity of the interior rearview mirror.
Ambient conditions
> Say the commands, nu mbers and letters
smoothly and with normal volume, empha-
sis and speed.
> Always speak the commands in the
language of the voic e activation system.
> When selecting a radio station, use the
standard pronunciation of the station name:
{Station … } e.g. National Public Radio
> Keep the doors, windows, glass roof/
panoramic glass roof closed to prevent
interference from ambient noise.
> Avoid ambient noise in the vehicle while
speaking.
00320051004F004C00510048000300280047004C0057004C005200510003
Page 38 of 311
33
Opening and closing
Controls
Personal Profile settings
For more information on
specific settings, refer
to the specified pages.
> Assignment of programmable memory
keys, refer to page 25
> Response of the central locking system
when the car is unlocked, refer to page 34
> Automatic locking of th e vehicle, refer to
page 36
> Automatic call-up of the driver's seat
position, refer to page 53
> Triple turn signal activation, refer to
page 72
> Settings for the display on the Control
Display and in the instrument cluster:
>12h/24h format of the clock, refer to
page 91
> Date format, refer to page 92
> Brightness of the Control Display, refer
to page 95
> Language on the Control Display, refer
to page 95
> Units of measure, refer to page 88
> Show visual warning for Park Distance
Control PDC, refer to page 97
> Light settings:
>Welcome lamps, refer to page 111
> Pathway lighting, refer to page 111
> Daytime running lights, refer to
page 111
> High-beam Assistant, refer to page 112
> Automatic climate control: activating/deac-
tivating AUTO program, air conditioning
and automatic recirculated air control,
setting temperature, air volume and
distribution, refer to page 116 ff
> Entertainment:
>Setting tone controls, refer to page 167
> Speed-dependent volume control, refer
to page 168
Central locking system
The concept
The central locking system functions when the
driver's door is closed.
The system simultaneously engages and
releases the locks on the following:
>Doors
> Trunk lid
> Fuel filler flap
> Convertible: glove compartment
Operating from outside
>Via the remote control
> Using the door lock
> In cars with Comfort Access, via the handles
on the driver's door and the front passenger
door
At the same time as locking and unlocking via
the remote control:
> Welcome lights, the inte rior light, and the
courtesy lighting are switched on and off.
> Alarm system, refer to page 38, is armed or
disarmed.
Operating from inside
By means of the button fo r central locking, refer
to page 36.
In the event of a sufficiently severe accident,
the central locking syst em unlocks automati-
cally. In addition, the hazard warning flashers
and interior lamps come on.
Opening and closing:
Using the remote control
Persons or animals in a parked vehicle
could lock the doors from the inside. You
should therefore take th e remote control with
you when you leave the ve hicle so that the latter
can be opened from outside. <
00320051004F004C00510048000300280047004C0057004C005200510003
Page 93 of 311
88
ControlsControls overview
Units of measure
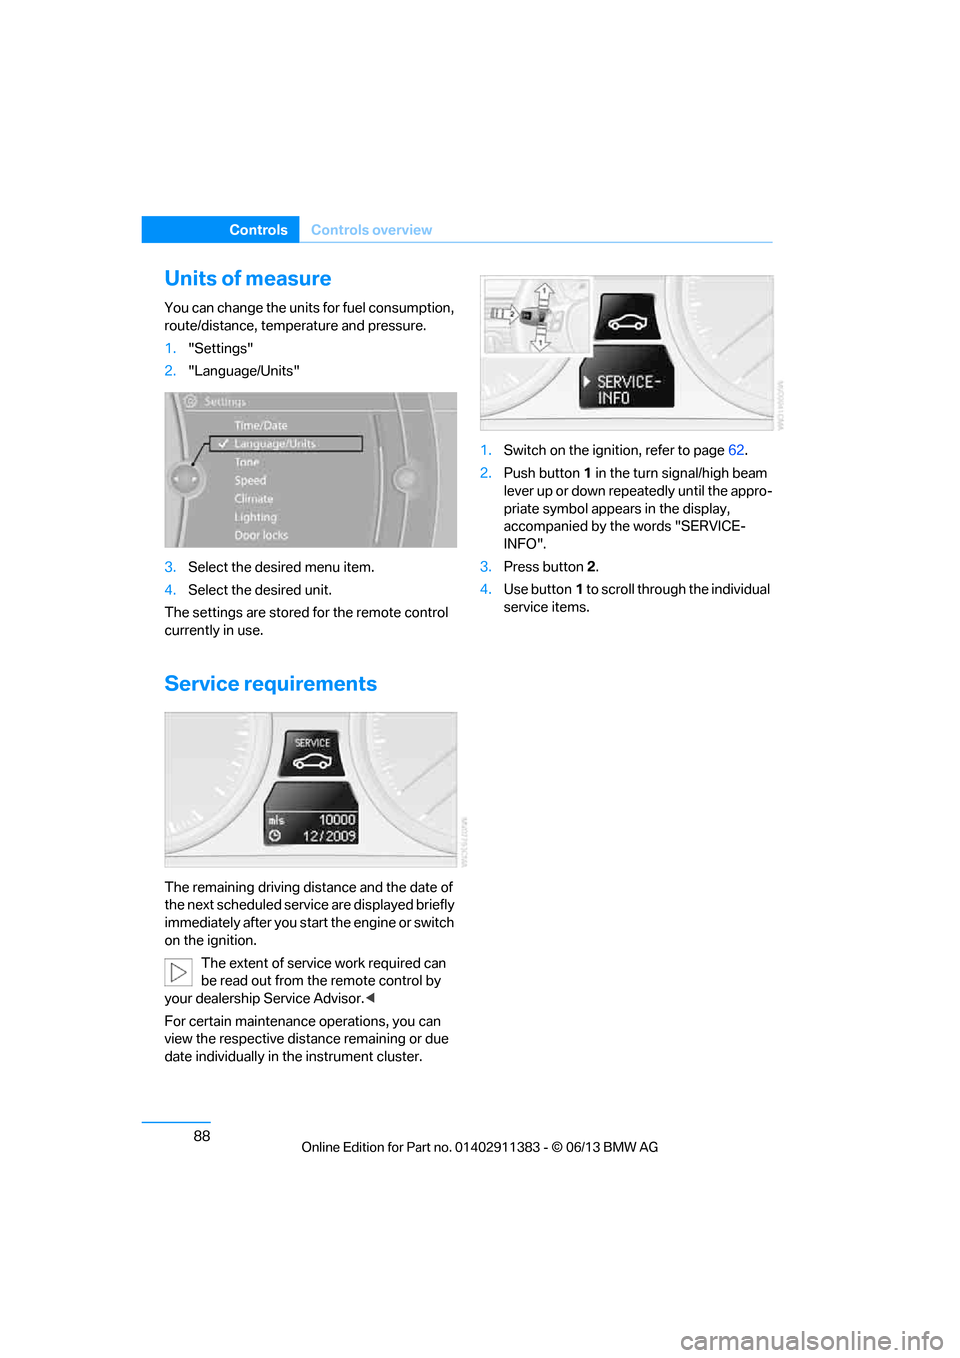
You can change the units for fuel consumption,
route/distance, temperature and pressure.
1."Settings"
2. "Language/Units"
3. Select the desired menu item.
4. Select the desired unit.
The settings are stored for the remote control
currently in use.
Service requirements
The remaining driving distance and the date of
the next scheduled servic e are displayed briefly
immediately after you start the engine or switch
on the ignition.
The extent of service work required can
be read out from the remote control by
your dealership Service Advisor. <
For certain maintenance operations, you can
view the respective distance remaining or due
date individually in the instrument cluster. 1.
Switch on the ignition, refer to page 62.
2. Push button 1 in the turn signal/high beam
lever up or down repe atedly until the appro-
priate symbol appear s in the display,
accompanied by the words "SERVICE-
INFO".
3. Press button 2.
4. Use button 1 to scroll through the individual
service items.
00320051004F004C00510048000300280047004C0057004C005200510003
Page 100 of 311
95
Controls overview
Controls
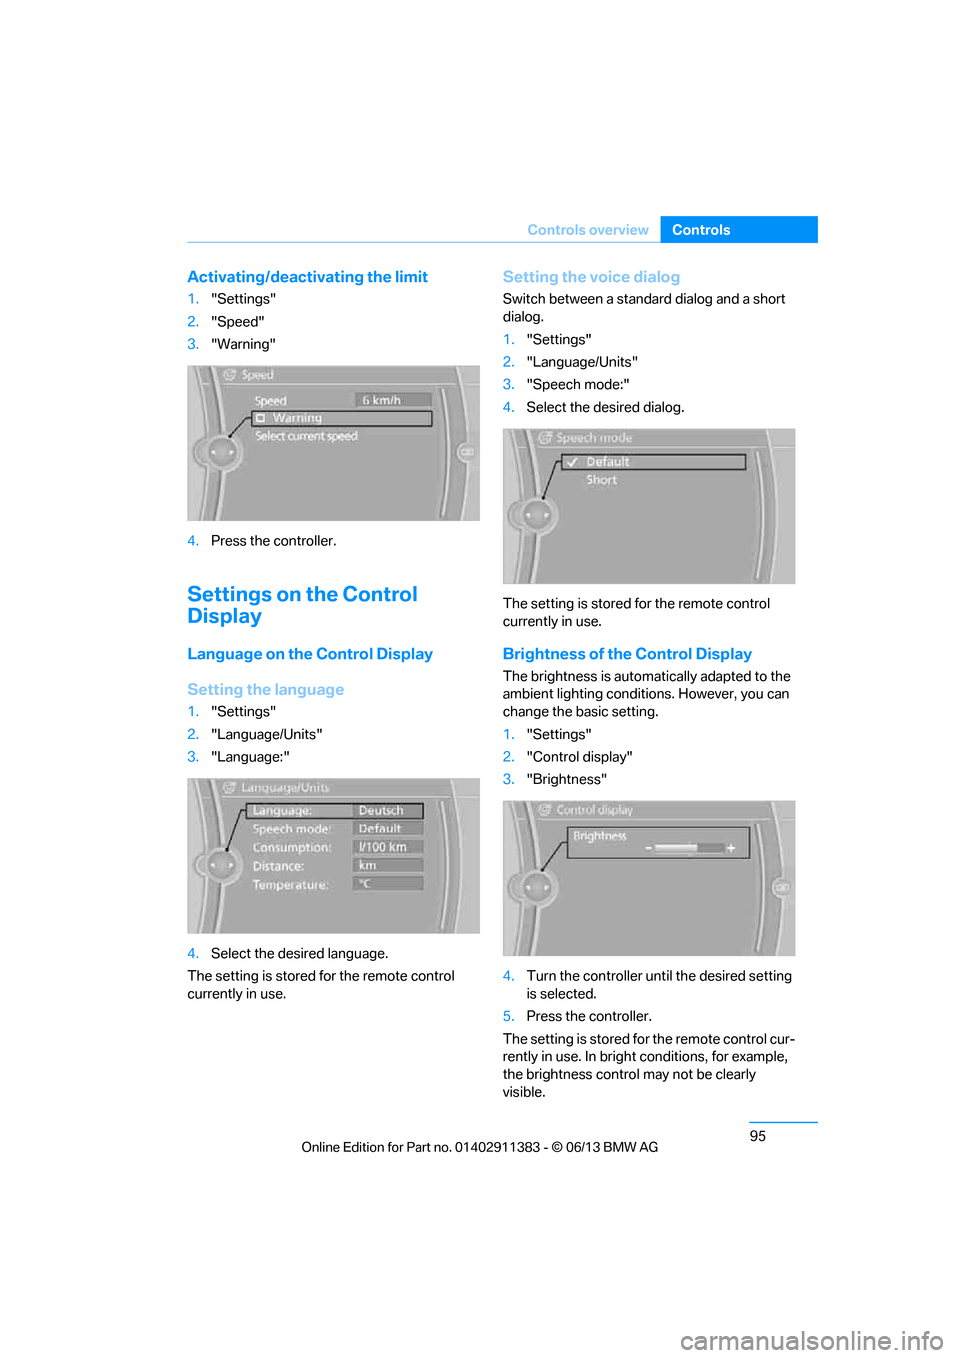
Activating/deactivating the limit
1.
"Settings"
2. "Speed"
3. "Warning"
4. Press the controller.
Settings on the Control
Display
Language on the Control Display
Setting the language
1."Settings"
2. "Language/Units"
3. "Language:"
4. Select the desired language.
The setting is stored for the remote control
currently in use.
Setting the voice dialog
Switch between a standard dialog and a short
dialog.
1. "Settings"
2. "Language/Units"
3. "Speech mode:"
4. Select the desired dialog.
The setting is stored for the remote control
currently in use.
Brightness of the Control Display
The brightness is automa tically adapted to the
ambient lighting conditions. However, you can
change the basic setting.
1. "Settings"
2. "Control display"
3. "Brightness"
4. Turn the controller unt il the desired setting
is selected.
5. Press the controller.
The setting is stored fo r the remote control cur-
rently in use. In bright conditions, for example,
the brightness control may not be clearly
visible.
00320051004F004C00510048000300280047004C0057004C005200510003
Page 127 of 311
122
ControlsPractical interior accessories
Canada: if the LED does not flash rapidly
after approx. 60 seconds, alter the distance
and repeat this step or, if the programming
by means of the hand-held transmitter was
interrupted, hold down the button on the
inside mirror and then press and release the
button on the hand-hel d transmitter several
times, holding it down for 2 seconds each
time.
Operation
To prevent possible damage or injury,
before programming or using the inte-
grated universal remote control to operate a
device, always inspect the immediate area to
make certain that no people, animals or objects
are within the pivoting or travel range of the
device being operated.
Also follow the safety in structions supplied with
the hand-held transmitter. <
The button on the inside mirror can be used to
operate the device, for example the garage
door, if the engine is running or the ignition is
switched on. To do so, within the reception
range of the device, press the button of the
device until the function is triggered. The LED
on the inside mirror remains lit during transmis-
sion of the radio signal.
Deleting stored functions
Simultaneously hold down the right and left
buttons on the inside mi rror for approx. 20 sec-
onds until the LED on the inside mirror flashes
rapidly. All stored functions are deleted. The
functions cannot be de leted individually.
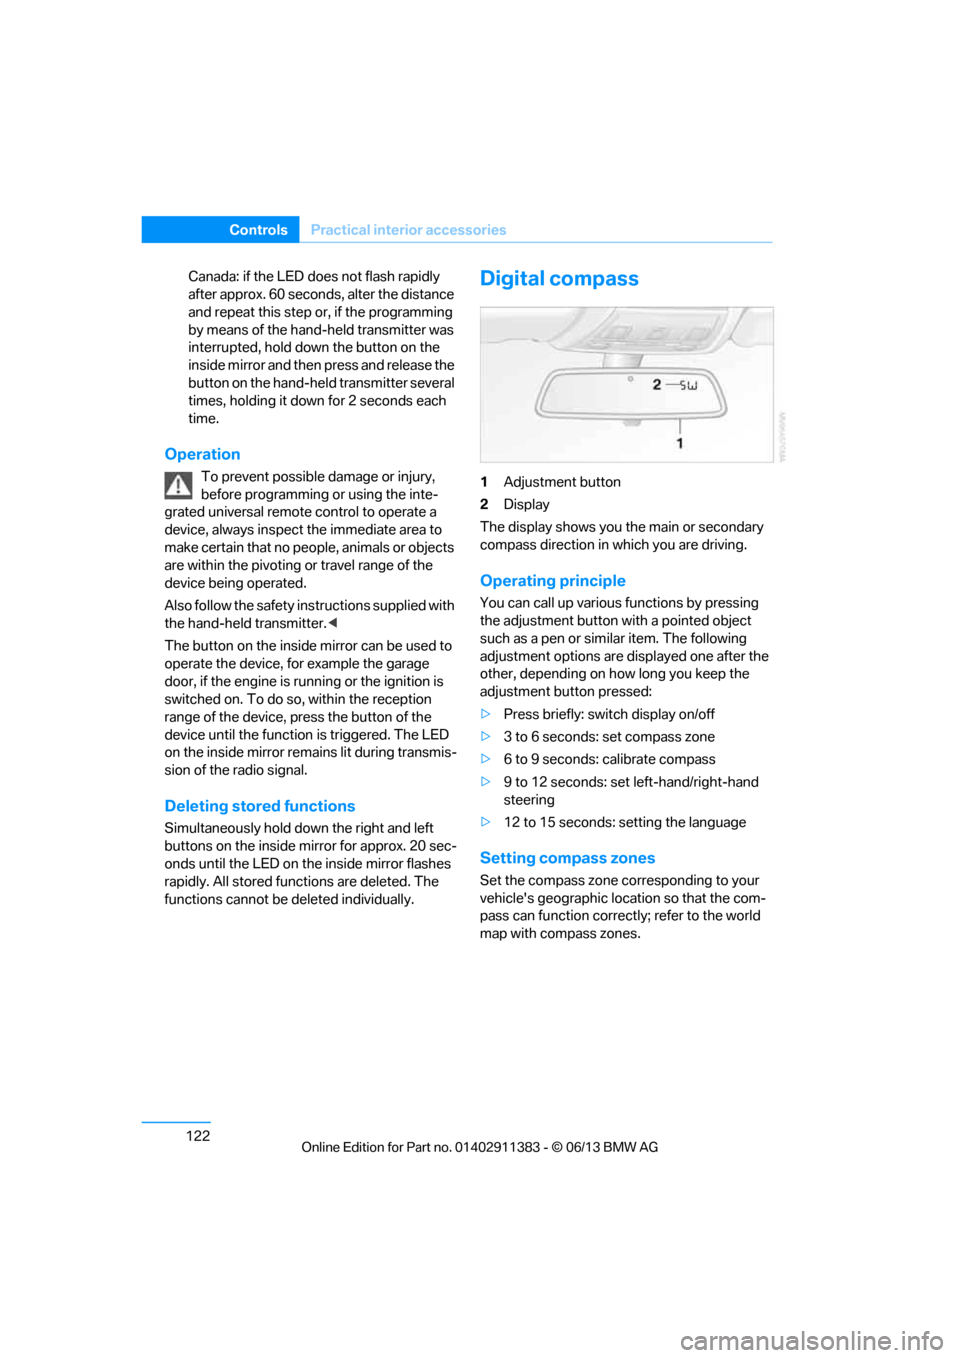
Digital compass
1Adjustment button
2 Display
The display shows you the main or secondary
compass direction in which you are driving.
Operating principle
You can call up various functions by pressing
the adjustment button with a pointed object
such as a pen or similar item. The following
adjustment options are displayed one after the
other, depending on how long you keep the
adjustment button pressed:
> Press briefly: switch display on/off
> 3 to 6 seconds: set compass zone
> 6 to 9 seconds: calibrate compass
> 9 to 12 seconds: set left-hand/right-hand
steering
> 12 to 15 seconds: setting the language
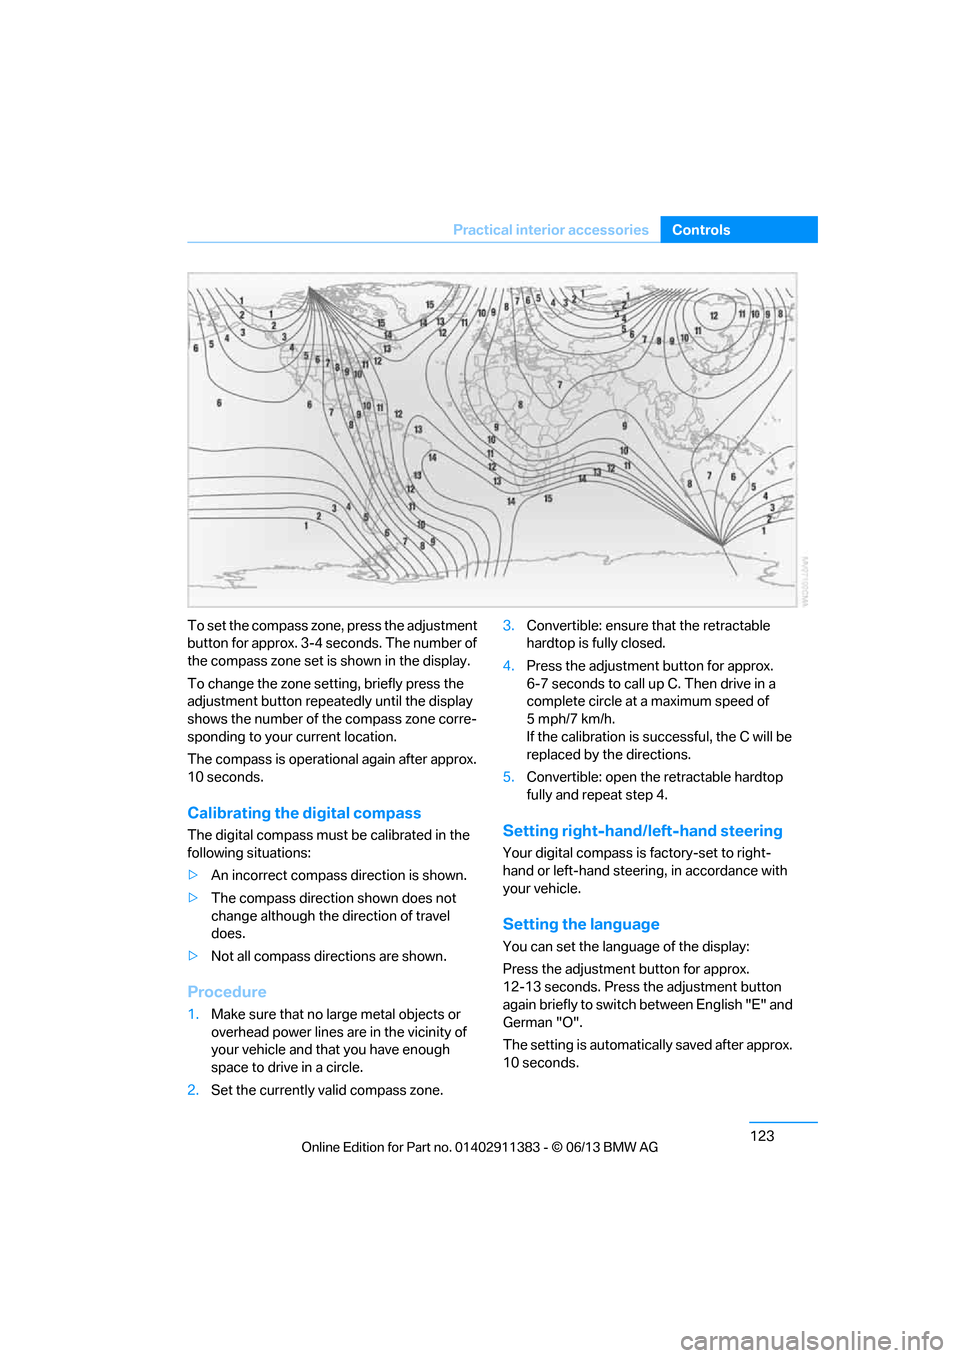
Setting compass zones
Set the compass zone corresponding to your
vehicle's geographic loca tion so that the com-
pass can function correctly; refer to the world
map with compass zones.
00320051004F004C00510048000300280047004C0057004C005200510003
Page 128 of 311
123
Practical interior accessories
Controls
To set the compass zone, press the adjustment
button for approx. 3-4 seconds. The number of
the compass zone set is shown in the display.
To change the zone se
tting, briefly press the
adjustment button repeat edly until the display
shows the number of the compass zone corre-
sponding to your current location.
The compass is operational again after approx.
10 seconds.
Calibrating the digital compass
The digital compass must be calibrated in the
following situations:
> An incorrect compass direction is shown.
> The compass direction shown does not
change although the direction of travel
does.
> Not all compass directions are shown.
Procedure
1.Make sure that no large metal objects or
overhead power lines are in the vicinity of
your vehicle and that you have enough
space to drive in a circle.
2. Set the currently va lid compass zone. 3.
Convertible: ensure that the retractable
hardtop is fully closed.
4. Press the adjustment button for approx.
6-7 seconds to call up C. Then drive in a
complete circle at a maximum speed of
5mph/7km/h.
If the calibration is successful, the C will be
replaced by the directions.
5. Convertible: open the retractable hardtop
fully and repeat step 4.
Setting right-hand/left-hand steering
Your digital compass is factory-set to right-
hand or left-hand steering, in accordance with
your vehicle.
Setting the language
You can set the language of the display:
Press the adjustment button for approx.
12-13 seconds. Press the adjustment button
again briefly to switch between English "E" and
German "O".
The setting is automatica lly saved after approx.
10 seconds.
00320051004F004C00510048000300280047004C0057004C005200510003