steering BMW 3 SERIES CONVERTIBLE 2013 E93 Owner's Guide
[x] Cancel search | Manufacturer: BMW, Model Year: 2013, Model line: 3 SERIES CONVERTIBLE, Model: BMW 3 SERIES CONVERTIBLE 2013 E93Pages: 311, PDF Size: 7.05 MB
Page 122 of 311
117
Climate
Controls
Pressing the AUTO
button automatically
switches on the air conditioning.
At the same time, a condensation sensor
controls the program so as to prevent window
condensation as much as possible.
The program is switched off when the air distri-
bution is set manually or the button is pressed
again.
Intensity of the AUTO program
With the AUTO program switched on, auto-
matic control of the air volume and air distribu-
tion can be adjusted:
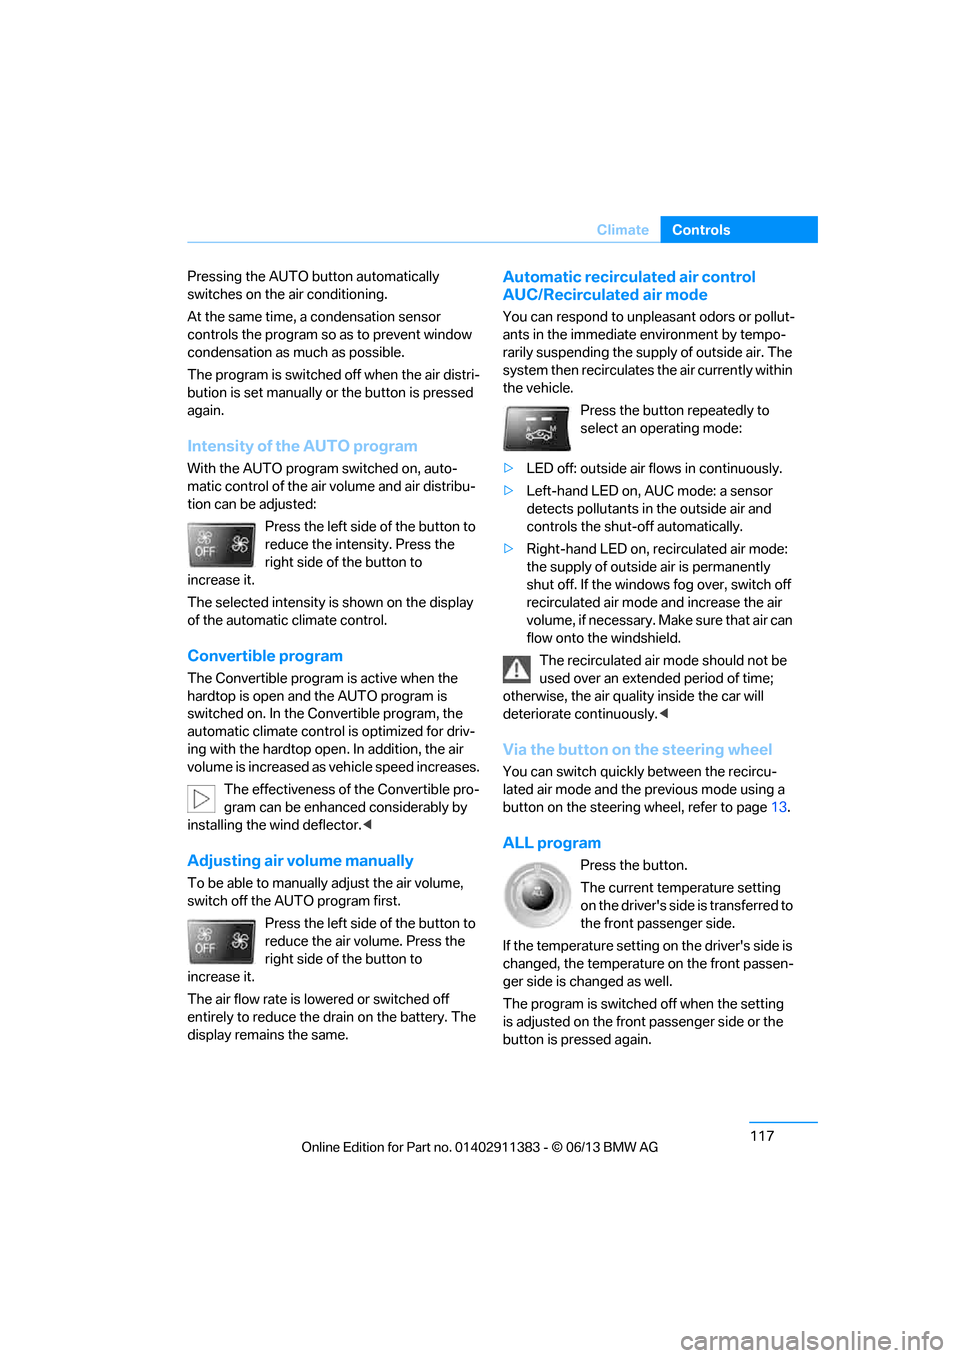
Press the left side of the button to
reduce the intensity. Press the
right side of the button to
increase it.
The selected intensity is shown on the display
of the automatic climate control.
Convertible program
The Convertible program is active when the
hardtop is open and the AUTO program is
switched on. In the Convertible program, the
automatic climate control is optimized for driv-
ing with the hardtop open . In addition, the air
volume is increased as vehicle speed increases.
The effectiveness of the Convertible pro-
gram can be enhanced considerably by
installing the wind deflector. <
Adjusting air volume manually
To be able to manually adjust the air volume,
switch off the AUTO program first.
Press the left side of the button to
reduce the air volume. Press the
right side of the button to
increase it.
The air flow rate is lowered or switched off
entirely to reduce the drain on the battery. The
display remains the same.
Automatic recirculated air control
AUC/Recirculated air mode
You can respond to unpl easant odors or pollut-
ants in the immediate environment by tempo-
rarily suspending the supply of outside air. The
system then recirculates the air currently within
the vehicle.
Press the button repeatedly to
select an operating mode:
> LED off: outside air flows in continuously.
> Left-hand LED on, AUC mode: a sensor
detects pollutants in the outside air and
controls the shut-off automatically.
> Right-hand LED on, re circulated air mode:
the supply of outside air is permanently
shut off. If the windows fog over, switch off
recirculated air mode and increase the air
volume, if necessary. Make sure that air can
flow onto the windshield.
The recirculated air mode should not be
used over an extended period of time;
otherwise, the air quality inside the car will
deteriorate continuously. <
Via the button on the steering wheel
You can switch quickly between the recircu-
lated air mode and the previous mode using a
button on the steering wheel, refer to page 13.
ALL program
Press the button.
The current temperature setting
on the driver's side is transferred to
the front passenger side.
If the temperature setting on the driver's side is
changed, the temperature on the front passen-
ger side is changed as well.
The program is switched off when the setting
is adjusted on the front passenger side or the
button is pressed again.
00320051004F004C00510048000300280047004C0057004C005200510003
Page 127 of 311
122
ControlsPractical interior accessories
Canada: if the LED does not flash rapidly
after approx. 60 seconds, alter the distance
and repeat this step or, if the programming
by means of the hand-held transmitter was
interrupted, hold down the button on the
inside mirror and then press and release the
button on the hand-hel d transmitter several
times, holding it down for 2 seconds each
time.
Operation
To prevent possible damage or injury,
before programming or using the inte-
grated universal remote control to operate a
device, always inspect the immediate area to
make certain that no people, animals or objects
are within the pivoting or travel range of the
device being operated.
Also follow the safety in structions supplied with
the hand-held transmitter. <
The button on the inside mirror can be used to
operate the device, for example the garage
door, if the engine is running or the ignition is
switched on. To do so, within the reception
range of the device, press the button of the
device until the function is triggered. The LED
on the inside mirror remains lit during transmis-
sion of the radio signal.
Deleting stored functions
Simultaneously hold down the right and left
buttons on the inside mi rror for approx. 20 sec-
onds until the LED on the inside mirror flashes
rapidly. All stored functions are deleted. The
functions cannot be de leted individually.
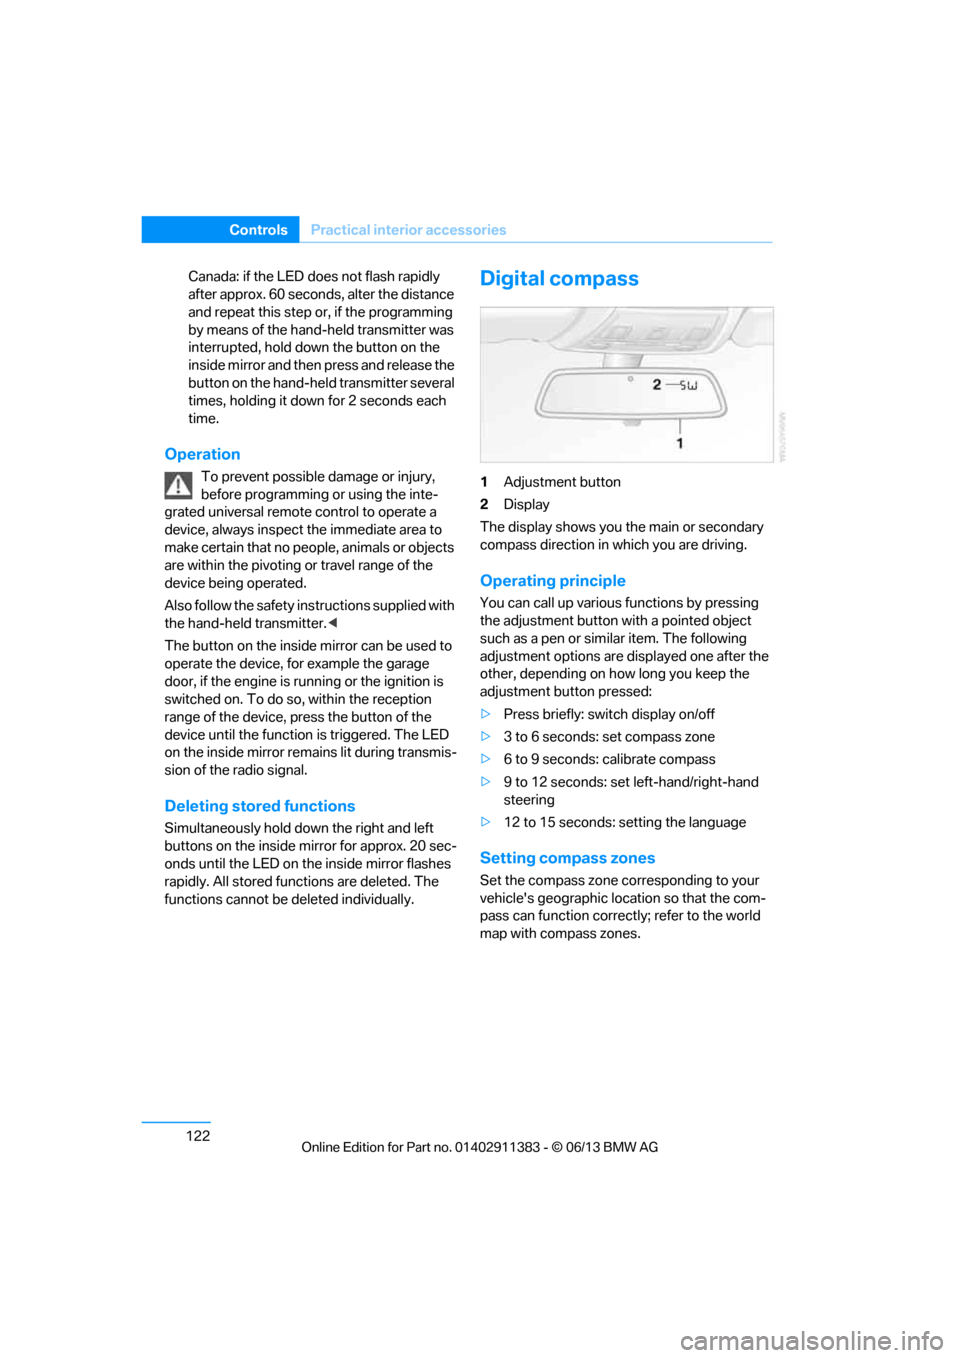
Digital compass
1Adjustment button
2 Display
The display shows you the main or secondary
compass direction in which you are driving.
Operating principle
You can call up various functions by pressing
the adjustment button with a pointed object
such as a pen or similar item. The following
adjustment options are displayed one after the
other, depending on how long you keep the
adjustment button pressed:
> Press briefly: switch display on/off
> 3 to 6 seconds: set compass zone
> 6 to 9 seconds: calibrate compass
> 9 to 12 seconds: set left-hand/right-hand
steering
> 12 to 15 seconds: setting the language
Setting compass zones
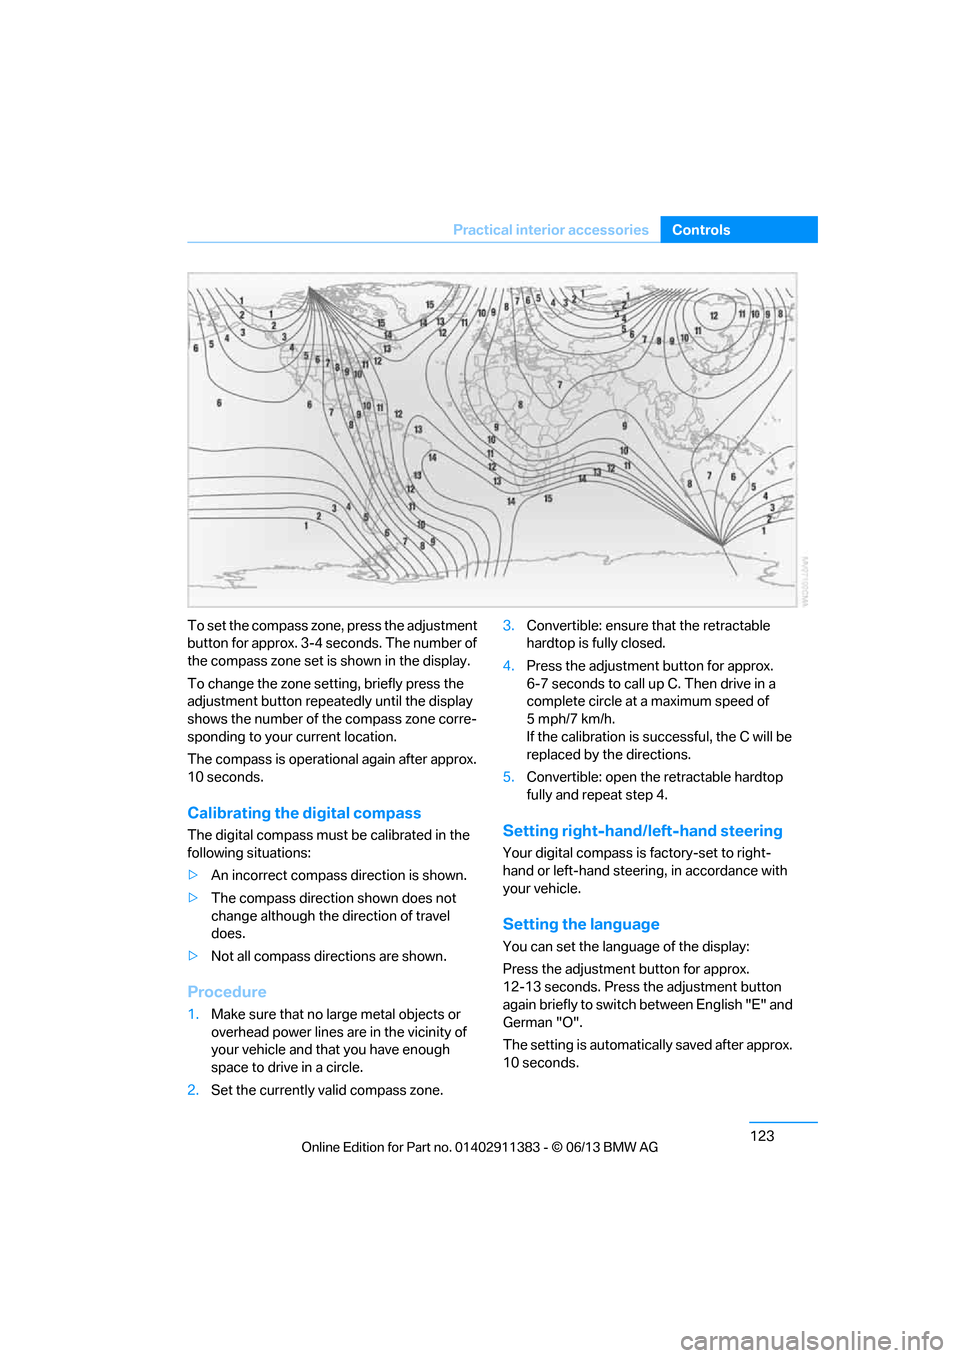
Set the compass zone corresponding to your
vehicle's geographic loca tion so that the com-
pass can function correctly; refer to the world
map with compass zones.
00320051004F004C00510048000300280047004C0057004C005200510003
Page 128 of 311
123
Practical interior accessories
Controls
To set the compass zone, press the adjustment
button for approx. 3-4 seconds. The number of
the compass zone set is shown in the display.
To change the zone se
tting, briefly press the
adjustment button repeat edly until the display
shows the number of the compass zone corre-
sponding to your current location.
The compass is operational again after approx.
10 seconds.
Calibrating the digital compass
The digital compass must be calibrated in the
following situations:
> An incorrect compass direction is shown.
> The compass direction shown does not
change although the direction of travel
does.
> Not all compass directions are shown.
Procedure
1.Make sure that no large metal objects or
overhead power lines are in the vicinity of
your vehicle and that you have enough
space to drive in a circle.
2. Set the currently va lid compass zone. 3.
Convertible: ensure that the retractable
hardtop is fully closed.
4. Press the adjustment button for approx.
6-7 seconds to call up C. Then drive in a
complete circle at a maximum speed of
5mph/7km/h.
If the calibration is successful, the C will be
replaced by the directions.
5. Convertible: open the retractable hardtop
fully and repeat step 4.
Setting right-hand/left-hand steering
Your digital compass is factory-set to right-
hand or left-hand steering, in accordance with
your vehicle.
Setting the language
You can set the language of the display:
Press the adjustment button for approx.
12-13 seconds. Press the adjustment button
again briefly to switch between English "E" and
German "O".
The setting is automatica lly saved after approx.
10 seconds.
00320051004F004C00510048000300280047004C0057004C005200510003
Page 130 of 311
125
Practical interior accessories
Controls
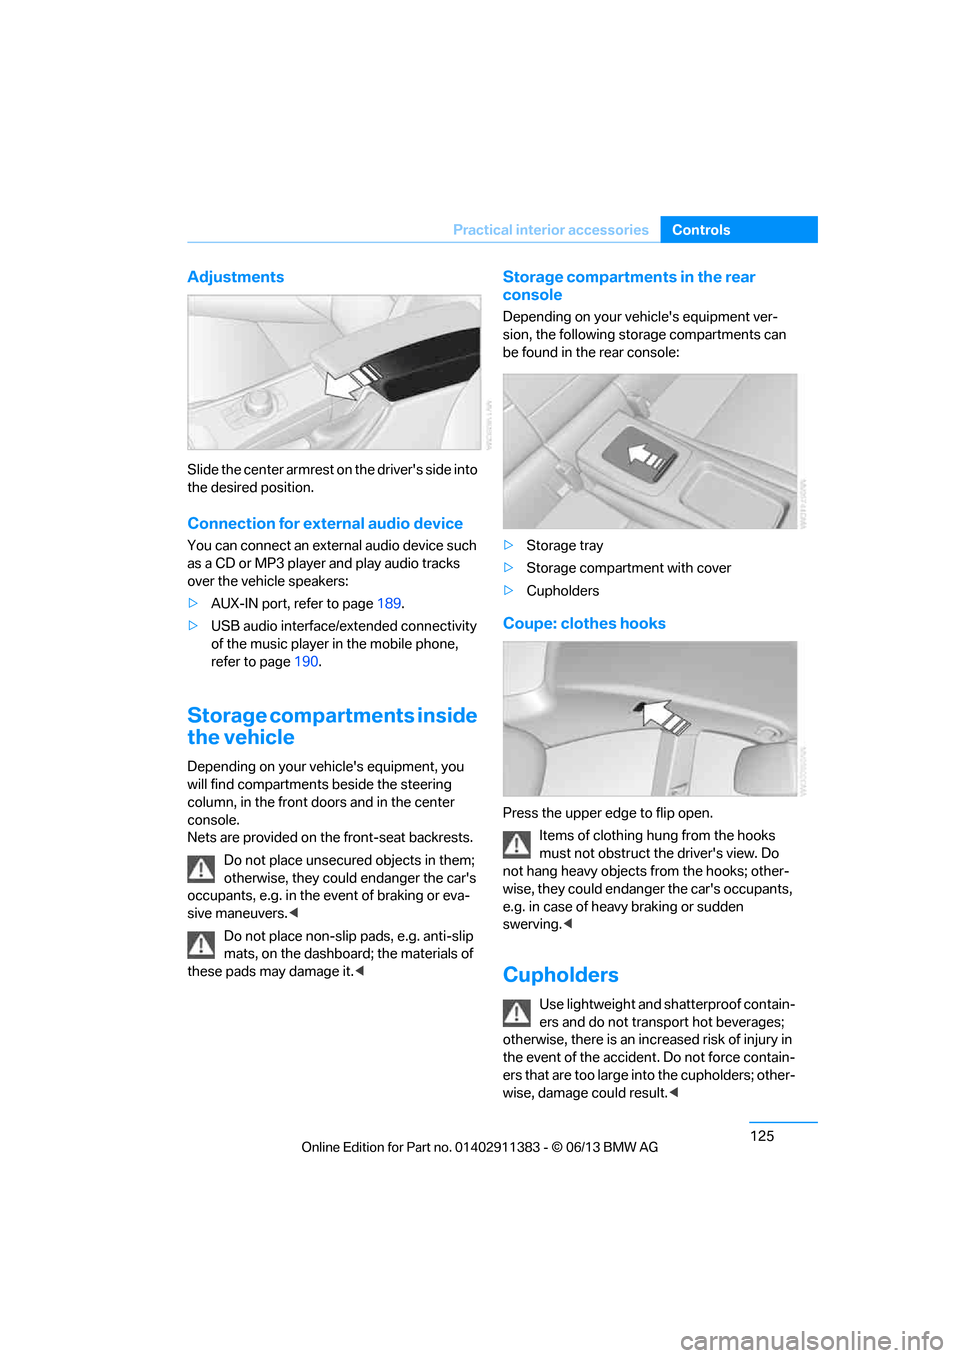
Adjustments
Slide the center armrest on the driver's side into
the desired position.
Connection for external audio device
You can connect an external audio device such
as a CD or MP3 player and play audio tracks
over the vehicle speakers:
>
AUX-IN port, refer to page 189.
> USB audio interface/extended connectivity
of the music player in the mobile phone,
refer to page 190.
Storage compartments inside
the vehicle
Depending on your vehicle's equipment, you
will find compartments beside the steering
column, in the front doors and in the center
console.
Nets are provided on the front-seat backrests.
Do not place unsecured objects in them;
otherwise, they could endanger the car's
occupants, e.g. in the event of braking or eva-
sive maneuvers. <
Do not place non-slip pads, e.g. anti-slip
mats, on the dashboard; the materials of
these pads may damage it. <
Storage compartments in the rear
console
Depending on your vehicle's equipment ver-
sion, the following storage compartments can
be found in the rear console:
> Storage tray
> Storage compartment with cover
> Cupholders
Coupe: clothes hooks
Press the upper edge to flip open.
Items of clothing hung from the hooks
must not obstruct the driver's view. Do
not hang heavy objects from the hooks; other-
wise, they could endanger the car's occupants,
e.g. in case of heav y braking or sudden
swerving.<
Cupholders
Use lightweight and sh atterproof contain-
ers and do not transport hot beverages;
otherwise, there is an incr eased risk of injury in
the event of the accident. Do not force contain-
ers that are too large in to the cupholders; other-
wise, damage could result. <
00320051004F004C00510048000300280047004C0057004C005200510003
Page 143 of 311
138
Driving tipsThings to remember when driving
Hot exhaust system
In all vehicles, extremely high tempera-
tures are generated in the exhaust sys-
tem. Do not remove the heat shields installed
adjacent to various sect ions of the exhaust sys-
tem, and never apply un dercoating to them.
When driving, standing at idle and while park-
ing, take care to avoid possible contact
between the hot exhaust system and any highly
flammable materials such as hay, leaves, grass,
etc. Such contact could le ad to a fire, with the
risk of serious personal injuries and property
damage. Do not touch hot exhaust tail pipes.
Otherwise, there is a risk of burns. <
Mobile phones in the vehicle
It is not advisable to use wireless devices
such as mobile phones inside the vehicle
without a direct connection to an external aerial.
Otherwise, it is not poss ible to exclude the pos-
sibility of a reciprocal interference occurring
between the vehicle electronics and the wire-
less device. Otherwise, there is no assurance
that the radiation genera ted by the radio trans-
mission will be conveyed out of the passenger
compartment.<
Hydroplaning
When driving on wet or slushy roads,
reduce road speed. If you do not, a wedge
of water can form between tires and road sur-
face. This situation, known as hydroplaning,
means that the tire can completely lose contact
with the road surface, so that neither the car can
be steered nor the brak e be properly applied.<
The risk of hydropla ning increases with
declining tread depth on th e tires, refer also to
Minimum tread depth on page 251.
Driving through water
Drive through water on the road only if it is
not deeper than 1 ft/30 cm, and then only
at walking speed at the most. Otherwise, the
vehicle's engine, the electrical systems and the
transmission may be damaged. <
Use the parking brake on inclines
On inclines, do not hold the vehicle for a
lengthy period using the clutch; use the
parking brake instead. Otherwise, greater
clutch wear will result. <
-For more information about the drive-off
assistant, refer to page 100.
Braking safely
Your BMW is equipped with ABS as a standard
feature. Applying the brakes fully is the most
effective way of braking in situations in which
this is necessary. Sinc e the vehicle maintains
steering responsiveness, you can still avoid
possible obstacles with a minimum of steering
effort.
Pulsation of the brake pedal, combined with
sounds from the hydraulic circuits, indicate that
ABS is in its active mode.
Objects in the movement range of the
pedals
Keep floor mats, carpet, and other objects
out of the movement range of the pedals;
otherwise, they may inhi bit the function of the
pedals during driving.
Do not place additional floor mats onto an
existing one or onto other objects.
Only use floor mats that have been approved for
the vehicle and can be appropriately fastened.
Make sure that the floo r mats are securely fas-
tened again after they ha ve been removed, e.g.
for cleaning. <
Driving in wet conditions
When roads are wet or there is heavy rain,
briefly exert gentle pre ssure on the brake pedal
every few miles. Monitor traffic conditions to
ensure that this maneuver does not endanger
other road users. The heat generated in this
process helps dry the pads and rotors. Full
braking efficiency will th en be available when
you need it.
00320051004F004C00510048000300280047004C0057004C005200510003
Page 144 of 311
139
Things to remember when driving
Driving tips
Hills
To prevent overheating and the resulting
reduced efficiency of the brake system,
drive long or steep downhill gradients in the
gear in which the least br aking is required. Even
light but consistent brak e pressure can lead to
high temperatures, brake wear and possibly
even brake failure. <
You can increase the engine's braking effect by
shifting down, all the way to first gear if neces-
sary. This strategy he lps you avoid placing
excessive loads on the brake system. Down-
shifting in manual mo de of the automatic
transmission, refer to page 66.
Sport automatic transm ission with double
clutch: never drive with the transmission
in neutral or with the en gine switched off; other-
wise, there will be no en gine braking action and
no power assistance to the brakes and steering.
Manual transmission: never drive with the
clutch held down, with the transmission in neu-
tral or with the engine switched off; otherwise,
there will be no engine braking action and no
power assistance to the brakes and steering. <
Corrosion on brake rotors
When the vehicle is driven only occasionally,
during extended periods when the vehicle is not
used at all, and in operating conditions where
brake applications are le ss frequent, there is an
increased tendency for corrosion to form on
rotors, while contaminan ts accumulate on the
brake pads. This occurs because the minimum
pressure which must be exerted by the pads
during brake applications to clean the rotors is
not reached.
Should corrosion form on the brake rotors, the
brakes will tend to respond with a pulsating
effect that even extended application will fail to
cure.
When the vehicle is parked
Condensation forms while the automatic
climate control is in operation, and then exits
under the vehicle. Traces of condensed water
under the vehicle are therefore normal.
Cargo loading
To avoid loading the tires beyond their
approved carrying ca pacity, never over-
load the vehicle. Overlo ading can lead to over-
heating and increases the rate at which damage
develops inside the tires. In some situations,
this can result in sudden loss of tire pressure. <
Make sure that no liquids are spilled or
leak from their containers in the trunk, as
this could result in damage to the vehicle.<
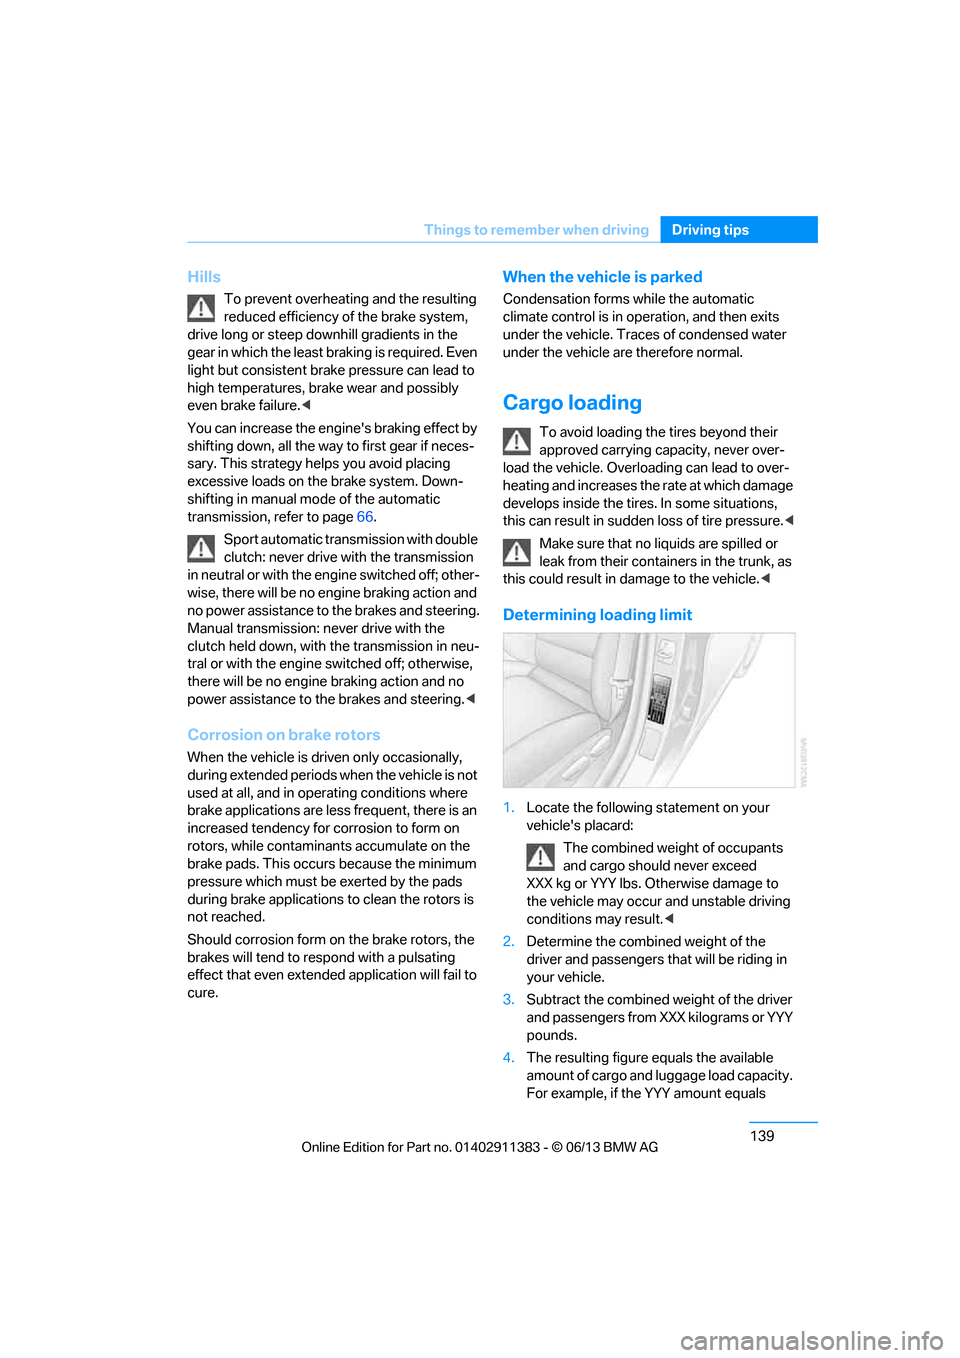
Determining loading limit
1. Locate the following statement on your
vehicle's placard:
The combined weight of occupants
and cargo should never exceed
XXX kg or YYY lbs. Otherwise damage to
the vehicle may occur and unstable driving
conditions may result.<
2. Determine the combined weight of the
driver and passengers that will be riding in
your vehicle.
3. Subtract the combined weight of the driver
and passengers from XXX kilograms or YYY
pounds.
4. The resulting figure equals the available
amount of cargo and luggage load capacity.
For example, if the YYY amount equals
00320051004F004C00510048000300280047004C0057004C005200510003
Page 146 of 311
141
Things to remember when driving
Driving tips
Securing cargo
>
Secure smaller and lighter items using
retaining straps, a trunk net, or draw straps.
> Heavy-duty cargo straps for securing larger
and heavier objects are available at your
BMW center. Four lashing eyes are pro-
vided for attaching the cargo straps. Two
are located on the side walls of the trunk 1
and two additional ones are located on the
inside wall of the trunk 2.
Comply with the information enclosed with
the load-securing devices.
Convertible: before opening the hardtop,
fold down the trunk pa rtition. Make sure
the trunk is loaded corre ctly; otherwise parts of
the hardtop can be damaged, refer to
page 128.<
Always position and secure the cargo as
described above, so that it cannot endan-
ger the car's occupants, for example if sudden
braking or swerving is necessary.
Never exceed either the approved gross vehicle
weight or either of the approved axle loads, refer
to page 281, as excessive loads can pose a
safety hazard, and may also place you in viola-
tion of traffic safety laws.
Heavy or hard objects should not be carried
loose inside the car, sinc e they could be thrown
around, for example as a result of heavy braking,
sudden swerves, etc., and endanger the
occupants.
Only attach the cargo st raps using the lashing
eyes shown in the illust ration. Do not secure
cargo with the anchors fo r tether straps, refer
to page 60, ; otherwise, these could be
damaged. <
Coupe: roof-mounted
luggage rack
A special rack system is available as an option
f o r y o u r B M W . C o m p l y w i t h t h e d i r e c t i o n s g i v e n
in the installation instructions.
Mounting points
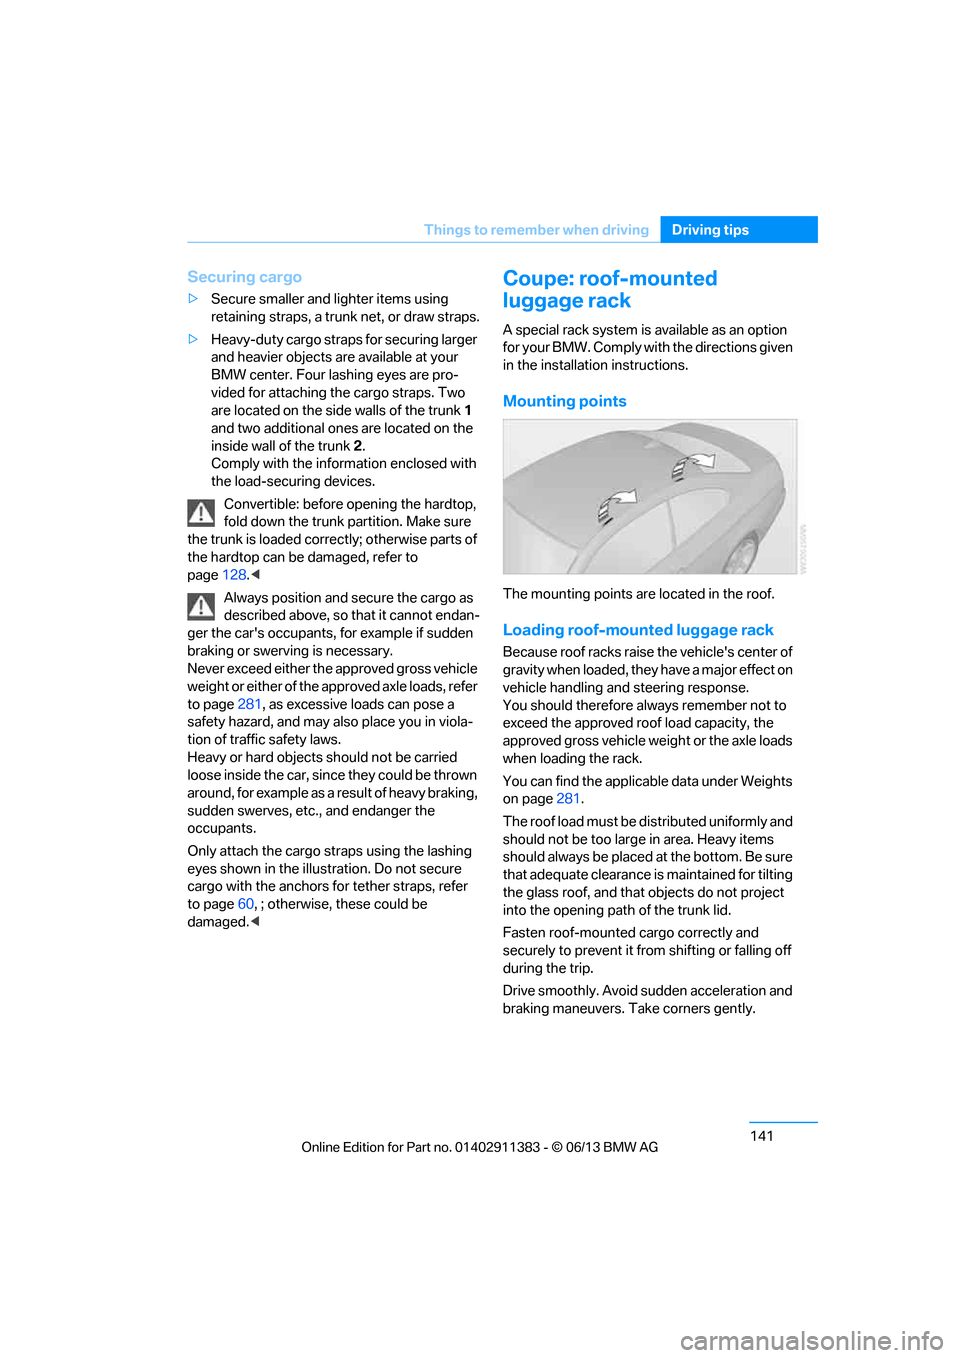
The mounting points are located in the roof.
Loading roof-mounted luggage rack
Because roof racks raise the vehicle's center of
gravity when loaded, they have a major effect on
vehicle handling and steering response.
You should therefore always remember not to
exceed the approved roof load capacity, the
approved gross vehicle we ight or the axle loads
when loading the rack.
You can find the applicable data under Weights
on page 281.
The roof load must be distributed uniformly and
should not be too larg e in area. Heavy items
should always be placed at the bottom. Be sure
that adequate clearance is maintained for tilting
the glass roof, and that objects do not project
into the opening path of the trunk lid.
Fasten roof-mounted cargo correctly and
securely to prevent it fr om shifting or falling off
during the trip.
Drive smoothly. Avoid sudden acceleration and
braking maneuvers. Take corners gently.
00320051004F004C00510048000300280047004C0057004C005200510003
Page 157 of 311
152
NavigationDestination entry
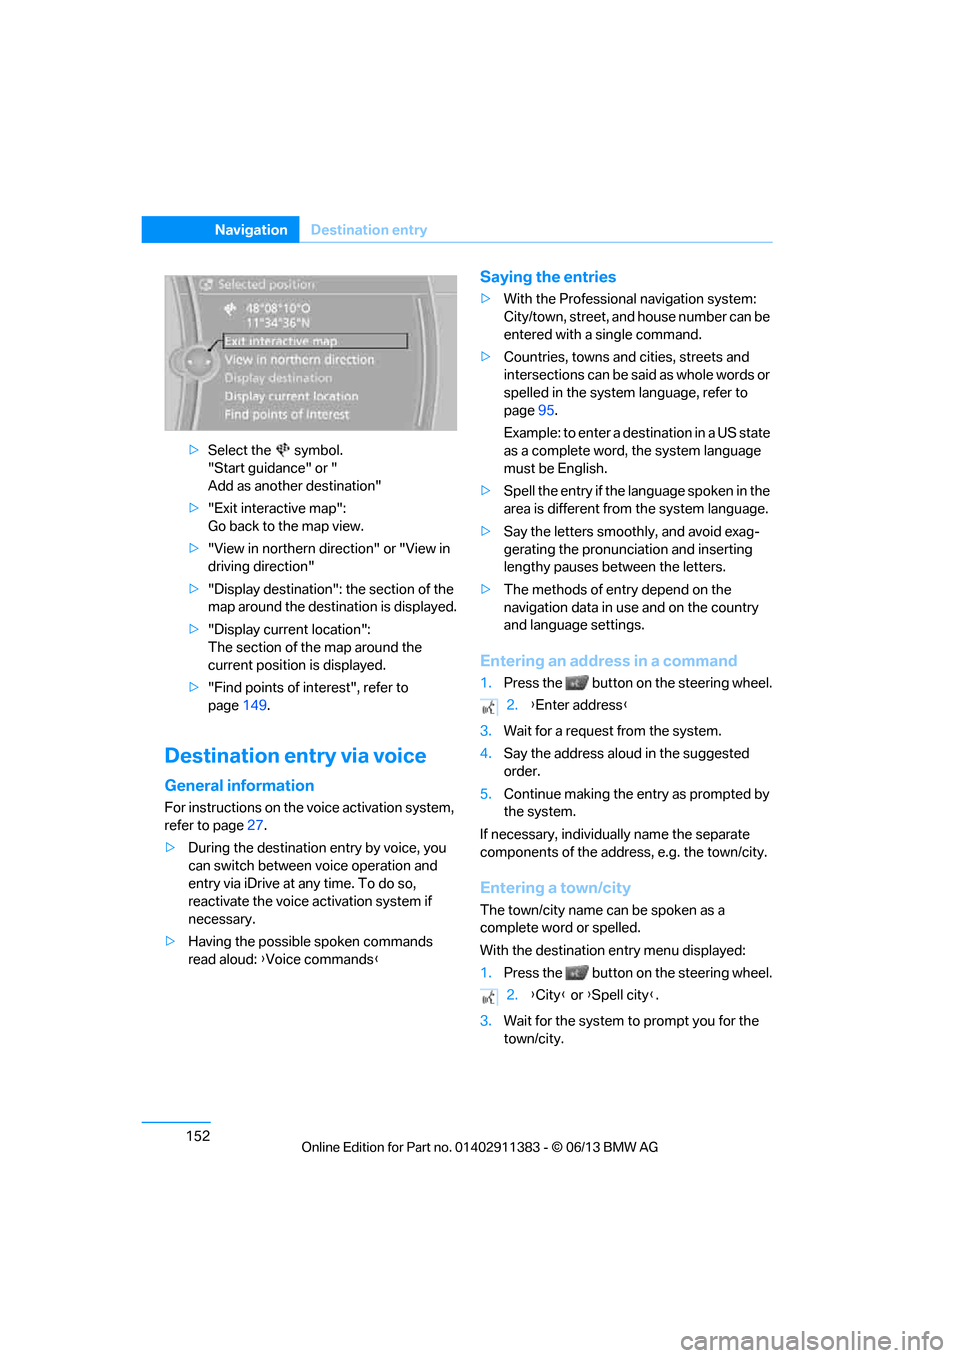
>Select the symbol.
"Start guidance" or "
Add as another destination"
> "Exit interactive map":
Go back to the map view.
> "View in northern direction" or "View in
driving direction"
> "Display destination": the section of the
map around the destination is displayed.
> "Display current location":
The section of the map around the
current position is displayed.
> "Find points of interest", refer to
page 149.
Destination entry via voice
General information
For instructions on the voice activation system,
refer to page 27.
> During the destination entry by voice, you
can switch between voice operation and
entry via iDrive at any time. To do so,
reactivate the voice ac tivation system if
necessary.
> Having the possible spoken commands
read aloud: {Voice commands }
Saying the entries
>With the Professional navigation system:
City/town, street, and house number can be
entered with a single command.
> Countries, towns and cities, streets and
intersections can be said as whole words or
spelled in the system language, refer to
page 95.
Example: to enter a destination in a US state
as a complete word, the system language
must be English.
> Spell the entry if the language spoken in the
area is different from the system language.
> Say the letters smoothly, and avoid exag-
gerating the pronunciation and inserting
lengthy pauses between the letters.
> The methods of entry depend on the
navigation data in use and on the country
and language settings.
Entering an address in a command
1.Press the button on the steering wheel.
3. Wait for a request from the system.
4. Say the address aloud in the suggested
order.
5. Continue making the entry as prompted by
the system.
If necessary, individua lly name the separate
components of the addres s, e.g. the town/city.
Entering a town/city
The town/city name can be spoken as a
complete word or spelled.
With the destination entry menu displayed:
1.Press the button on the steering wheel.
3. Wait for the system to prompt you for the
town/city.
2. {Enter address }
2. {City } or {Spell city }.
00320051004F004C00510048000300280047004C0057004C005200510003
Page 171 of 311
166
EntertainmentOn/off and tone
On/off and tone
Vehicle equipment
In this chapter, all pr oduction, country, and
optional equipment that is offered in the model
range is described. Equipment is also described
that is not available because of, for example,
selected options or country version. This also
applies to safety related functions and systems.
General information
The following audio and video sources share
the same control elements and adjustments:
> Radio
> CD/DVD player
> Video
> External devices, e.g. MP3 player
Controls
The audio and video sources can be controlled
using the:
>Buttons near th e CD/DVD player
> iDrive
> Buttons on the steering wheel, refer to
page 13
> Programmable memory keys, refer to
page 25
> Voice activation system
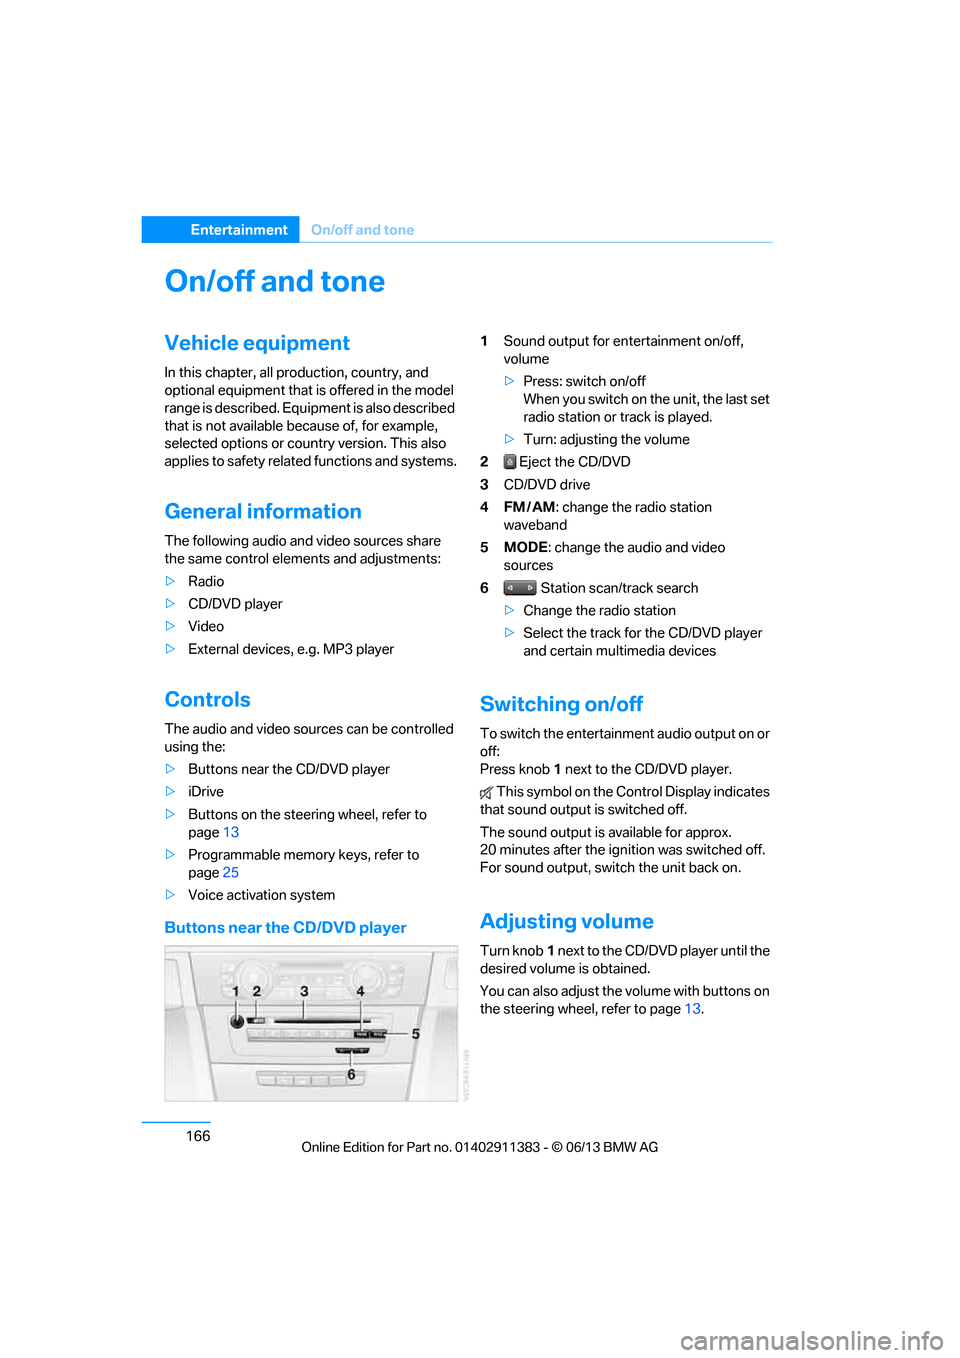
Buttons near the CD/DVD player
1Sound output for entertainment on/off,
volume
>Press: switch on/off
When you switch on the unit, the last set
radio station or track is played.
> Turn: adjusting the volume
2 Eject the CD/DVD
3 CD/DVD drive
4FM/AM : change the radio station
waveband
5MODE : change the audio and video
sources
6 Station scan/track search
> Change the radio station
> Select the track for the CD/DVD player
and certain multimedia devices
Switching on/off
To switch the entertainment audio output on or
off:
Press knob 1 next to the CD/DVD player.
This symbol on the Co ntrol Display indicates
that sound output is switched off.
The sound output is available for approx.
20 minutes after the ignition was switched off.
For sound output, switch the unit back on.
Adjusting volume
Turn knob 1 next to the CD/DVD player until the
desired volume is obtained.
You can also adjust the volume with buttons on
the steering wheel, refer to page 13.
00320051004F004C00510048000300280047004C0057004C005200510003
Page 174 of 311
169
Radio
Entertainment
Radio
Vehicle equipment
In this chapter, all production, country, and
optional equipment that is offered in the model
range is described. Equipment is also described
that is not available because of, for example,
selected options or coun
try version. This also
applies to safety related functions and systems.
General information
Your radio is designed for reception of the
following stations:
> FM and AM
> HD Radio
> Satellite radio
Selecting a station
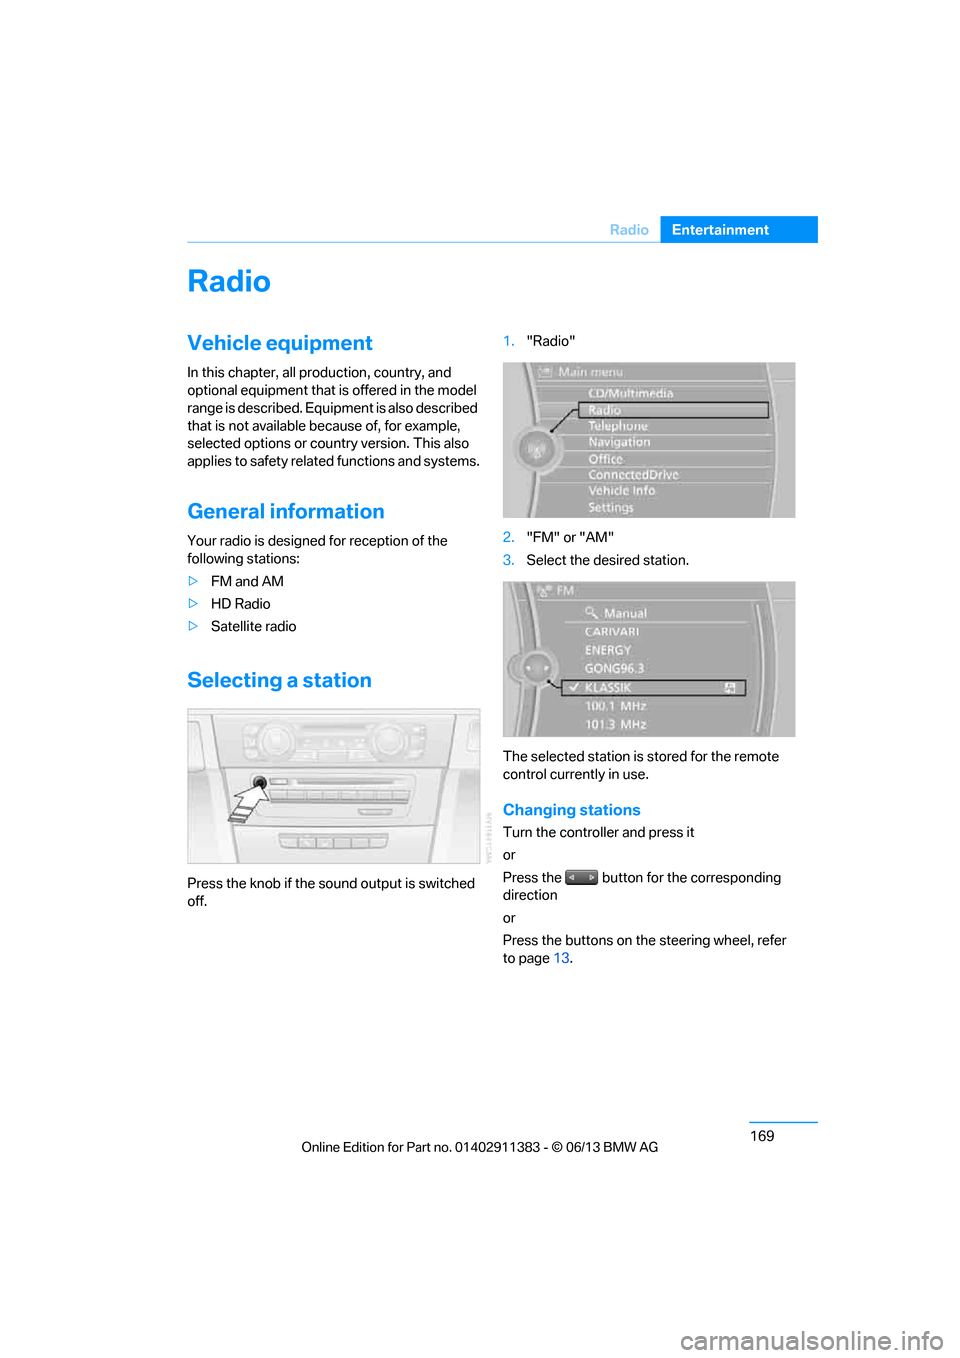
Press the knob if the sound output is switched
off. 1.
"Radio"
2. "FM" or "AM"
3. Select the desired station.
The selected station is stored for the remote
control currently in use.
Changing stations
Turn the controller and press it
or
Press the button for the corresponding
direction
or
Press the buttons on the steering wheel, refer
to page 13.
00320051004F004C00510048000300280047004C0057004C005200510003