change time BMW 3 SERIES COUPE 2013 E92 Owner's Manual
[x] Cancel search | Manufacturer: BMW, Model Year: 2013, Model line: 3 SERIES COUPE, Model: BMW 3 SERIES COUPE 2013 E92Pages: 311, PDF Size: 7.05 MB
Page 33 of 311
28
At a glanceVoice activation system
For example, if the "Settings" menu is dis-
played, the commands relating to settings are
read aloud.
Performing functions using short
commands
Functions from the main menu can be per-
formed directly by means of short commands,
essentially regardless of which menu item is
selected, e.g. { Vehicle status}.
List of short command of the voice activation
system, refer to page 283.
Help dialog for voice activation system
Accessing help:
Other commands for the help dialog:
>{Help with examples }: information about
the current control options and the most
important commands relating to them are
read aloud.
> {Help with voice activation }: information
about the principle operation of the voice
activation system is read aloud.
Example: playing back a CD
Via the main menu
1. If necessary, switch on entertainment audio
output.
2. Press the button on the steering wheel.
Via short commands
The CD playback can also be started via a short
command.
1.If necessary, switch on entertainment audio
output.
2. Press the button on the steering wheel.
Setting the voice dialog
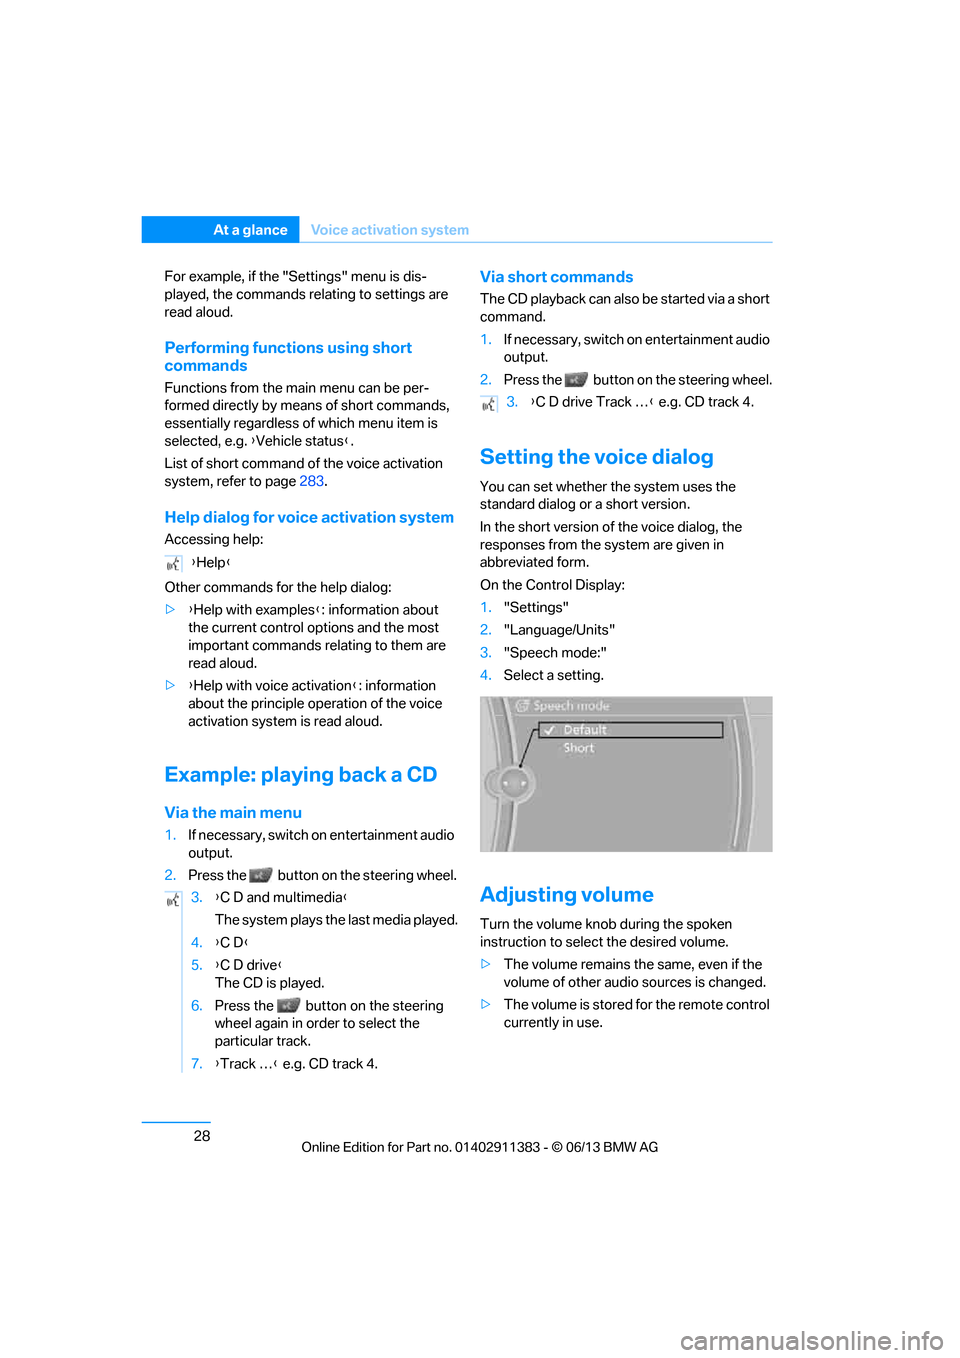
You can set whether the system uses the
standard dialog or a short version.
In the short version of the voice dialog, the
responses from the system are given in
abbreviated form.
On the Control Display:
1. "Settings"
2. "Language/Units"
3. "Speech mode:"
4. Select a setting.
Adjusting volume
Turn the volume knob during the spoken
instruction to select the desired volume.
>The volume remains the same, even if the
volume of other audio sources is changed.
> The volume is stored for the remote control
currently in use.
{
Help }
3. {C D and multimedia }
The system plays the last media played.
4. {C D }
5. {C D drive}
The CD is played.
6. Press the button on the steering
wheel again in order to select the
particular track.
7. {Track … } e.g. CD track 4.
3.{C D drive Track … } e.g. CD track 4.
00320051004F004C00510048000300280047004C0057004C005200510003
Page 41 of 311
36
ControlsOpening and closing
extended trip to rechar ge the battery, refer to
page 32. The remote control for Comfort
Access contains a battery that may have to be
changed, refer to page 41.
For US owners only
The transmitter and receiv er units comply with
part 15 of the FCC/Federal Communications
Commission regulations. Operation is
governed by the following:
FCC ID:
LX8766S
LX8766E
LX8CAS
Compliance statement:
This device complies wi th part 15 of the FCC
Rules. Operation is subject to the following two
conditions:
> This device must not cause harmful
interference, and
> this device must accept any interference
received, including in terference that may
cause undesired operation.
Any unauthorized modifications or
changes to these devi ces could void the
user's authority to operate this equipment. <
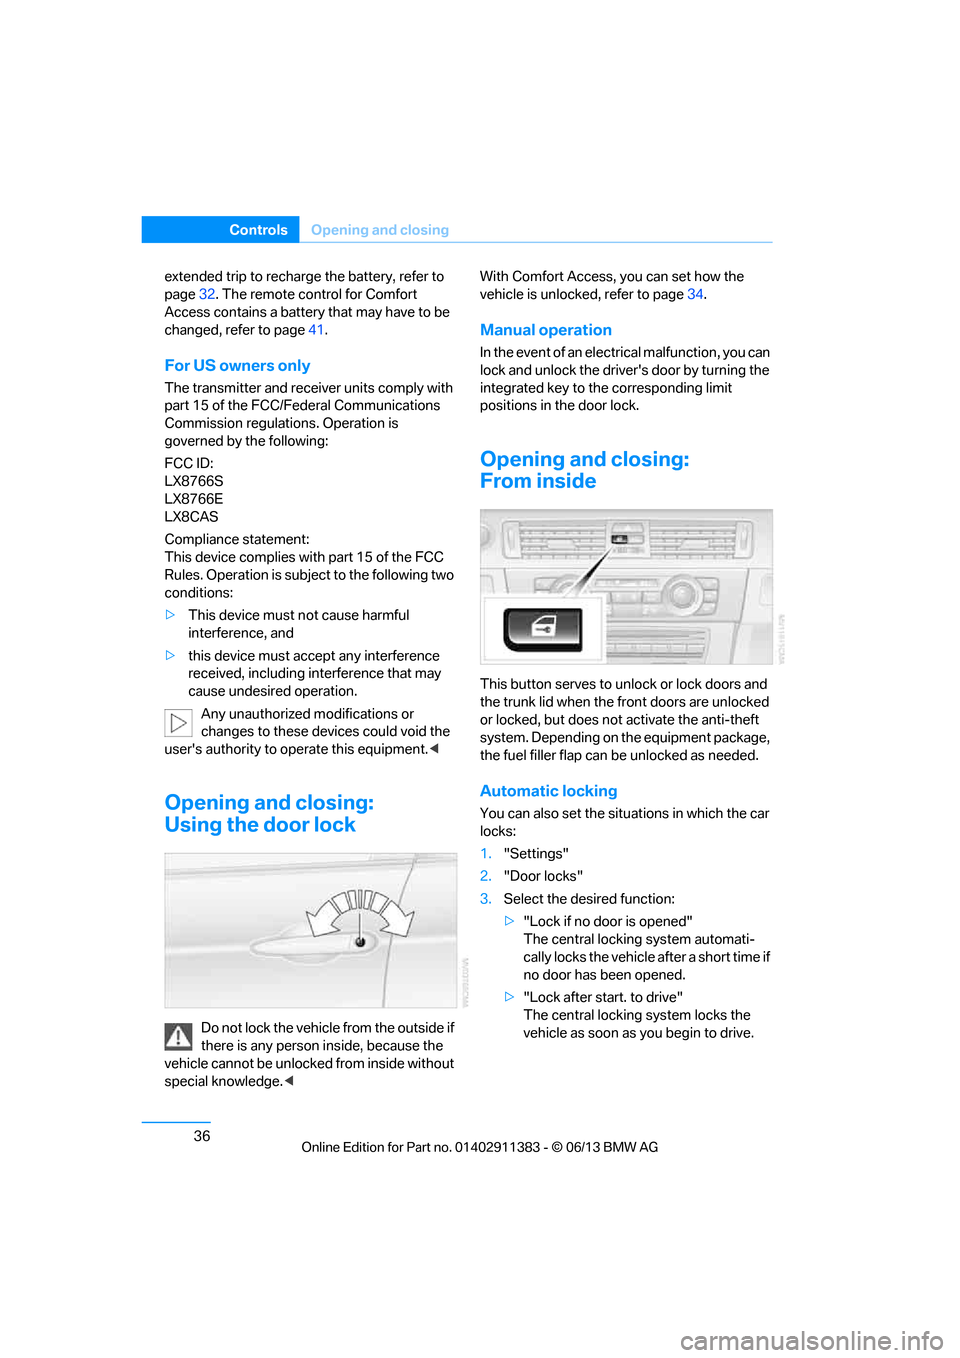
Opening and closing:
Using the door lock
Do not lock the vehicle from the outside if
there is any person inside, because the
vehicle cannot be unlocked from inside without
special knowledge. < With Comfort Access, you can set how the
vehicle is unlocked, refer to page
34.
Manual operation
In the event of an electrical malfunction, you can
lock and unlock the driver's door by turning the
integrated key to the corresponding limit
positions in the door lock.
Opening and closing:
From inside
This button serves to unlock or lock doors and
the trunk lid when the front doors are unlocked
or locked, but does not activate the anti-theft
system. Depending on the equipment package,
the fuel filler flap can be unlocked as needed.
Automatic locking
You can also set the situ ations in which the car
locks:
1. "Settings"
2. "Door locks"
3. Select the desired function:
>"Lock if no door is opened"
The central locking system automati-
cally locks the vehicle after a short time if
no door has been opened.
> "Lock after start. to drive"
The central locking system locks the
vehicle as soon as you begin to drive.
00320051004F004C00510048000300280047004C0057004C005200510003
Page 43 of 311
38
ControlsOpening and closing
Locking separately
Push the switch in the direction of arrow 1 .
The trunk lid is locked and cannot be unlocked
using the central locking system.
If you give the remote control without the inte-
grated key to someone else while the glove
compartment is locked, the trunk lid cannot be
opened. This is an advantage when valet park-
ing, for example. Locking the glove compart-
ment, refer to page 124.
Unlocking separately
Push the switch in the direction of arrow 2 .
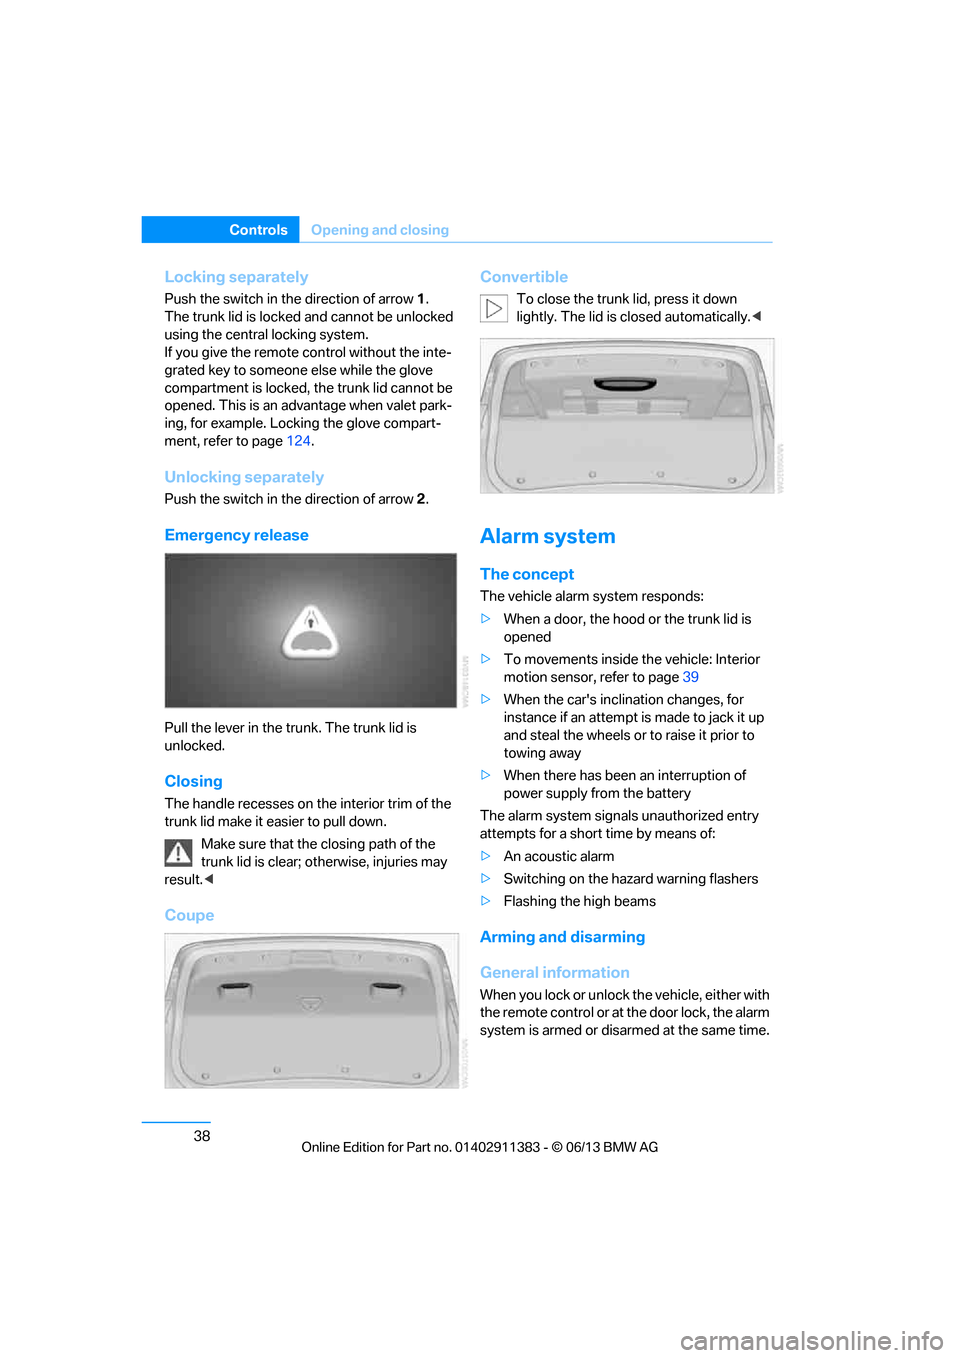
Emergency release
Pull the lever in the trunk. The trunk lid is
unlocked.
Closing
The handle recesses on the interior trim of the
trunk lid make it easier to pull down.
Make sure that the closing path of the
trunk lid is clear; otherwise, injuries may
result. <
Coupe Convertible
To close the trunk lid, press it down
lightly. The lid is closed automatically.<
Alarm system
The concept
The vehicle alarm system responds:
>
When a door, the hood or the trunk lid is
opened
> To movements inside the vehicle: Interior
motion sensor, refer to page 39
> When the car's inclination changes, for
instance if an attempt is made to jack it up
and steal the wheels or to raise it prior to
towing away
> When there has been an interruption of
power supply from the battery
The alarm system signals unauthorized entry
attempts for a short time by means of:
> An acoustic alarm
> Switching on the haza rd warning flashers
> Flashing the high beams
Arming and disarming
General information
When you lock or unlock the vehicle, either with
the remote control or at the door lock, the alarm
system is armed or disarmed at the same time.
00320051004F004C00510048000300280047004C0057004C005200510003
Page 75 of 311
70
ControlsDriving
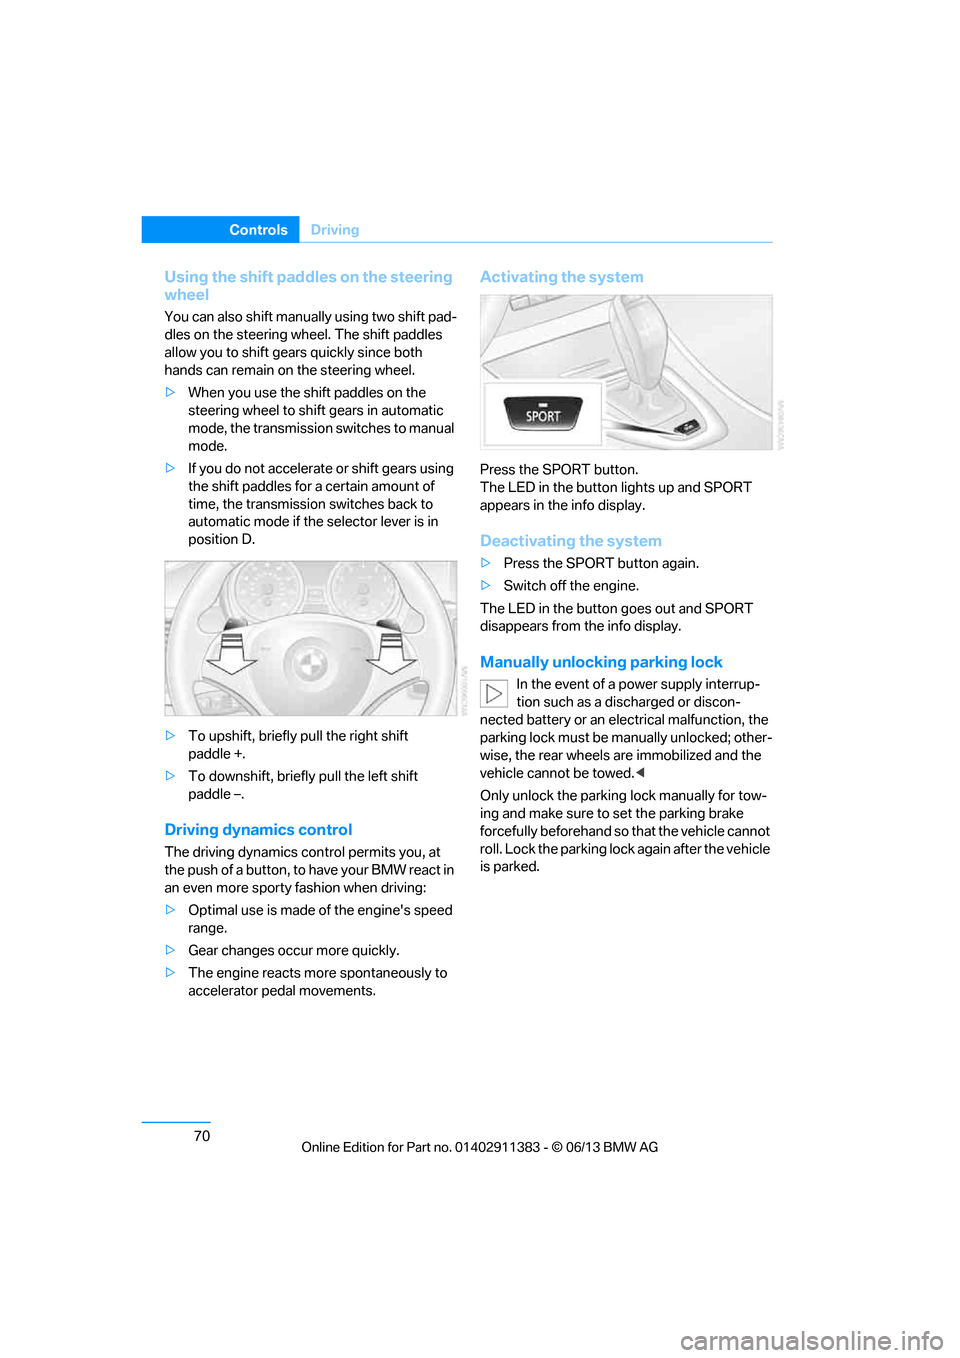
Using the shift paddl es on the steering
wheel
You can also shift manually using two shift pad-
dles on the steering wheel. The shift paddles
allow you to shift gear s quickly since both
hands can remain on the steering wheel.
> When you use the shift paddles on the
steering wheel to shift gears in automatic
mode, the transmission switches to manual
mode.
> If you do not accelerate or shift gears using
the shift paddles for a certain amount of
time, the transmission switches back to
automatic mode if the selector lever is in
position D.
> To upshift, briefly pull the right shift
paddle +.
> To downshift, briefly pull the left shift
paddle –.
Driving dynamics control
The driving dynamics control permits you, at
the push of a button, to have your BMW react in
an even more sporty fashion when driving:
> Optimal use is made of the engine's speed
range.
> Gear changes occur more quickly.
> The engine reacts mo re spontaneously to
accelerator pedal movements.
Activating the system
Press the SPORT button.
The LED in the button lights up and SPORT
appears in the info display.
Deactivating the system
> Press the SPORT button again.
> Switch off the engine.
The LED in the button goes out and SPORT
disappears from the info display.
Manually unlocking parking lock
In the event of a power supply interrup-
tion such as a discharged or discon-
nected battery or an elec trical malfunction, the
parking lock must be ma nually unlocked; other-
wise, the rear wheels are immobilized and the
vehicle cannot be towed. <
Only unlock the parking lock manually for tow-
ing and make sure to set the parking brake
forcefully beforehand so that the vehicle cannot
roll. Lock the parking lock again after the vehicle
is parked.
00320051004F004C00510048000300280047004C0057004C005200510003
Page 105 of 311
100
ControlsTechnology for driving comfort and safety
Drive-off assistant
The drive-off assistant enables you to drive off
smoothly on uphill gradients. It is not necessary
to use the parking brake for this.
1.Hold the car in place by depressing the
brake.
2. Release the brake and drive off without
delay.
The drive-off assistant holds the car in
place for approx. 2 seconds after the
brake is released. Drive off without delay after
releasing the brake. Ot herwise, the drive-off
assistant will no longer hold the car in place
after approx. 2 seconds and the car will start to
roll backwards. <
Flat Tire Monitor FTM
The concept
The system does not measure the actual
inflation pressure in the tires.
The system detects a pressure loss in a tire by
comparing the rotational speeds of the individ-
ual wheels while moving.
In the event of a pressure loss, the diameter and
therefore the rotational speed of the corre-
sponding wheel change. This is detected and
reported as a flat tire.
Functional requirement
The system must have be en initialized while the
tire inflation pressure was correct; otherwise,
reliable signaling of a flat tire is not ensured.
Each time a tire inflation pressure has been
corrected or a wheel or tire has been changed,
reinitialize the system.
System limitations
Sudden serious tire damage caused by
external influences cannot be indicated in
advance.<
A natural, steady pressure loss in all four tires is
not detected. Therefore, check the tire inflation
pressure regularly.
In the following situatio ns, the system could be
delayed or malfunction:
> System has not been initialized
> Driving on snowy or slippery road surface
> Performance-oriented style of driving: slip
in the drive wheels, hi gh lateral acceleration
> Snow chains are attached
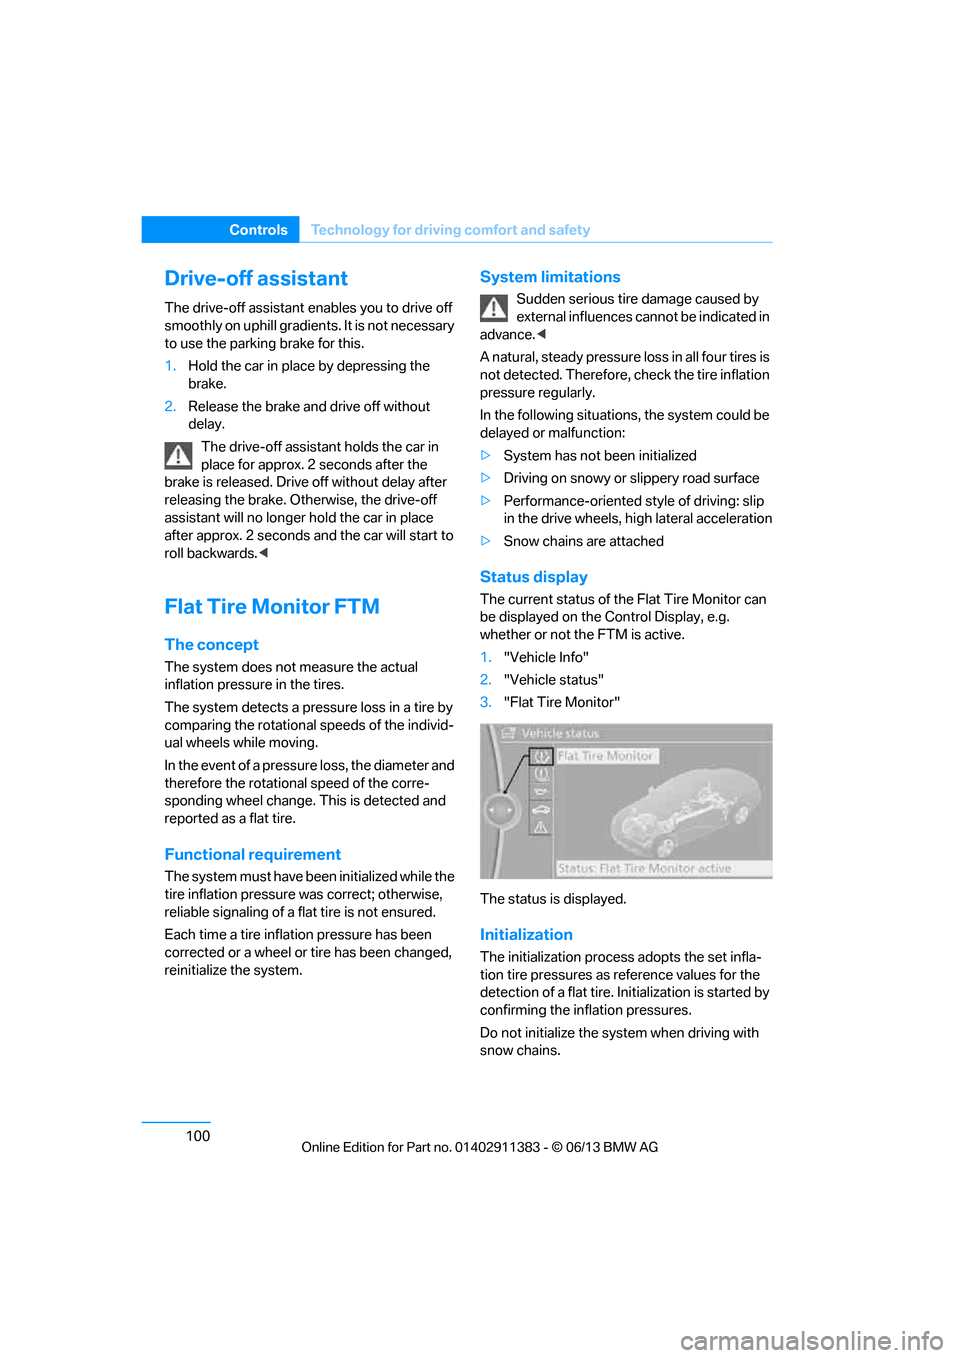
Status display
The current status of the Flat Tire Monitor can
be displayed on the Control Display, e.g.
whether or not the FTM is active.
1."Vehicle Info"
2. "Vehicle status"
3. "Flat Tire Monitor"
The status is displayed.
Initialization
The initialization process adopts the set infla-
tion tire pressures as reference values for the
detection of a flat tire. Initialization is started by
confirming the inflation pressures.
Do not initialize the syst em when driving with
snow chains.
00320051004F004C00510048000300280047004C0057004C005200510003
Page 106 of 311
101
Technology for driving comfort and safety
Controls
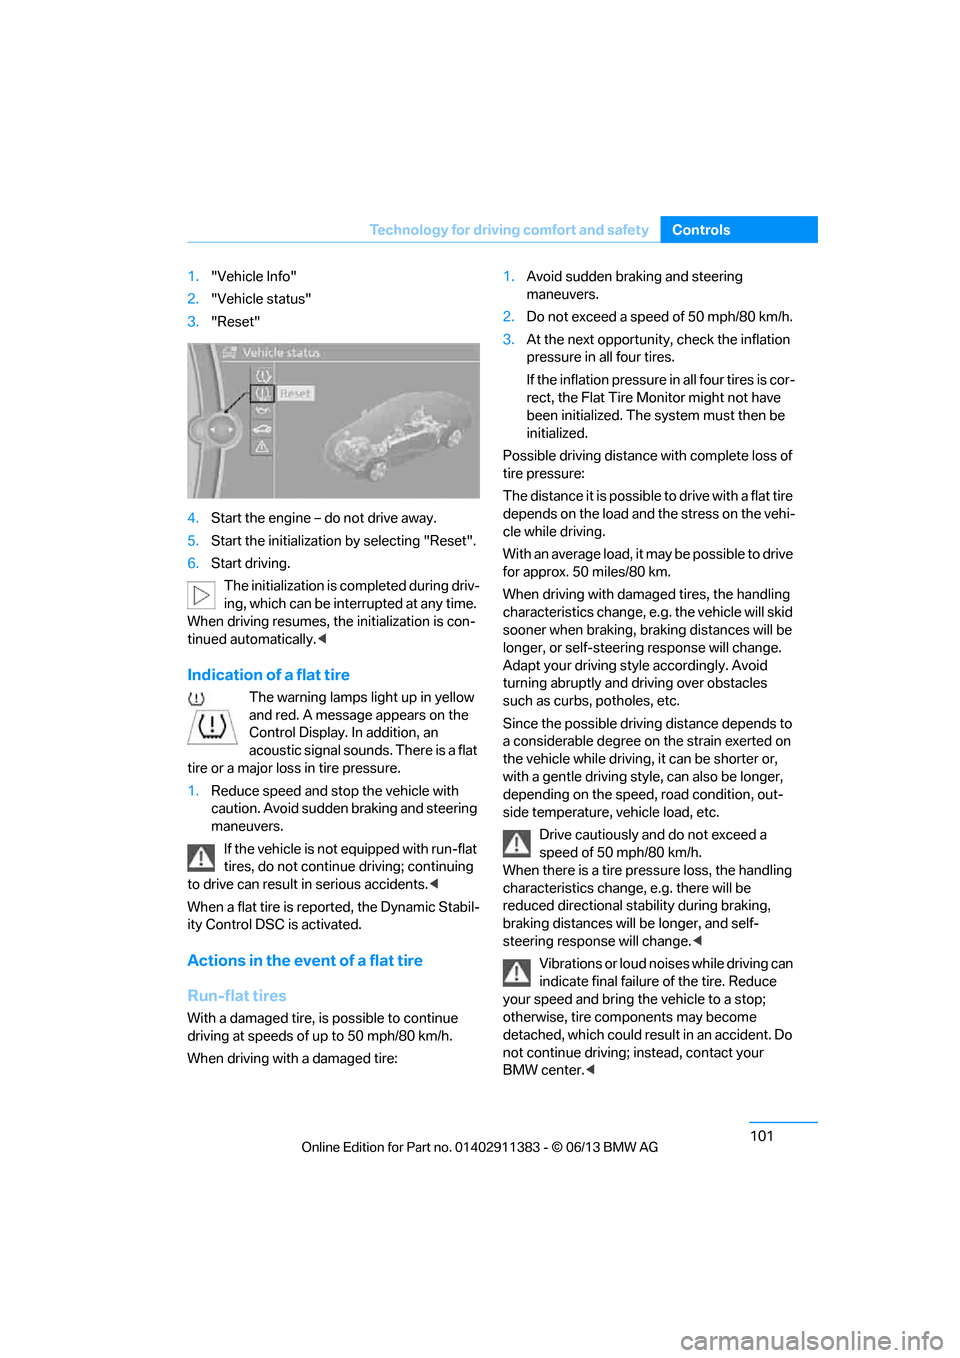
1.
"Vehicle Info"
2. "Vehicle status"
3. "Reset"
4. Start the engine – do not drive away.
5. Start the initialization by selecting "Reset".
6. Start driving.
The initialization is completed during driv-
ing, which can be interrupted at any time.
When driving resumes, the initialization is con-
tinued automatically. <
Indication of a flat tire
The warning lamps light up in yellow
and red. A message appears on the
Control Display. In addition, an
acoustic signal sounds. There is a flat
tire or a major loss in tire pressure.
1. Reduce speed and stop the vehicle with
caution. Avoid sudden braking and steering
maneuvers.
If the vehicle is not equipped with run-flat
tires, do not continue driving; continuing
to drive can result in serious accidents.<
When a flat tire is re ported, the Dynamic Stabil-
ity Control DSC is activated.
Actions in the event of a flat tire
Run-flat tires
With a damaged tire, is possible to continue
driving at speeds of up to 50 mph/80 km/h.
When driving with a damaged tire: 1.
Avoid sudden braking and steering
maneuvers.
2. Do not exceed a speed of 50 mph/80 km/h.
3. At the next opportunity, check the inflation
pressure in all four tires.
If the inflation pressure in all four tires is cor-
rect, the Flat Tire Monitor might not have
been initialized. The system must then be
initialized.
Possible driving distance with complete loss of
tire pressure:
The distance it is possible to drive with a flat tire
depends on the load and the stress on the vehi-
cle while driving.
With an average load, it may be possible to drive
for approx. 50 miles/80 km.
When driving with damaged tires, the handling
characteristics change, e. g. the vehicle will skid
sooner when braking, braking distances will be
longer, or self-steerin g response will change.
Adapt your driving style accordingly. Avoid
turning abruptly and driving over obstacles
such as curbs, potholes, etc.
Since the possible drivin g distance depends to
a considerable degree on the strain exerted on
the vehicle while driving, it can be shorter or,
with a gentle driving style, can also be longer,
depending on the speed, road condition, out-
side temperature, vehicle load, etc.
Drive cautiously and do not exceed a
speed of 50 mph/80 km/h.
When there is a tire pr essure loss, the handling
characteristics change, e.g. there will be
reduced directional stability during braking,
braking distances will be longer, and self-
steering response will change. <
Vibrations or loud noises while driving can
indicate final failure of the tire. Reduce
your speed and bring the vehicle to a stop;
otherwise, tire components may become
detached, which could result in an accident. Do
not continue driving; instead, contact your
BMW center. <
00320051004F004C00510048000300280047004C0057004C005200510003
Page 107 of 311
102
ControlsTechnology for driving comfort and safety
Tire Pressure Monitor TPM
The concept
Check the inflation pressure in the four installed
tires. The system notifies you if there is a signif-
icant loss of pressure in one or more tires.
Functional requirement
The system must have been reset while the
inflation pressure was correct; otherwise, reli-
able signaling of a flat tire is not ensured.
Always use wheels with TPM electronics to
ensure that the system will operate properly.
Each time a tire inflation pressure has been
corrected or a wheel or tire has been changed,
reset the system.
System limitations
Sudden serious tire damage caused by
external influences cannot be indicated in
advance.<
The system does not function correctly if it has
not been reset. For example, a flat tire may be
indicated even though th e tire inflation pres-
sures are correct.
The system is inactive an d cannot indicate a flat
tire:
> When a wheel without TPM electronics is
installed.
> Interference with TPM by other systems
or devices with the same transmission
frequency.
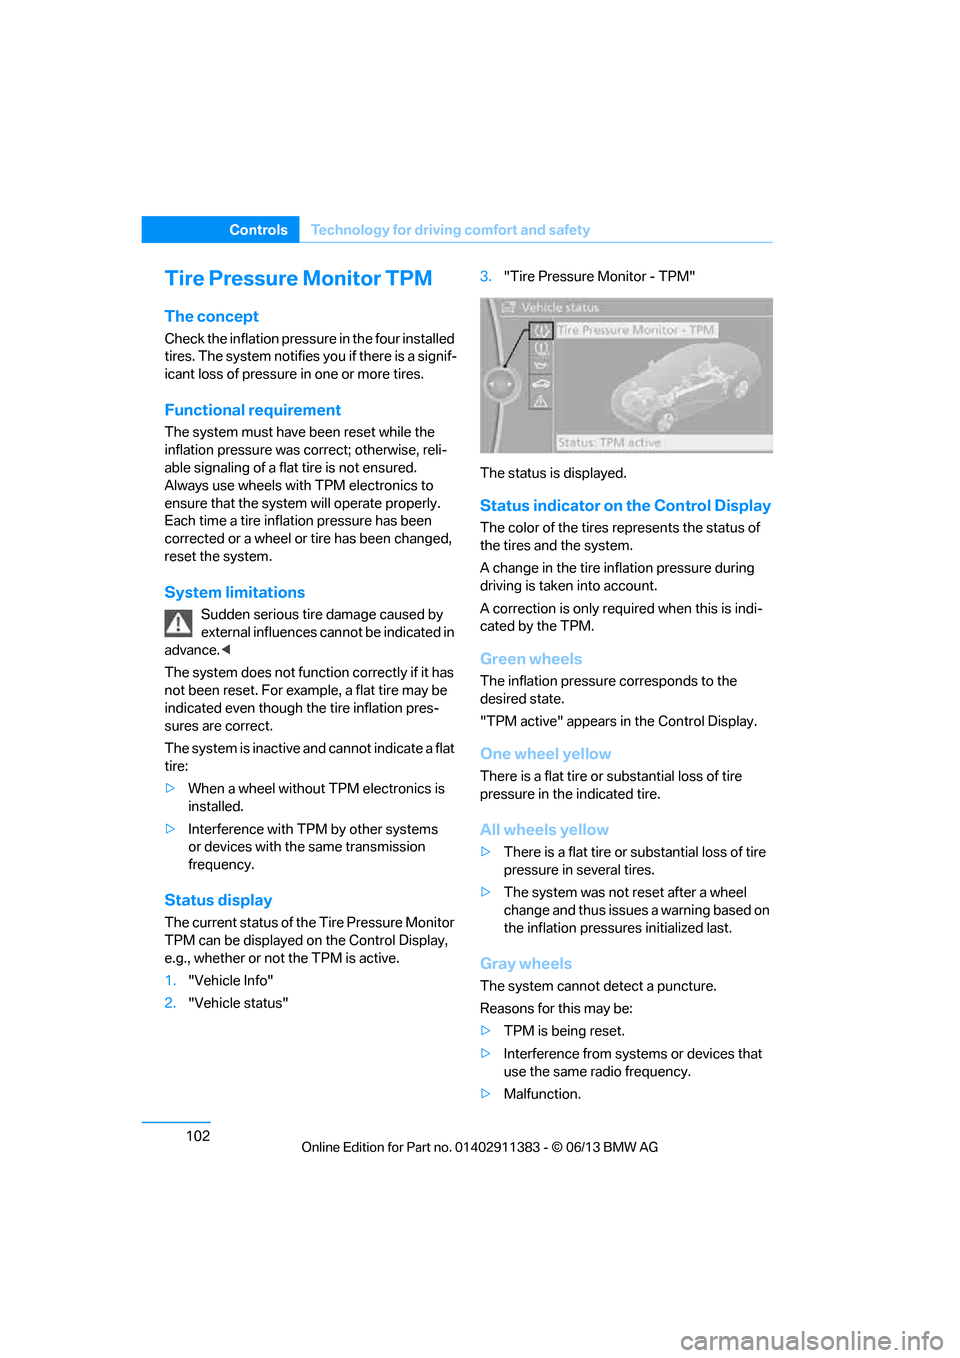
Status display
The current status of th e Tire Pressure Monitor
TPM can be displayed on the Control Display,
e.g., whether or not the TPM is active.
1. "Vehicle Info"
2. "Vehicle status" 3.
"Tire Pressure Monitor - TPM"
The status is displayed.
Status indicator on the Control Display
The color of the tires represents the status of
the tires and the system.
A change in the tire in flation pressure during
driving is taken into account.
A correction is only requ ired when this is indi-
cated by the TPM.
Green wheels
The inflation pressure corresponds to the
desired state.
"TPM active" appears in the Control Display.
One wheel yellow
There is a flat tire or substantial loss of tire
pressure in the indicated tire.
All wheels yellow
> There is a flat tire or substantial loss of tire
pressure in several tires.
> The system was not reset after a wheel
change and thus issues a warning based on
the inflation pressure s initialized last.
Gray wheels
The system cannot de tect a puncture.
Reasons for this may be:
> TPM is being reset.
> Interference from systems or devices that
use the same radio frequency.
> Malfunction.
00320051004F004C00510048000300280047004C0057004C005200510003
Page 108 of 311
103
Technology for driving comfort and safety
Controls
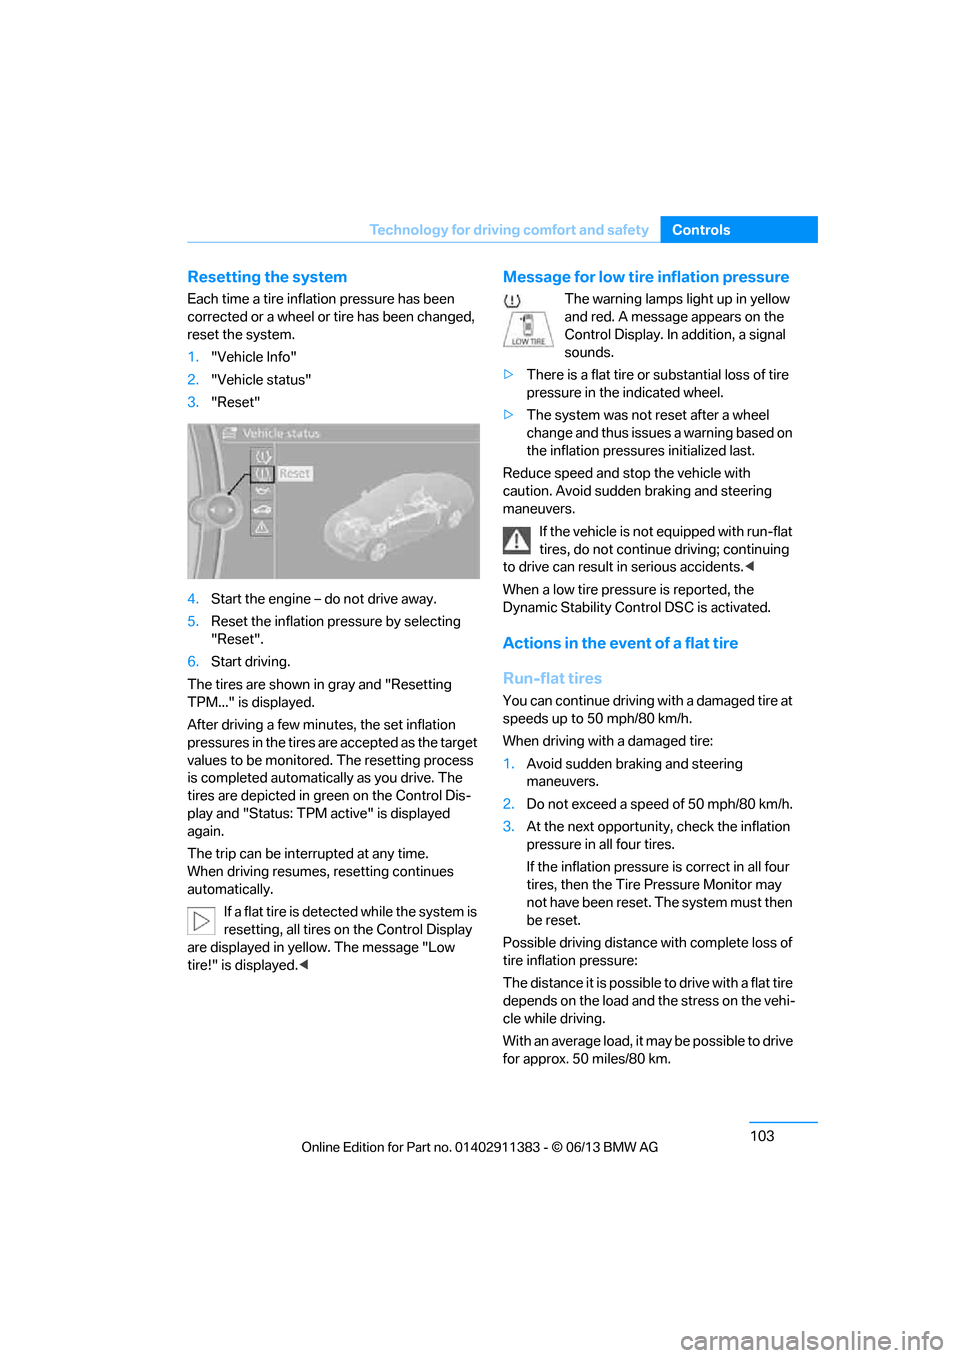
Resetting the system
Each time a tire inflation pressure has been
corrected or a wheel or tire has been changed,
reset the system.
1.
"Vehicle Info"
2. "Vehicle status"
3. "Reset"
4. Start the engine – do not drive away.
5. Reset the inflation pr essure by selecting
"Reset".
6. Start driving.
The tires are shown in gray and "Resetting
TPM..." is displayed.
After driving a few minu tes, the set inflation
pressures in the tires are accepted as the target
values to be monitored. The resetting process
is completed automatically as you drive. The
tires are depicted in green on the Control Dis-
play and "Status: TPM active" is displayed
again.
The trip can be interrupted at any time.
When driving resumes, resetting continues
automatically.
If a flat tire is detected while the system is
resetting, all tires on the Control Display
are displayed in yellow. The message "Low
tire!" is displayed. <
Message for low tire inflation pressure
The warning lamps light up in yellow
and red. A message appears on the
Control Display. In addition, a signal
sounds.
> There is a flat tire or substantial loss of tire
pressure in the indicated wheel.
> The system was not reset after a wheel
change and thus issues a warning based on
the inflation pressure s initialized last.
Reduce speed and stop the vehicle with
caution. Avoid sudden braking and steering
maneuvers. If the vehicle is not equipped with run-flat
tires, do not continue driving; continuing
to drive can result in serious accidents.<
When a low tire pressure is reported, the
Dynamic Stability Control DSC is activated.
Actions in the event of a flat tire
Run-flat tires
You can continue driving with a damaged tire at
speeds up to 50 mph/80 km/h.
When driving with a damaged tire:
1. Avoid sudden braking and steering
maneuvers.
2. Do not exceed a speed of 50 mph/80 km/h.
3. At the next opportunity, check the inflation
pressure in all four tires.
If the inflation pressure is correct in all four
tires, then the Tire Pressure Monitor may
not have been reset. The system must then
be reset.
Possible driving distance with complete loss of
tire inflation pressure:
The distance it is possible to drive with a flat tire
depends on the load and the stress on the vehi-
cle while driving.
With an average load, it may be possible to drive
for approx. 50 miles/80 km.
00320051004F004C00510048000300280047004C0057004C005200510003
Page 113 of 311
108
ControlsTechnology for driving comfort and safety
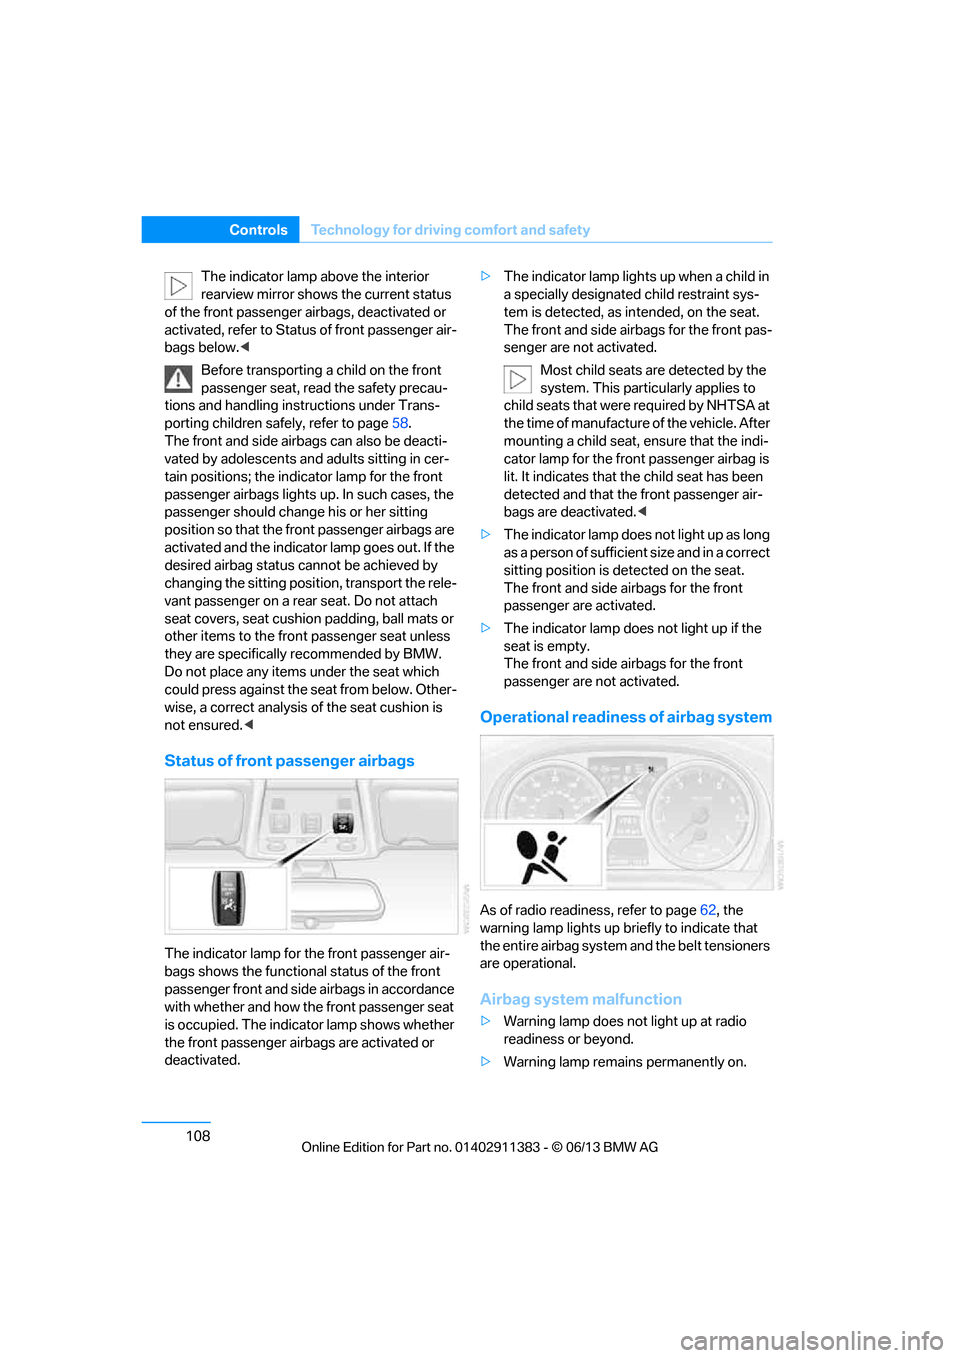
The indicator lamp above the interior
rearview mirror shows the current status
of the front passenger airbags, deactivated or
activated, refer to Status of front passenger air-
bags below. <
Before transporting a child on the front
passenger seat, read the safety precau-
tions and handling inst ructions under Trans-
porting children safely, refer to page 58.
The front and side airbags can also be deacti-
vated by adolescents and adults sitting in cer-
tain positions; the indi cator lamp for the front
passenger airbags lights up. In such cases, the
passenger should change his or her sitting
position so that the fr ont passenger airbags are
activated and the indicator lamp goes out. If the
desired airbag status cannot be achieved by
changing the sitting position, transport the rele-
vant passenger on a rear seat. Do not attach
seat covers, seat cushion padding, ball mats or
other items to the front passenger seat unless
they are specifically recommended by BMW.
Do not place any items under the seat which
could press against the seat from below. Other-
wise, a correct analysis of the seat cushion is
not ensured. <
Status of front passenger airbags
The indicator lamp for the front passenger air-
bags shows the functional status of the front
passenger front and side airbags in accordance
with whether and how the front passenger seat
is occupied. The indicator lamp shows whether
the front passenger airbags are activated or
deactivated. >
The indicator lamp light s up when a child in
a specially designated child restraint sys-
tem is detected, as in tended, on the seat.
The front and side airbags for the front pas-
senger are not activated.
Most child seats are detected by the
system. This partic ularly applies to
child seats that were required by NHTSA at
the time of manufacture of the vehicle. After
mounting a child seat, ensure that the indi-
cator lamp for the fron t passenger airbag is
lit. It indicates that th e child seat has been
detected and that the front passenger air-
bags are deactivated. <
> The indicator lamp does not light up as long
as a person of sufficient size and in a correct
sitting position is detected on the seat.
The front and side airbags for the front
passenger are activated.
> The indicator lamp does not light up if the
seat is empty.
The front and side airbags for the front
passenger are not activated.
Operational readine ss of airbag system
As of radio readiness, refer to page 62, the
warning lamp lights up br iefly to indicate that
the entire airbag system and the belt tensioners
are operational.
Airbag system malfunction
> Warning lamp does not light up at radio
readiness or beyond.
> Warning lamp remains permanently on.
00320051004F004C00510048000300280047004C0057004C005200510003
Page 122 of 311
117
Climate
Controls
Pressing the AUTO
button automatically
switches on the air conditioning.
At the same time, a condensation sensor
controls the program so as to prevent window
condensation as much as possible.
The program is switched off when the air distri-
bution is set manually or the button is pressed
again.
Intensity of the AUTO program
With the AUTO program switched on, auto-
matic control of the air volume and air distribu-
tion can be adjusted:
Press the left side of the button to
reduce the intensity. Press the
right side of the button to
increase it.
The selected intensity is shown on the display
of the automatic climate control.
Convertible program
The Convertible program is active when the
hardtop is open and the AUTO program is
switched on. In the Convertible program, the
automatic climate control is optimized for driv-
ing with the hardtop open . In addition, the air
volume is increased as vehicle speed increases.
The effectiveness of the Convertible pro-
gram can be enhanced considerably by
installing the wind deflector. <
Adjusting air volume manually
To be able to manually adjust the air volume,
switch off the AUTO program first.
Press the left side of the button to
reduce the air volume. Press the
right side of the button to
increase it.
The air flow rate is lowered or switched off
entirely to reduce the drain on the battery. The
display remains the same.
Automatic recirculated air control
AUC/Recirculated air mode
You can respond to unpl easant odors or pollut-
ants in the immediate environment by tempo-
rarily suspending the supply of outside air. The
system then recirculates the air currently within
the vehicle.
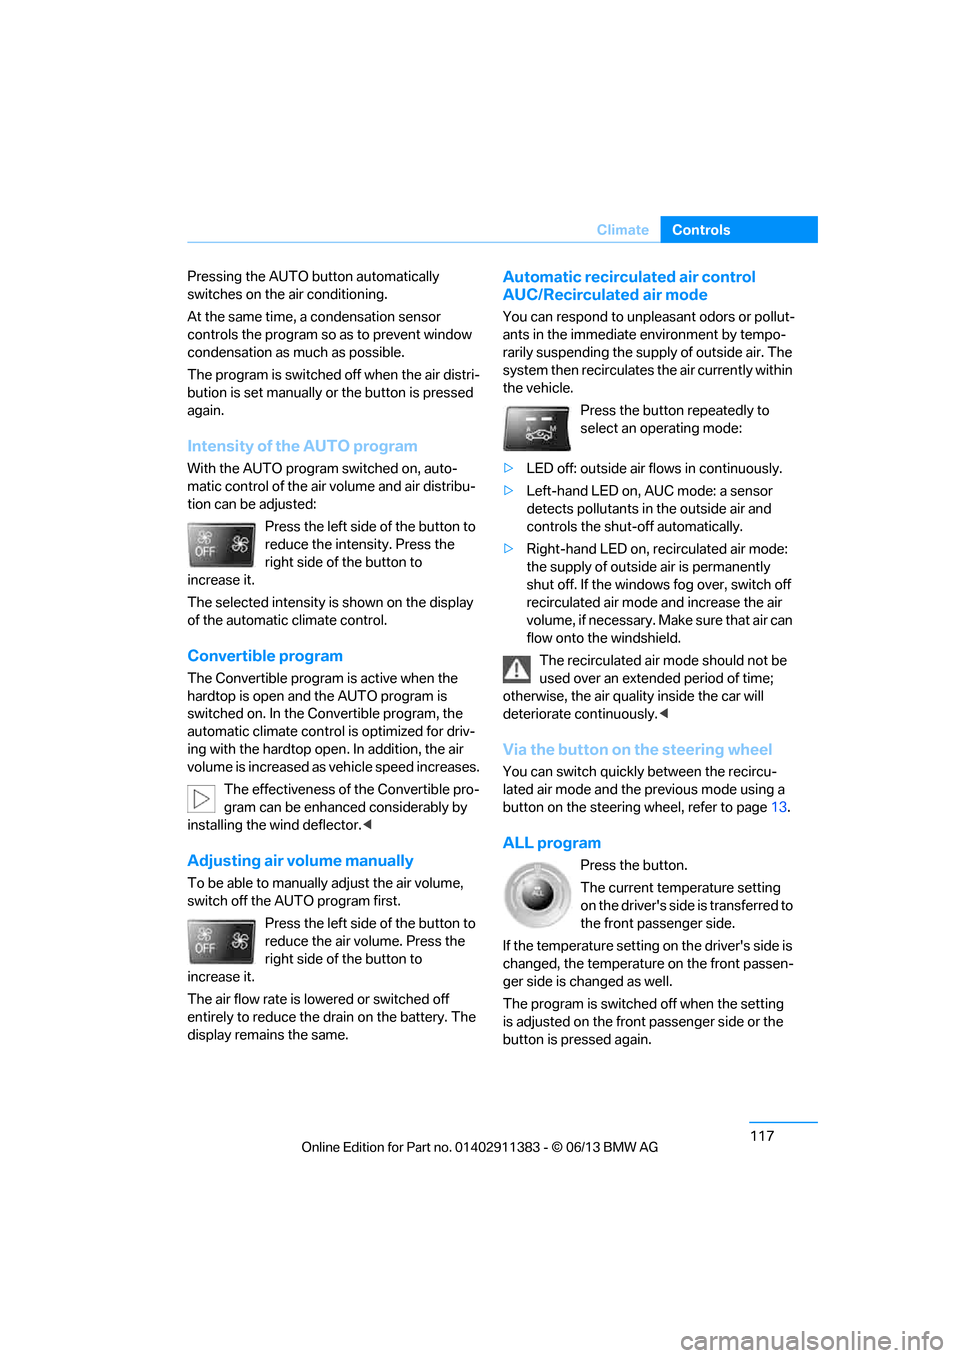
Press the button repeatedly to
select an operating mode:
> LED off: outside air flows in continuously.
> Left-hand LED on, AUC mode: a sensor
detects pollutants in the outside air and
controls the shut-off automatically.
> Right-hand LED on, re circulated air mode:
the supply of outside air is permanently
shut off. If the windows fog over, switch off
recirculated air mode and increase the air
volume, if necessary. Make sure that air can
flow onto the windshield.
The recirculated air mode should not be
used over an extended period of time;
otherwise, the air quality inside the car will
deteriorate continuously. <
Via the button on the steering wheel
You can switch quickly between the recircu-
lated air mode and the previous mode using a
button on the steering wheel, refer to page 13.
ALL program
Press the button.
The current temperature setting
on the driver's side is transferred to
the front passenger side.
If the temperature setting on the driver's side is
changed, the temperature on the front passen-
ger side is changed as well.
The program is switched off when the setting
is adjusted on the front passenger side or the
button is pressed again.
00320051004F004C00510048000300280047004C0057004C005200510003